We made wishing stones a while back for a young friend who was sick in the hospital. Her sister Isabella with us for the afternoon and we wanted to make something, anything, helpful. Something that would help this little girl heal and get back home to her family. Something tangible that she could look at and hold in her hand.
I decided on melted crayon rocks because the combination of the weight of the small rocks with the smooth waxy coating of the melted crayon coating make them both enticing and soothing to hold. And I thought we could add our wishes for our friends to the rocks with words and intention, much as we had with the thankful stones we make at Thanksgiving.
The kids were game. Maia and Daphne are always up for some melted crayon rocks—so fun!—and Isabella and Emily hadn’t tried them before.
Here are the instructions and a few pics…
DiY Wishing Stones for a Friend
MATERIALS
- Small, smooth stones that will fit in your hand
- Crayons (any, but we’ve found that soy-based crayons and wax-based crayons work better than petroleum-based crayons)
- Black or dark Sharpie marker
INSTRUCTIONS
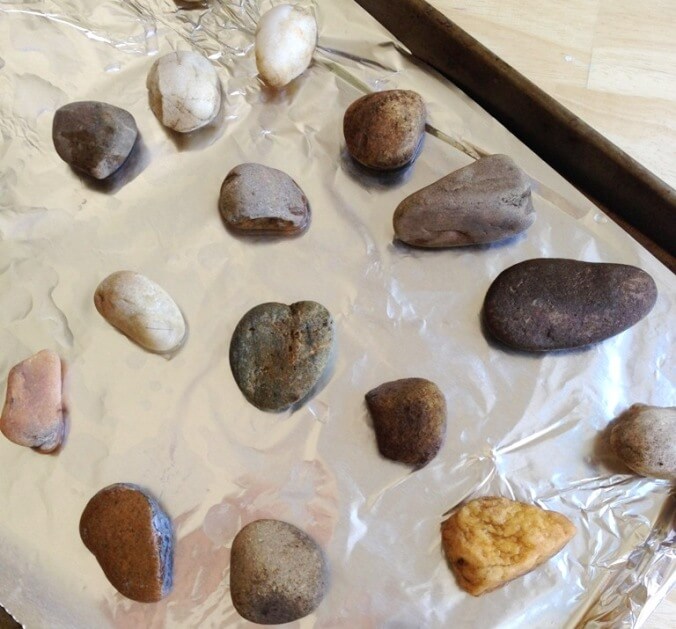
1. Select your stones, wash them, and spread them out on a baking sheet. Place the sheet of stones in a 350 F oven to heat up for 10 or so minutes (this also dries the rocks).
Note: The kids enjoyed searching around the yard and garden for the best rocks. However, if you don’t have a yard with rocks (or a yard, period), you can buy rounded river stones or pebbles from a craft store or hardware store.
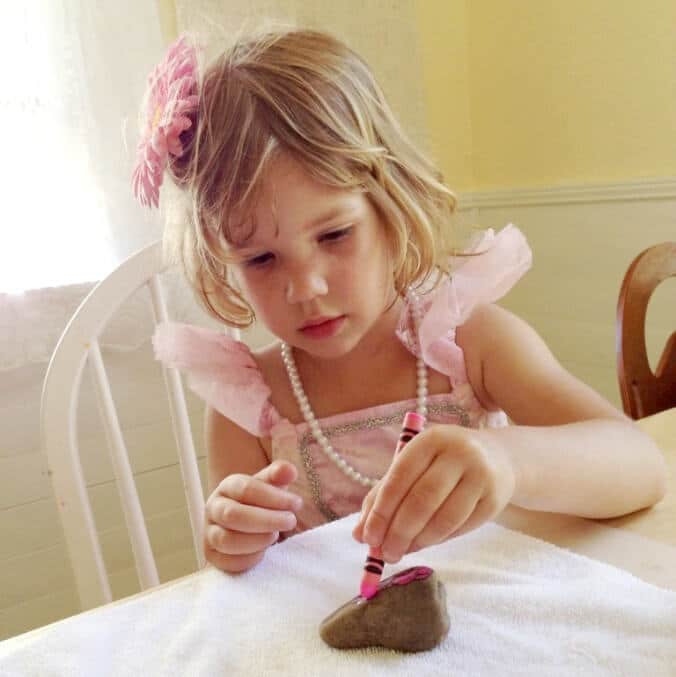
2. Remove the one stone at a time (per person) from the oven with tongs and place on a protected work surface. We used a washcloth over a placemat this time.
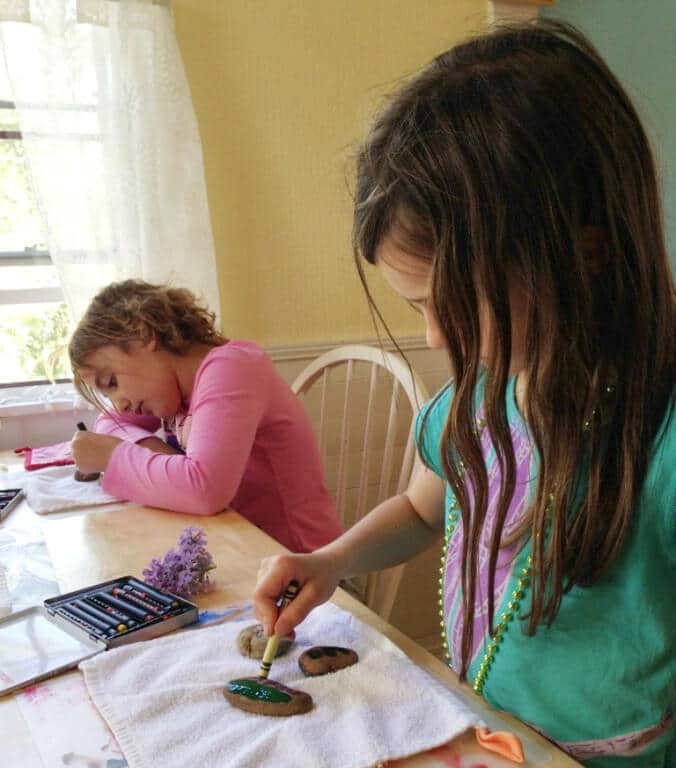
3. Draw on the hot rocks slowly with the crayons, letting the crayon melt as you work.
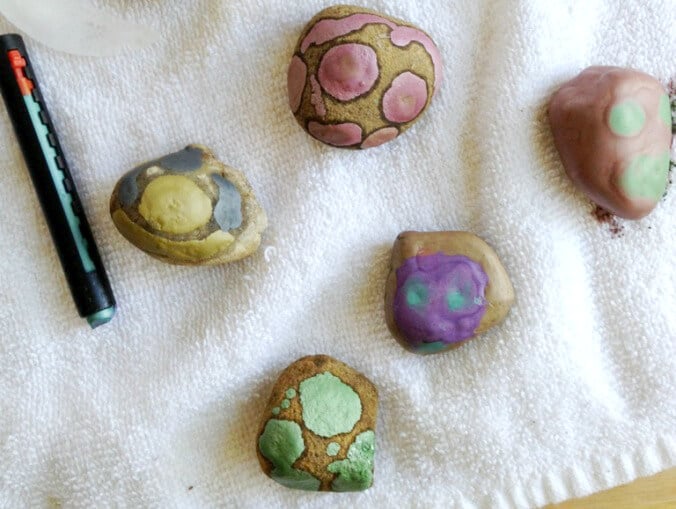
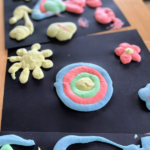
Holding the crayon in place to create dots as the crayon melts is especially fun. You can do this directly on the hot rock or over another color of crayon. We’ve also created spirals, stripes, rainbows, hearts, solid colors, and words with the melting crayon.
If you work slowly and meticulously, as Daphne does on her melted crayon rocks, you may find that you need to place the rock back in the oven to heat up again after a few minutes. Then take it out and continue working on it…

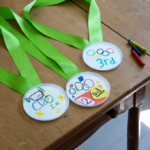
4. Let the rocks cool, then write your wish on it with a Sharpie marker or other permanent marker. We wrote some of our wishes on the fronts, some on the backs, and some we left without words. Our wishes for Emma were for healing and health, for her to be able to go home from the hospital, and for her to have fun and regain her spunk.
You could making your wishing stones any way you like, varying the wishes depending on who they are for (even yourself) and the situation.
I don’t know that the wishing stones helped but it made us feel better to make them. And it gave us a meaningful gift to present.
We just found out that Emma is back in the hospital and needs more surgery, more wishes, more prayers.
Have you made melted crayon rocks yet? How about adding words to the finished rocks and turning them into wish stones for someone who needs them? Or for yourself?
More Melted Crayon Rock Ideas
- Melted Crayon Rocks
- Creative Play with Melted Crayon Rocks
- Thankful Stones (on Making Life)
- On Gratitude + Thankful Stones (on A Natural Nester)