

We love a good cardboard box.
My kids especially. (I’ll bet your kids are the same way.)
There is a competition between the two to call dibs on each new cardboard box that comes into our house.
They like them as is, and turn them into just about anything with just their imagination.
Sometimes, though, we refashion our cardboard boxes into houses, castles, cars, trains, artwork, dioramas, and more.

We’ve been doing even more cardboard construction lately, thanks to a new book—The Cardboard Box Book—as well as rivets and special wheels. Daine (our resident guinea pig) and princess and animal figurines are all transported around the house now in a sleek new cardboard car, one of the projects from the book.
And since we have new flower fairy dolls, we decided to make fairy houses from boxes as well.
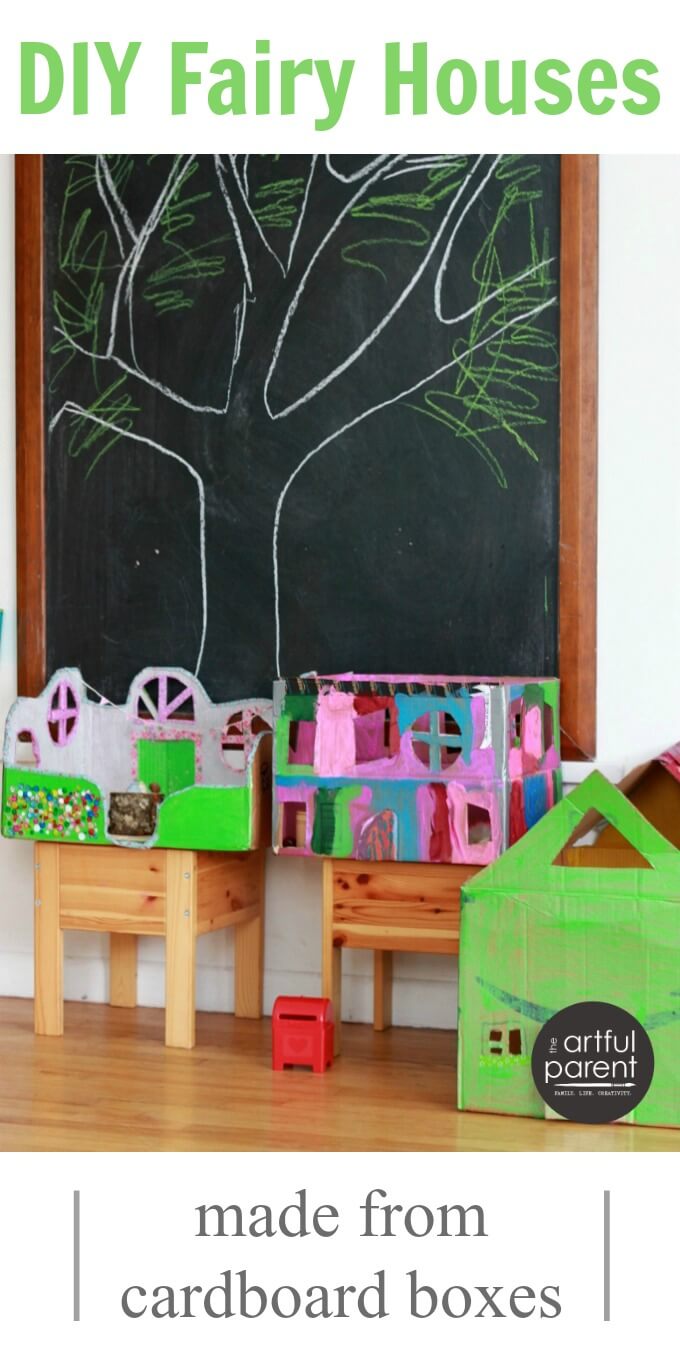
We’ve made our share of doll houses from cardboard boxes in the past, but these fairy houses are different. More colorful. More whimsical. Covered in flowers and paint and sequins, windows and doors. They are up in trees (sort of), like the fairy tree houses in the girls’ new fairy books.
Note :: These fairy houses are for indoor pretend play. They are not the same as the fairy houses the kids make in the garden out of all-natural materials (inspired by the Fairy Houses book).
Here’s how we made them…

DIY Fairy Houses from Cardboard Boxes
MATERIALS
- Cardboard box(es)
- Utility knife
- Scissors
- Marker
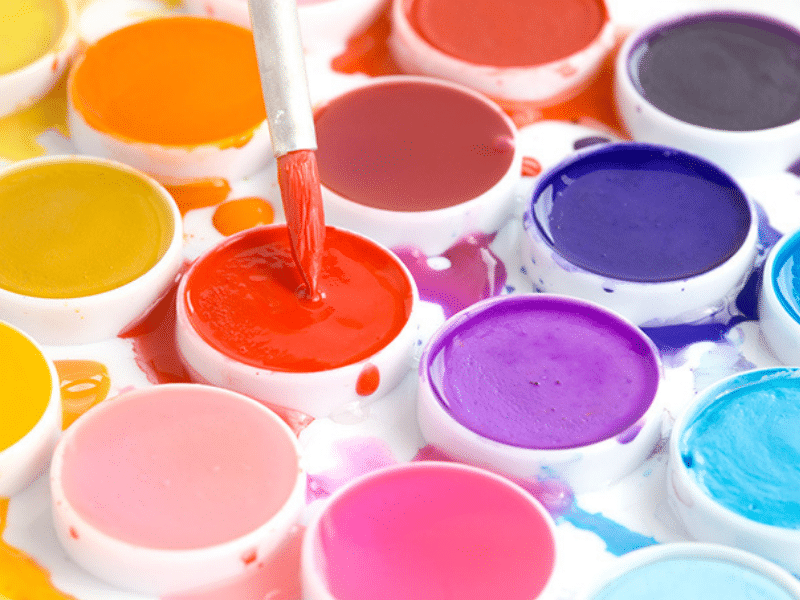
- Paint (we used activity paint, BioColors, and tempera paint, depending on what we had in the colors the kids wanted to use)
- Paint brushes
- Glue and/or hot glue gun
- Decorations, such as ::
- Fabric tape or washi tape
- Sequins
- Artificial flowers and leaves
- Feathers
- Fabric scrapts
- Collage papers
- Wood craft sticks

INSTRUCTIONS
1. First, figure out what you’re going to do with the box flaps. Cut them off, tape them up, or cut off two and connect he two at the top for a sloped roof.

2. Draw your windows, doors, and roof line, etc, on the box with markers.
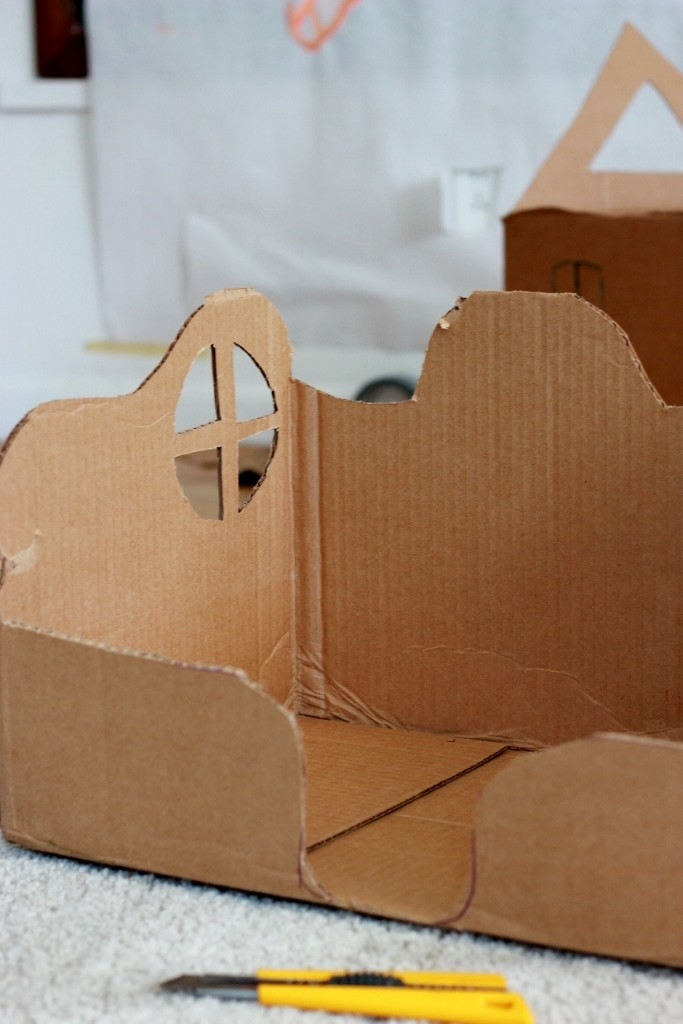
3. Cut along the markers lines with a utility knife.
Note :: I did the cutting for both of my kids after they drew their windows and doors.

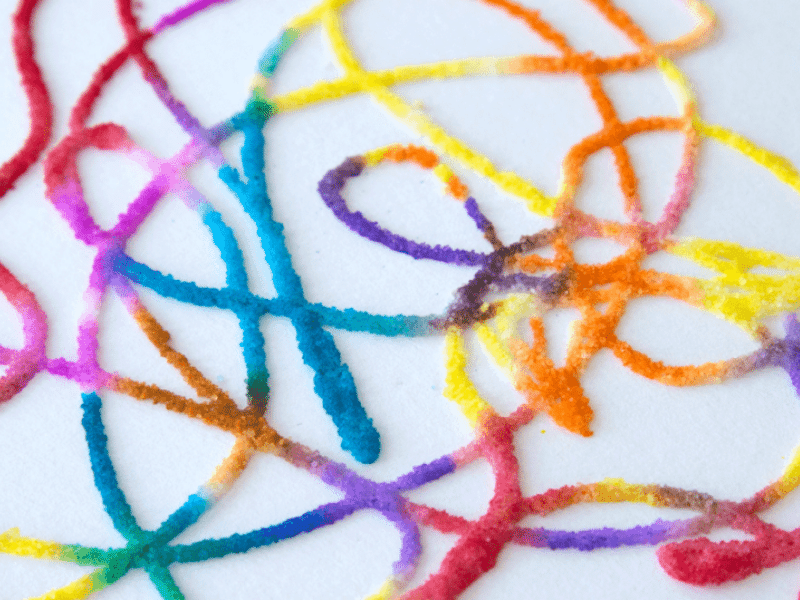
4. Paint your fairy houses.
5. Decorate your fairy houses as desired. Some ideas ::

- I added a wooden floor to my fairy house by gluing down wood craft sticks.

- Daphne added fabric tape accents.

- I edged all my windows and doors with fabric tape. I’m in love with this stuff!! I may even like it more than washi tape (which is saying a lot), but! the tape started pulling off after a day or so. If I were to do it again, I might paint a layer of Mod Podge over the the fabric tape to hold it in place long term. Or I might just use washi tape.
- Glue on sequins, glitter, flowers, feathers, fabric scraps, or decorative paper.
- Use popsicle sticks to make ladders for the fairies or other house accents.

6. Add some furniture (my kids used wooden blocks) and some party decor (I made a tiny party bunting from fabric tape and embroidery thread)…

…and throw a housewarming party for your fairies.

Finally, play with your new fairy houses!
More Fairy Crafts, Activities, and Books
- The Dreamland Fairy Kit and Book
- Make Fairy Houses in the Garden
- Write Letters to Your Resident Fairies (We use a tiny fairy garden mailbox like this one)
- Easy DIY Fairy Wings
- DIY Fairy Wands
- Make Flower Crowns and Necklaces
- Carving a Pumpkin Fairy House (It might work well with a watermelon in the summer…)
- Play Fairytale Games
Pin It for Later ::