Gelatin printmaking is a fun and easy process for kids and adults alike. Check out these printing techniques to get you started!
Updated February 2024
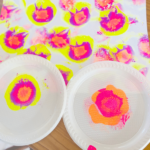
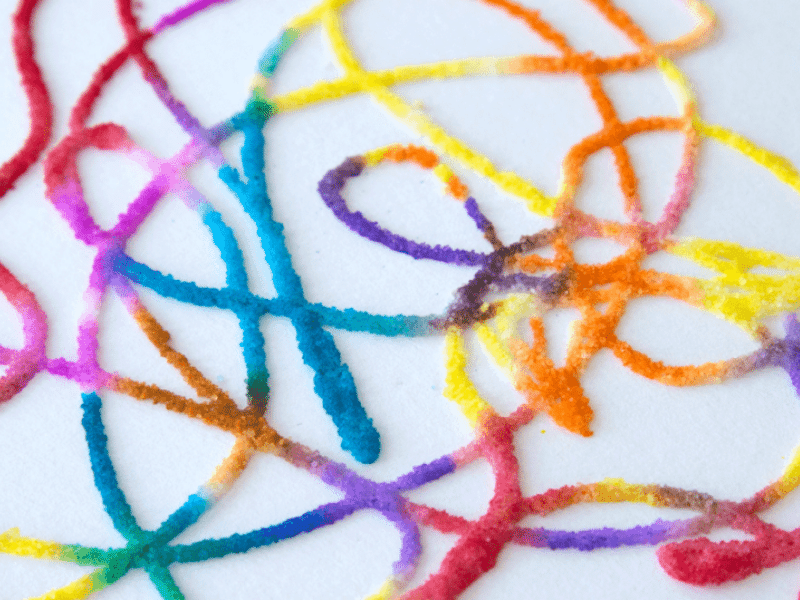
Gelatin printmaking is a form of monoprinting, meaning each print you pull is unique. No two prints are the same. The emphasis is on the process of creating and experimenting rather than the final outcome.

The process is fairly easy, and so much fun. Trust us, if you haven’t tried gelatin printmaking yet, it is addicting!
We really love to use Gelli Arts gel printing plates, but you can also make your own.
Here’s a video tutorial showing how to make your own gelatin plate.
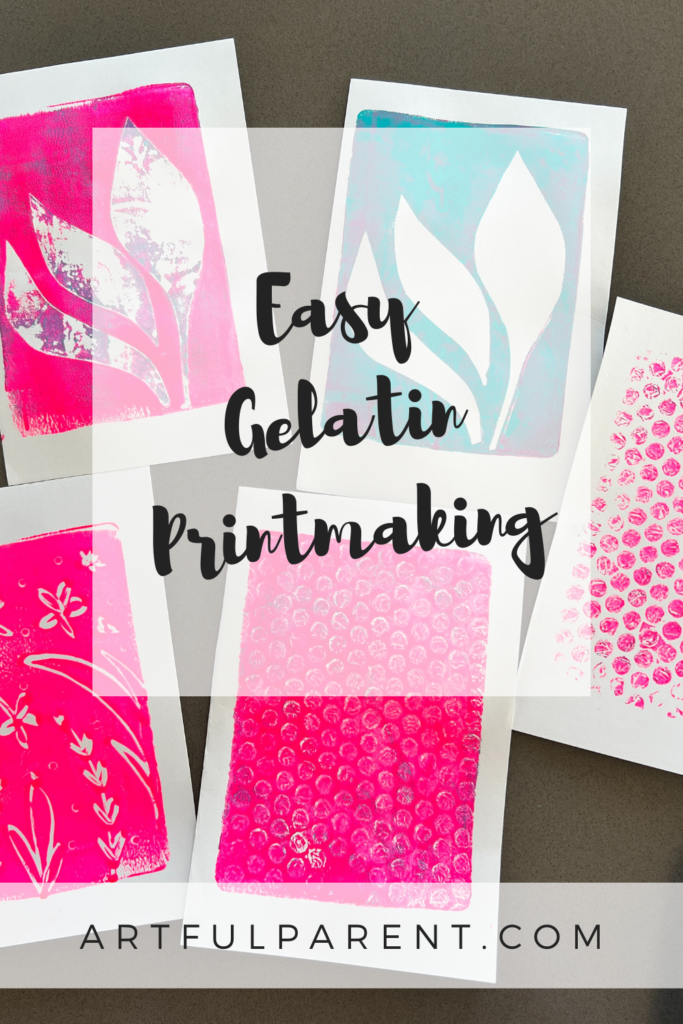
Easy Gelatin Printmaking for Kids
MATERIALS
- Gelatin printing plate (make your own or buy one)
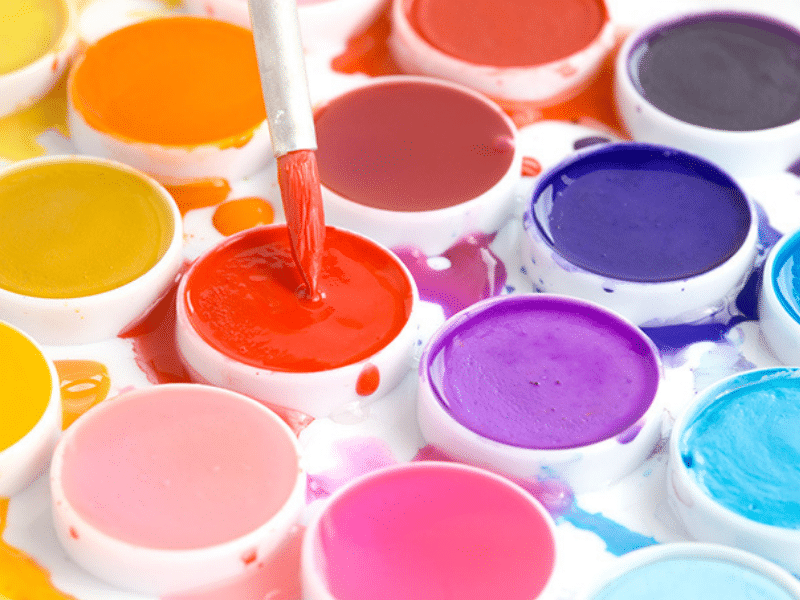
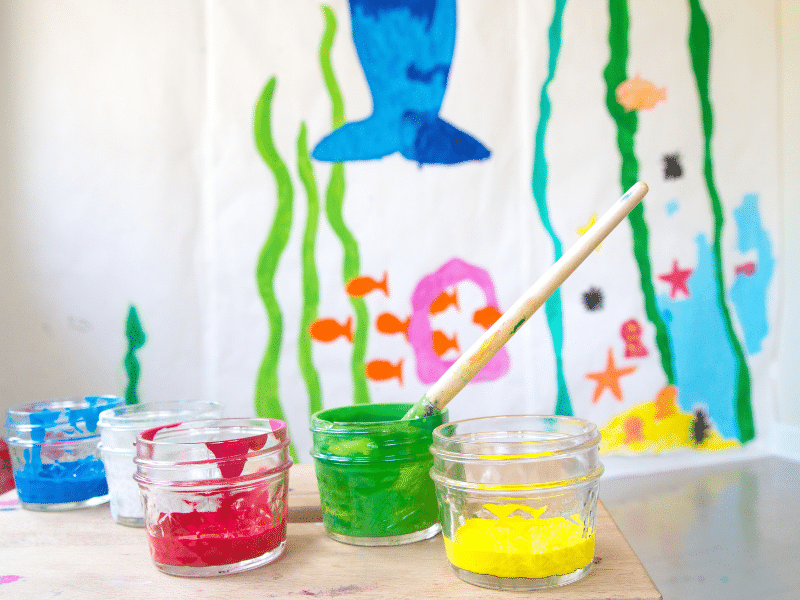
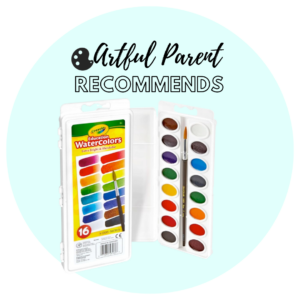
- Washable paint*
- Brayer
- Paintbrush
- Sturdy white paper
*Easy Clean Up Tip: Acrylic paint is recommended for gelatin printmaking but in our experience, washable paint worked just fine and made clean up much easier when printmaking with children.
INSTRUCTIONS
- Prep your work area
We like working on a tray, to keep the mess contained. You can also put newspaper or a tablecloth down.
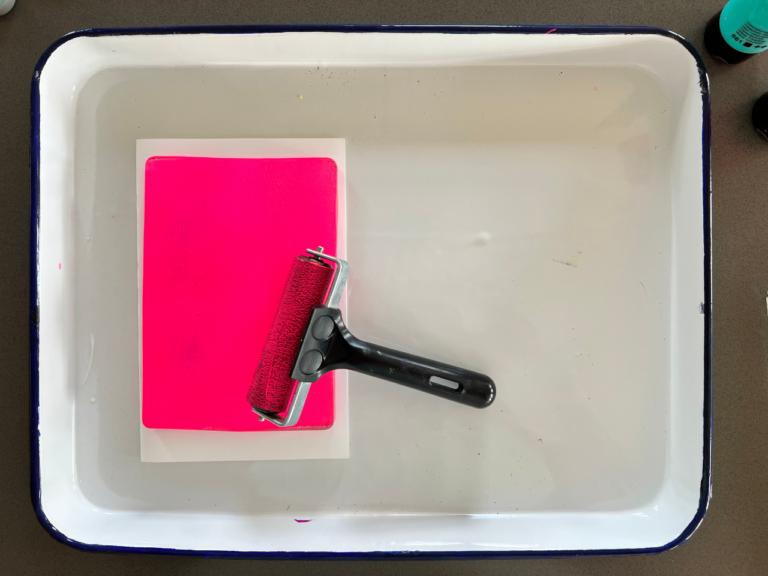
- Add paint to your plate
Squirt some paint onto your printing plate. Roll out the paint with the brayer.
- Add a design for printing
There are several different ways to make designs for printing.
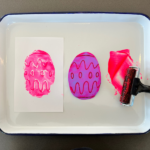
The first is a hand-drawn design: Use the end of a paint brush to gently draw a design in the paint. If you mess up, you can just roll the paint out again, and redraw it.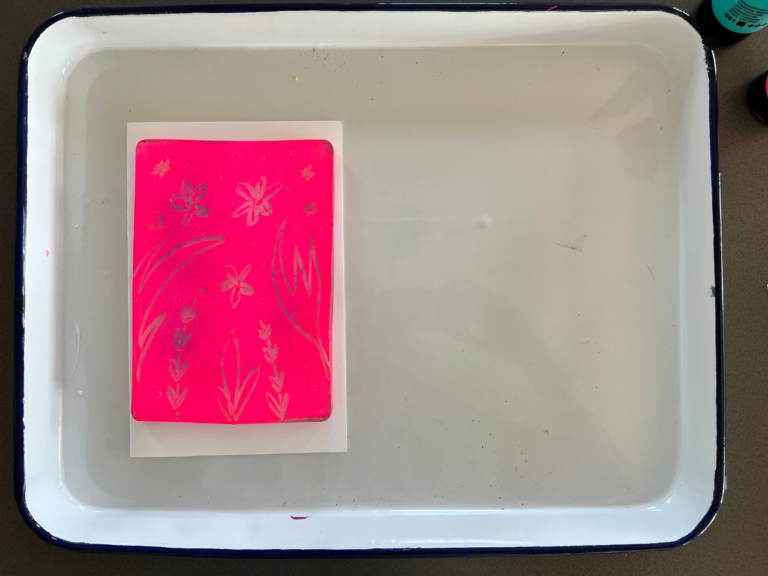
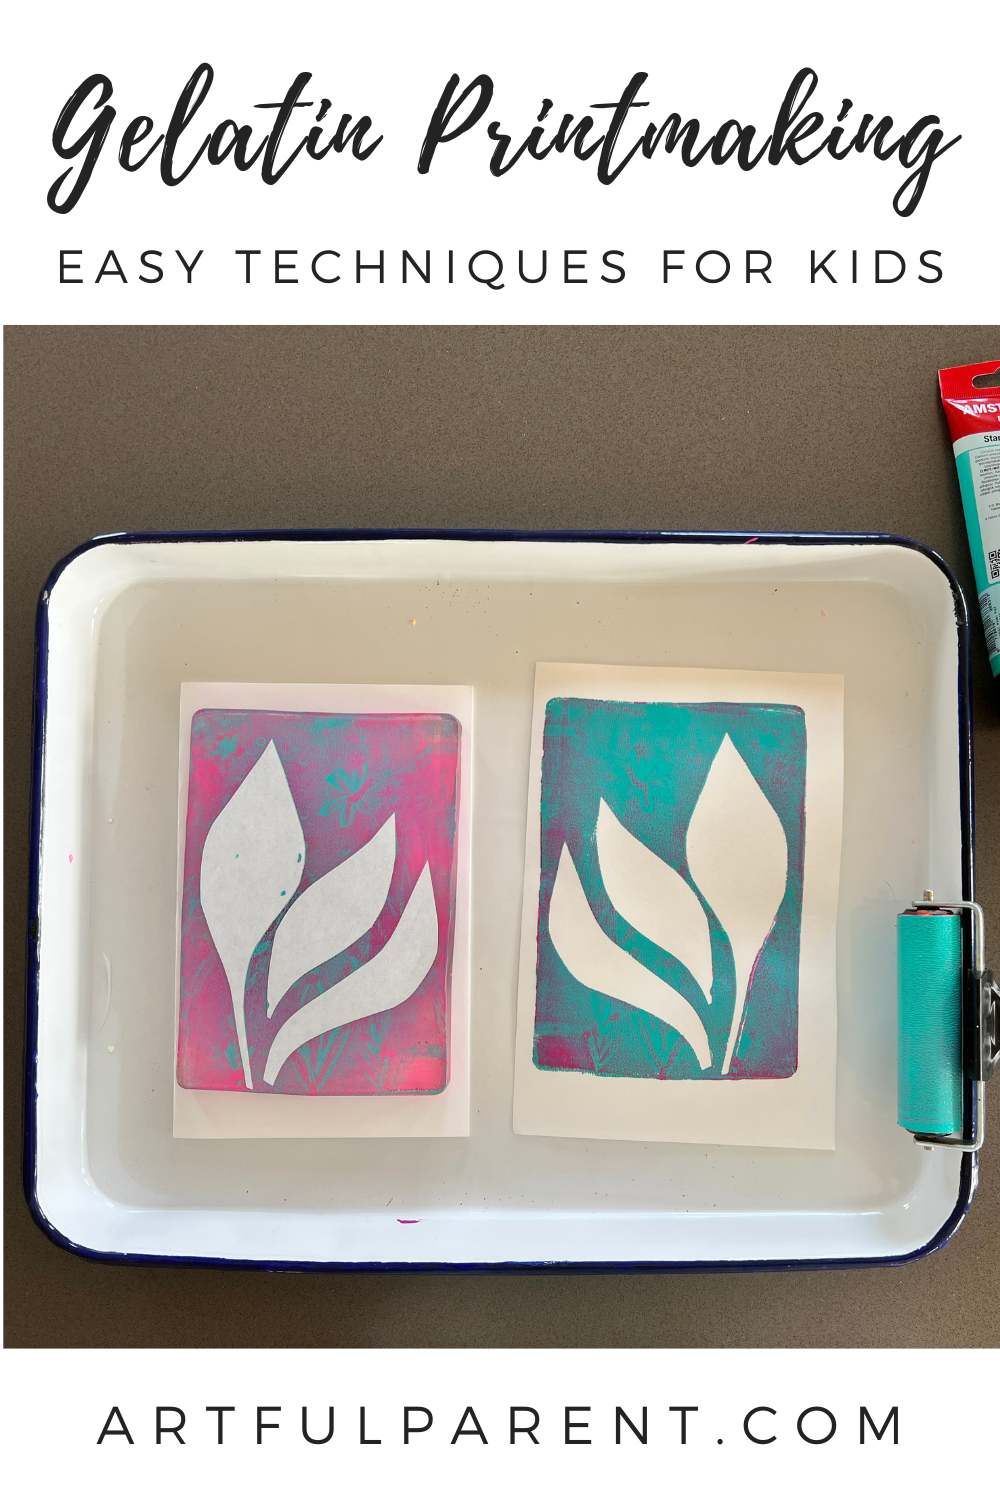
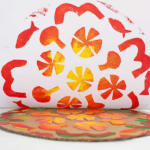
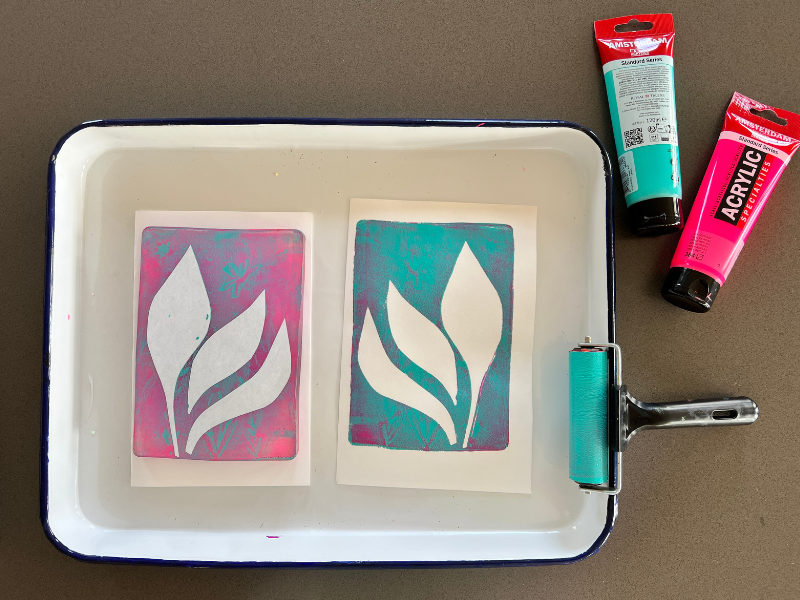
The second is cut paper stencils: First, cut out paper shapes. Place your paper shapes on top of the paint rolled on the plate.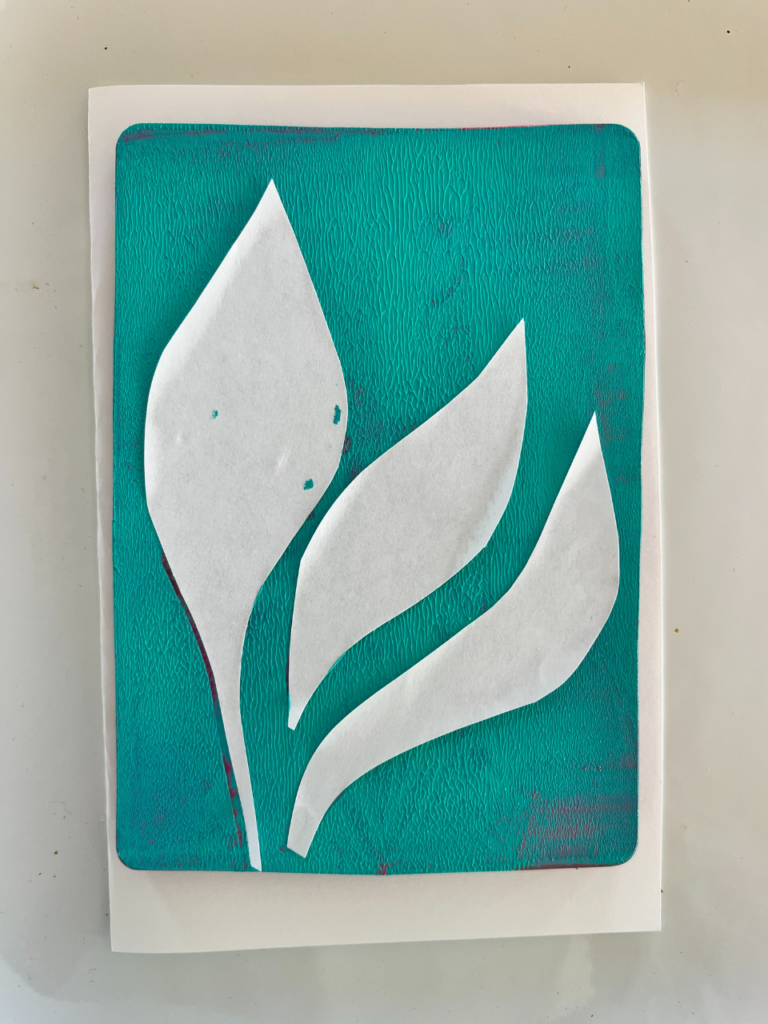
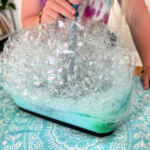
The third is a bubble wrap print: Press a sheet of bubble wrap onto the painted plate and lift up, leaving a bubble wrap design.
- Press your paper to the plate
Once you have your design on the gelatin plate, place a piece of sturdy paper over the top of your print and rub firmly on top of the paper.
- Pull your print!
Lift to reveal your design and pull your print.
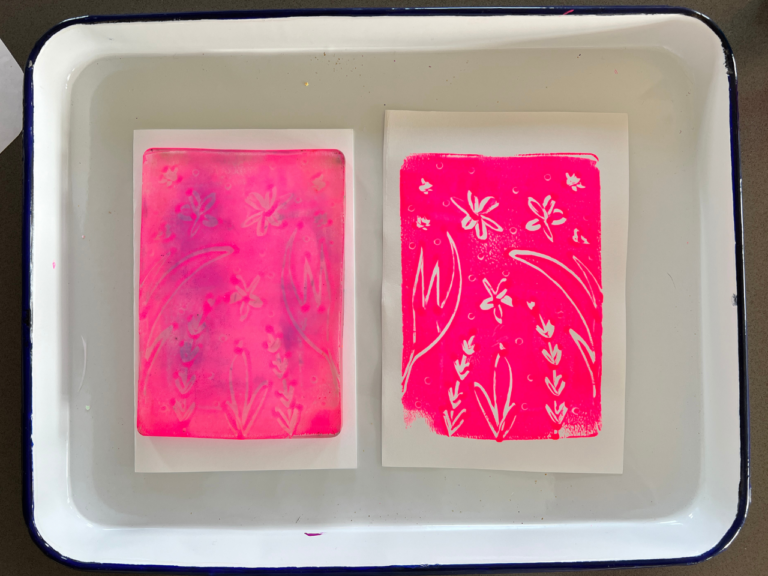
Usually, you can pull more than one print at a time. Try placing an additional piece of paper to create a second or third print.
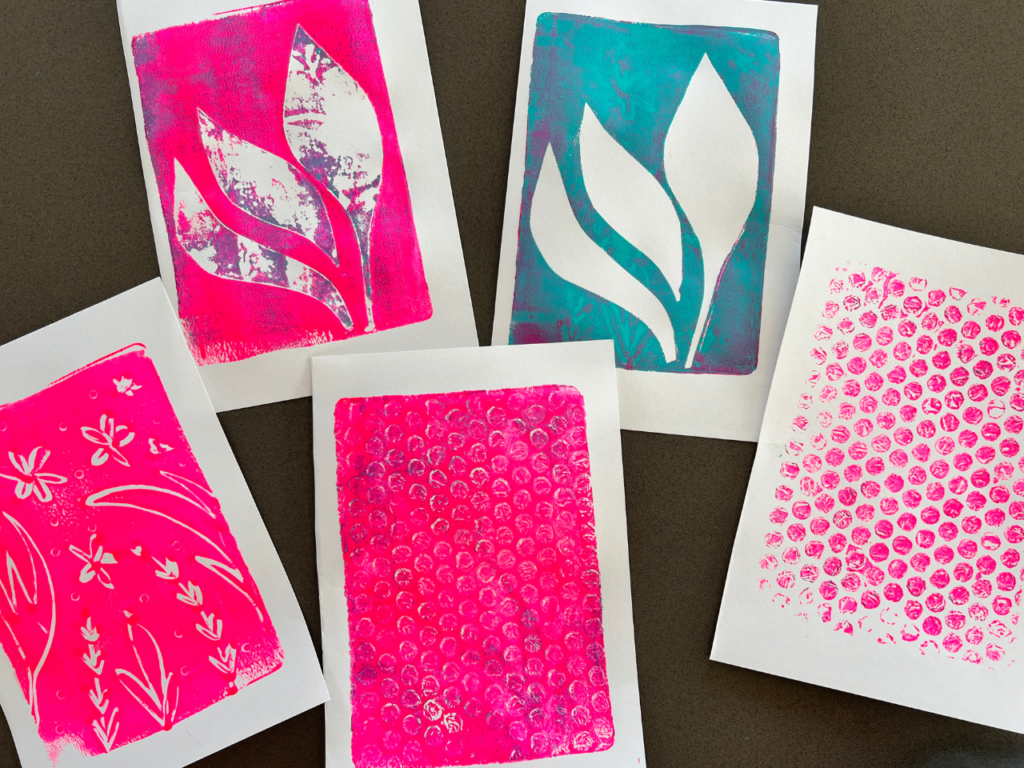
What we like most about gelatin printmaking is layering the different techniques on top of each other. Try layering the first and second technique on one piece of paper.
More Printmaking Ideas for Kids
- Foam Printmaking with Kids for Easter
- How to Do Printmaking for Kids
- How to Make Handmade Cards with Styrofoam Printing
- How to Do Mandala Printmaking for Kids
- How to Create Bubble Prints for Kids
- Painting with Bubble Wrap for Kids
Pin It for Later