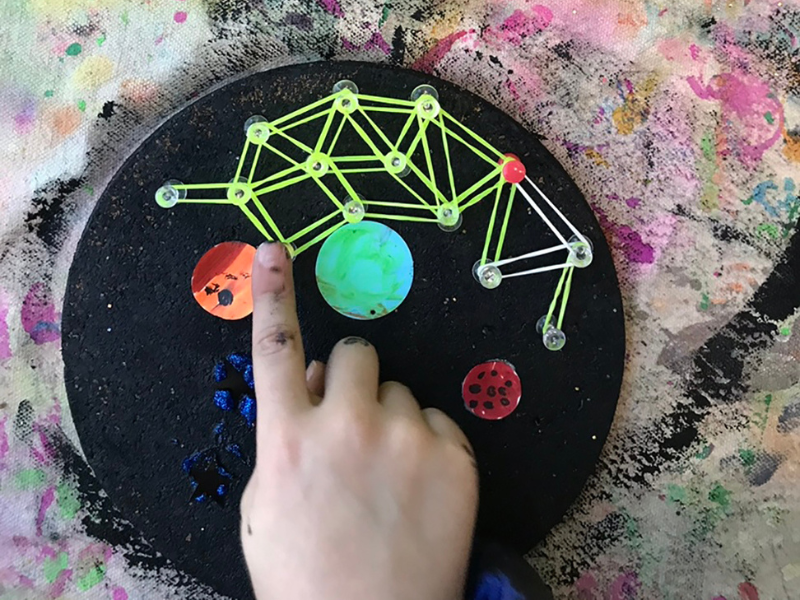
Learn how to create DIY space geoboards for kids in 4 easy steps. A great activity to connect with study about space for kids.
Updated July 2025
Space geoboards are one of my favorite activities to do with kids. It’s something we come back to again and again because it’s just that fun.
If your child is into space—planets, moons, black holes, constellations, astronauts—you’re going to love this project. It’s the perfect mix of art and learning, and a great way to build on their interests.
You can easily tie it into a space book you’re reading together or a fun conversation about the stars. It’s such a great hands-on way to dig a little deeper into space while making something cool.
And we love that it’s not just about the final product (which is super fun to hang up!), but the creative process along the way.
How to Make DIY Space Geoboards
MATERIALS

- Black paint
- Silver or gold glitter
- Push pins
- Markers
- Star stickers
- Cork round (ours are from IKEA)
- White paper or Label sheets
- Loom bands in any color
- Glue
- Scissors
- Round colored stickers (optional)
INSTRUCTIONS
Time needed: 1 hour
- Paint the cork
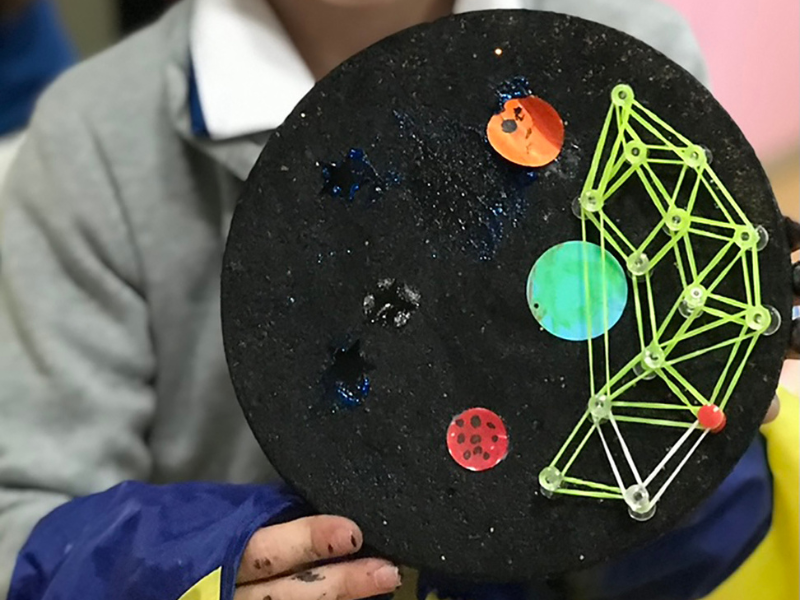
Start by painting the cork round black. You can mix in a little “stardust” (glitter) to the black paint to make it sparkly.
- Create the pieces of your galaxy
While the cork round dries, start working on the planets, moon, Earth and anything you want to add to your geoboard. Use markers on white paper or a white label sheet (with a sticky side) for this.
- Add the pieces
Cut out the pieces and glue them (or stick them if using a label sheet) to the dry cork round.
Add stars and round stickers too, if you have them.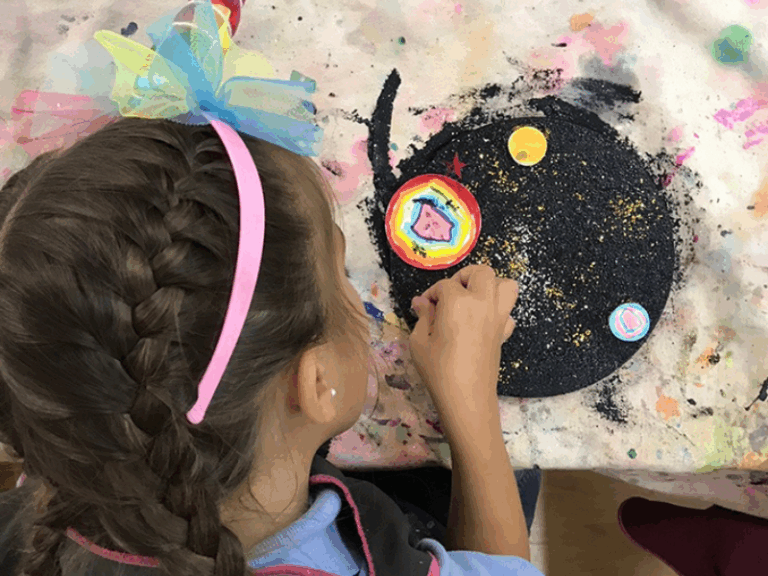
- Create constellations!
Next, form the constellations by adding push pins to your geoboard in any shape you like.
Lastly, to finish your constellations, add the loom bands in the color of your preference.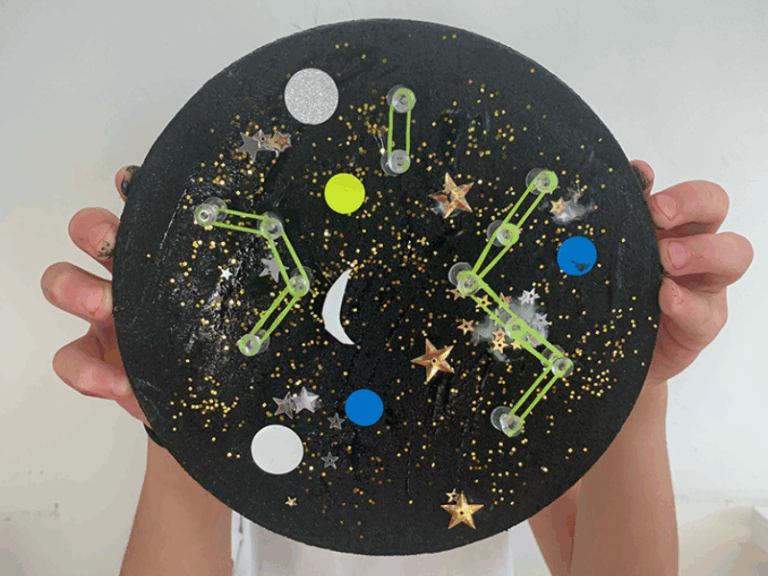
That’s it! This is such a super simple and super fun activity for kids!
Hang the finished DIY space geoboards on the wall or tape a beaded string to the back and hang!
More Space Geoboard Activities for Kids
- The Best Space Art Ideas for Kids
- The Best Children’s Books About Space
- 3 Ways to Make Fireworks Art for Kids
- How to Make Your Own Geoboard
- Geoboard Art and Design for Kids
- The Best Geoboard Activities and Ideas for Kids


