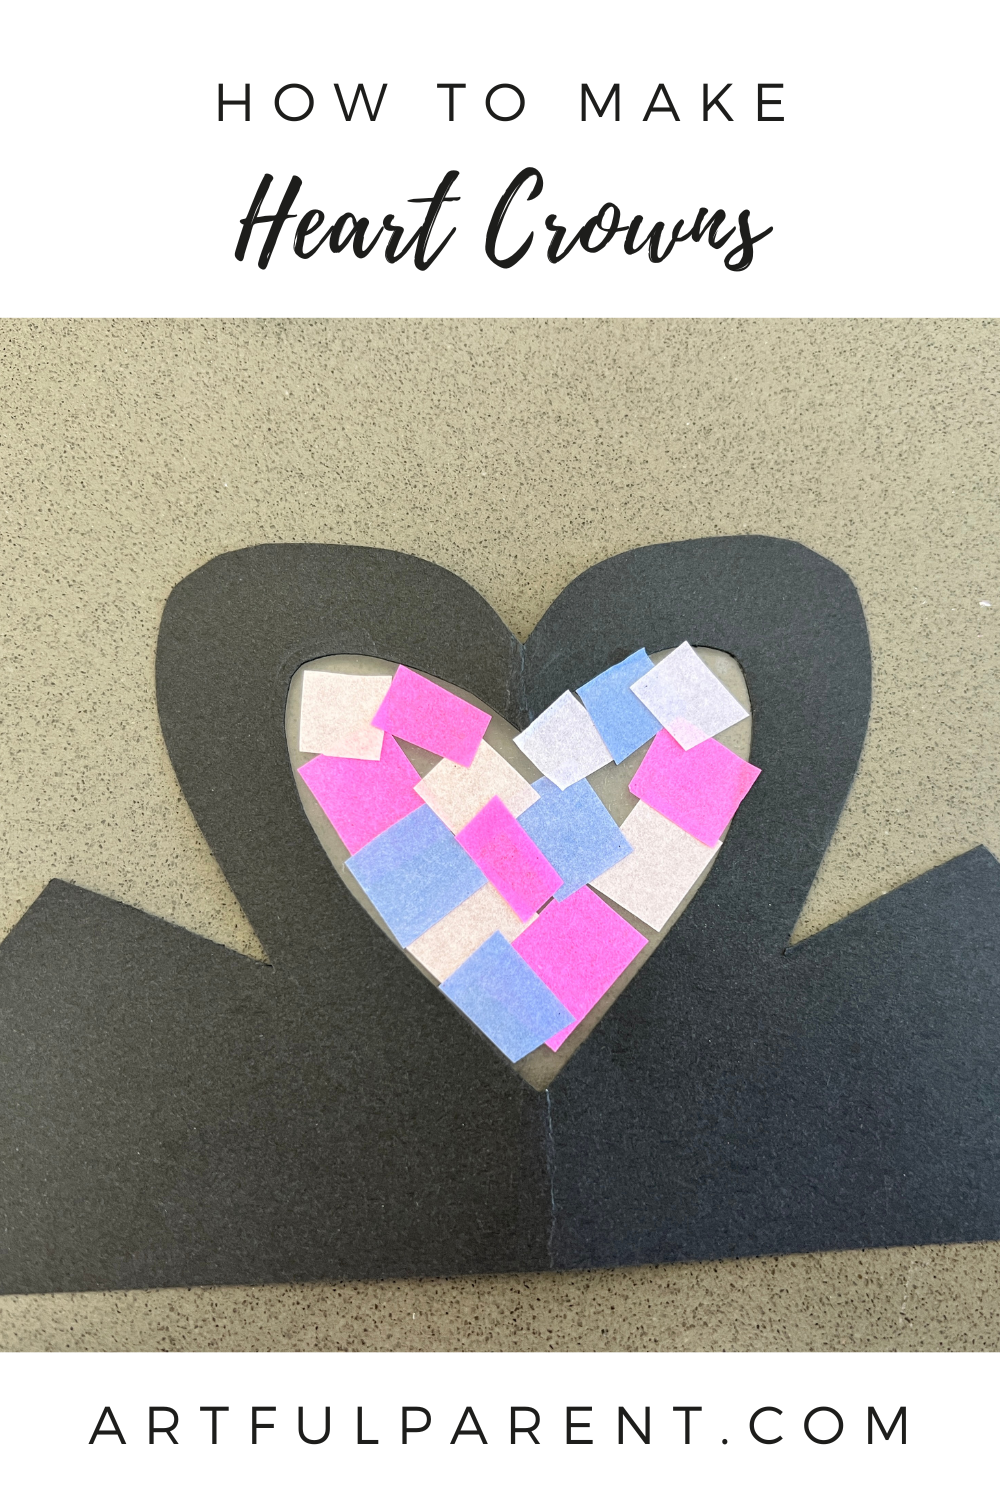
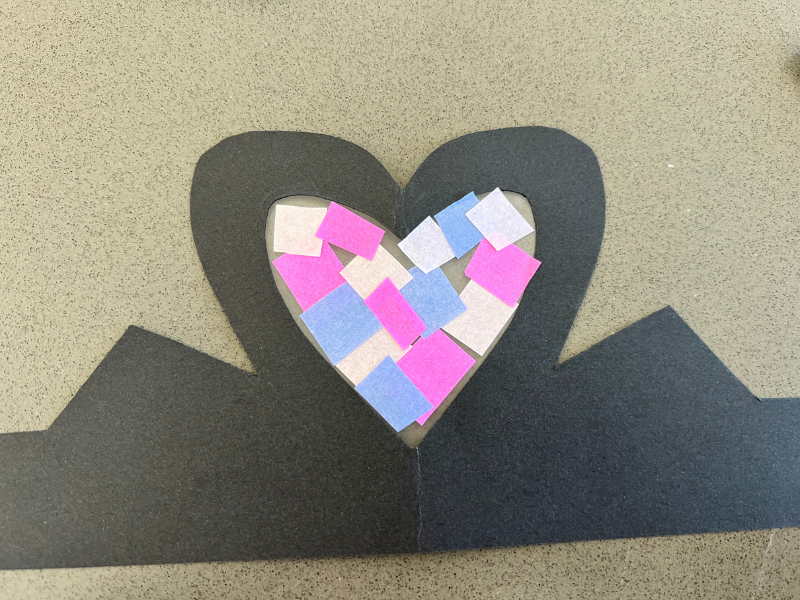
How to make heart crowns with just a few simple supplies. These stained-glass crowns are a fun Valentine’s Day craft project for kids.
Updated December 2024
We made stained-glass heart crowns as a Valentine craft, using the same technique as our flower crowns.
Instead of flower petals, though, we used colored tissue paper—both the little heart shapes you see here as well as geometric shapes—and added extra decorations to the crowns with metallic drawings and doodles.
They turned out great – lots of fun for Valentine themed pretend play!
Here’s how we made the heart crowns, in case your kids would enjoy being the kings and queens of hearts, too!
How To Make Heart Crowns

MATERIALS
- Cardstock (we used black but you could use any color)
- White or metallic drawing tools
- X-Acto knife or scissors
- Transparent contact paper
- Colored tissue paper
- Heart-shaped paper punch (optional)
- Stapler or tape
INSTRUCTIONS
- Cut tissue paper
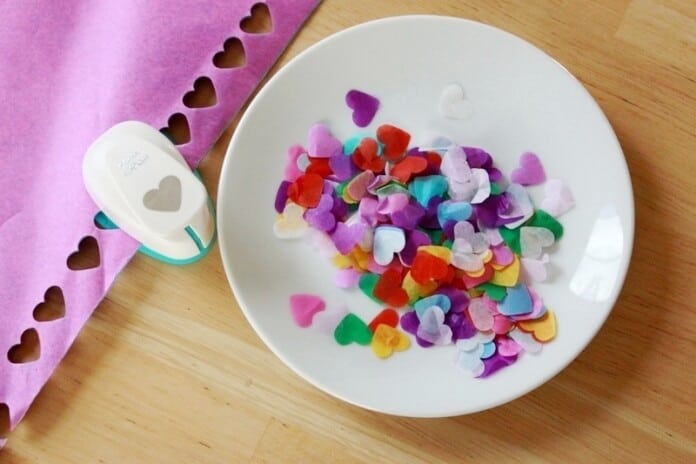
First, cut or tear your colored tissue paper into small pieces. If you have a heart paper punch, you can punch out tissue paper hearts as well.
- Draw crown outline
Next, draw your crowns on the cardstock.
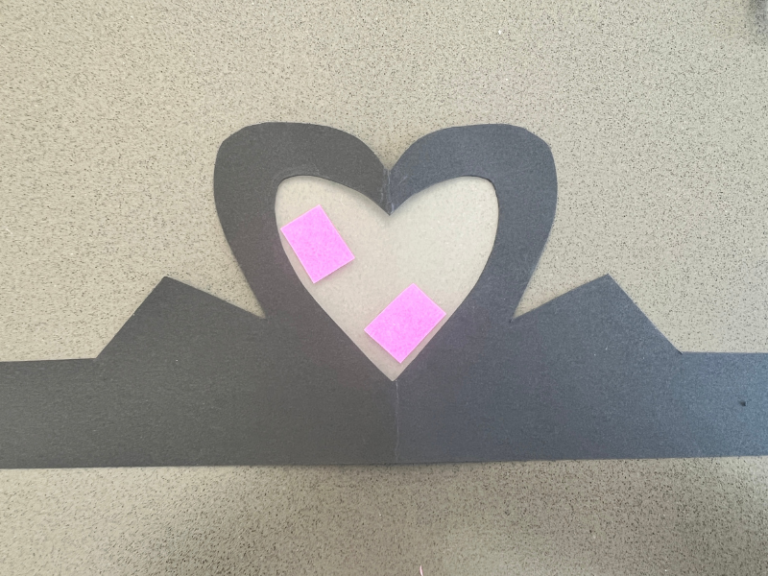
Here are some tips for drawing your crowns: Draw a large-ish 2-3 inch heart in the center of the crown with the bottom tip of the heart about an inch above the bottom of the cardstock.
Add smaller hearts or other shapes on either side of the central heart.
Now trace around the hearts or shapes, leaving about a half inch border as shown above. Then extend the crowns out to the edges of the cardstock.
Repeat, if desired, until you have enough crowns.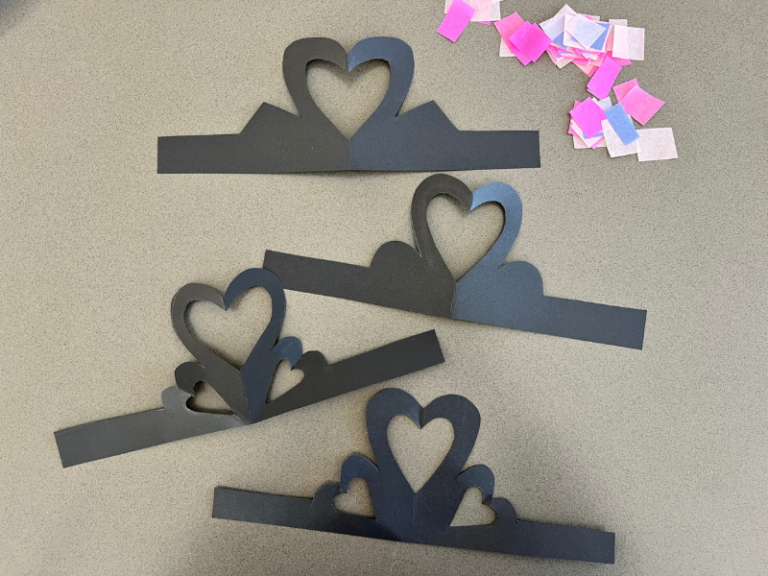
- Cut out crowns
Use scissors and follow the outlines you drew earlier to cut out your crowns. Then, use an X-Acto knife or scissors to cut out the hearts (protect your table with cardboard or a cutting mat first).
- Lay contact paper
Cover the openings with contact paper.
- Place tissue paper pieces
Press the colored tissue paper pieces to the sticky contact paper.
If you’d like, you can add drawings and doodles to decorate your crowns with metallic paint sticks or crayons.
When your child is finished decorating the crown, wrap it around his/her head to determine size, then staple the ends together.
More Valentine Arts and Crafts for Kids
- 12 Valentine’s Day Crafts for Kids
- 6 DIY Valentine Decor Ideas for Kids
- How to Throw a Valentine Art Party for Kids
- 30 Valentine’s Day Activities for Kids
- 12 Homemade Valentines Cards for Kids
- How to Make Taylor Swift Valentines
Pin It for Later
