Danielle Falk of Little Ginger Studio shares an easy wood upcyle project. Create lovely painted wood blocks to use for colorful sculptures.
Updated February 2025
When I saw the giant tub of timber offcuts at my local creative reuse co-op in Sydney, I knew I had to have a sackful! I didn’t have a clue what my students and I would make but I wanted to get my hands on some.
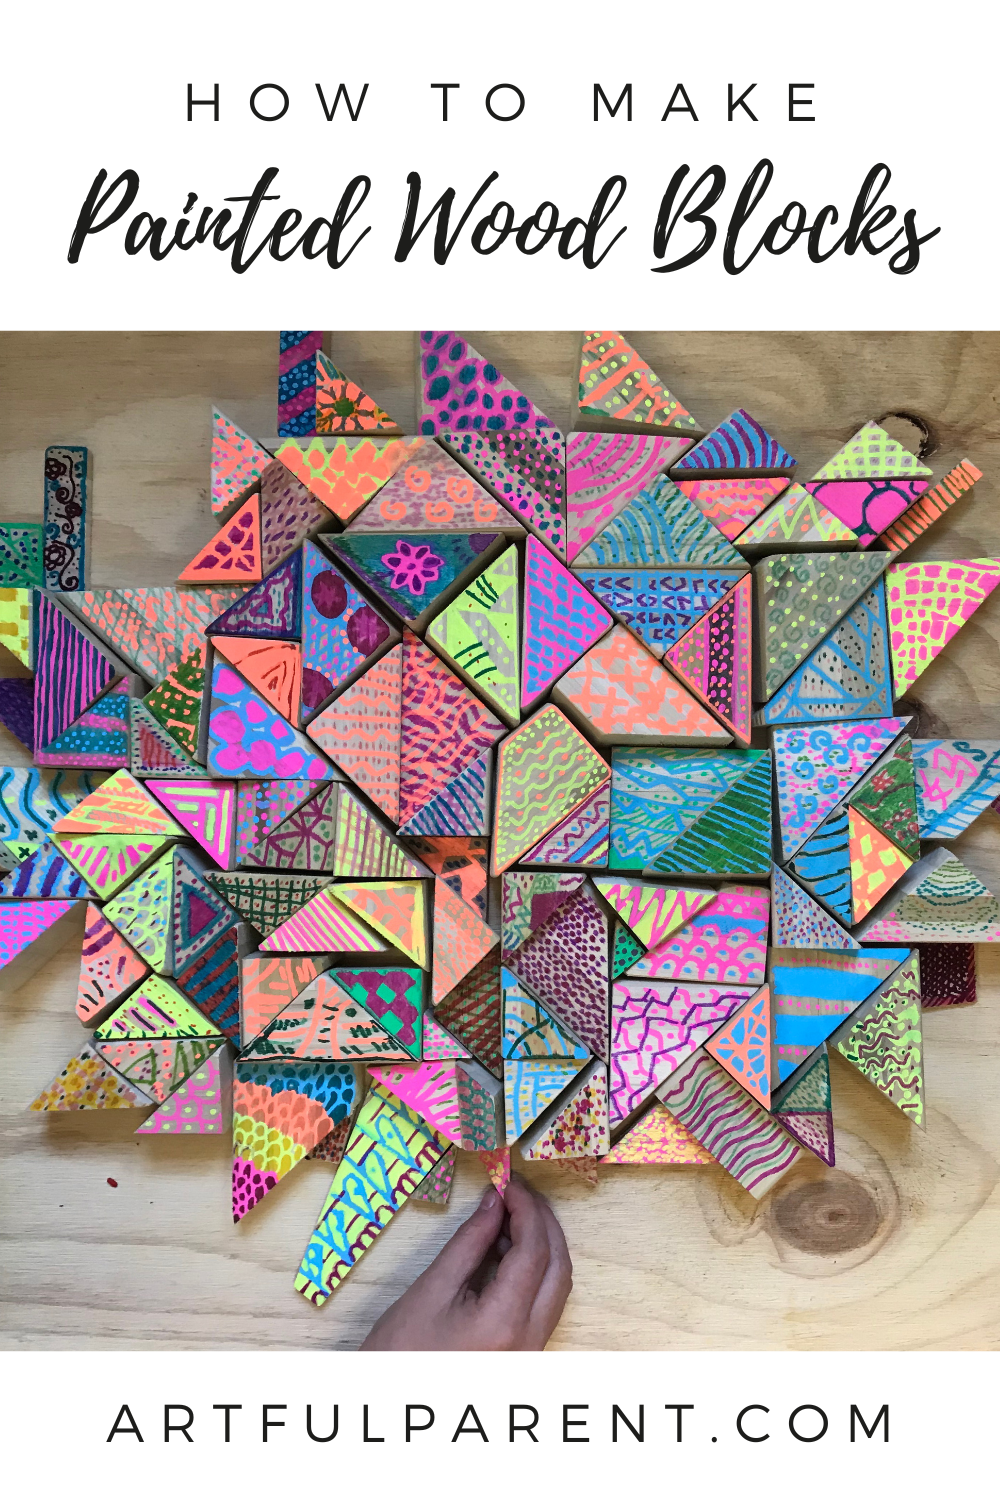
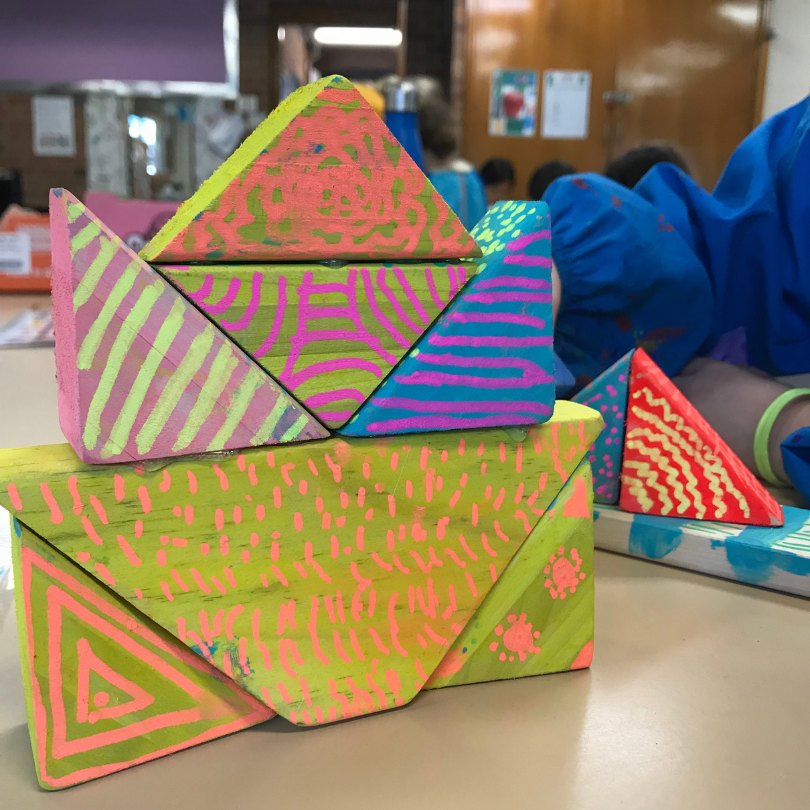
We ended up painting the blocks and using the brightly painted wood pieces to create free form sculptures.
We loved this project so much I plan to buy planks of wood and cut them specifically for this activity next time.
What do kids gain from working in wood?
There is something very therapeutic about working with wood. My students (ages 5-12) really enjoyed lovingly sanding their wood blocks to smoothed perfection! They also learned to create balanced compositions in three dimensions and to look carefully at each side of their work.

Here’s how to make painted wood blocks to use for building structures.
How to Make Painted Wood Blocks

MATERIALS
- RAW pine offcuts or unpainted wood blocks (offcuts may be available from your local hardware store. Be sure to avoid treated pine as it is toxic.)
- Medium grain sandpaper
- Dust masks to protect against inhaling sawdust
- Paintbrushes
- water containers
- Acrylic paints in neon colors
- Neon chalk / paint markers
- Water-based varnish for sealing or just use matte Mod Podge!
- Hot glue gun & glue sticks (adult to operate)
INSTRUCTIONS
- Prepare the wood blocks
Put on a dust mask and carefully sand all the edges and corners to ensure there are no bits sticking out to cause splinters. I’ll say it again – kids really enjoy sanding.
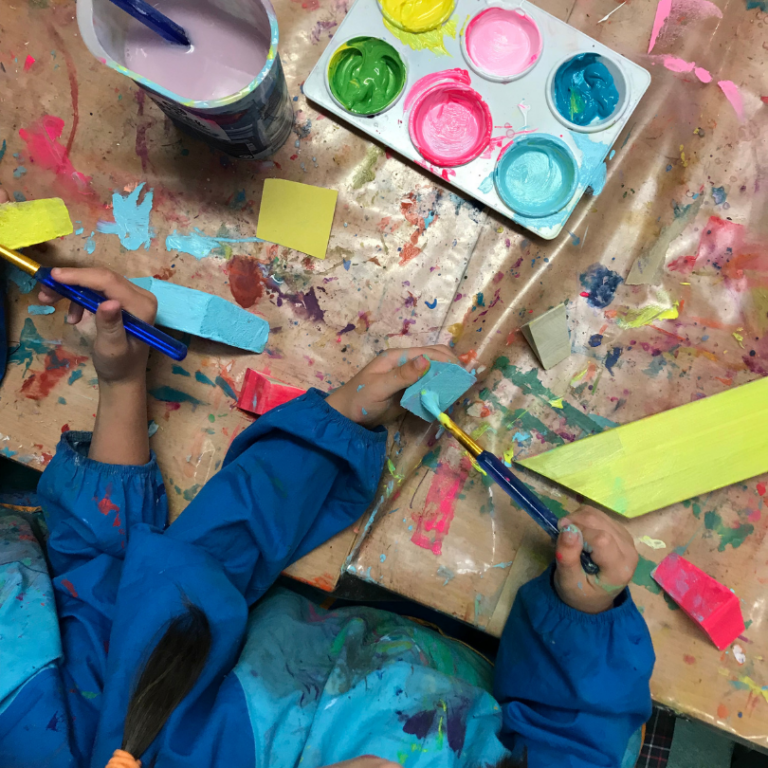
- Decorate the wood blocks
After sanding, paint each block all over in one color. You may choose to leave a few blocks natural as a contrast.
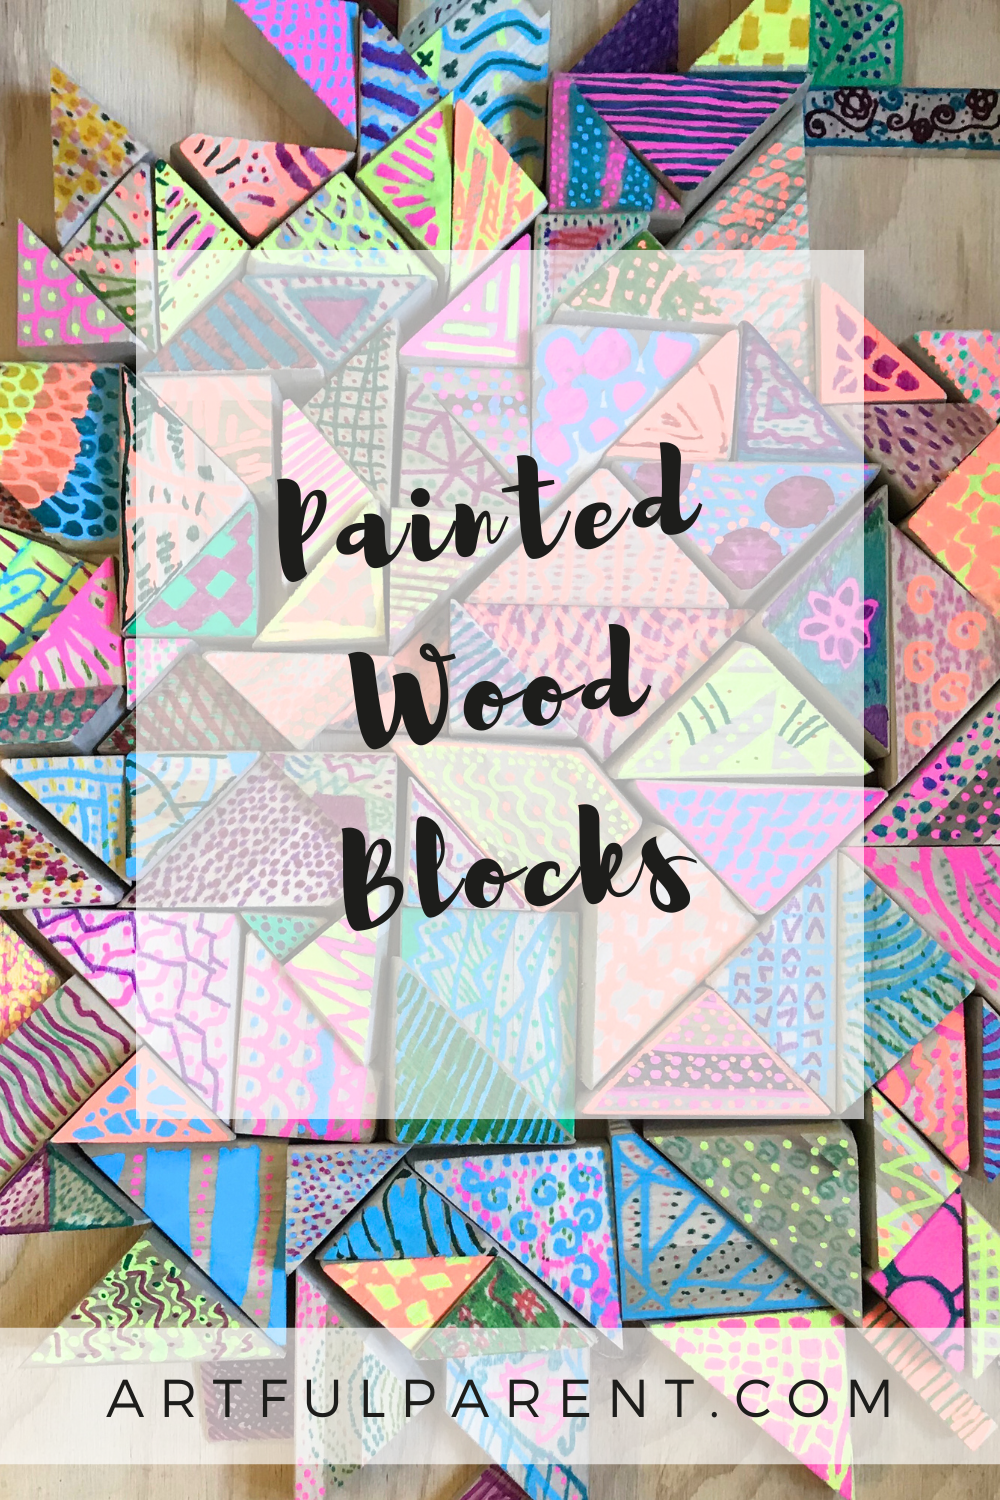
Once the paint is completely dry, use chalk or paint markers to draw neat but simple patterns in contrasting colors. We alternated our colors and patterns on different block faces but there are really no rules here!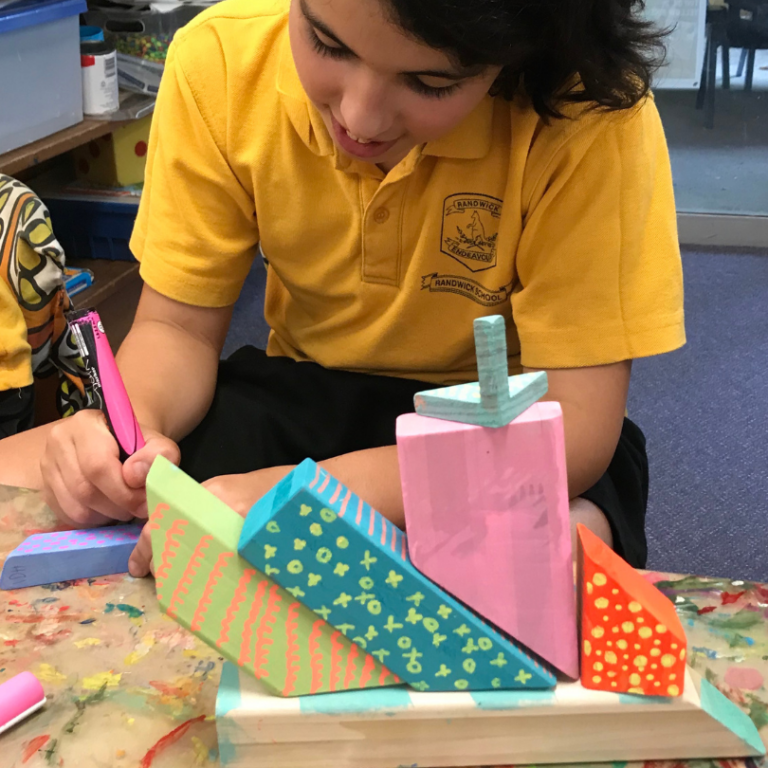
Tip: Don’t draw patterns on any rough-cut surfaces as your markers will be ruined!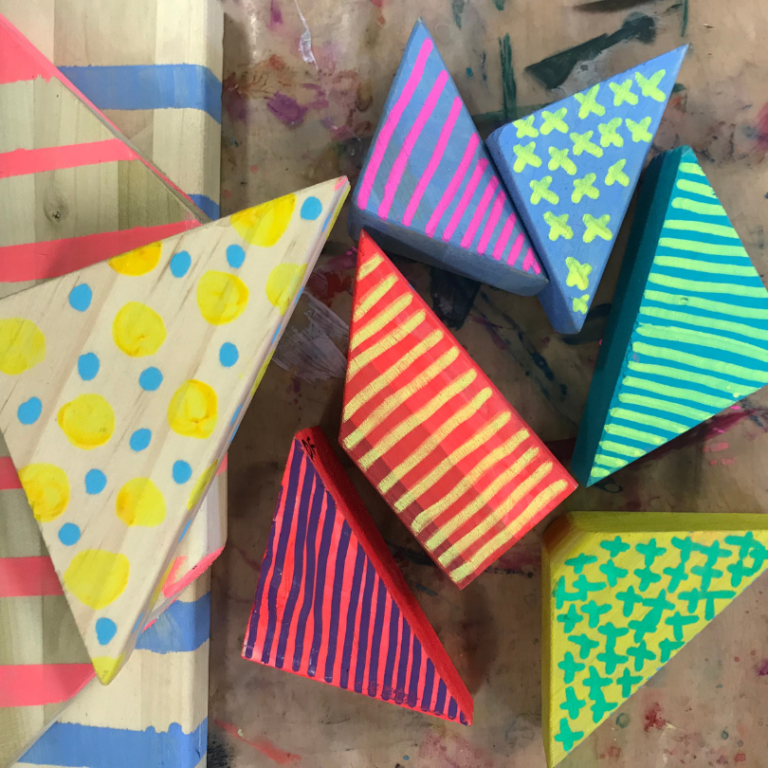
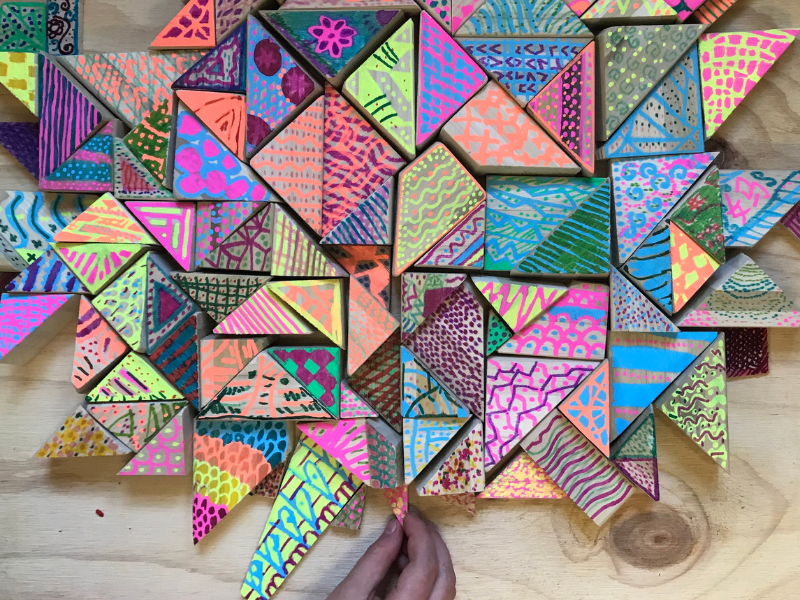
- Create beautiful wood block sculptures!
I think you’ll agree that these simple, but satisfying sculptures are pretty easy on the eye! My students were thoroughly engrossed in this activity.
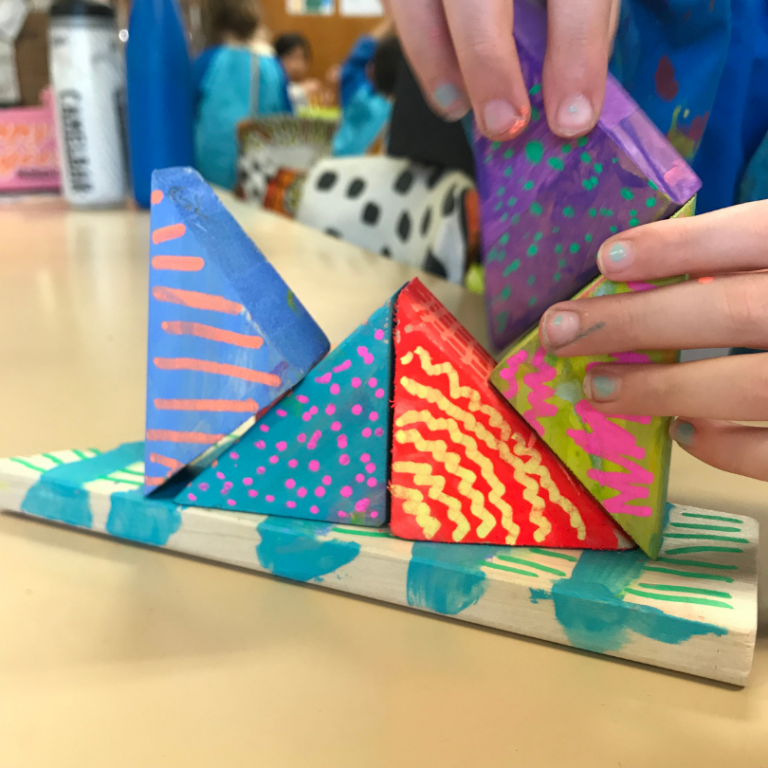
They spent a long time “playing” with their blocks–arranging and rearranging their compositions.
I gave them the option of gluing their work together into a final sculpture or taking their work home as a set of building blocks.
It may be a good idea to seal the blocks with a layer of varnish or Mod Podge if you wish to leave them as building blocks.
More Sculpture Projects for Kids
- How to Make Easy Wood Sculptures for Kids
- How to Make Easy 3D Sculptures for Kids
- How to Make Cardboard Tube Sculptures
- How to Make Ice Sculptures for a Winter Art Project
- Toothpick Sculptures Ideas for Kids
- Sculpture and 3D Art for Kids
Pin It For Later