Learn how to create a colorful felt succulents garden for kids with this fun craft tutorial by Samara of Purple Twig Studio.
Updated March 2025
I’m excited to share a peaceful, low-mess project that’s perfect for the dining room or coffee table—no glue required! This activity is simple to set up and easy to clean up, making it a great option for a quiet afternoon of creativity.
While I love loud, messy projects (and we do plenty of them in the studio!), this one is a rare treat. The variety of shapes, sizes, and colors found in succulents provide endless possibilities for kids to explore. With so many choices, they can create unique, nature-inspired art in a calm and relaxing way.
Here’s how to make a sweet and simple felt succulents garden.
Felt Succulents Garden
 MATERIALS
- Terracotta pot or other container of your choice
- Craft felt in various greens, reds and oranges, etc.
- Rubber bands
- Scissors
- Chalk pastels
- Rocks
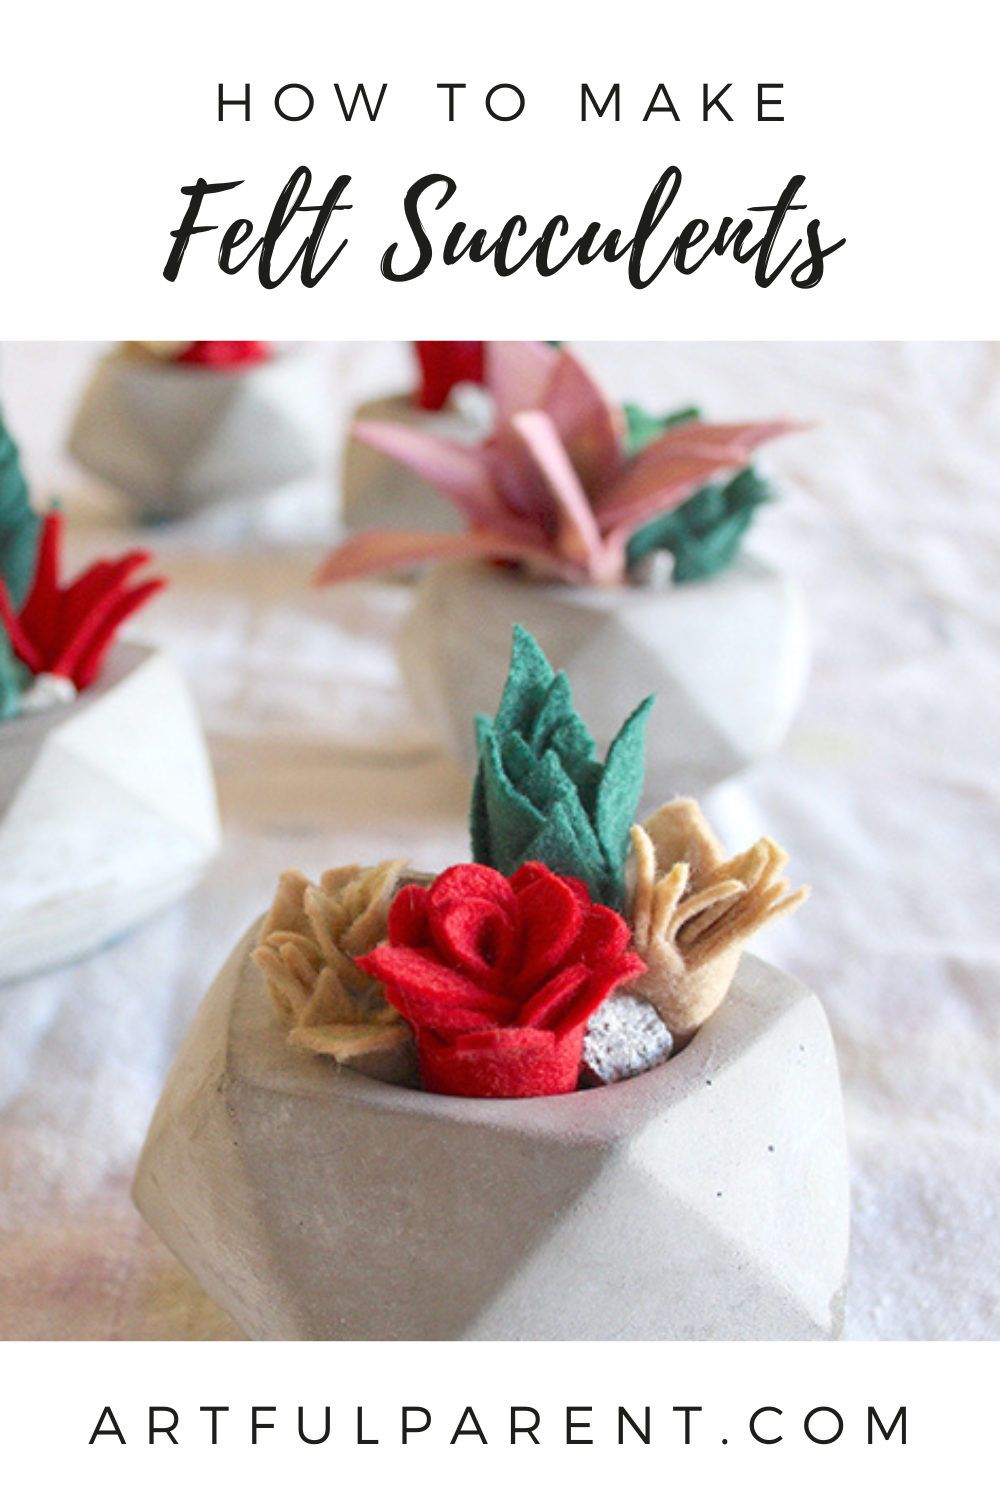
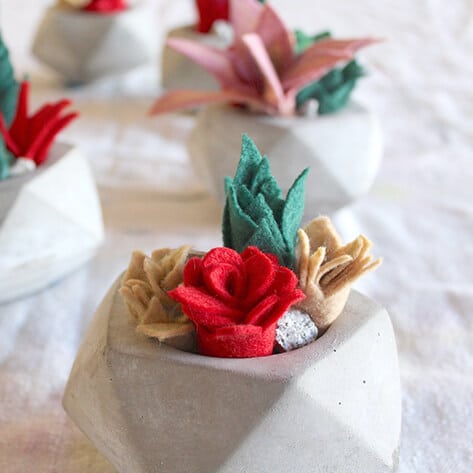
I was lucky enough to find these little concrete planters at our local dollar store but you could use a small terracotta planter from the hardware store or nursery. Or even vintage tea cups.
INSTRUCTIONS
- Fill planter with rocks
Place some rocks in the bottom of the planter filling it about half way. Set aside for planting.
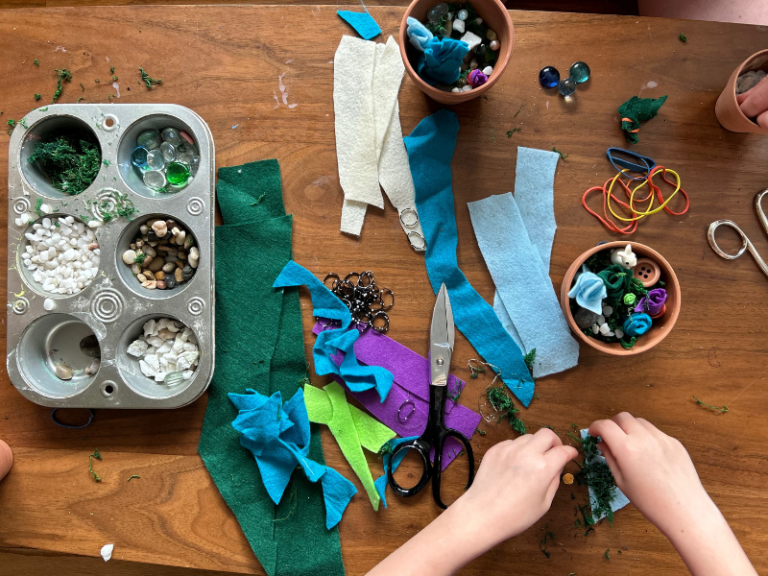
- Cut felt strips
Next, cut your felt into strips about 12 inches long. The width of the felt determines the height of the succulent. If you want to make a tall, floppy plant then cut some felt about 4 inches wide.
I recommend offering a variety of widths, which creates more visual interest.
Cutting fabric and felt is not easy for younger children so this is can be an exercise in patience and working through some frustration. We used small, sharp fabric scissors that are only used for fabric, but regular scissors will work too.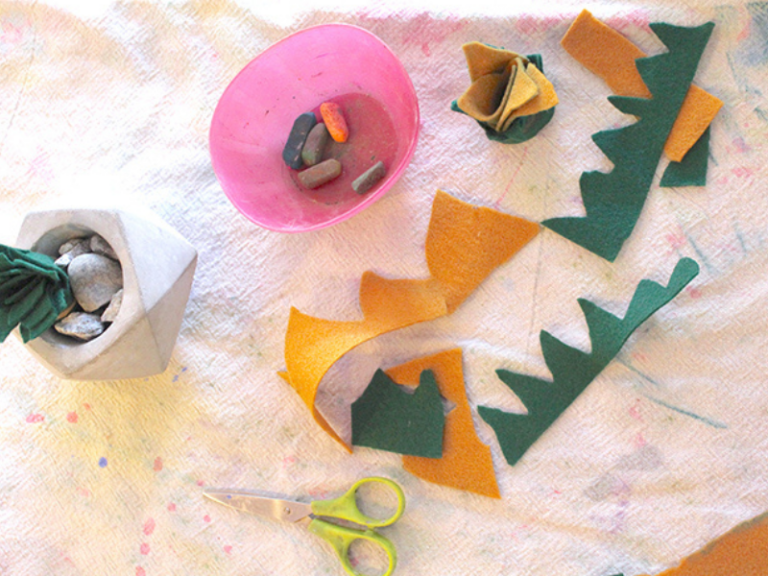
- Vary your cuts
Now it’s time to experiment with cutting the felt to make different shapes of plants:
– If you cut little arches, when you roll it up, you will have a rose looking succulent.
– Cut zigzags to get a spiky looking plant.
– If you cut large, wide petals you’ll get a larger type of rose plant.
– And some kids just cut a fringe and get a floppy type of plant.
Try a few to see what you like. I haven’t seen one that hasn’t worked out yet.
Sometimes our younger students have gotten tired halfway through the cutting process. They decided to start rolling the felt and those still worked great. - Roll felt piece into succulent shape
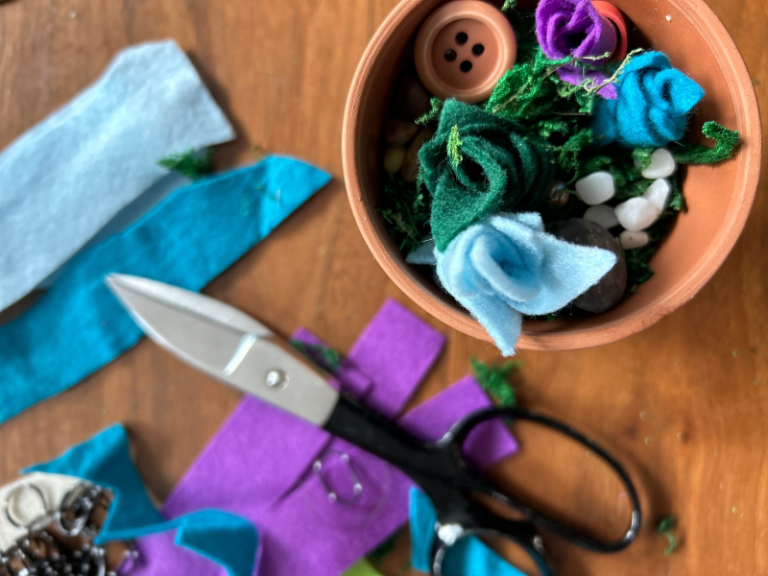
Once you have shaped your strip of felt, roll it up as tightly as possible. Place a rubber band around the bottom of the roll, at the end that you did not cut. Now you have your little succulent!
- Plant the felt succulents
You can “plant” it in your planter and make another one. Some children make one plant and some will make seven and squeeze them all in.
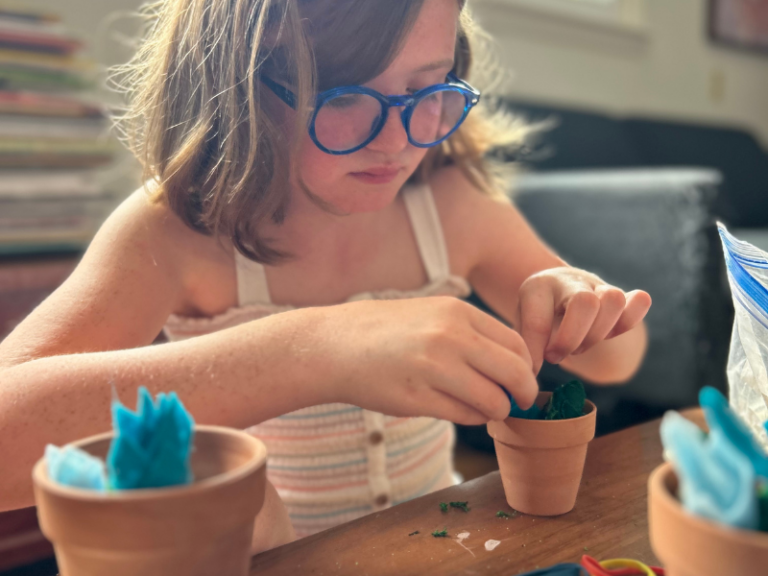
Once you have all the finished felt succulent plants, place the rocks in tightly around the felt to secure them.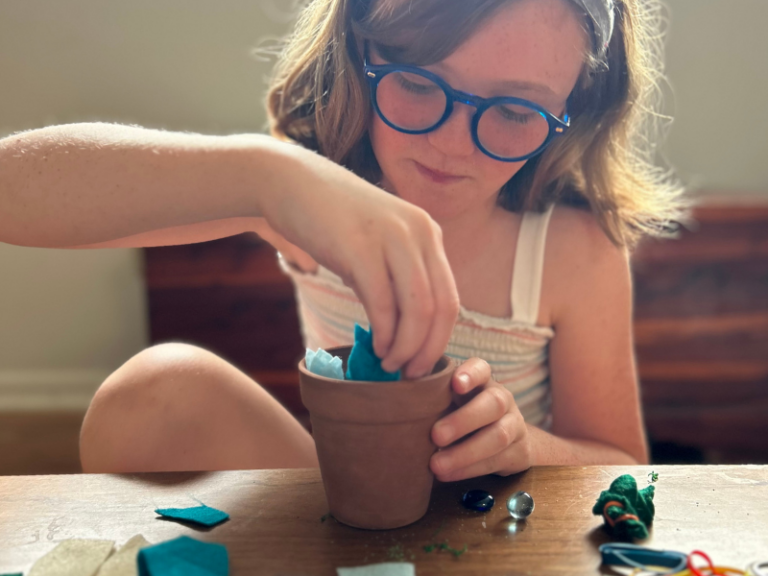
Aren’t these the cutest?! They made such a lovely decoration and also a sweet gift for someone special.
More Nature Art for Kids
- 22 Nature Art Ideas for Kids
- 13 Nature Walk Ideas (+ FREE Scavenger Hunt Printable)
- How to Make A 3D Nature Suncatcher
- Two Nature Inspired Art Activities for Kids
- How to Make a Nature Diorama for Kids
- How to Make a Nature Mobile for Kids
Pin It For Later
