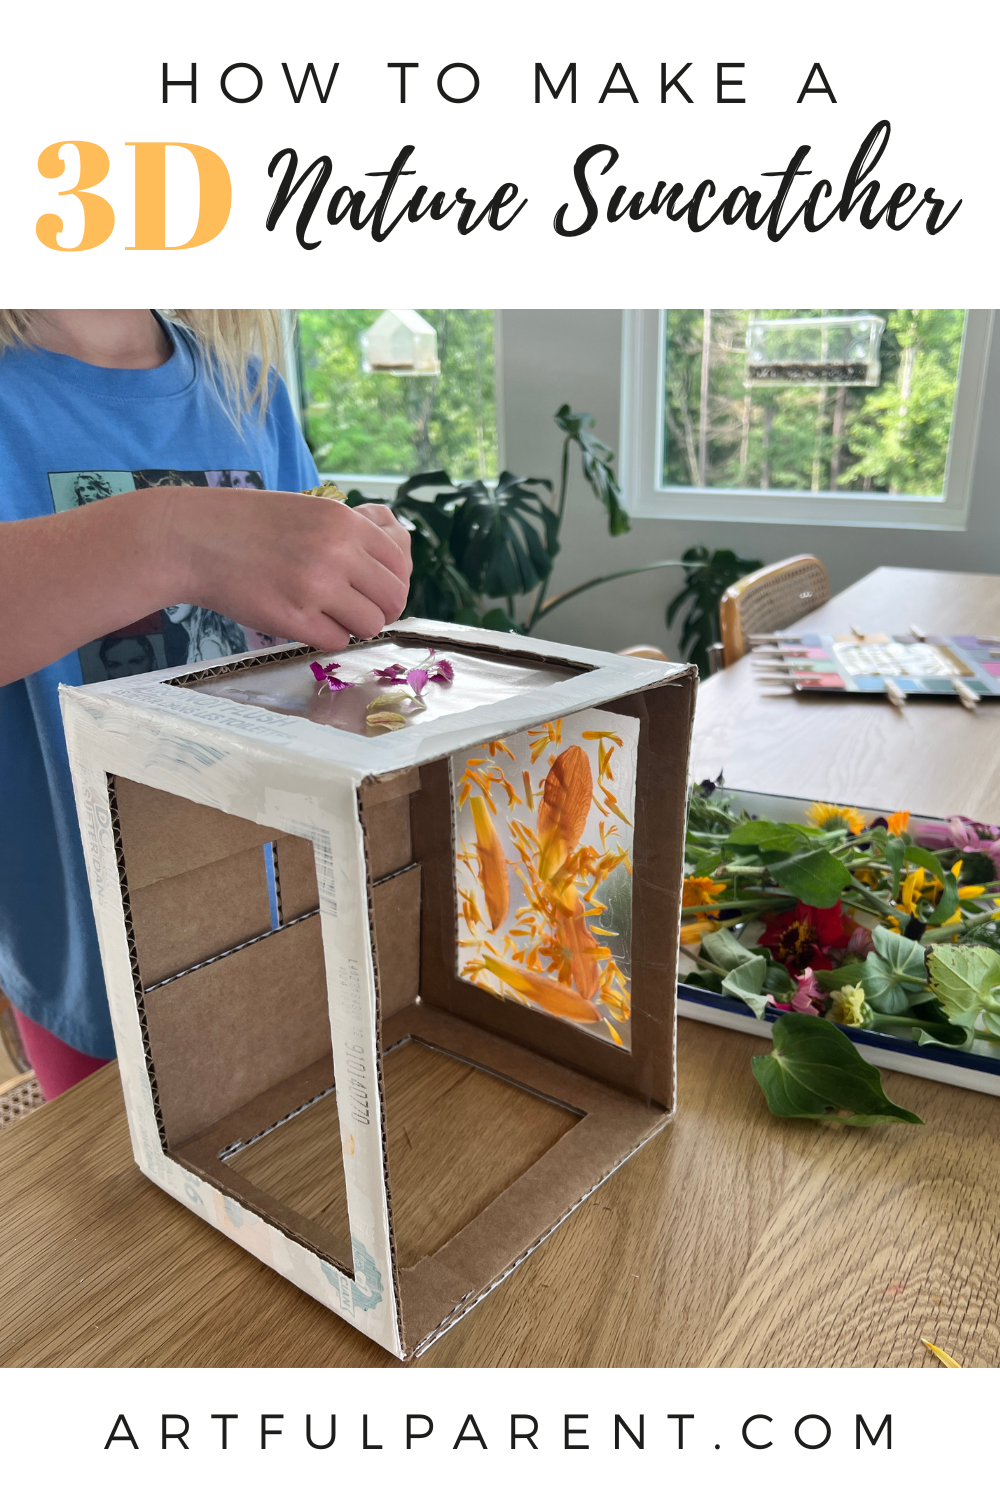
Learn how to make a beautiful 3D nature suncatcher with a cardboard box, contact paper, and flowers from the garden!
Updated July 2024
It’s hard to keep track of the changing trends and fads with toys, which is why we love the simplicity of objects that are timeless hits with kids. Take a cardboard box — the possibilities for creativity are endless, even a 3D nature suncatcher!
Just like the box it started as, the resulting creation isn’t limited to one description. It’s a 3D nature suncatcher, a flower petal art box, or a flower house for fairies and fireflies.
Here’s how we made this 3D nature suncatcher from a cardboard box.

How To Make A 3D Nature Suncatcher

MATERIALS
- A cardboard box
- Transparent contact paper
- Nature items such as flowers, leaves, and ferns
- Scissors and x-acto knife
- Packing tape (optional)
INSTRUCTIONS
- Prep your box
Start with a simple cardboard box. We grabbed ours from the recycle bin. Then, with an x-acto knife or box cutter, cut rectangles out of each side, leaving an inch or two of cardboard “frame” around each opening.
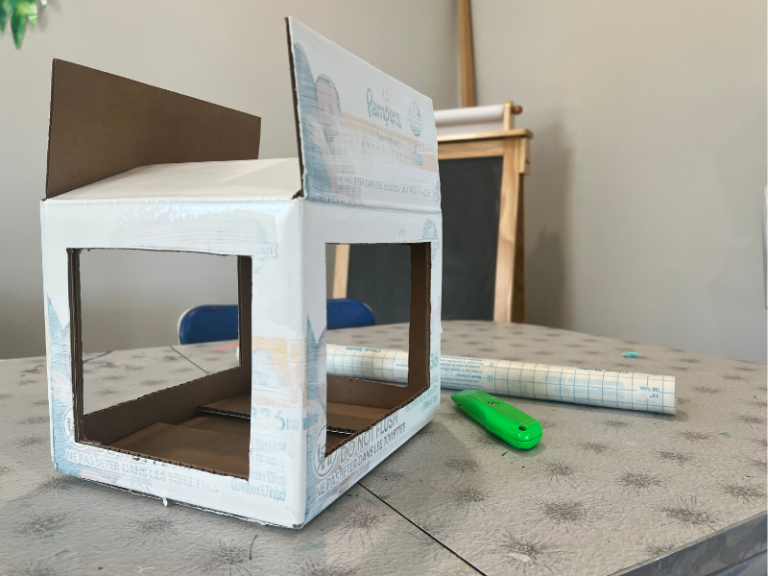
Next, cut pieces of contact paper to cover each of the framed openings. We applied the contact paper to the inside of box with the sticky side facing out, and secured it with packing tape, so it would stay put. - Gather flowers
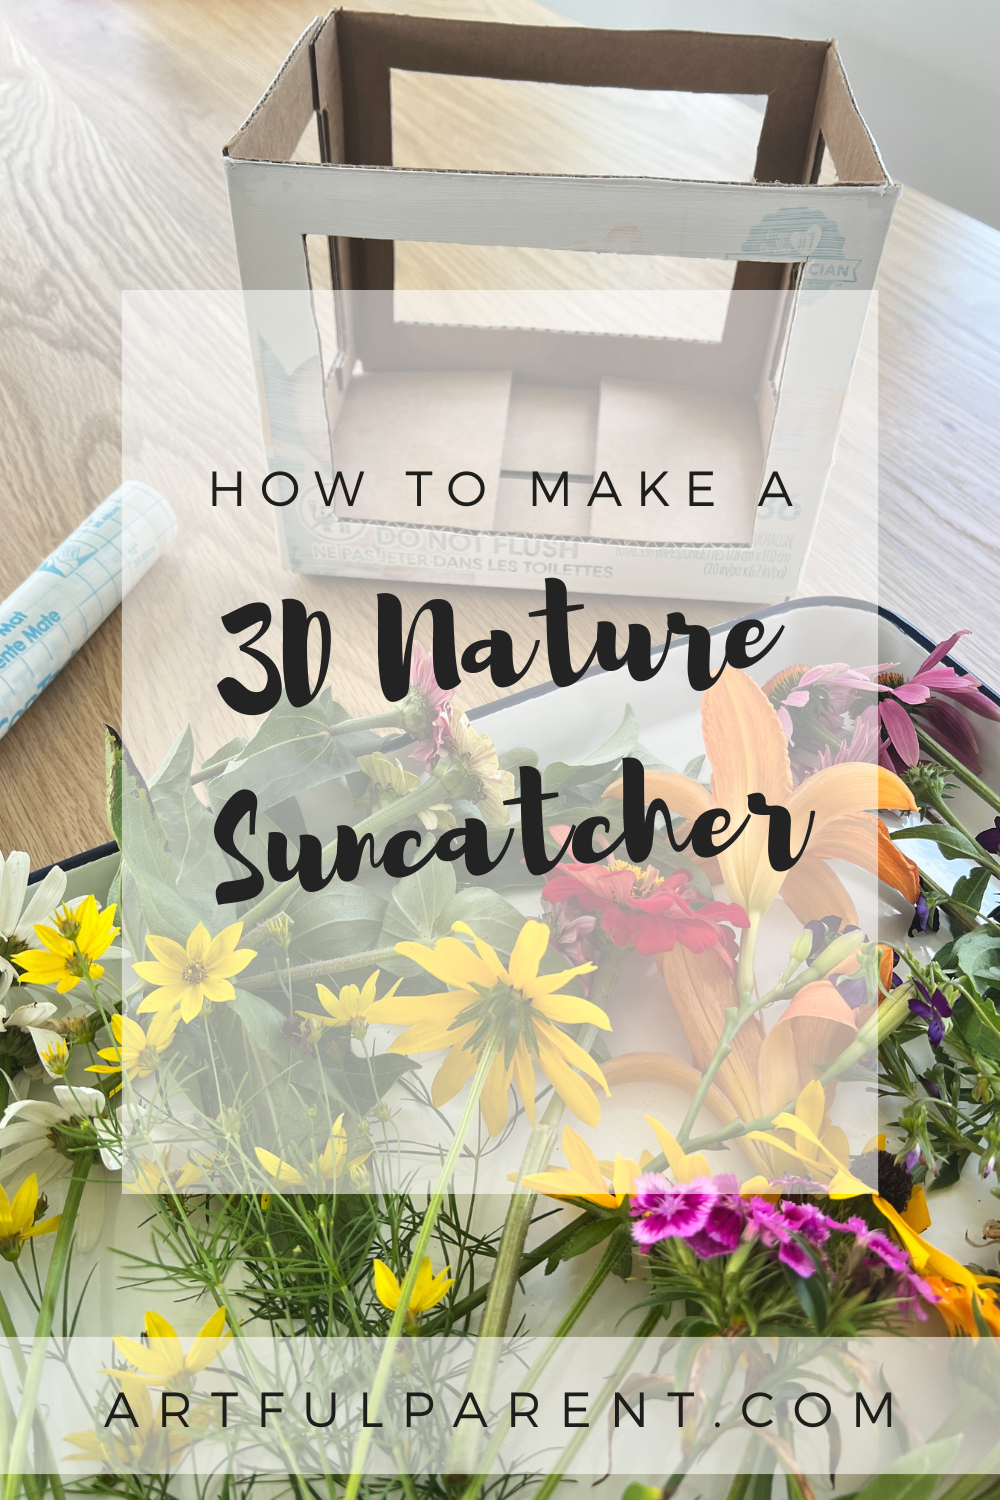
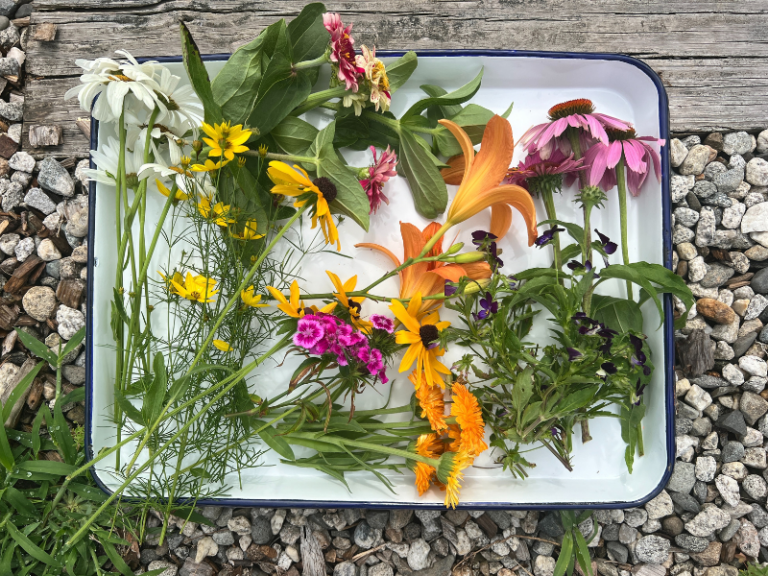
Take a nature walk and collect flowers, leaves, and ferns from around the garden.
- Make your suncatcher
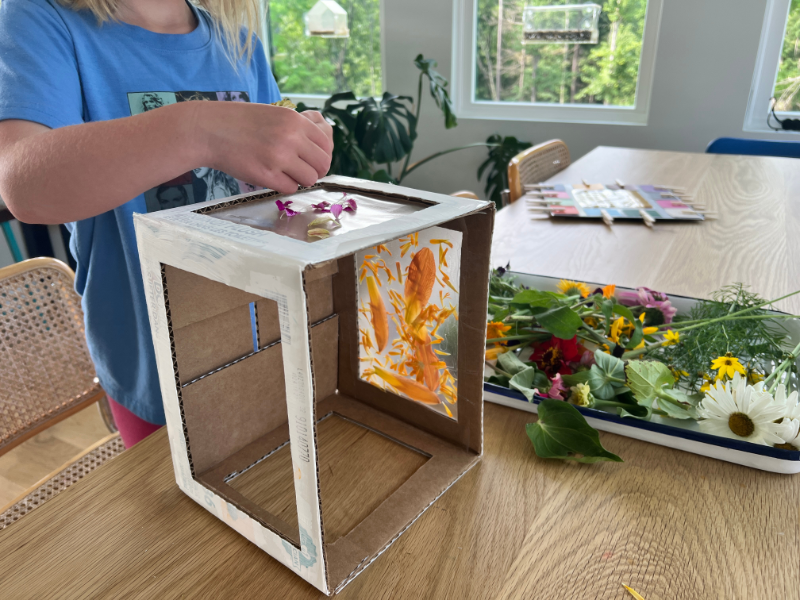
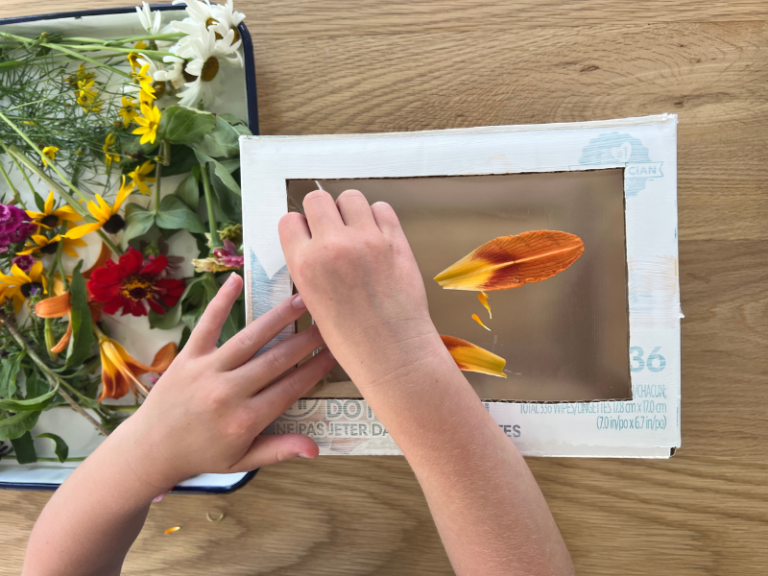
Add flowers, flower petals, and leaves to your sticky contact paper. We discovered that whole flowers don’t stick as well as individual petals.
When you are satisfied with the side you are working on, add another sheet of contact paper over the top of the flower petals to seal the design.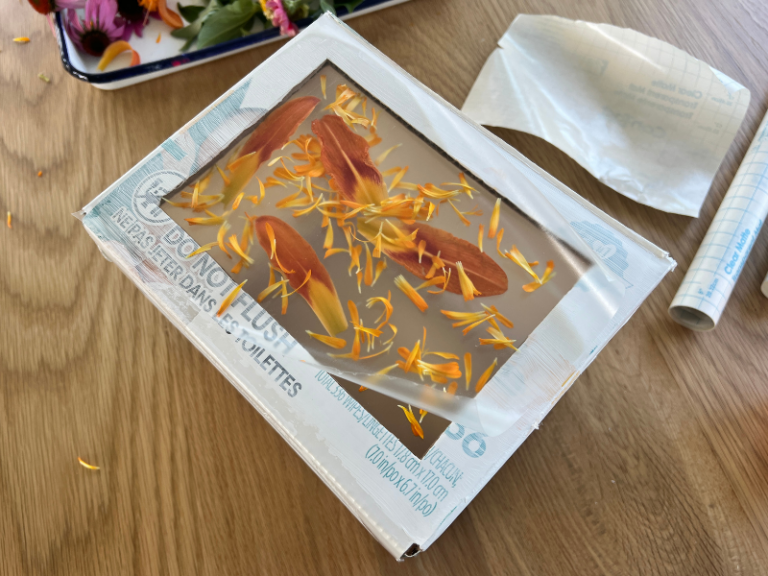
- Repeat on the other sides
Add petals and leaves to each side of your box, adding the second piece of contact paper when you’ve finished each design.
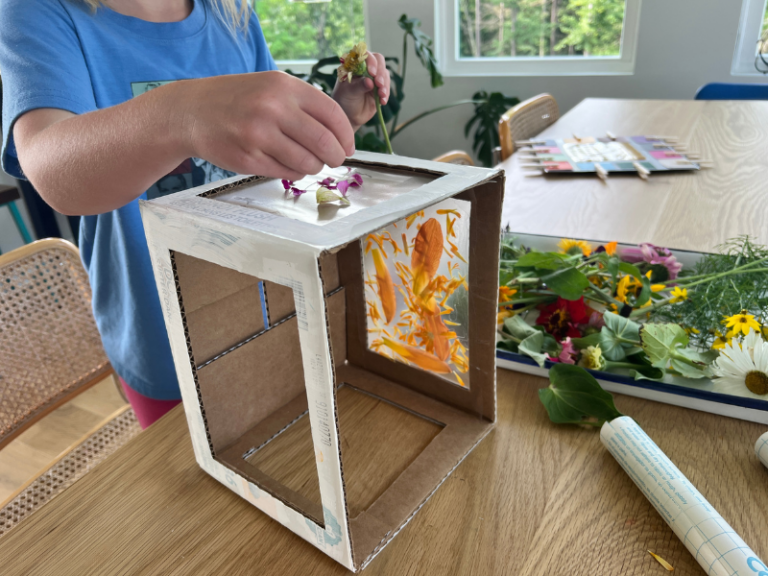
Finally, display your 3D nature suncatcher somewhere where the light will shine through your panels and showcase your beautiful floral designs.
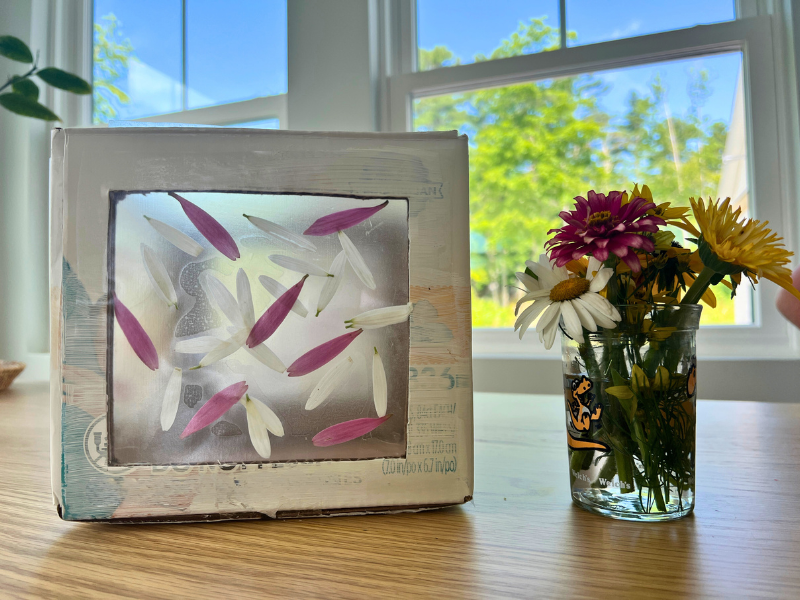
If you want to create a more permanent version, you could press and dry the flowers and leaves first.
More Suncatcher Activities for Kids
- How to Make a Flower Stained-Glass Window
- How to Make a Suncatcher with a Paper Plate
- How to Make a Flower Suncatcher
Pin It for Later