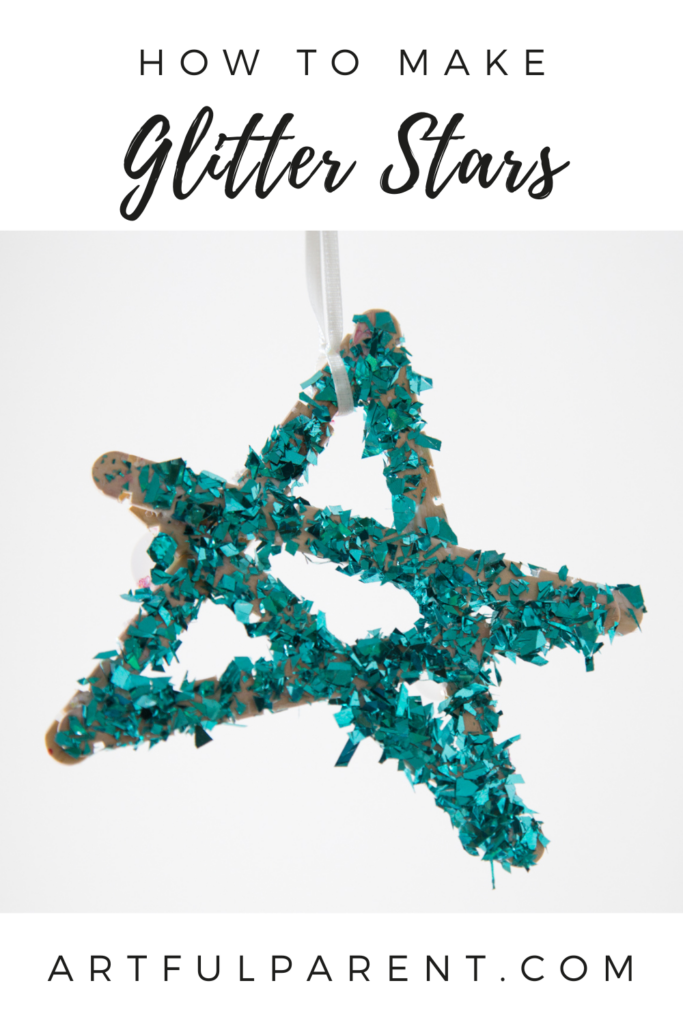
Here’s how to make glitter stars for Christmas. An easy and beautiful Christmas craft with popsicle sticks for kids.
Updated November 2024
We love these little hanging glitter stars, inspired by the large lighted stars we’ve made in the past. The larger ones were made from yard sticks, these were made from popsicle sticks.
Plus generous amounts of glitter, of course, to sparkle in the glow of the Christmas lights.
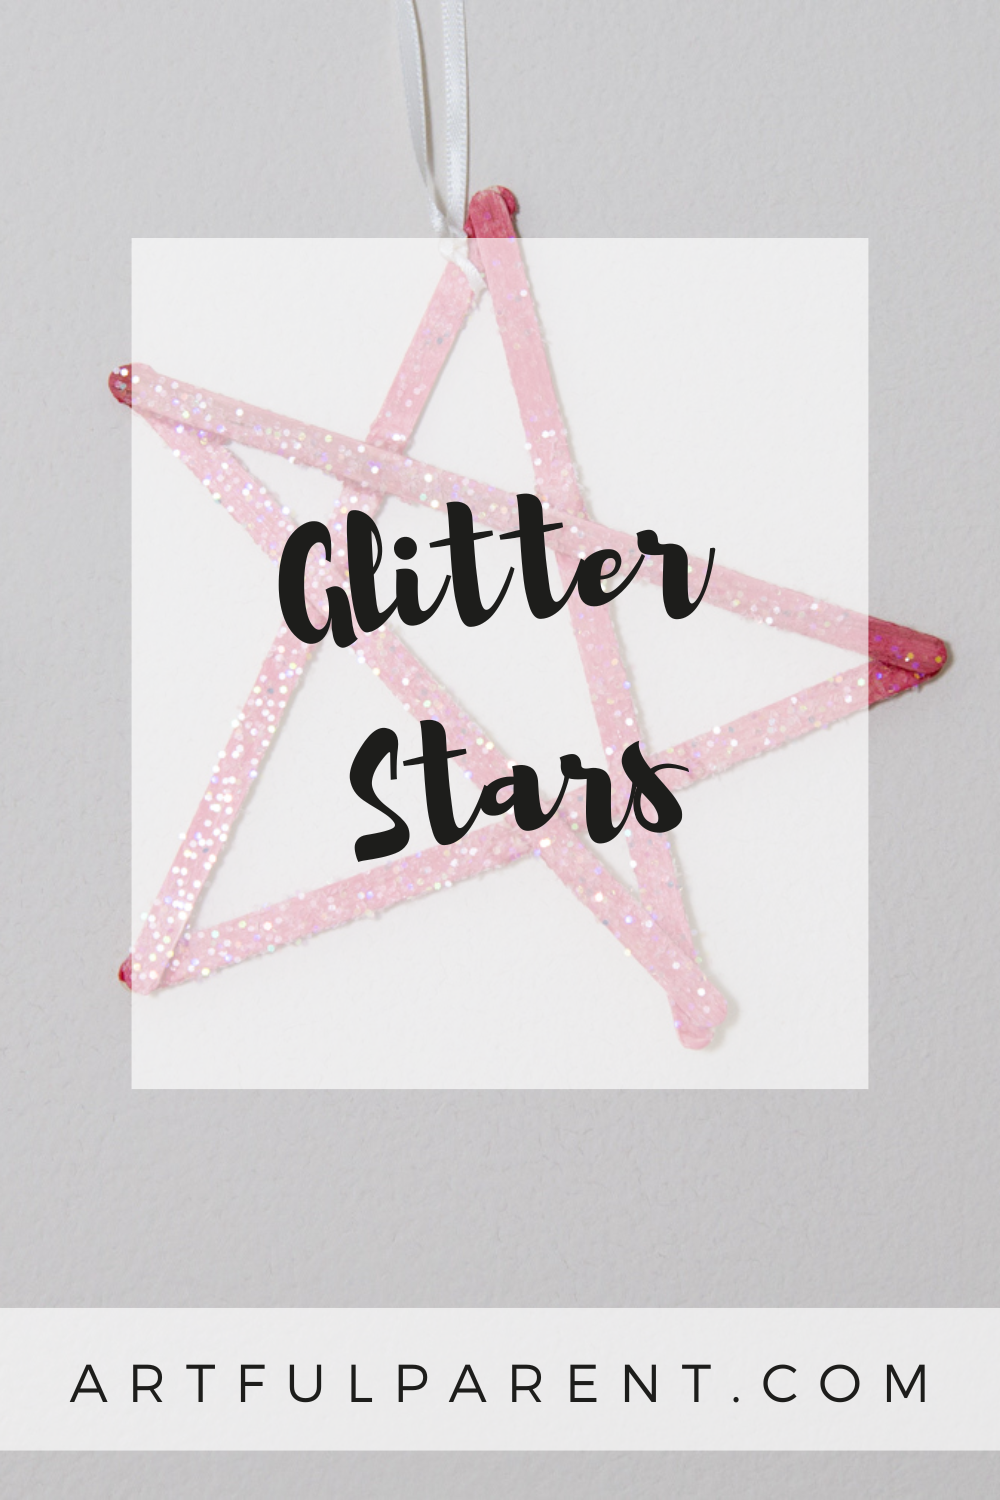
They are easy to make and use materials that you probably already have around the house: craft sticks, glue, paint, and glitter.
Here’s how to make glitter stars for Christmas!
Glitter Stars with Popsicle Sticks

MATERIALS
INSTRUCTIONS
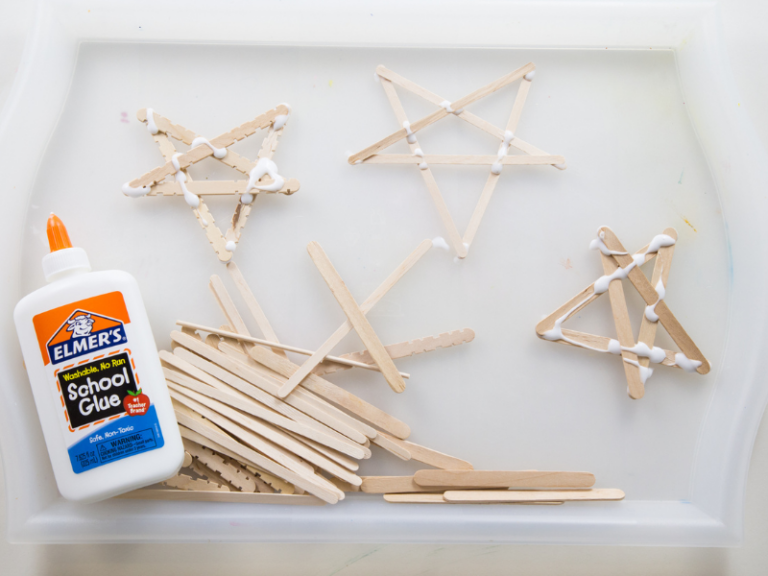
- Make your star shape
Glue five popsicle sticks together into a star shape. You can use a glue gun so they dry quickly, or you can use Elmer’s white glue or wood glue.
- Paint your stars
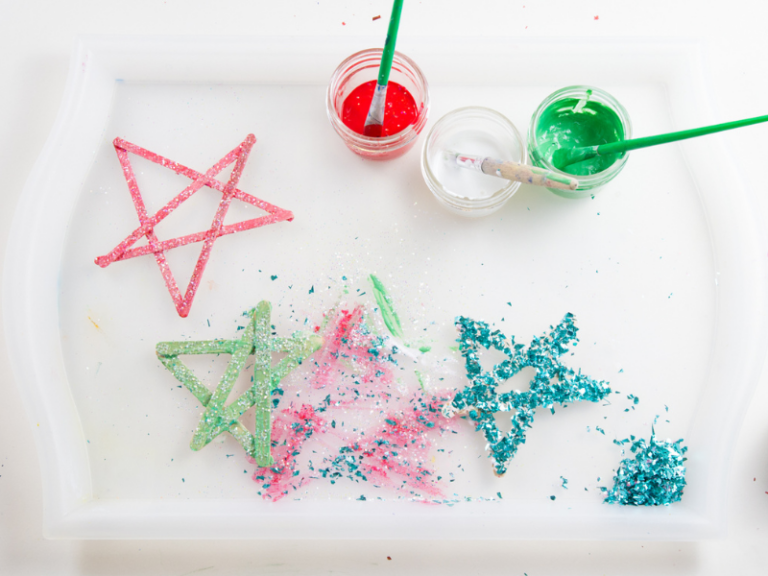
Once the glue has dried, paint one side of the stars with paint mixed with a bit of white glue.
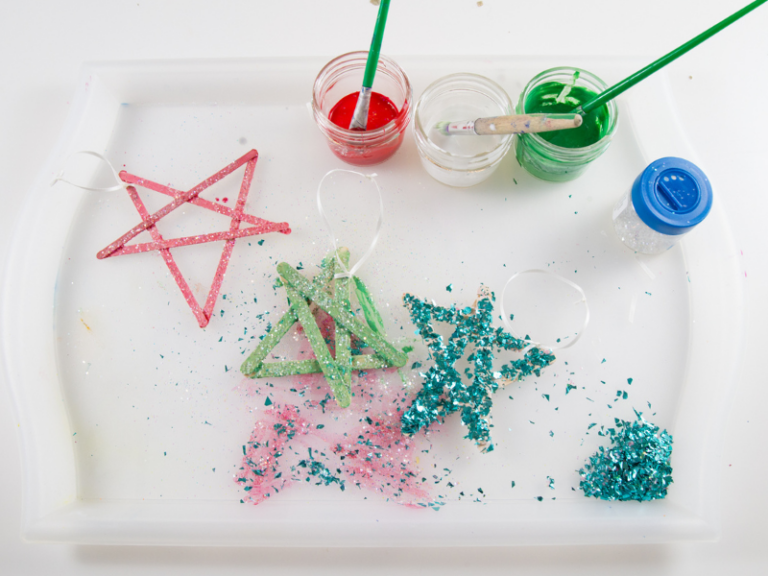
- Add glitter!
While the paint is still wet, sprinkle glitter all over the star.
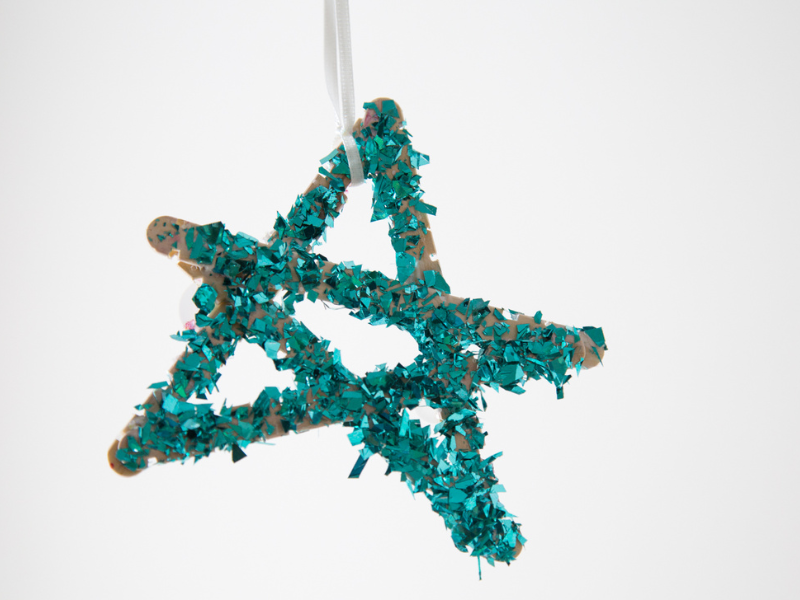
Let the paint dry, then turn the stars over and repeat the paint and glitter treatment on the other side. - Hang up your stars!
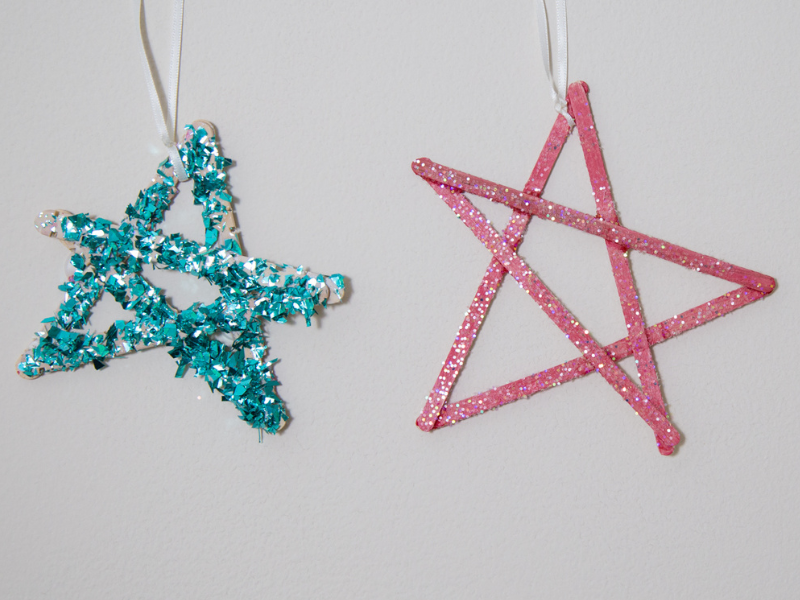
Use thread tied around one corner of a star to hang it on the tree, in a window, or from the ceiling!
These glitter stars make great Christmas tree ornaments. Or even gift tags and decorations!
More Christmas Crafts for Kids
- 12 Easy Christmas Crafts for Toddlers
- 11 Christmas Craft Ideas for Kids
- 20 Homemade Christmas Ornaments the Whole Family Can Make
- How to Make a Christmas Tree Craft
- 5 Natural Christmas Decorations for Kids
- How to Make a Paper Chain for Kids
Want even more creative ideas?
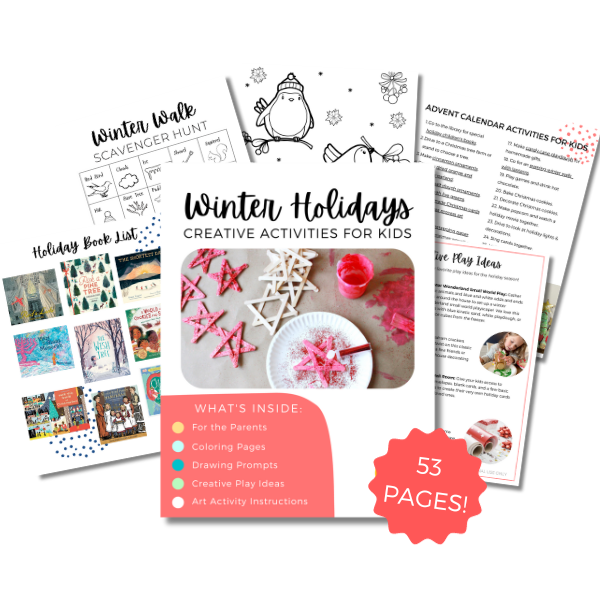
Check out our Holiday Creativity pack!
Let’s celebrate the holidays with all things crafty! Here are 53 pages full of our favorite drawing prompts, creative play ideas, art activities, and more!
Pin It for Later