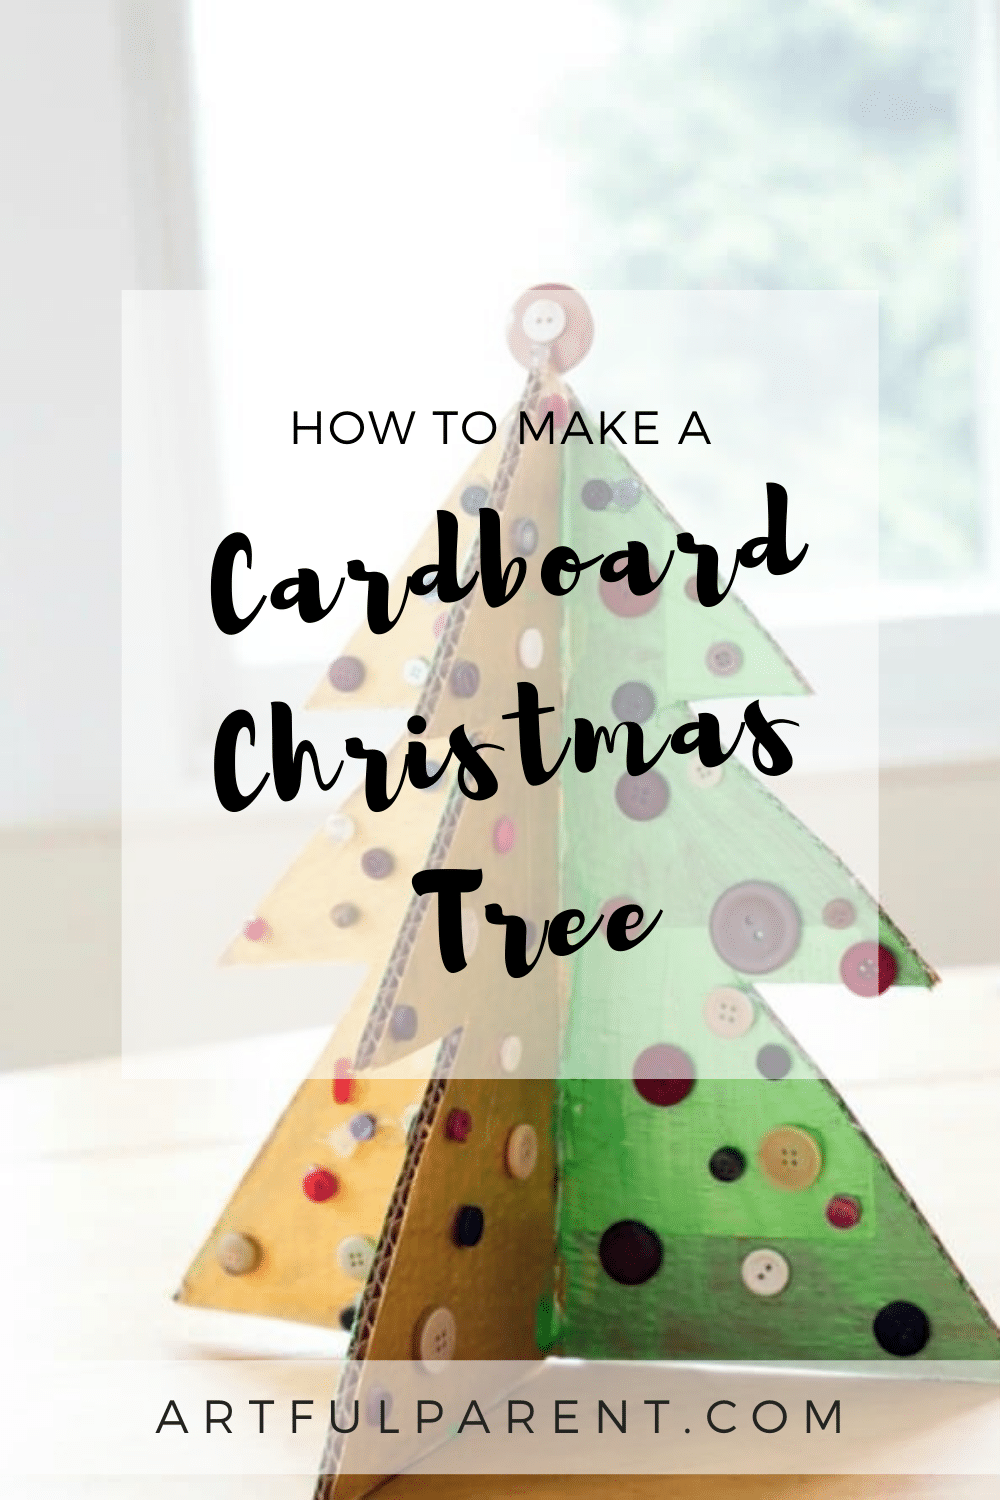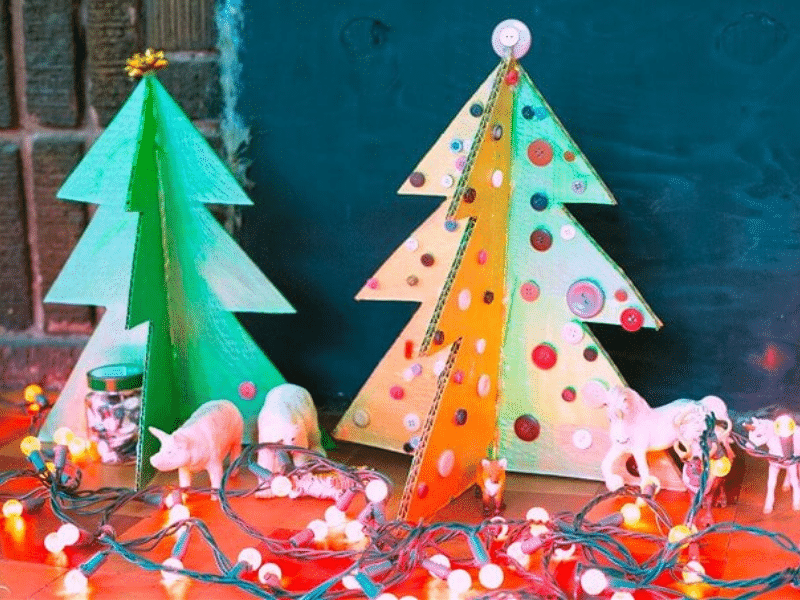
Create a 3D cardboard Christmas trees for kids. Paint and decorate with buttons, pompoms and other craft materials.
Updated September 2022
My neighbor sent me a photo last week of a Christmas tree they saw at a church event and thought that I might like to try with the kids.
It was a 3-D cardboard tree, painted green, and covered in button ornaments.
We gave the simple and festive cardboard Christmas trees a go and they turned out great!

Cardboard Christmas Trees for Kids

MATERIALS
- Paper or cardstock for template
- Corrugated cardboard
- Marker
- Utility knife or X-acto knife
- Hot glue gun
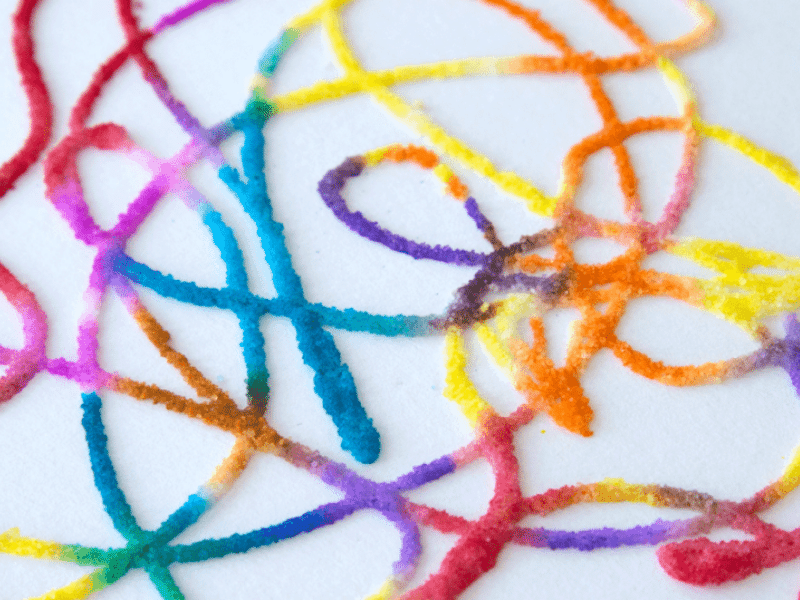
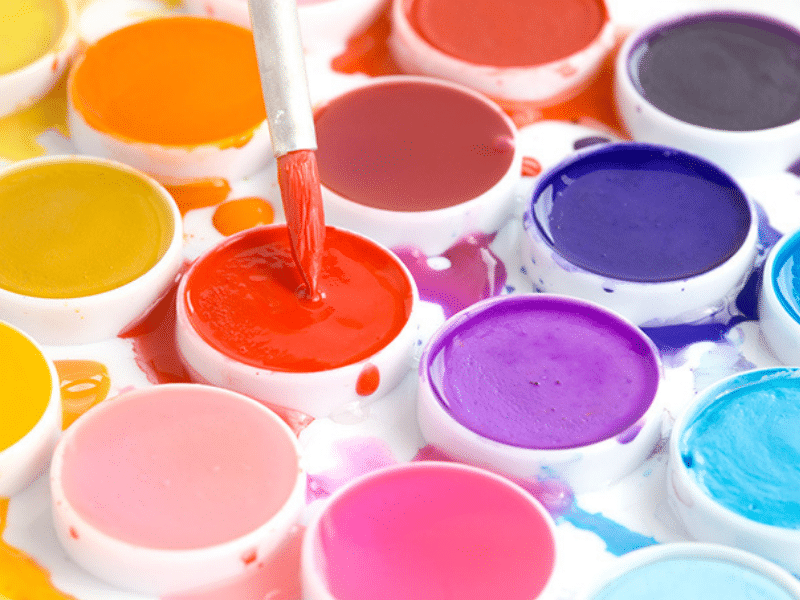
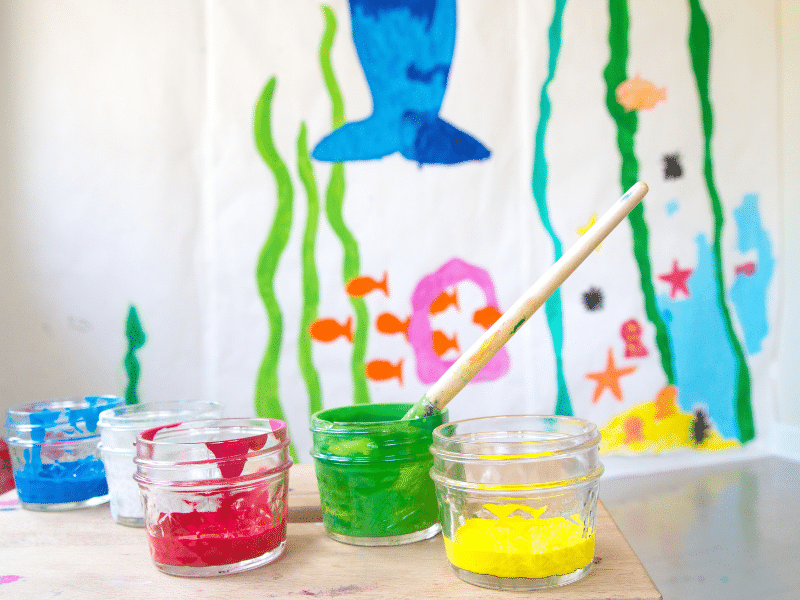
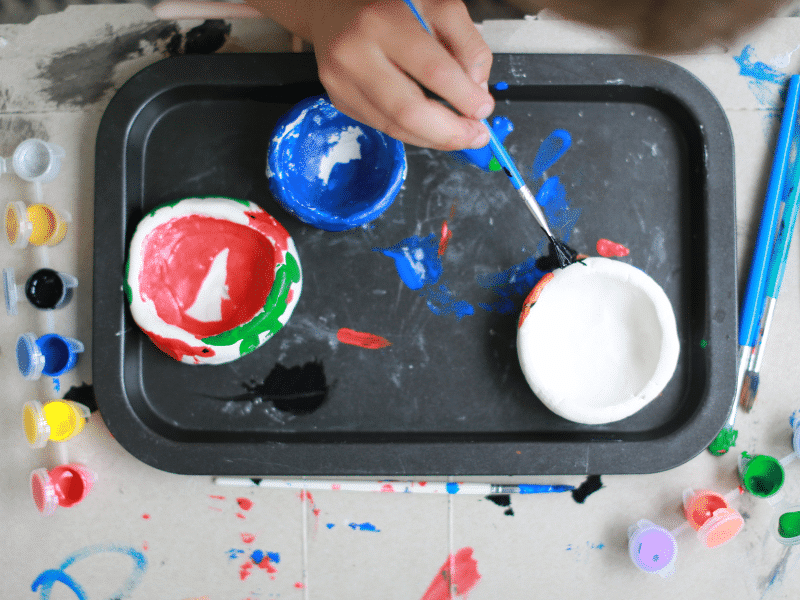
- Paint (tempera paint, BioColors, or acrylic paint)
- Assorted buttons
INSTRUCTIONS
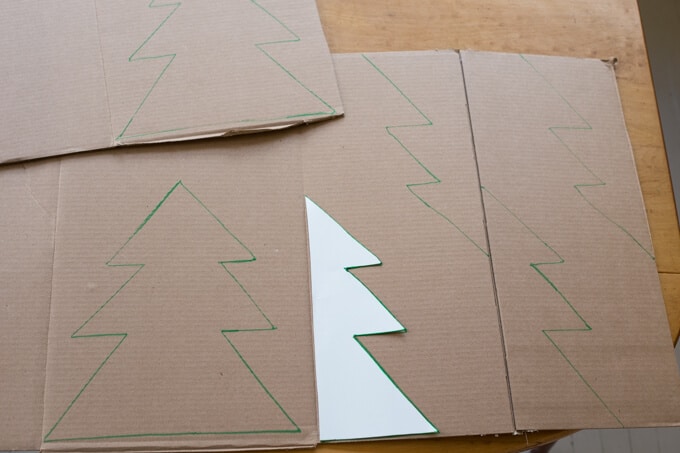
- Make a template
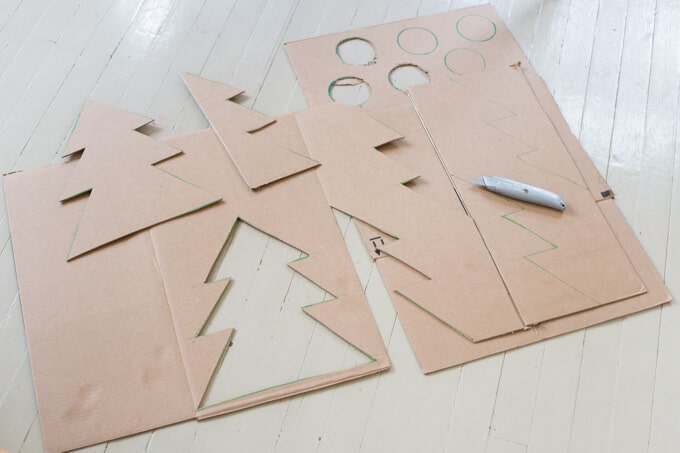
First, create your template by drawing a simple Christmas tree shape on your paper or cardstock. Cut it out and either fold or cut it in half along the center line.
- Trace the trees
Next, trace your template onto sturdy, corrugated cardboard. You’ll want one full tree and two half trees for each 3D Christmas tree you make.

- Cut the tree shapes
Use the utility knife with a fresh, sharp blade to cut out the cardboard tree shapes. (Adults only, of course.)
Note :: You’ll want to protect your work surface with a cutting mat or another piece of cardboard so you don’t cut your table or floor or whatever.
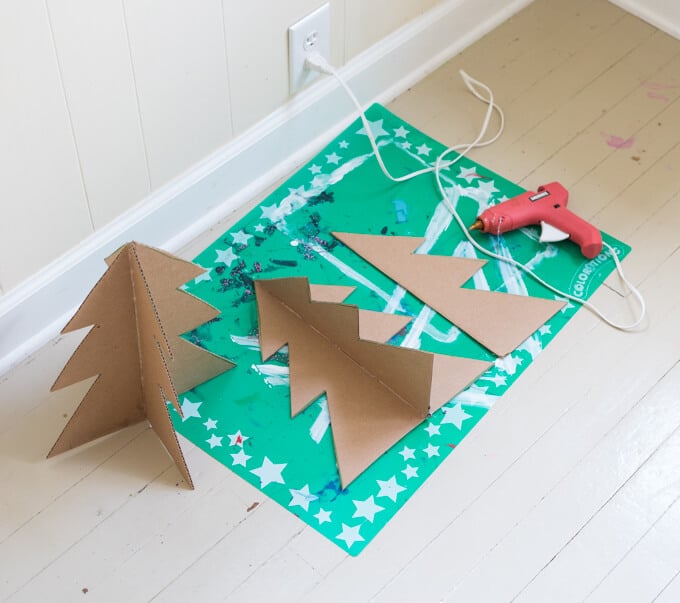
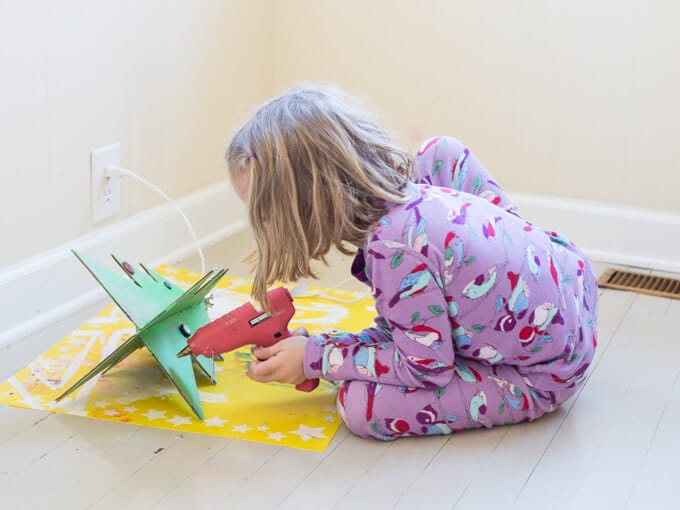
- Glue the trees together
Use a hot glue gun to glue the half trees to the center of each side of the full cardboard tree.
I ran a line of glue down the center of the tree, positioned the half tree along the glue line, then held it in place while I ran a second line of glue along the base of the half tree on either side. (Does that make sense?)
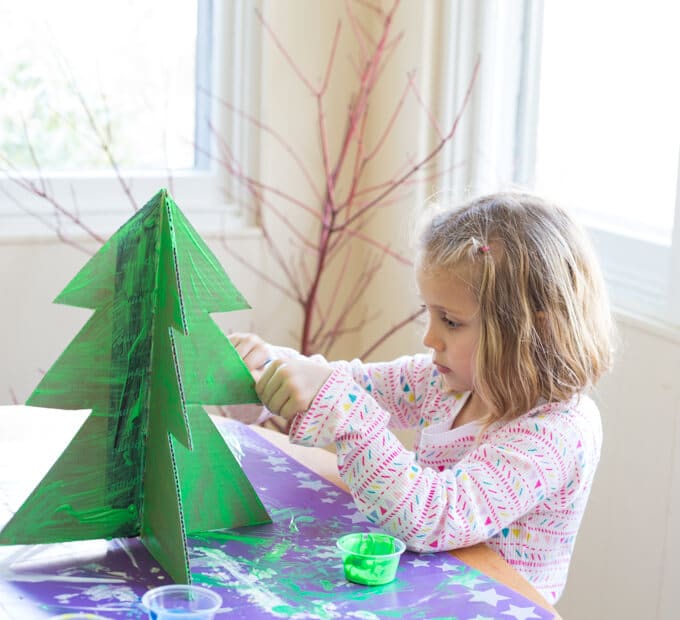
- Add paint!
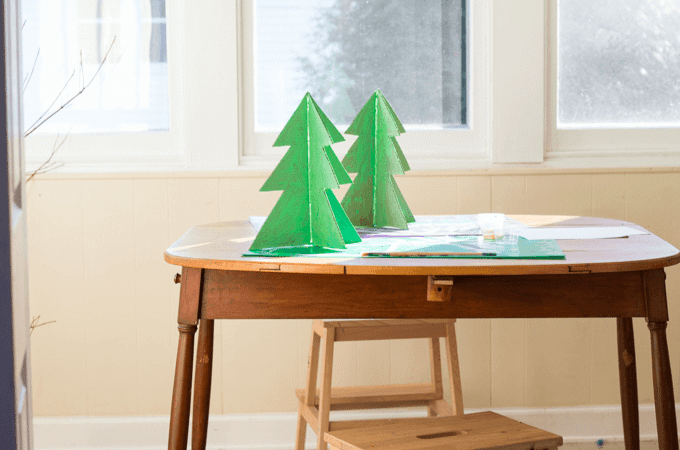
Paint your new 3D cardboard trees green or any color you desire.

Any kind of paint will do; you could use tempera, BioColors, or acrylic.
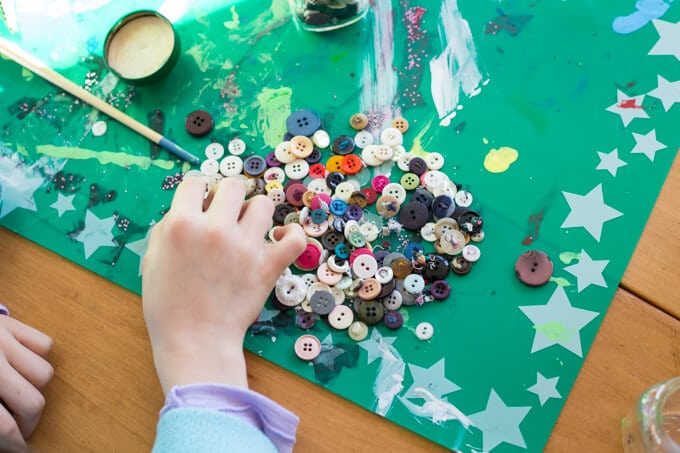
- Decorate your tree!
Once the paint is dry, bring out your buttons (or pom poms or whatever craft materials that you have available).
- Glue on craft materials
Use a hot glue gun to glue your buttons to the cardboard Christmas tree.
You could probably also use a bottle of white school glue, but might need to work on sections at a time, keeping the buttons relatively flat while the glue dries.

We love the way the trees look and they are a great little gift to give teachers, friends or neighbors!
More Christmas Crafts for Kids
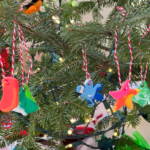
- 11 Christmas Crafts Ideas for Kids This Holiday Season
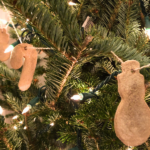
- 11 Salt Dough Ornaments Kids Can Make This Christmas
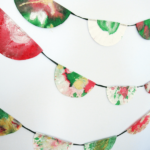
- Coffee Filter Holiday Garlands
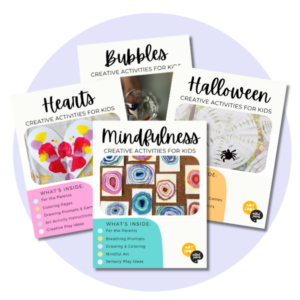
Want even more creative ideas?
Check out our Holiday Creativity pack!
Let’s celebrate the holidays with all things crafty! Here are 53 pages full of our favorite drawing prompts, creative play ideas, art activities, and more!
Pin It for Later