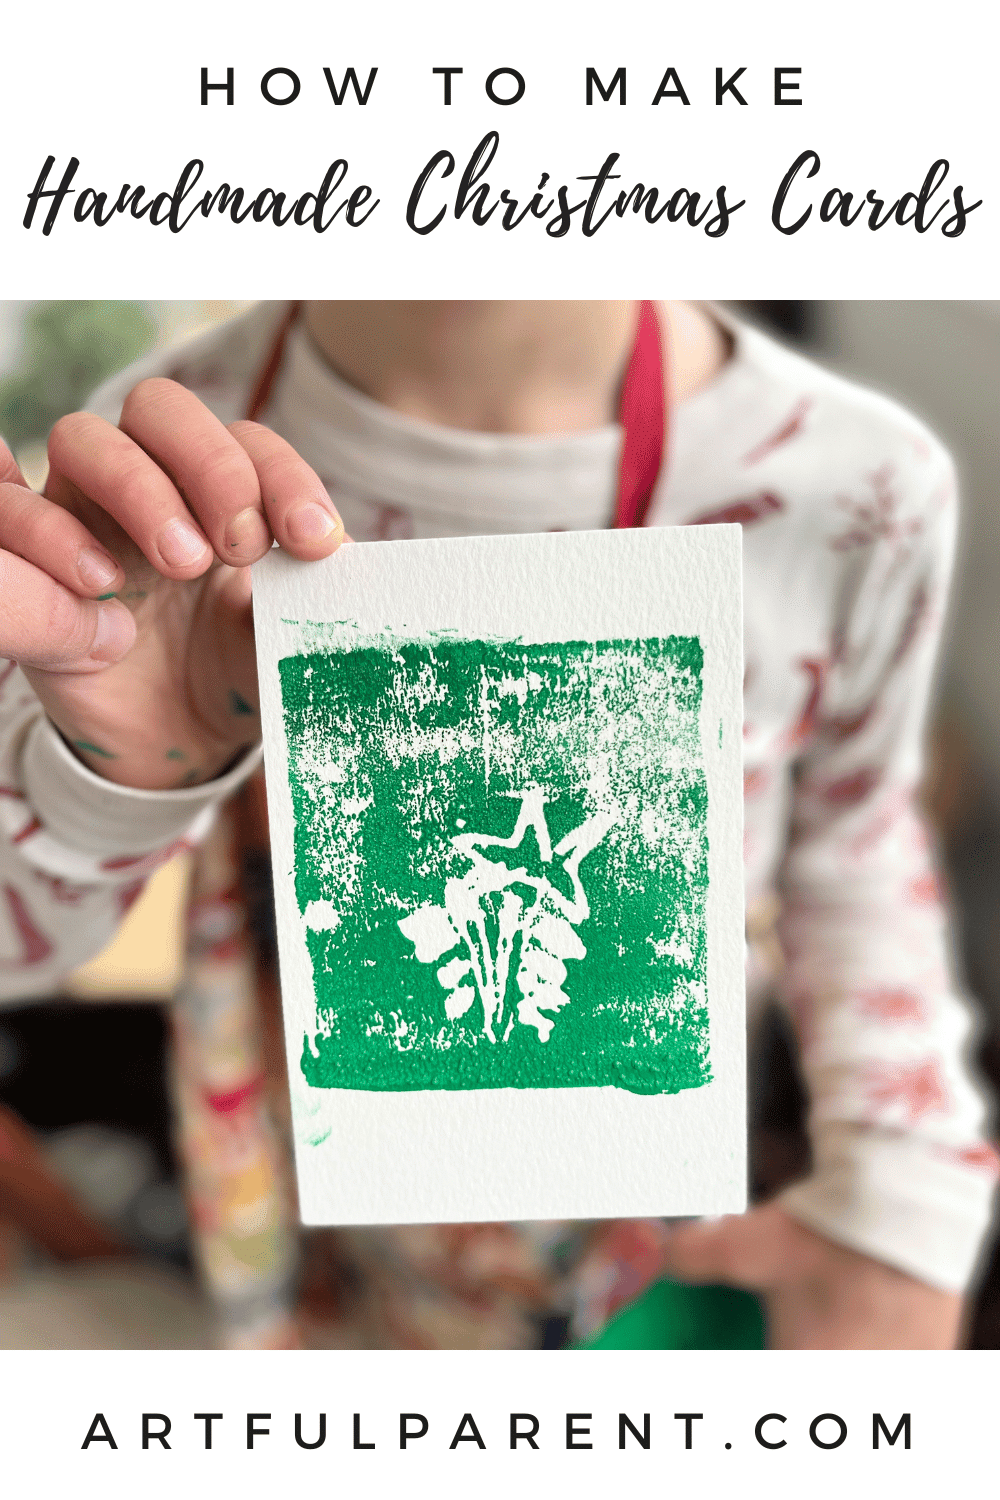
Try making handmade Christmas cards with styrofoam printing with kids. This simple printmaking activity yields print after print and is fun for kids of all ages.
Updated November 2022
We love making our own Christmas cards! We’ve tried using washi tape, and painting with watercolors. This time we tried printing with styrofoam.
The kids had fun drawing out designs and then making prints with them! They are so proud to send these as Christmas cards.
Here’s a video showing Styrofoam Printing in action! And don’t forget to keep scrolling for step-by-step instructions on how to use this fun technique to make festive Christmas cards.
Handmade Christmas Cards with Styrofoam Printing

MATERIALS
- Thin paper, such as copy paper, for the initial drawing
- Pencil
- Styrofoam (we used pieces cut out from the bottom of meat trays, but you can also buy styrofoam sheets specifically for printmaking)
- Water-based printing ink
- An acrylic box frame or a plate (for spreading ink)
- A hard rubber brayer
- White paper (we used watercolor paper this time but often use a smoother paper such as sulphite paper)
- Spoon
INSTRUCTIONS
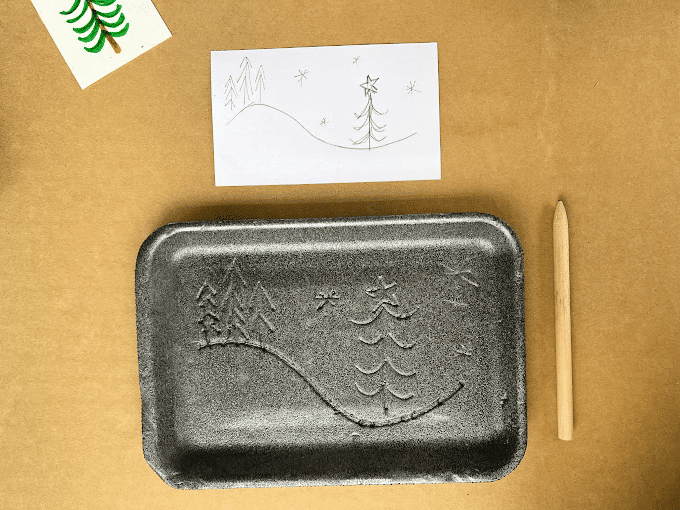
- Draw design on paper
To begin, cut your thin paper to be the same size as the piece of styrofoam you’ll print with.
Then, draw a picture on the thin paper. This step is optional, but it means you can draw a few different designs before choosing which one you want to print. It also makes it easier for younger children to transfer their image to the styrofoam.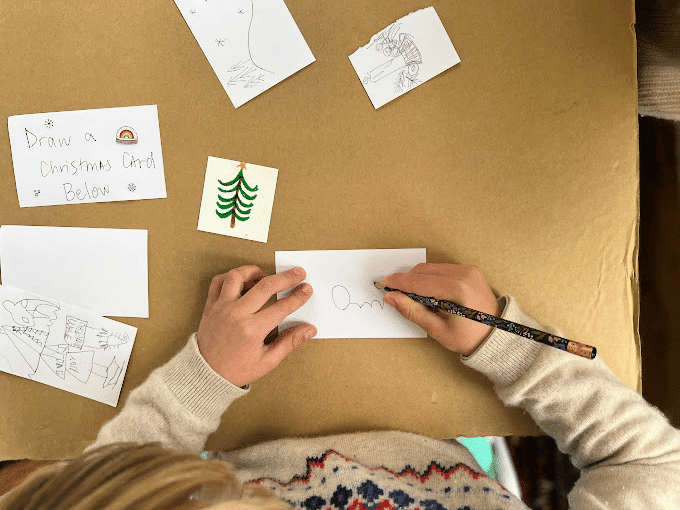
- Trace drawing
Hold the drawing in place over the piece of styrofoam and trace the drawing with a pencil. You can also use the pointy end of a paint brush, a chopstick or something similar. Press down firmly, but evenly while tracing the image.
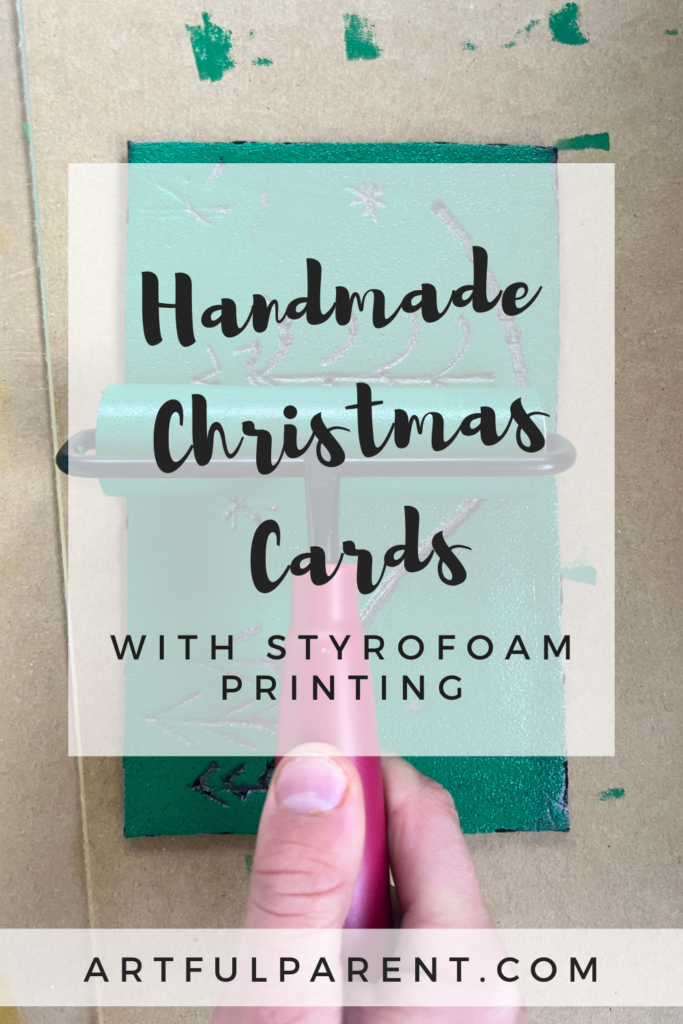
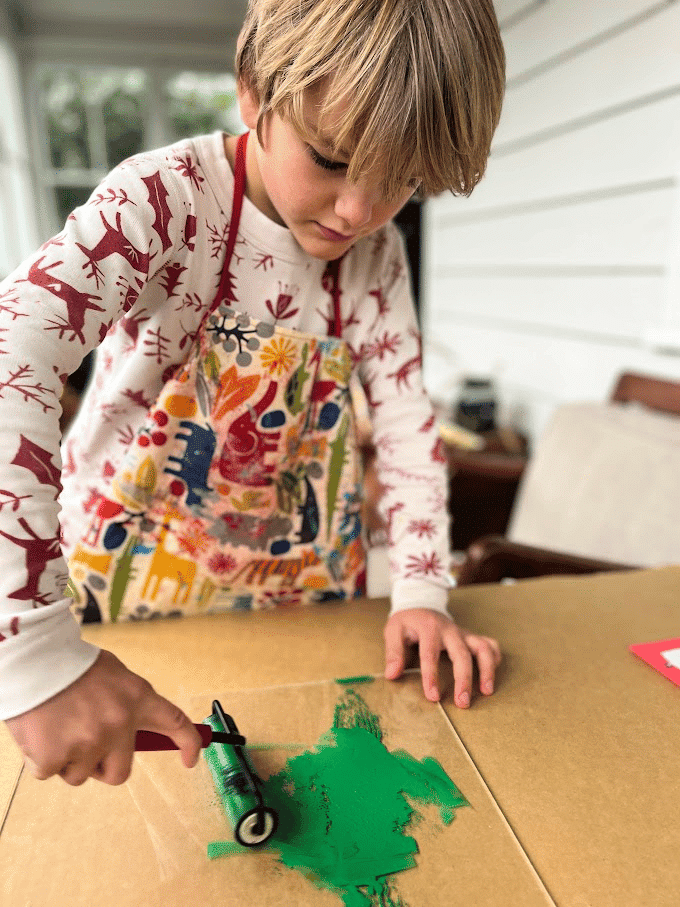
- Ink the brayer
Squeeze some ink onto the plexi frame and spread it around with the brayer. Once the brayer is coated with an even layer of ink, roll it over your styrofoam drawing.
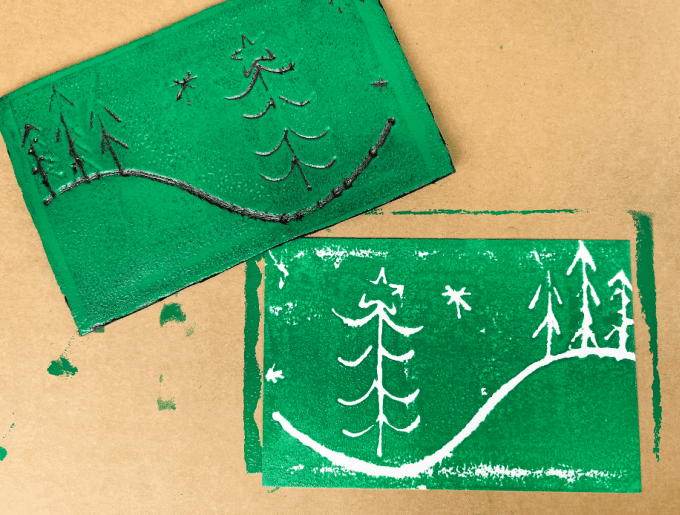
- Print the design on paper
Position the styrofoam on top of the paper or card and use a spoon to rub over the paper to help transfer the design.
- Let dry
Either lay your prints out to dry or hang them using clothespins.
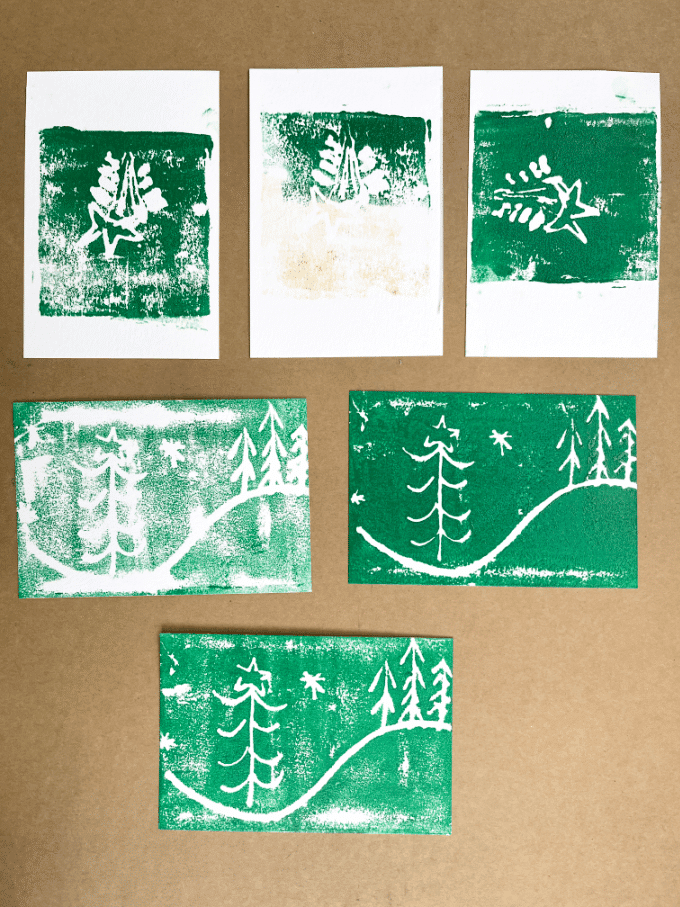
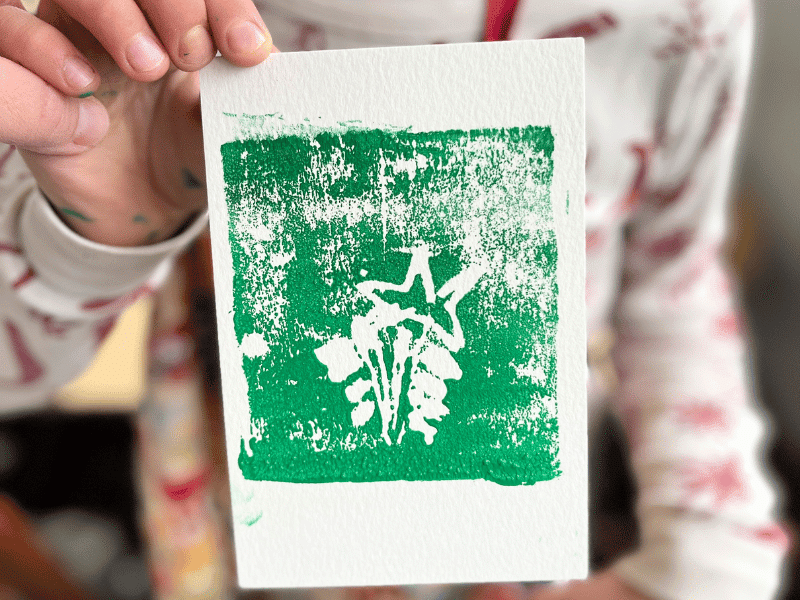
We love the way these cards came out!
More Ideas for Handmade Christmas Cards
- How to Make a Christmas Tree Craft
- Sticker Resist Starry Night Holiday Cards
- How to Make a Christmas Craft Card with Washi Tape
- Potato Printmaking for Handmade Christmas
- 6 Christmas Card Ideas for Kids
Want even more creative ideas?
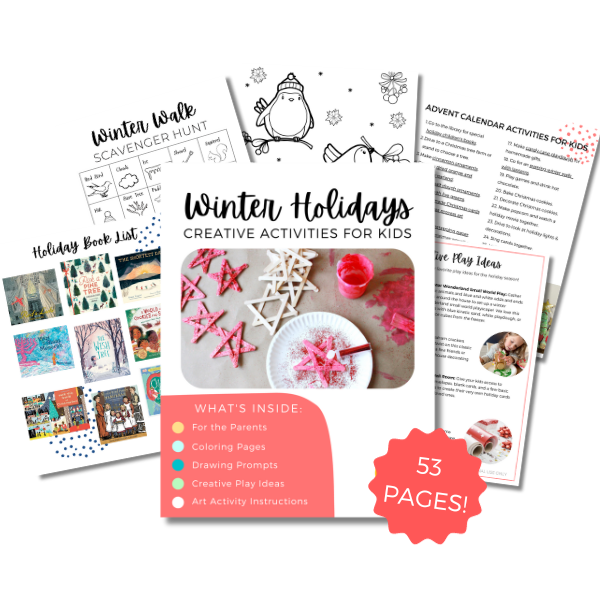
Check out our Holiday Creativity pack!
Let’s celebrate the holidays with all things crafty! Here are 53 pages full of our favorite drawing prompts, creative play ideas, art activities, and more!
Pin It for Later