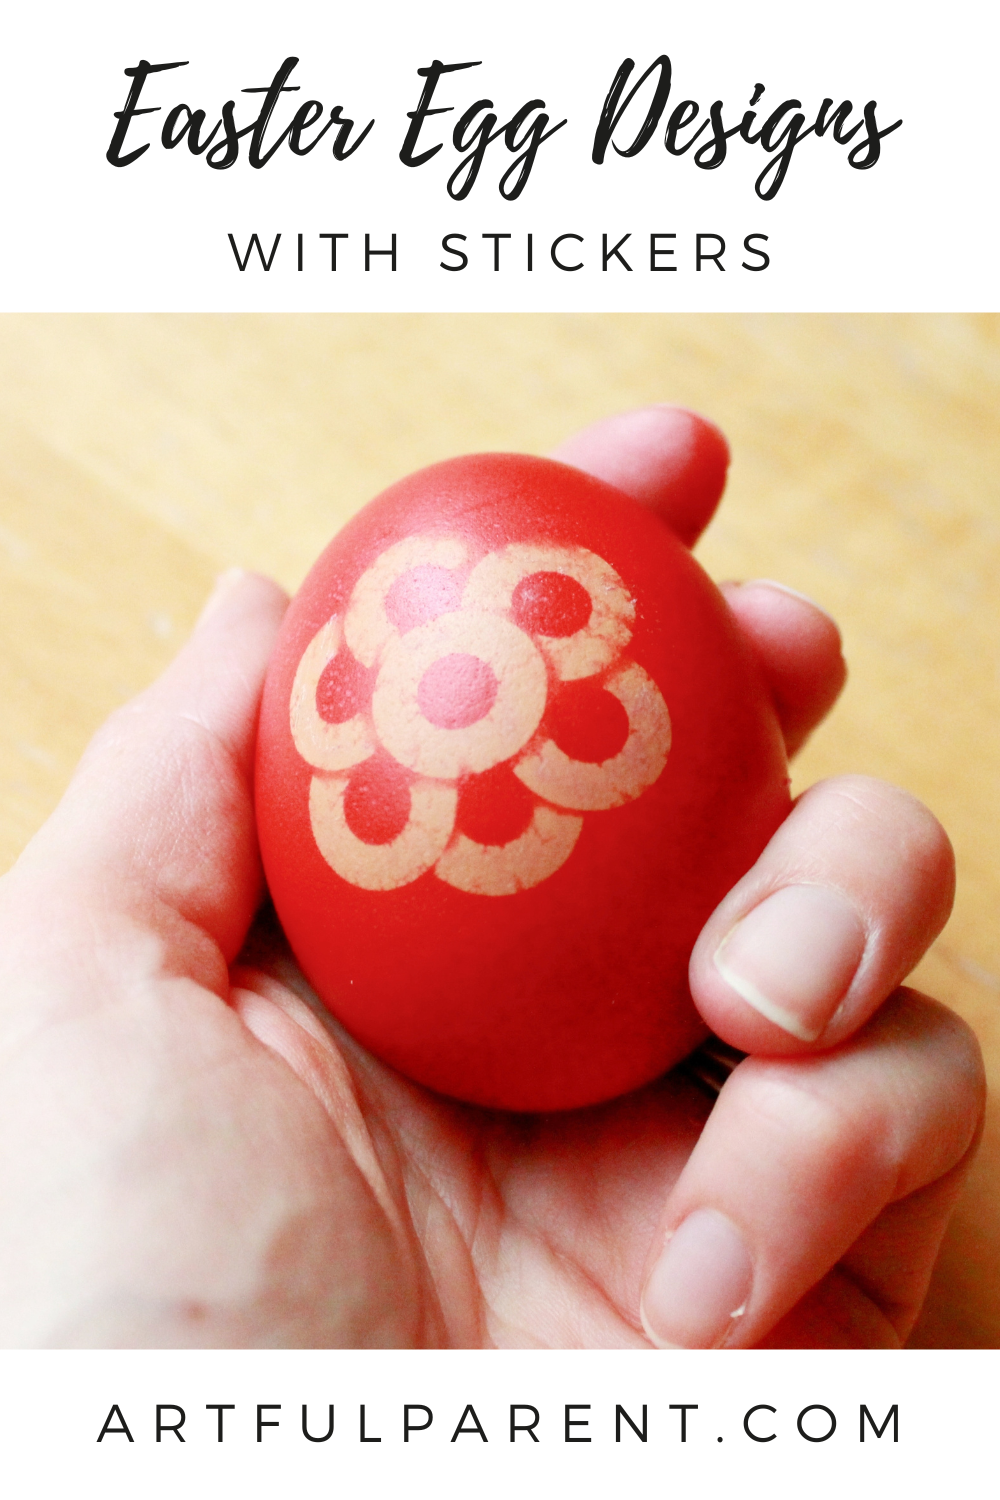
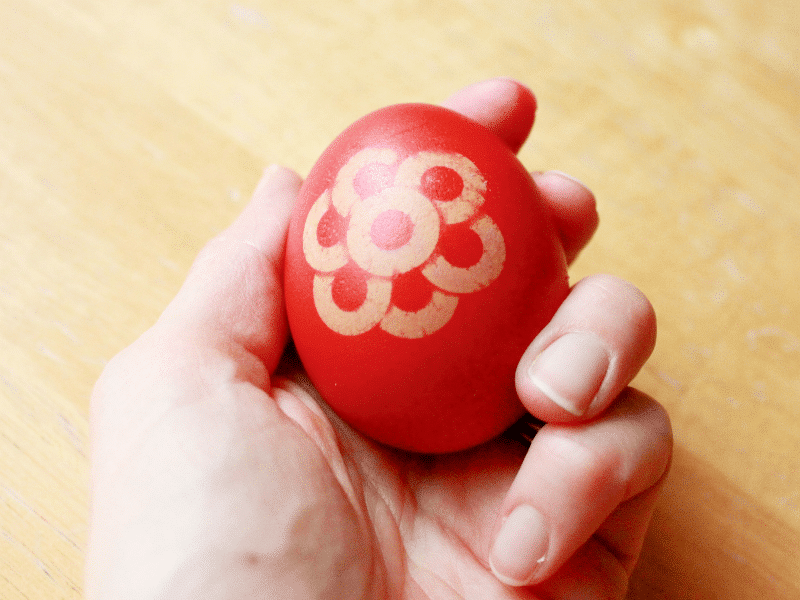
Try these Easter egg designs using hole reinforcement stickers. Remove the stickers after dyeing for a sticker-resist effect.
Updated January 2024
We love to use our favorite hole reinforcement stickers for some fun Easter egg decorating and dyeing.
This is a simple, toddler-friendly project and equally as rewarding for grown-ups.
You can also use a combination of dot stickers and markers to decorate Easter eggs!
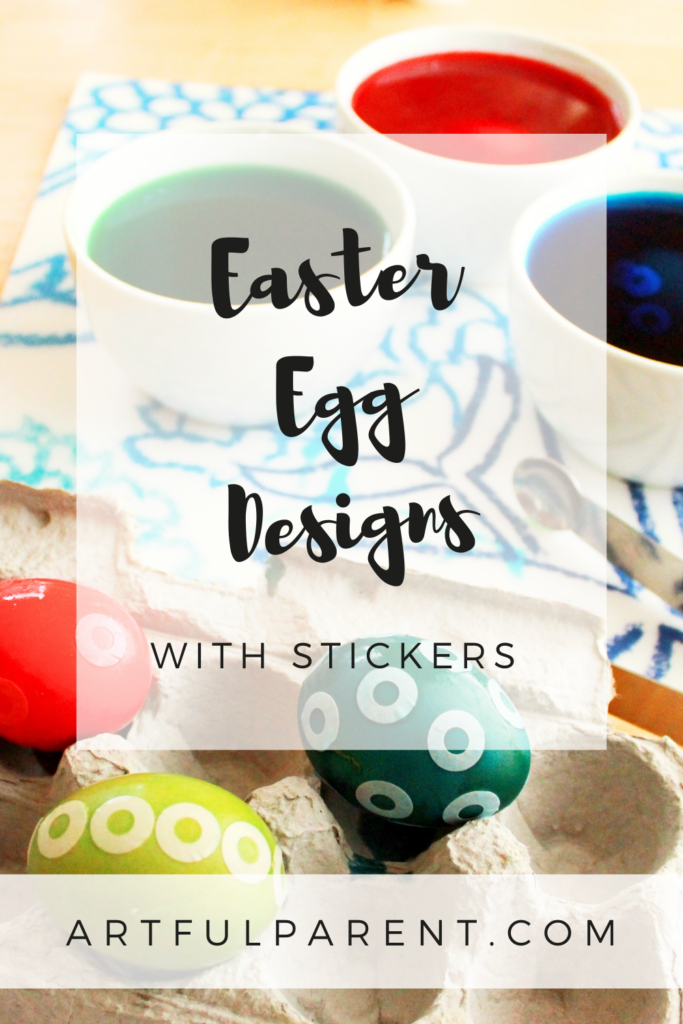
Easter Egg Designs with Stickers

MATERIALS
- Eggs, hard-boiled or blown out*
- Hole reinforcement stickers
- Easter egg dye or
- liquid watercolors or food coloring + vinegar
*With egg prices reaching record highs this year, dyeable plastic eggs—available for as little as $1.98 per dozen at retailers like Walmart—offer a budget-friendly and reusable alternative for your Easter egg decorating.
INSTRUCTIONS
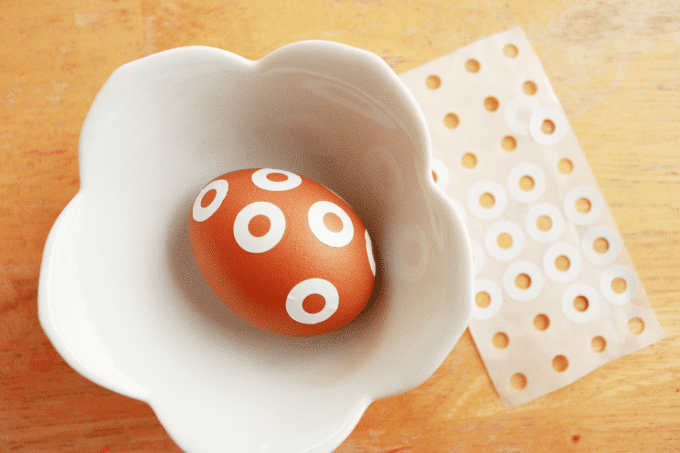
- Add stickers to eggs
First, decorate the hard-boiled eggs with the hole stickers.
- Dye eggs
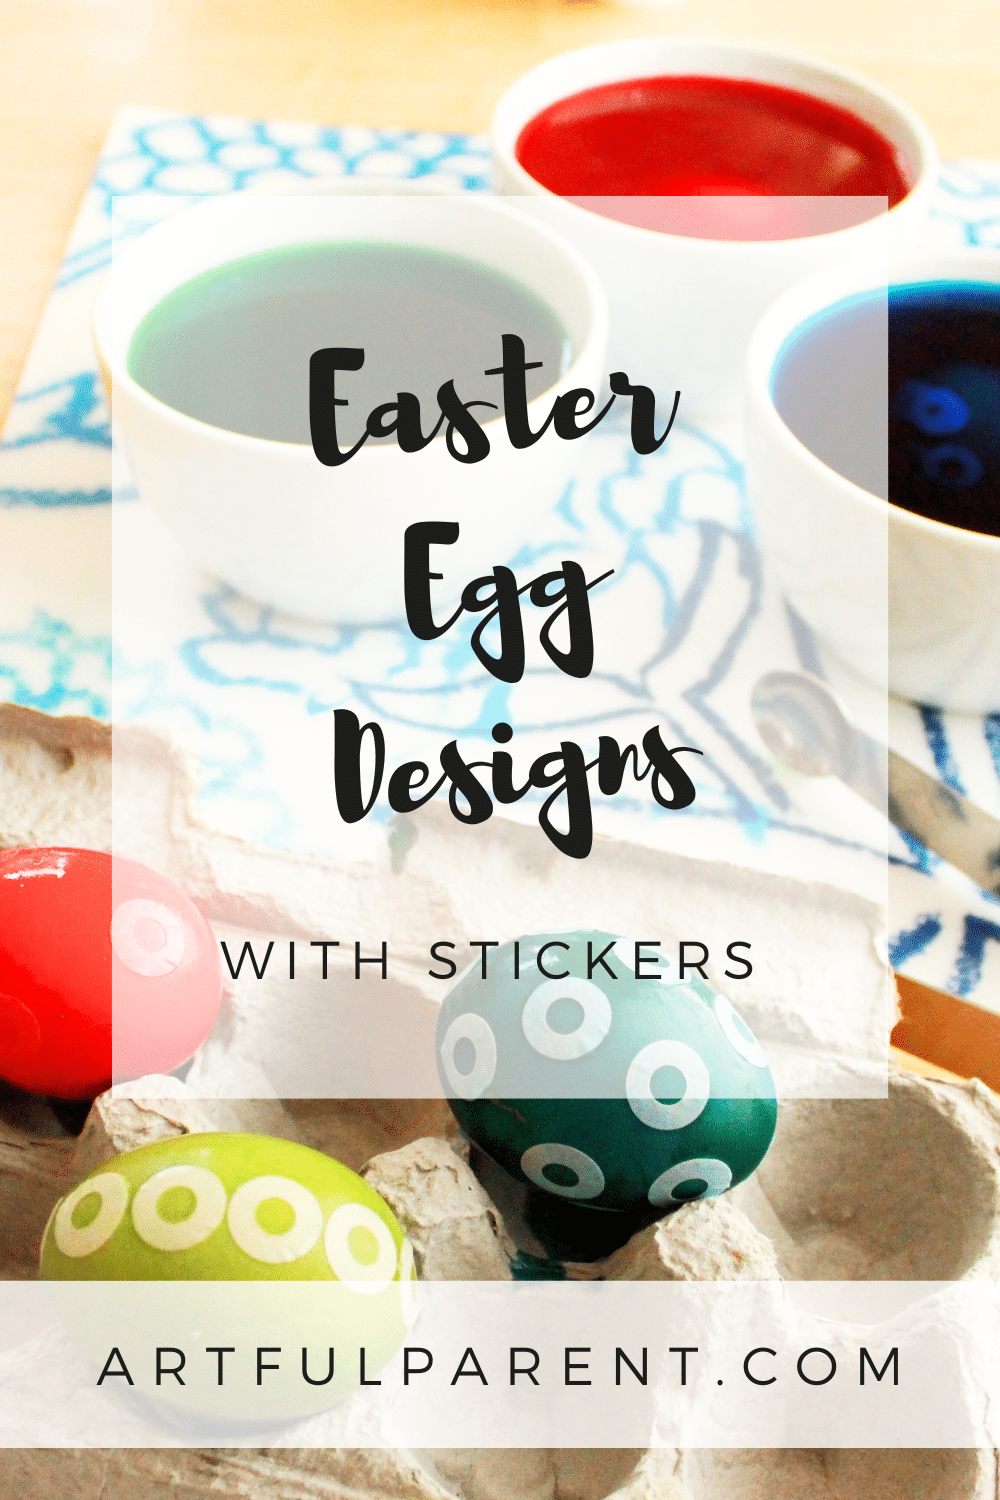
Once you are finished with the sticker designs, simply dunk the eggs in dye to color them.
We’ve used hot water with food coloring and white vinegar (1 tablespoon per 3/4 cup of water) but commercial egg dyeing kits would work just as well.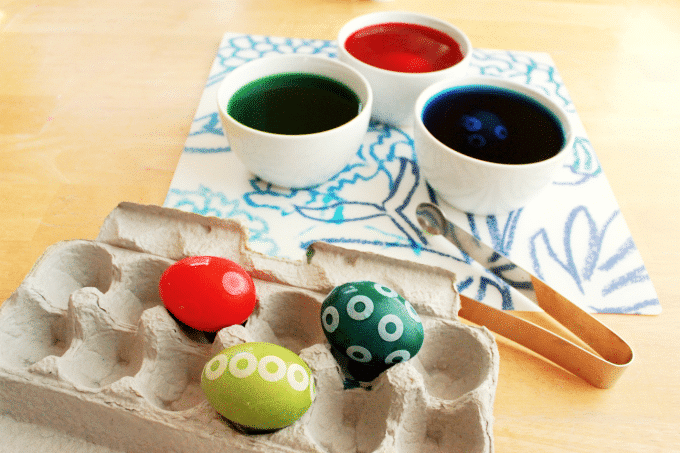
- Remove stickers
Once the Easter eggs are dry, peel off the stickers to reveal the design beneath.
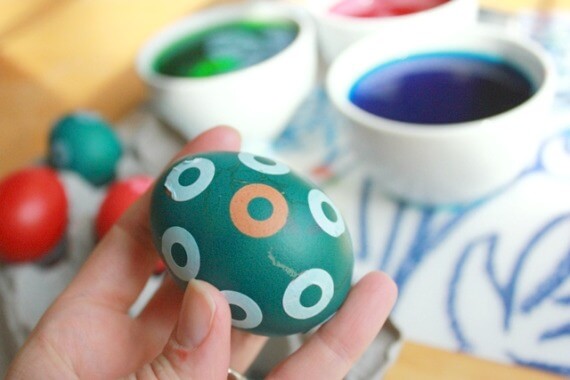
This is an easy and fun Easter egg decorating project, one that little kids could do easily, and that older kids and grown-ups would enjoy as well.
More Egg Decorating Ideas for Kids
- 11 Creative Easter Egg Ideas for Kids
- 5 BEST Egg Decorating Ideas Inspired by Nature
- 31 Easter Crafts for Kids (+ Art Projects, Easter Activities & More!)
- 8 Fun Easter Arts & Crafts Ideas for Kids on Instagram
- 5 Fun Easter Art Activities for Kids
- How to Make Giant Papier Mache Easter Eggs
Want even more creative ideas?
Check out our Easter Creativity pack!
Celebrate this fun holiday with all kinds of adorable creative activities! This 32-page printable eBook is full of coloring pages, drawing prompts, games, and more!
Pin it For Later
