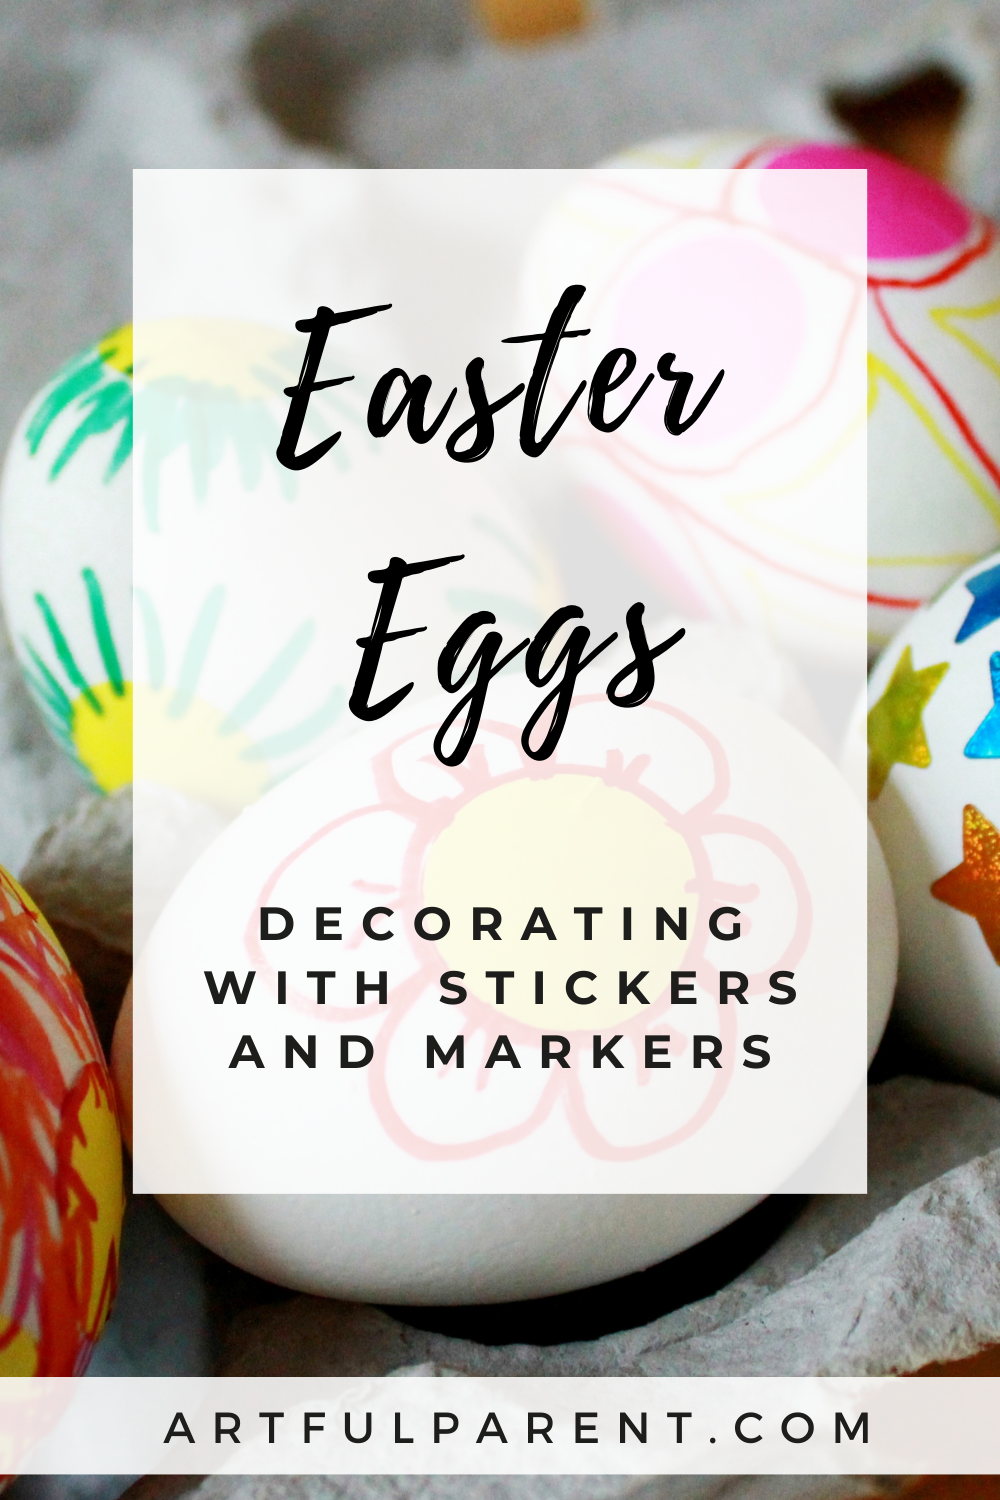
Try Easter egg decorating with this sticker resist technique. Add in marker designs for extra fun and detail.
Updated January 2024
It’s so fun to try new egg decorating ideas and to transfer some of the art ideas you’ve done on paper to the egg “canvas.”
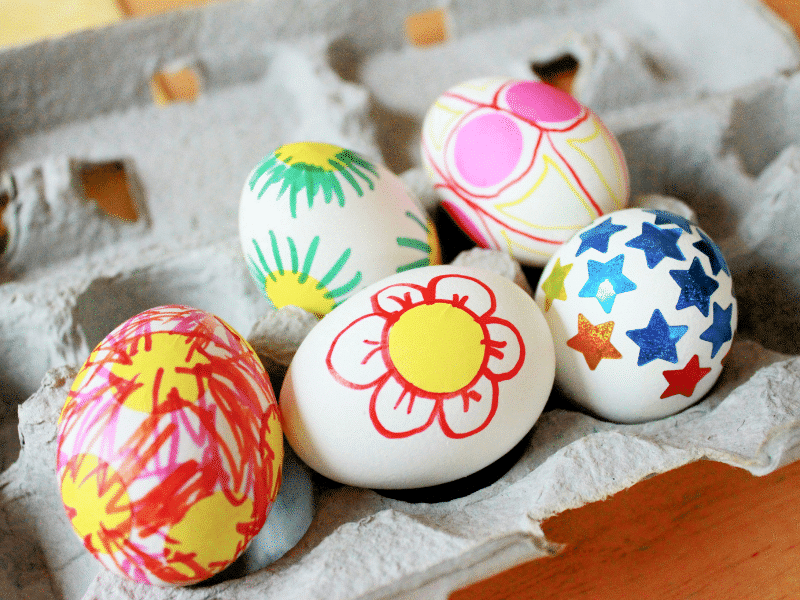
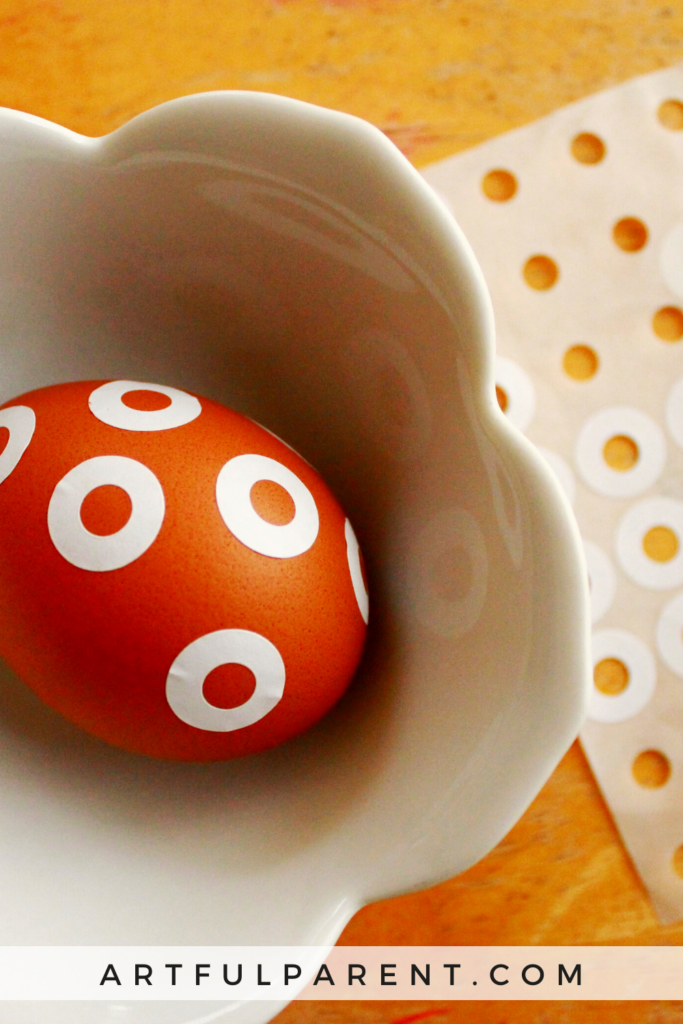
This egg decorating project features sticker resist (like tape resist art), using dot and star stickers with added sharpie marker drawings as an extra design element. You can also try this with simple hole reinforcement stickers.
Easter Egg Decorating with Stickers and Markers

MATERIALS
- White eggs, hard-boiled*
- Foil star stickers
- Stationery store stickers
- Sharpie markers
- Food coloring or liquid watercolors + white vinegar (or you can use an Easter egg dye kit)
*With egg prices reaching record highs this year, dyeable plastic eggs—available for as little as $1.98 per dozen at retailers like Walmart—offer a budget-friendly and reusable alternative for your Easter egg decorating.
INSTRUCTIONS
- Add stickers to eggs
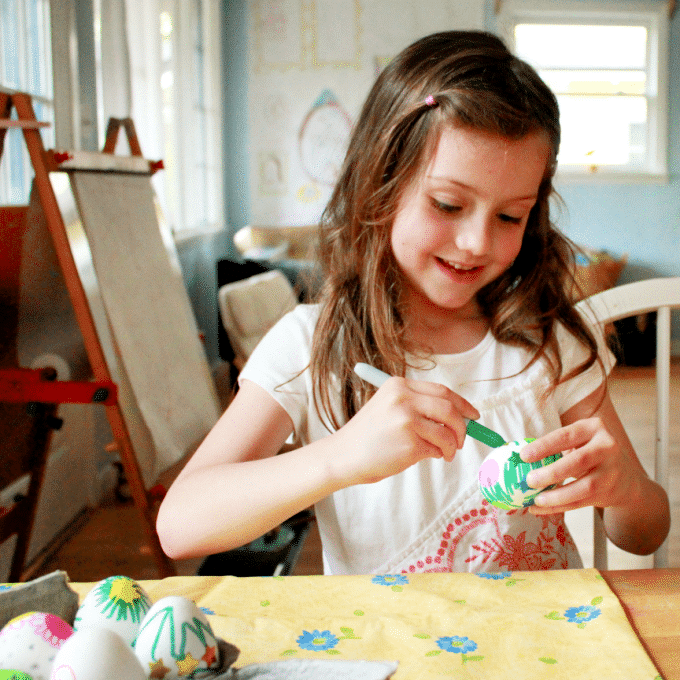
First, stick stickers to the hard-boiled eggs in a variety of patterns.
- Draw details with permanent markers
Then you can add drawings, scribbles, and designs with Sharpie markers.
- Dye eggs
You can dye your eggs according to the package or make your own dye.
We’ve used liquid watercolorsor food coloring to color the dye, with 3/4 cup hot water, 1 tablespoon white vinegar, plus as much color as you want.
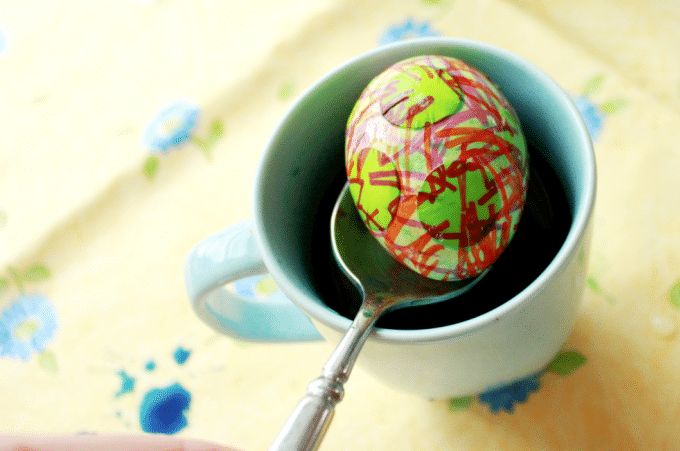
- Remove stickers
Some stickers are easier to remove than others. We’ve found the foil star stickers are super easy to remove.
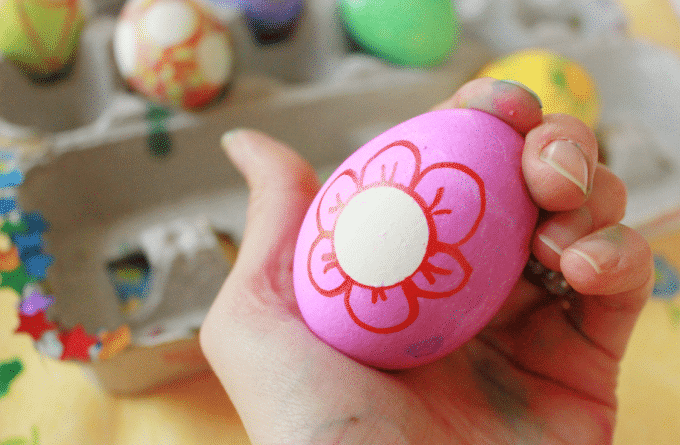
This egg decorating activity was such fun! And we really like how they turned out. We think there is a lot of design potential with the sticker resist plus sharpie combination.
Think of your Easter eggs as miniature canvases and give this egg decorating technique a try!
More Easter Egg Ideas for Kids
- 11 Creative Easter Egg Ideas for Kids
- 5 BEST Egg Decorating Ideas Inspired by Nature
- 31 Easter Crafts for Kids (+ Art Projects, Easter Activities & More!)
- 8 Fun Easter Arts & Crafts Ideas for Kids on Instagram
- 5 Fun Easter Art Activities for Kids
- How to Make Giant Papier Mache Easter Eggs
Want even more creative ideas?
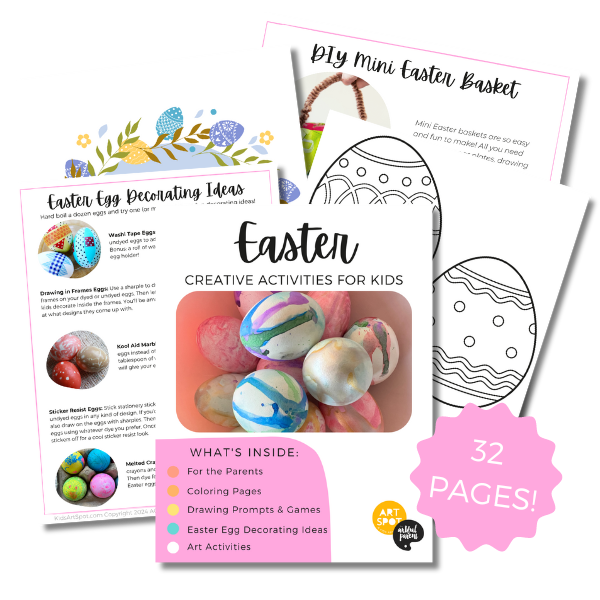
Check out our Easter Creativity pack!
Celebrate this fun holiday with all kinds of adorable creative activities! This 32-page printable eBook is full of coloring pages, drawing prompts, games, and more!
Pin It for Later