Try this unique egg decorating ideas with image transfers. Transfer photos, illustrations, words, or anything small onto your eggs.
Updated March 2023
This is a fun Easter egg decorating idea if you are feeling extra crafty — image transfers onto Easter eggs!
This image transfer method is based on one Jean found for transferring printed images to wood on the blog Matsutake. And these little bird images she used are just perfect for Easter eggs!
Decorating Easter Eggs with Image Transfers
MATERIALS
- Paper that will fit a printer/copier
- Elmer’s glue
- Foam brush or regular paint brush
- Ink Jet printer/copier
- Scissors
- White eggs, hard-boiled*
- Mod Podge
*With egg prices reaching record highs this year, dyeable plastic eggs—available for as little as $1.98 per dozen at retailers like Walmart—offer a budget-friendly and reusable alternative for your Easter egg decorating.
INSTRUCTIONS
- Prepare the paper
First, brush Elmers glue all over one or more sheets of paper. Let dry.
- Print your images
Once the glue-covered paper is completely dry, PRINT or COPY your desired images onto the glue side.
(Note: the paper might buckle somewhat as it dries, so you can press it under some heavy books first before printing on it.)
For this project, Jean used google image search to find bird illustrations and botanical illustrations. You can, of course, print anything from robots to butterflies.
Smaller sizes work better, so if your image is large, resize it first or print it to a half page.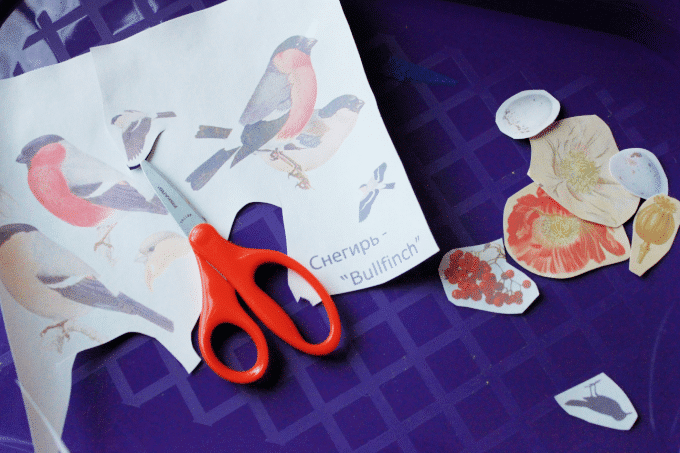
Then, cut out the images you’d like to use to decorate your Easter eggs. - Attach image to your egg
Brush a layer of Mod Podge over your egg, place the printed cut-out on the egg image side down, and brush more Mod Podge over the back of the paper.
It won’t lie flat at first and you’ll need to rub the edges down a bit until it lies snugly against the egg as in the picture.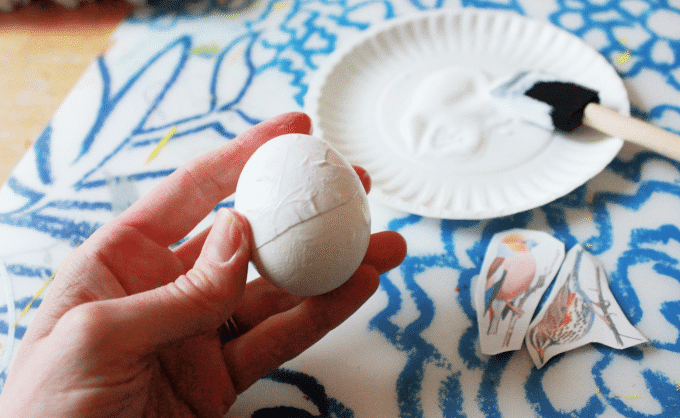
Once your images are all glued onto your Easter eggs, let dry completely. - Remove the paper images
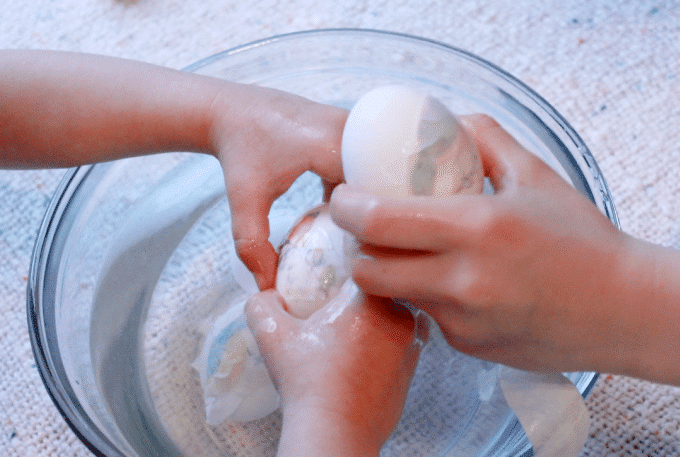
To remove the image transfers, soak your eggs in a bowl of water to loosen the paper. Then peel or rub off the loosened paper to reveal the images. FYI kids LOVE this step!
There will be a little glue and paper on the egg still — just rub it off with your thumb or a sponge. It’ll come off easily.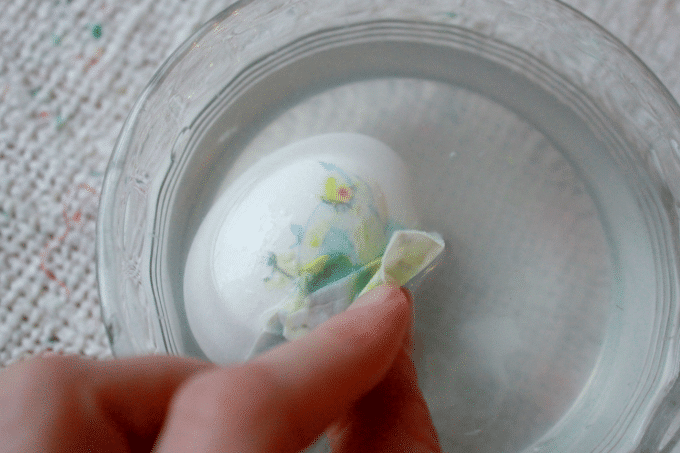
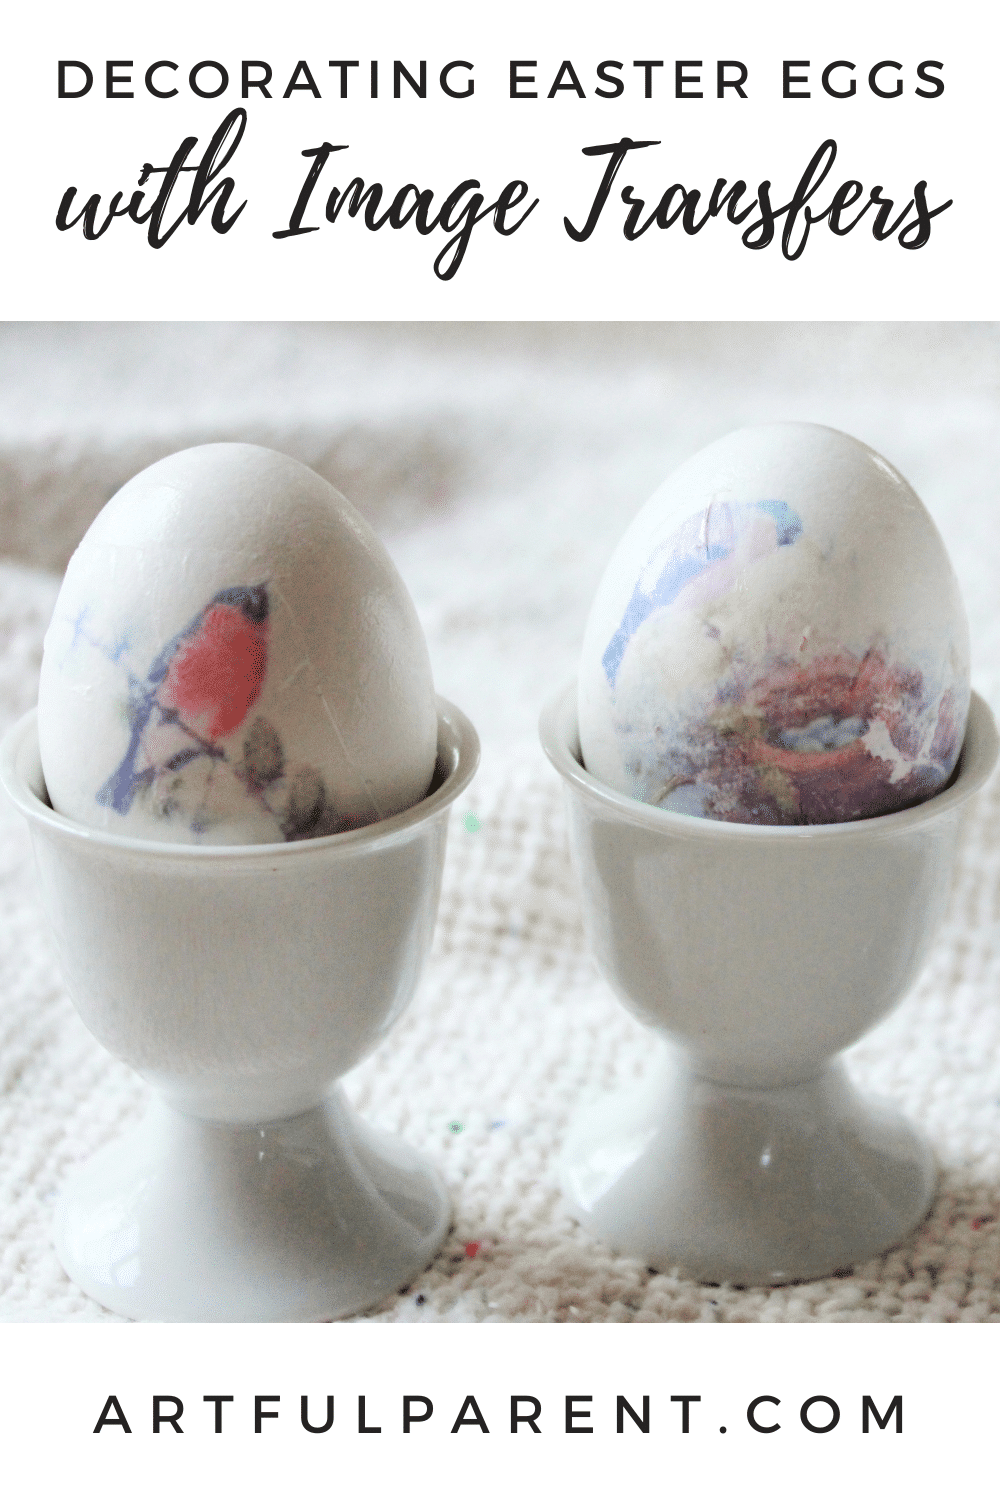
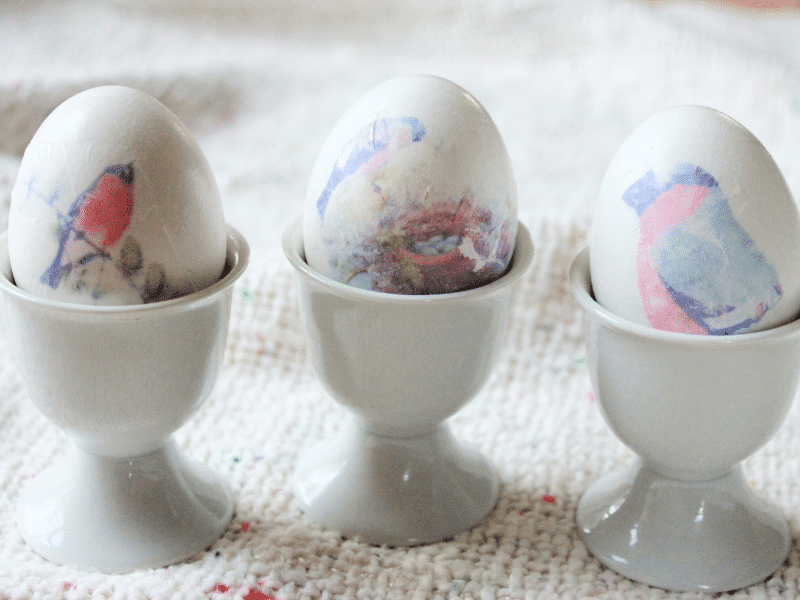
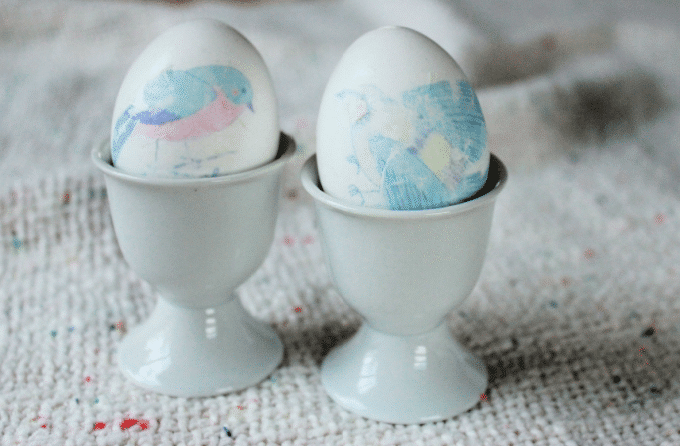
Once you have your decorated eggs, you can put them into little egg cups and admire! Or use them as a centerpiece for your Easter table.
Besides the birds, we also decorated a bunch of Easter eggs with a variety of botanical illustrations, notably poppies.
We LOVE the image transfers! And can’t wait to try this technique more!
More Egg Decorating Ideas for Kids
- 11 Creative Easter Egg Ideas for Kids
- 5 BEST Egg Decorating Ideas Inspired by Nature
- 31 Easter Crafts for Kids (+ Art Projects, Easter Activities & More!)
- 8 Fun Easter Arts & Crafts Ideas for Kids on Instagram
- 5 Fun Easter Art Activities for Kids
- How to Make Giant Papier Mache Easter Eggs
Want even more creative ideas?
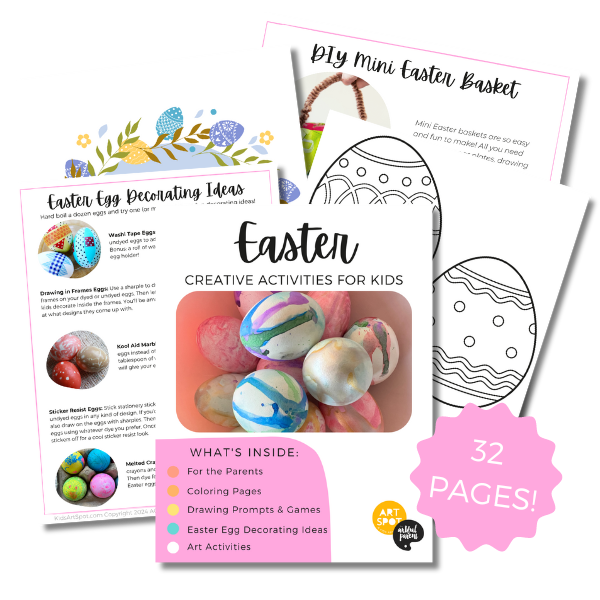
Check out our Easter Creativity pack!
Celebrate this fun holiday with all kinds of adorable creative activities! This 32-page printable eBook is full of coloring pages, drawing prompts, games, and more!
Pin It for Later