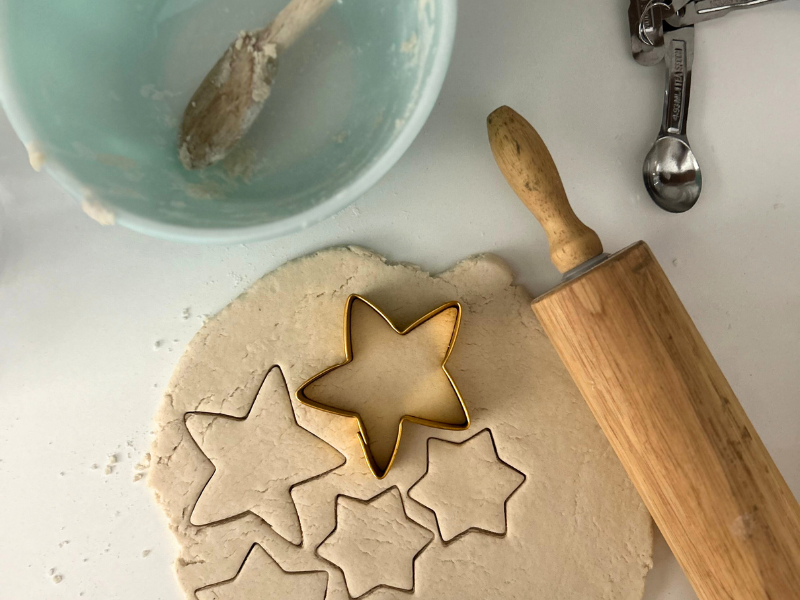
Learn how to make salt dough with this easy recipe. Salt dough is great for all kinds of crafts, including ornaments and pendants.
Easy to make, inexpensive, and super versatile, salt dough might just be the perfect clay for beginners! This recipe results in a mixture that’s soft and pliable like playdough but will harden like clay once dried.
Whether you’re looking to create ornaments, sculptures, or homemade gifts, this recipe offers endless possibilities. Even better? You probably already have the ingredients in your kitchen!

How to Make Salt Dough
MATERIALS
- 2 cups flour
- 1 cup salt
- 1 cup water (adjust as needed)
- Mixing bowl
- Spoon
- Cookie cutters (optional)
This recipe makes a small batch of salt dough perfect for one or two kids. Feel free to double or triple as needed!
INSTRUCTIONS
- Mix the ingredients
Combine your salt and flour in a medium mixing bowl and stir until combined.
Gradually add water until a dough begins to form. If the dough is too sticky, add more flour. If it’s too dry, add more water.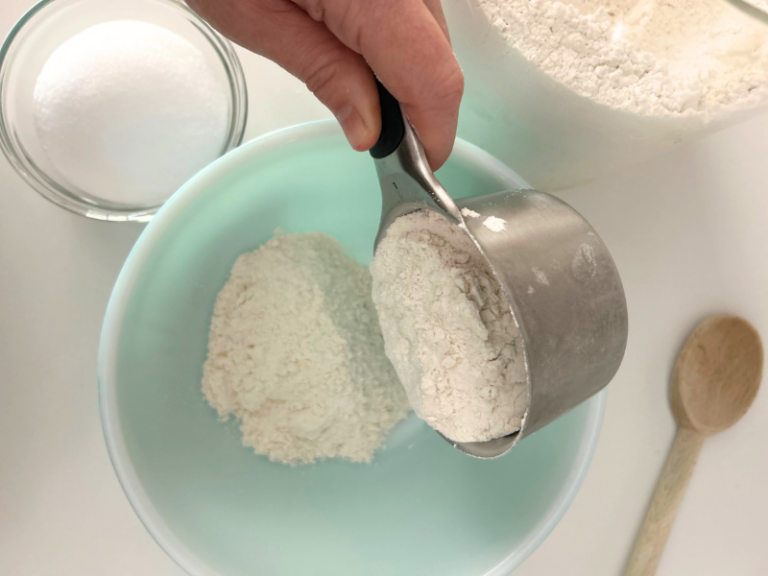
- Knead the dough
Transfer the dough onto a floured surface and knead for several minutes until it becomes smooth and pliable.
- Create and play!
You can roll this dough to stamp out shapes with cookie cutters or sculpt designs by hand. (If making ornaments or pendants, don’t forget to poke a hole in your creations before drying!)
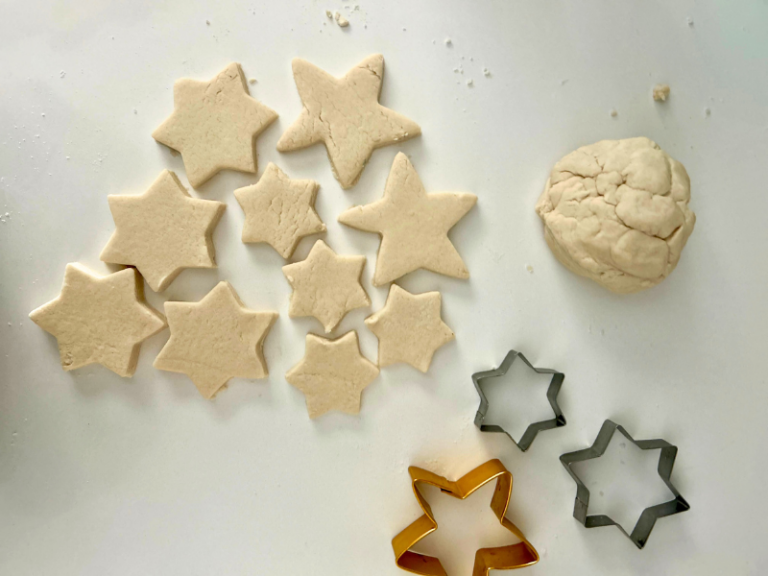
We also love offering fun poke-ins during play (like beads, googly eyes, sequins, and toothpicks). Let your child’s imagination run wild!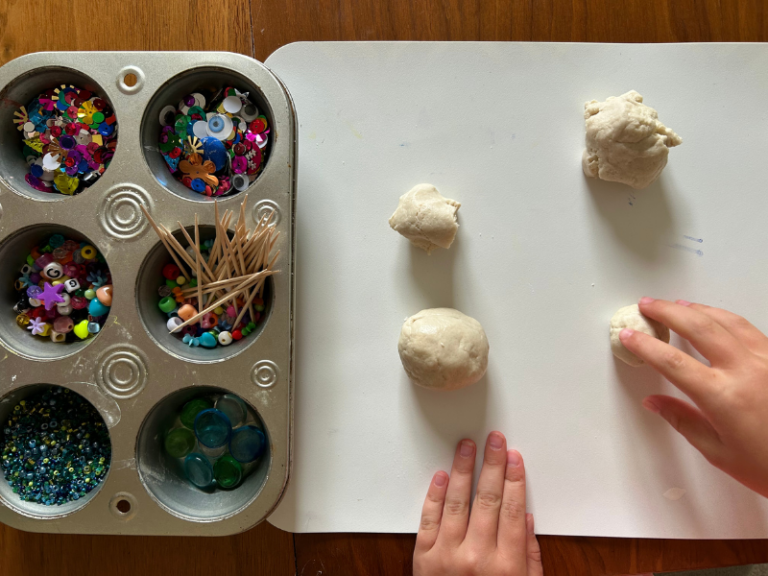
- Bake or air dry
You can bake your creations in a 250-degree oven for 2-3 hours, depending on the thickness of your pieces.
Salt dough will also air dry if left out for several days. If air drying your clay, be sure to flip your pieces so they dry evenly. - Decorate as desired
Your creations can be decorated with watercolor, tempera, or acrylic paints once dried. We’ve also had good luck with basic crayons, colored pencils, or markers. The sky’s the limit!
You can finish with a coat of clear varnish for extra durability if desired.
Store any leftover salt dough in an airtight container in the refrigerator for up to a week. When reusing the dough, let it come to room temperature first.
Print out this easy recipe and keep it on hand any time you need it:
Print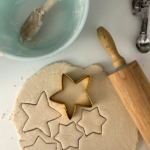
Description
This simple recipe is perfect for crafts of all kinds!
Ingredients
- 2 cups flour
- 1 cup salt
- 1 cup water (adjust as needed)
Instructions
- Mix the ingredients: Combine the dry ingredients in a medium mixing bowl. Gradually add water until a dough begins to form. If the dough is too sticky, add more flour. If it’s too dry, add more water.
- Knead the dough: Transfer the dough onto a floured surface and knead for several minutes until it becomes smooth and pliable.
- Create and play! You can roll this dough to stamp out shapes with cookie cutters or sculpt designs by hand.
- Bake or air dry: You can bake your creations in a 250 degree oven for 2-3 hours, depending on the thickness of your pieces. Salt dough will also air dry if left out for several days.
- Decorate as desired: Once dry, salt dough can be decorated with paints, crayons, or markers.
Fun Ideas for Using Salt Dough
- 15 Amazing Clay Projects for Kids
- How to Make Stamped Salt Dough Ornaments
- How to Make Ornaments with Sparkly Glass Beads
- How to Make Clay Leaf Prints
- How to Make a Clay Pinch Pot Keepsake
- How to Make Clay Coil Pots
Pin It for later
