Stamped salt dough ornaments are easy handmade Christmas ornaments for the tree and a fun family tradition.
Updated November 2024
Making salt dough ornaments has become a Christmas tradition for us. They are the perfect way to get into the holiday spirit and we love to decorate our tree with them. They also make great gifts!
Salt dough is super versatile and there are many different ways to make your ornaments. Don’t worry, we’ve done the trial-and-error bits for you!
This year, we’ve brought out our stamps for a stamped version of this easy holiday ornament. Be sure to check out our favorite salt dough recipe at the end to help you get started on your stamped ornaments!
How to Make Stamped Salt Dough Ornaments

MATERIALS
- Salt dough
- paint (we’ve used Biocolor and watercolors, too)
- straws
- stamps
- glitter (optional)
- parchment paper
- cookie cutters
INSTRUCTIONS
- Make and roll your dough
Follow the recipe below to make a batch of salt dough. Lay parchment paper down for your dough. The parchment paper helps to keep the dough from sticking to the table.
- Roll and cut salt dough
Use a rolling pin to roll out the dough and cut out ornament shapes with cookie cutters.
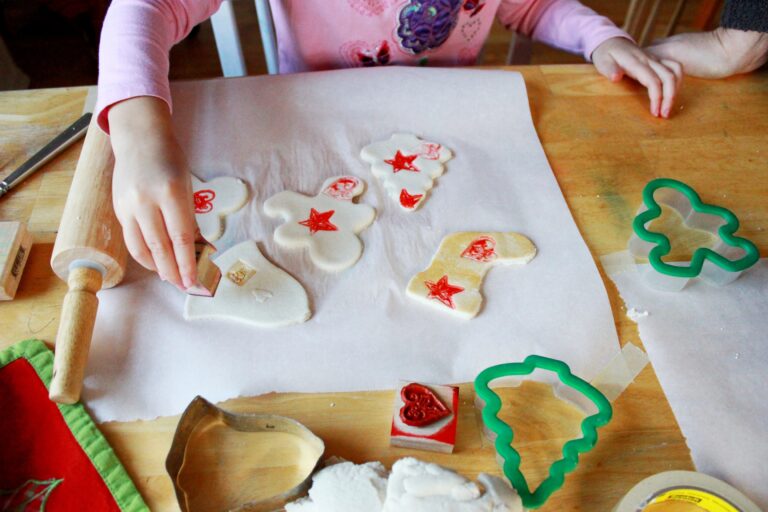
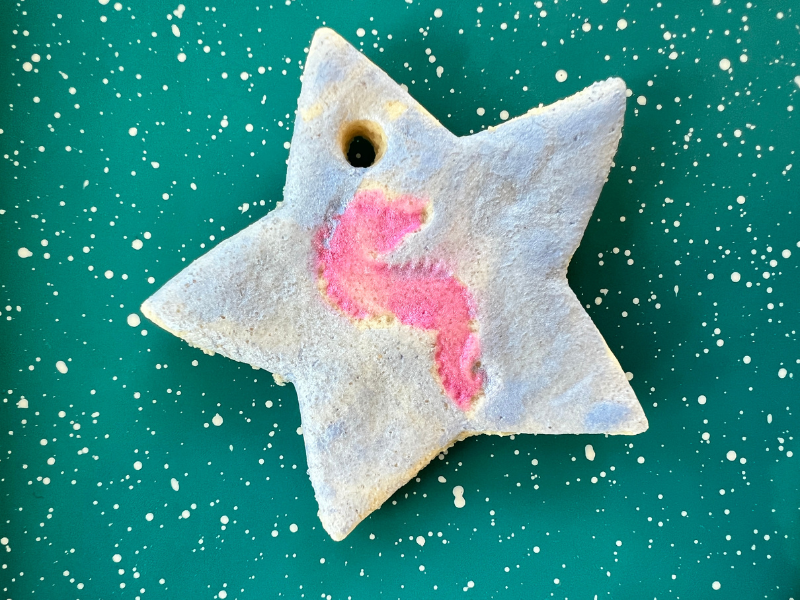
- Stamp ornaments
Use stamps with and without ink for a variation in designs.
- Bake your ornaments!
Use a straw to poke a hole in the top of your ornament. Bake at 250F for 2-3 hours. Let cool completely. Then use ribbon or yarn to hang your ornaments.
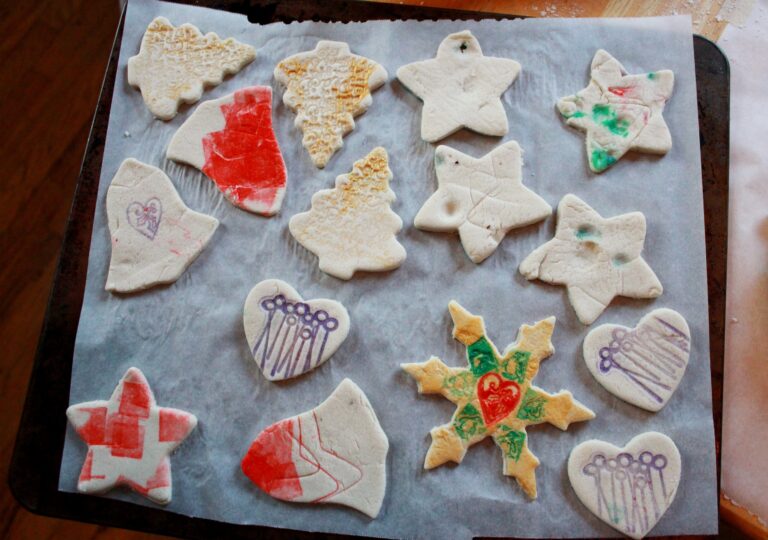
An optional step: add paint and glitter to your ornaments!
BioColor works great on salt dough! It dries quickly, stays on the surface of the dough, and remains vibrant once dry. We also love the way metallic watercolors look, too.
Our Favorite Salt Dough Recipe
Print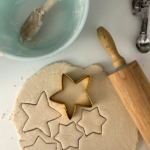
Our Favorite Salt Dough Recipe
- Prep Time: 15 minutes
- Cook Time: 3 hours
- Total Time: 3 hours 15 minutes
- Category: crafts
Description
We’ve tried so many salt dough crafts and made lots of variations of salt dough ornaments over the years. Here’s our favorite salt dough recipe with instructions to get you started.
Ingredients
- 2 cups flour
- 1 cup salt
- 1 cup cold water (+ extra if needed)
Instructions
- Mix flour with salt then stir in water. If the dough doesn’t come together, add a bit more water.
- Turn out the salt dough onto a countertop and work together with your hands until evenly mixed.
- Store in a plastic bag in the fridge until ready to use.
- Place a fist-size piece of dough on a sheet of parchment paper and cover with a second sheet of parchment paper. Roll dough out with a rolling pin 1/8 – 1/4 inch thick.
- Use cookie cutters to cut out the desired shapes. Pull away the extra dough from around the shapes with the cookie cutters still in place.
- Use the end of a drinking straw, a skewer, or a chopstick to poke a hole at the top of each ornament for hanging.
- If you plan to decorate the ornaments, do that step now. Try stamps and a stamp pad, poking a pattern of holes in the dough with the end of a straw, or poking glass beads into the dough.
- Gently move the sheet of parchment paper with salt dough ornaments onto a cookie sheet and bake in a 250F oven for 2-3 hours or until the salt dough is hard, but not browned. Let cool.
- (Optional) Add a coat of Mod Podge or some paint (we like BioColor paint for these) and glitter.
- Add a ribbon through the hole and hang in the window or on the tree!
More Salt Dough Crafts for Kids:
- 10 Salt Dough Decoration Ideas for Christmas
- How to Make Painted Salt Dough Ornaments
- Lacy Salt Dough Ornaments
- How to Make Salt Dough Ornaments with Sparkly Glass Beads
- 20 Homemade Christmas Ornaments the Whole Family Can Make
- How to Make Cinnamon Ornaments
Want even more creative ideas?
Check out our Holiday Creativity pack!
Let’s celebrate the holidays with all things crafty! Here are 53 pages full of our favorite drawing prompts, creative play ideas, art activities, and more!

Pin It For Later