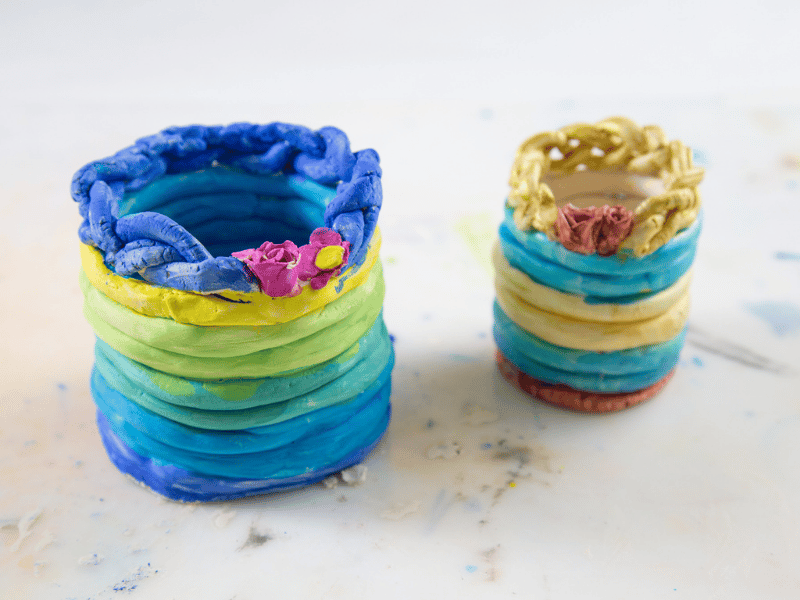
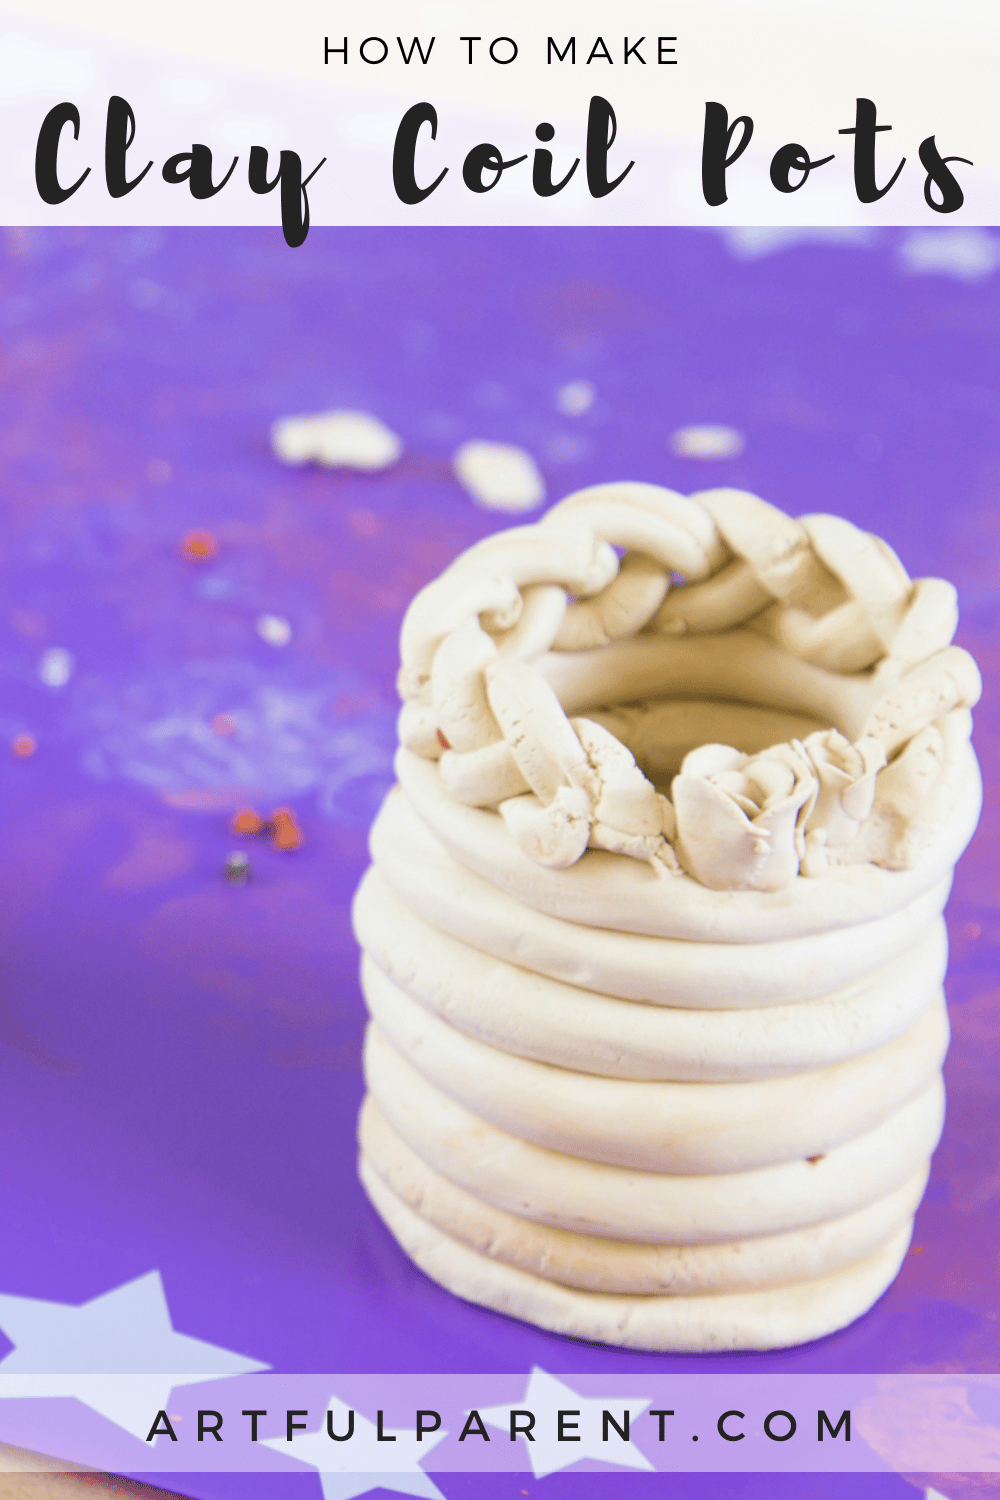
Making clay coil pots is an easy and fun way to work with clay and they make a great keepsake or gift! Roll clay out into long “snakes,” then coil them into a bowl or pot shape.
If you are looking for a fun and easy clay activity, you must try clay coil pots! Kids of all ages will have fun rolling out long snakes of clay (and this is a great hand and finger strengthening activity!) and coiling them up into a bowl.
We like to use air dry clay for this project, because it dries without a kiln, and you can easily paint it afterward.
Here’s a video of Clay Coil Pots in action! And don’t forget to keep scrolling for step by step instructions.
Clay Coil Pots
MATERIALS
- Air dry clay*
- Rolling pin (optional)
- Paint**
- Paintbrush
*We use Crayola Air Dry Clay, but you can use any brand (including homemade) or use regular
potter’s clay.
**You can use watercolor paint, tempera paint, gouache, or acrylic paint.
INSTRUCTIONS
- Create your pot base
Start by creating a round “cookie” out of clay to use as the base of your pot. You can shape this by hand or roll it out with a rolling pin to about a 1/4 inch thick. Make scratch marks on the outside edge with a toothpick or butter knife.
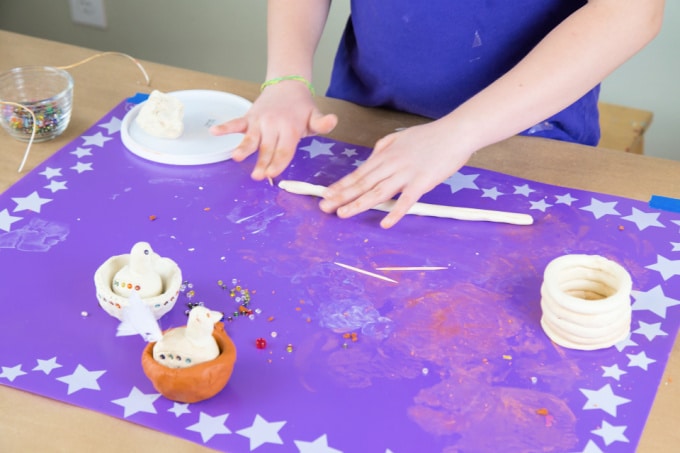
- Create a clay snake
Now, take a small handful of clay and roll it between your hands and the table to create a long, thin “snake.”
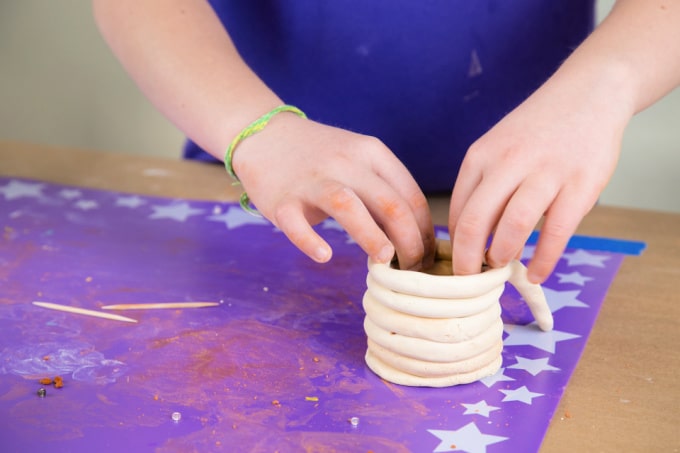
- Coil the clay snake
Coil the snake of clay around the top edge of the clay base, over the scratch marks, then continue coiling the snake around and around.
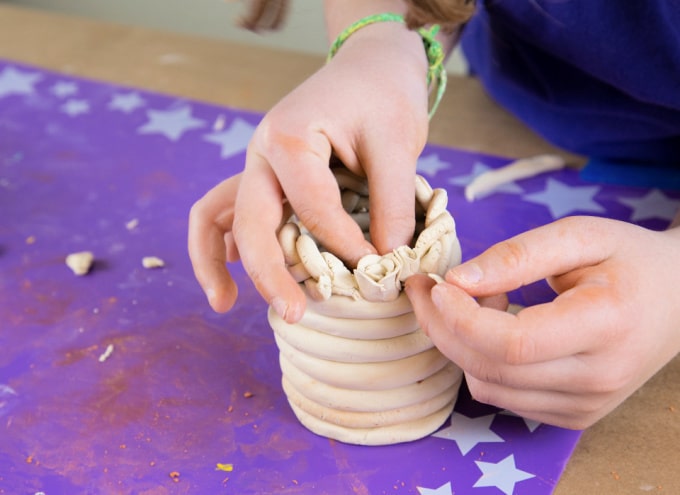
- Blend the edges
Use your fingers and a tiny bit of water to blend the edges of the clay coils together a little bit or a lot.
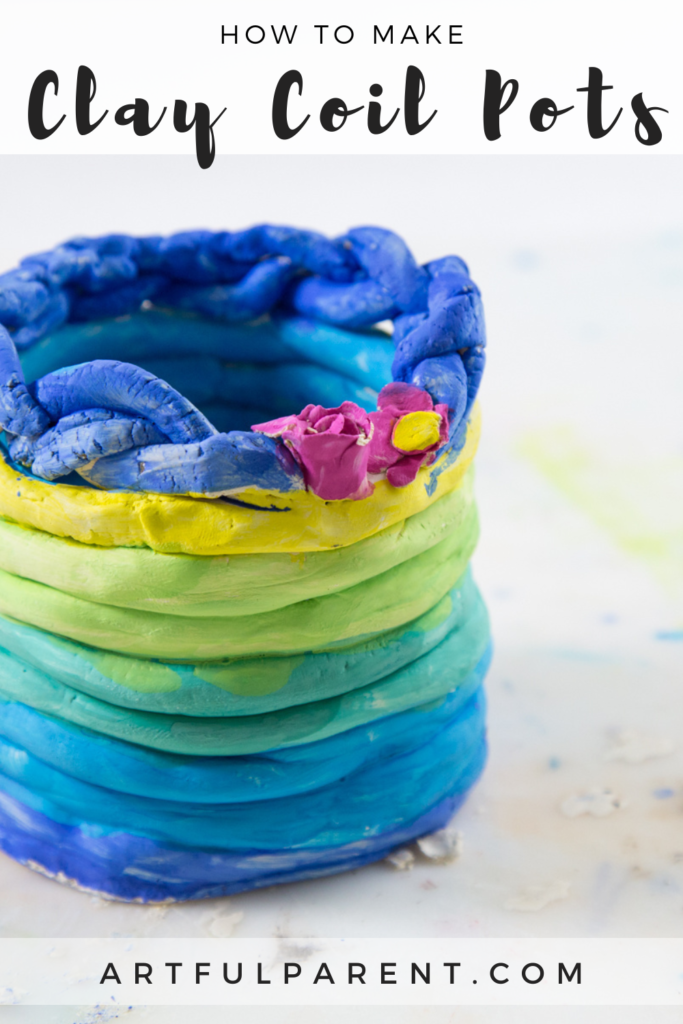
- Add embellishments
Once you’ve made your clay coil pot as big as you would like, you can add embellishments such as spirals, flowers, or braids made out of clay.
- Let it dry
Let your pot dry completely (this can take several days).
- Paint it
Paint the pot.
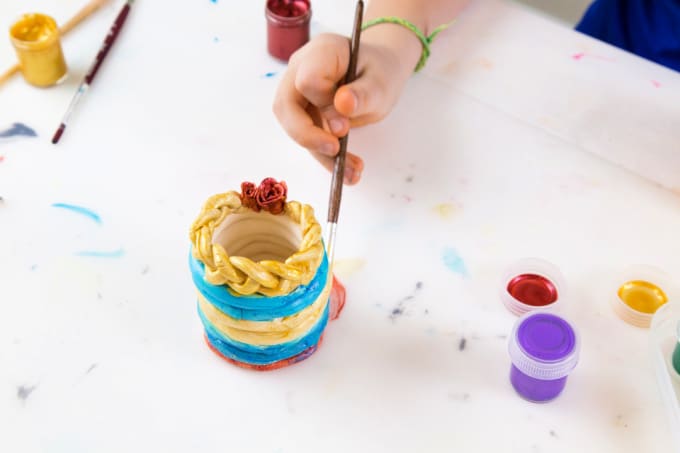
Once your pot is dry, you can give it to someone special, or use it for holding little items!
If you have some air dry clay on hand, we highly recommend trying these clay coil pots!
More Clay Activities for Kids
- 15 Amazing Clay Projects for Kids
- Why We Love This Kids Pottery Wheel
- How to Make Clay Hearts with Air Dry Clay
- Clay Leaf Prints and Pendants
- How to Make Clay Coil Hearts
- How to Make a Clay Coral Reef for Kids
Pin It For Later
