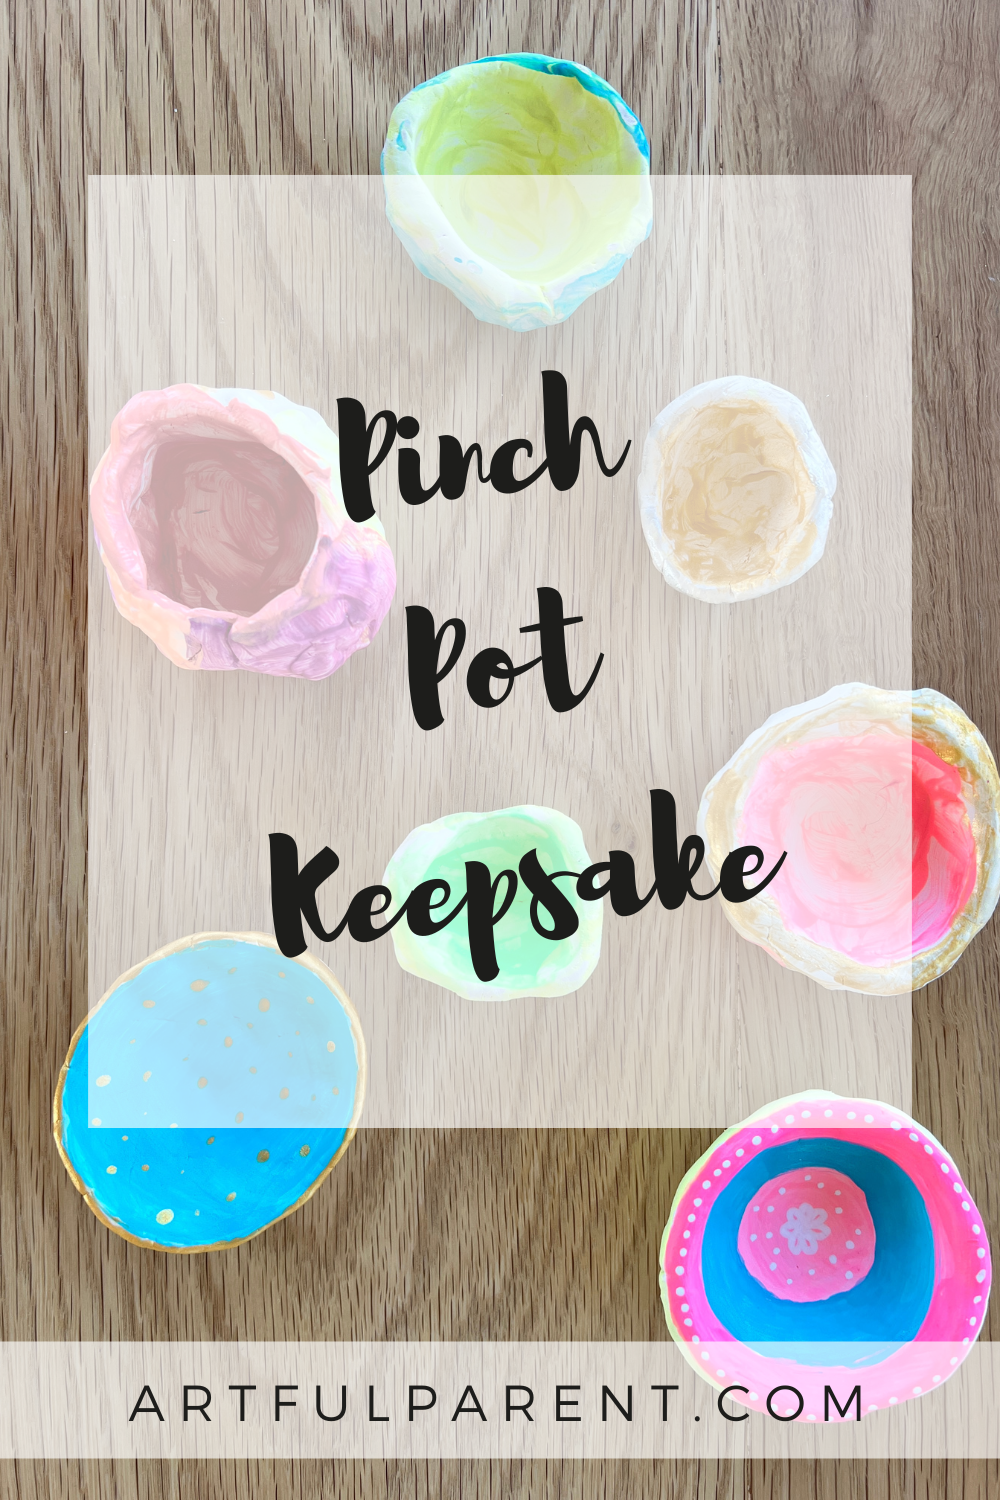
Learn how to make a sweet pinch pot keepsake using air dry clay. Once dried and painted, these make a lovely Mother’s Day gift!
I don’t know about you, but it can be hard to find the perfect Mother’s Day gift for the special moms and grandmas in your life. You want to give something meaningful that expresses your gratitude for all she does, but you also want the gift to be useful, and not another tchotchke that will clutter up the shelves.
And if you have kids, it’s even better if the gift can be handmade, so they can be part of the process!
Well, luckily for you, we’ve got the perfect combination of meaningful, useful, and handmade! A sweet pinch pot dish, just the right size for holding rings or keys. And every time mom or grandma uses it, she’ll be reminded of how much she means to you!
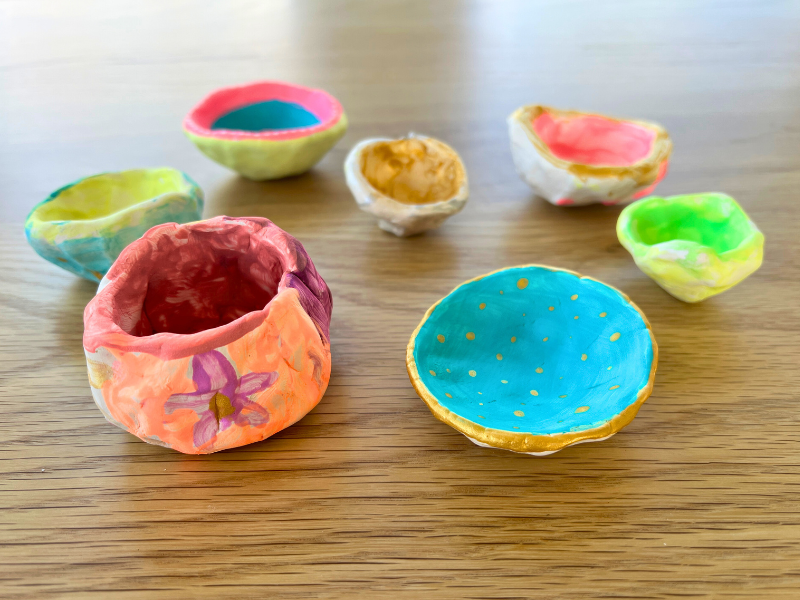
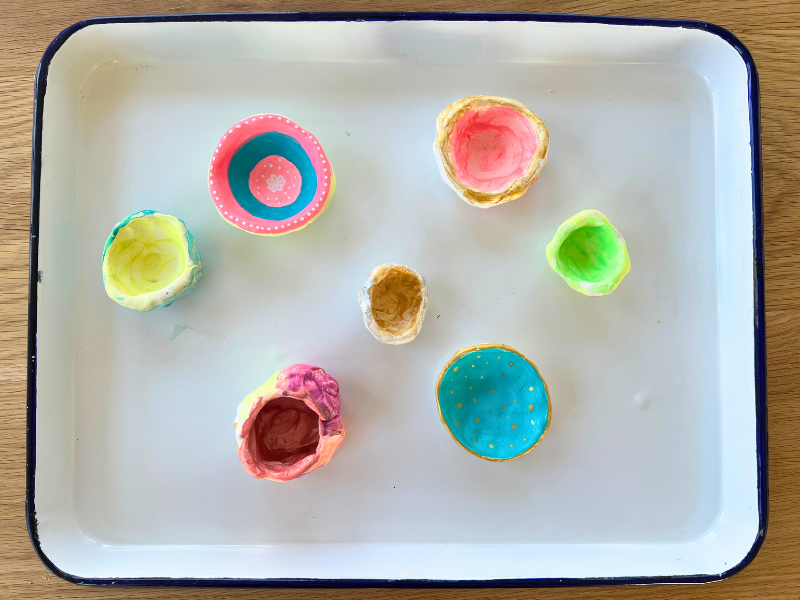
We made these dishes for our Nana and Grandma. My kids enjoyed pinching the clay to form each little pot and then painting them just the perfect colors.

How to Make a Clay Pinch Pot Keepsake

MATERIALS
- Air Dry Clay
- Tray or work mat
- Paint (you can use acrylic or tempera; we used BioColor)
- Paint brushes
- Jars of water
- Paint markers (optional)
INSTRUCTIONS
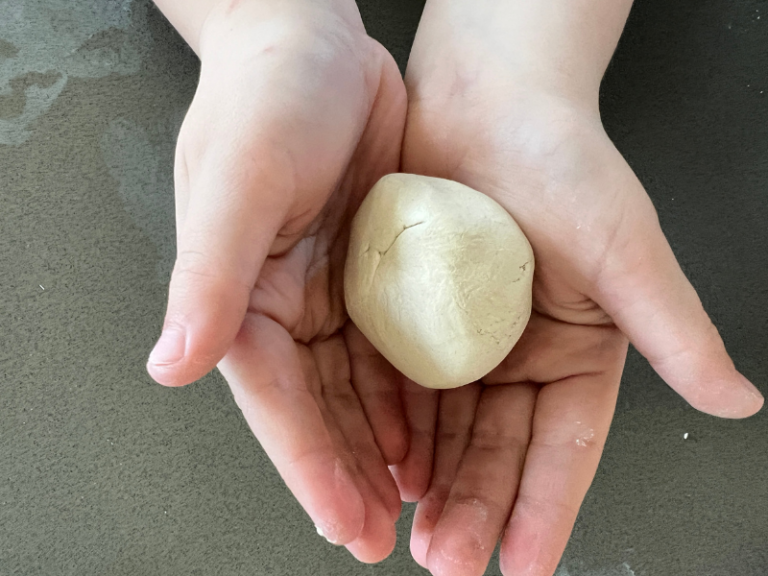
- Roll the clay
Start with a small ball of air dry clay, about the size of a golf ball. Roll it in your hands until it is smooth and round.
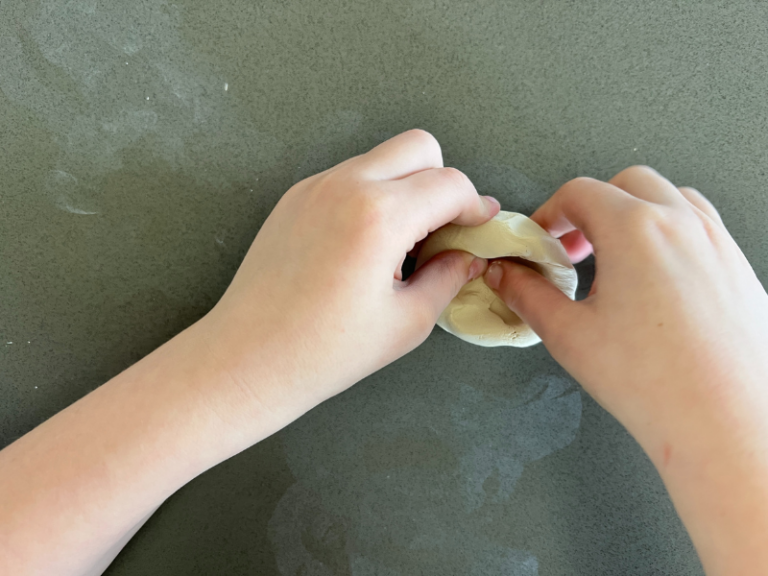
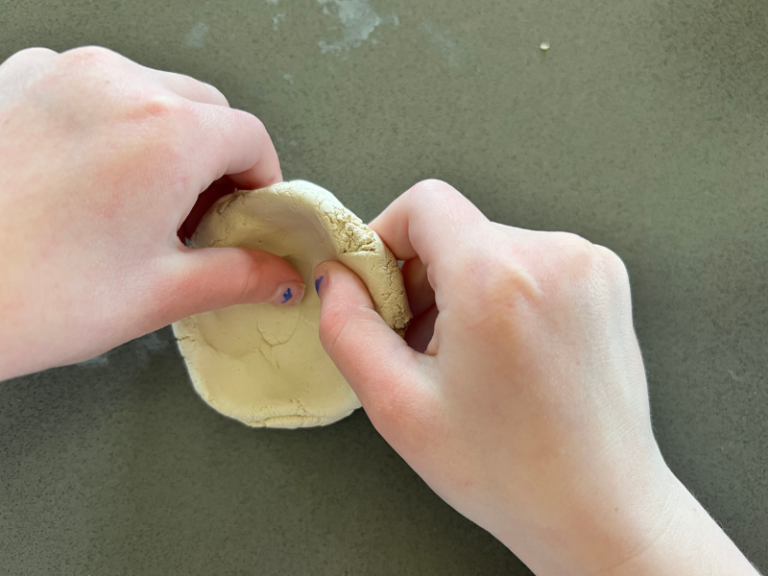
- Make a hole
Use your thumb to press a hole into the center of the clay ball. Then, using your thumb and fingers, work your way around the edge of the hole, pinching the sides to form a pot.
- Keep going
Keep working your thumb and fingers around the pot until it is the size and shape you like. If possible, try to make the sides the same thickness. You can make a cup shape or more of a dish shape. We made some of both!
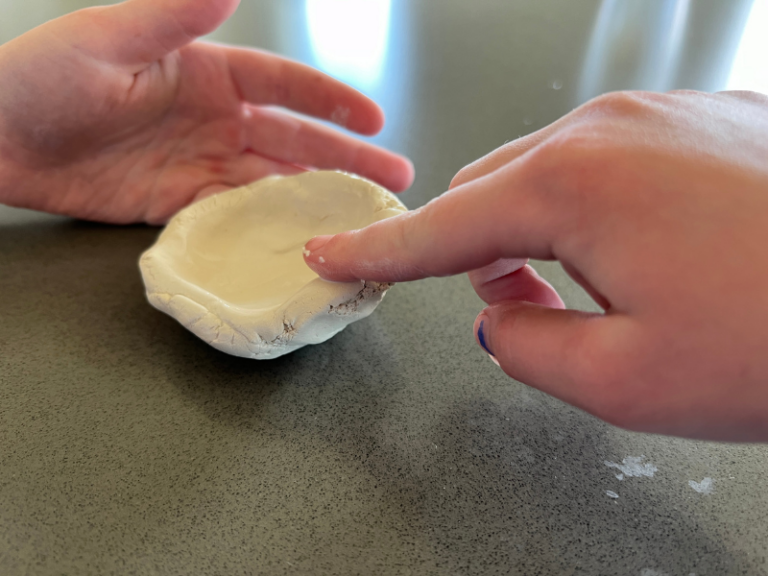
- Smooth the clay
Dip your fingers into water and smooth the clay until you have no cracks or bumps.
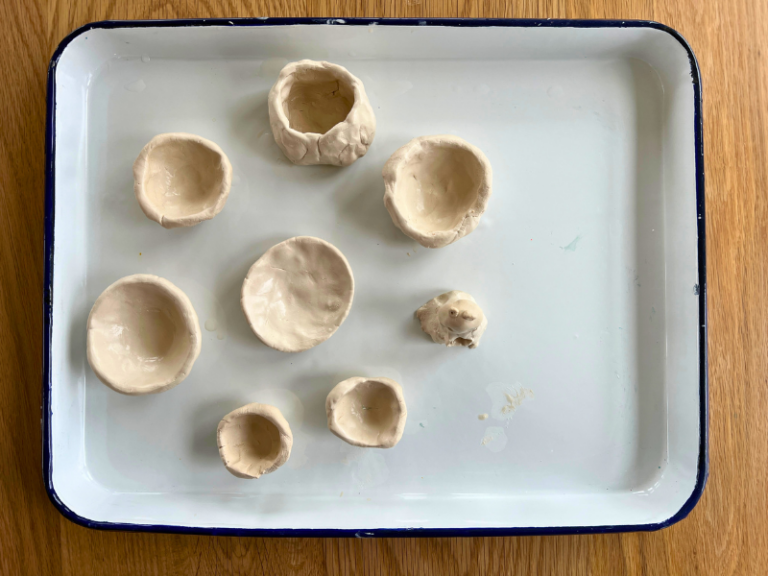
- Let dry
Leave your pinch pots on the tray for a couple of days so they can dry completely.
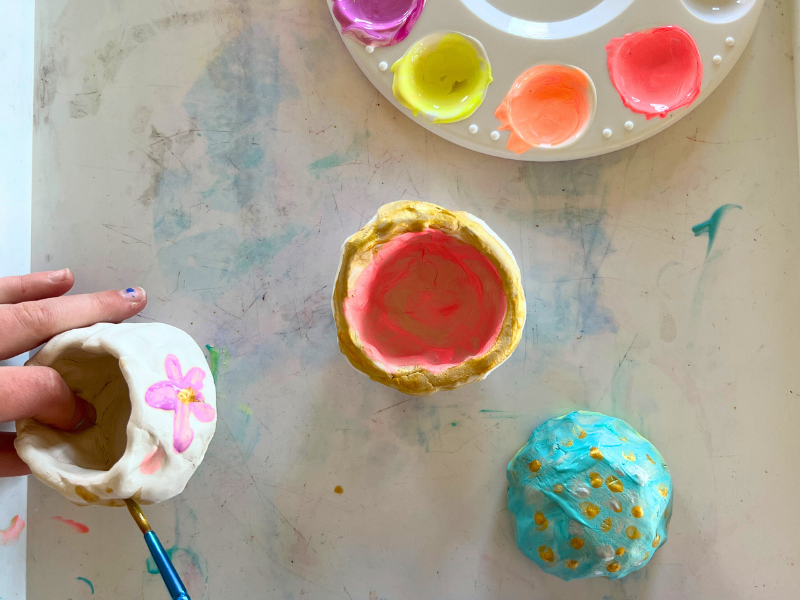
- Decorate!
Once your pots are dry, you can paint them using acrylic or tempera paint. We found we had to do a couple of coats of the BioColor paint for it to be opaque. You can also decorate your pots with paint markers!
Aren’t these pinch pot dishes so sweet? We can’t wait to gift them on Mother’s Day! And if you’re wondering what else you can do with air dry clay, check out some of our favorite clay projects!
More Mother’s Day Gifts for Kids to Make
- 15 Preschool Mother’s Day Crafts
- 10 Mother’s Day Craft Ideas Kids Can Make
- 30 Mother’s Day Crafts for Kids
- How to Paint Mother’s Day Portraits of Queen Mom
- 40 Handmade Gift Ideas that Kids Can Make
Pin It for Later