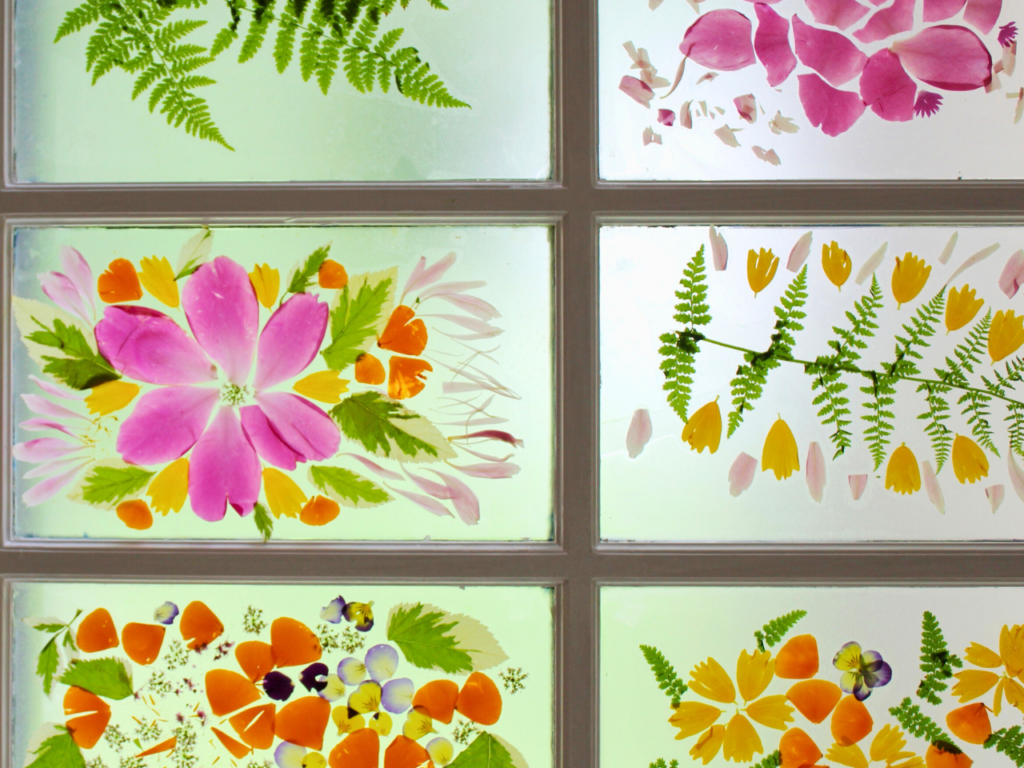
This spring craft combines the petals from colorful flowers with transparent contact paper to create a beautiful flower stained-glass window.
Updated March 2024
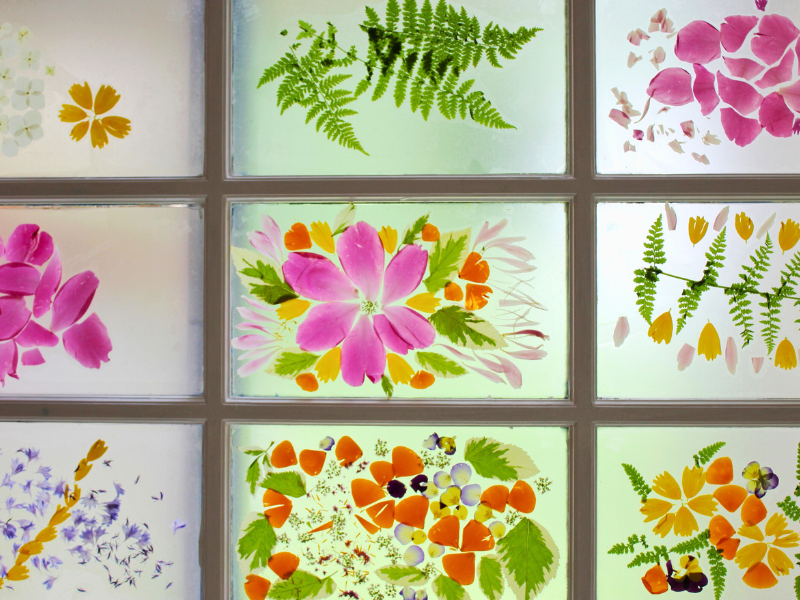
We love this easy “stained-glass” front door!
This one is made with contact paper and flower petals, and it is the perfect spring flower craft.
Windows, either on their own, or in a door, is our big spot for displaying seasonal changes in art and decoration. During the fall, we use colorful leaves to make a fall leaves stained-glass window, during the winter, we decorate our windows with paper snowflakes, and in February, we hang painted hearts!
But decorating our windows during springtime might be our favorite; these flower stained-glass windows are so gorgeous!


How to Make a Flower Stained-Glass Window
MATERIALS
- Transparent contact paper
- Flowers and leaves
Time needed: 30 minutes
INSTRUCTIONS
- Cut your contact paper
First, cut your contact paper to fit inside the space you will decorating (window or door frame) and peel off the backing. Sometimes it helps to tape the contact paper to your table or workspace, so it doesn’t curl up.
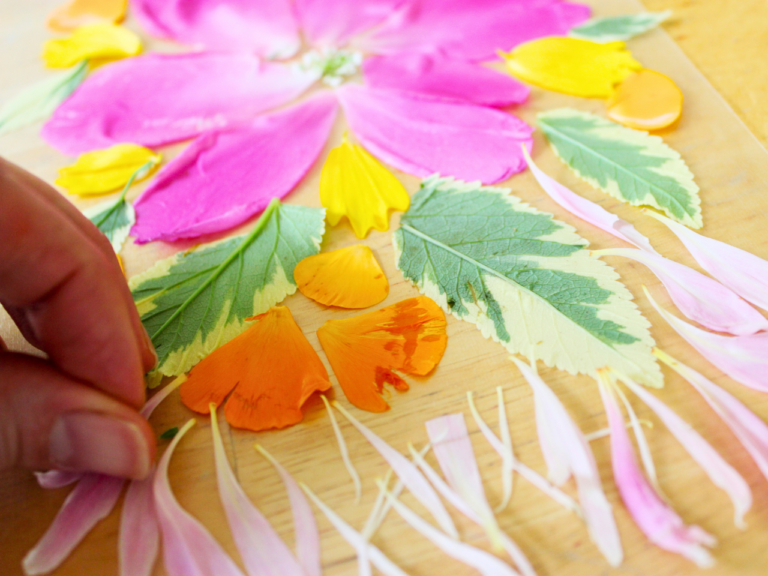
- Add flowers and leaves!
Next, arrange your flower petals and leaves on the sticky side of the contact paper. You can create flower mandalas and other designs – whatever you’d like!
- Attach to the window
Finally, stick the contact paper to your window or door. Step back and enjoy the beautiful stained glass you’d created!
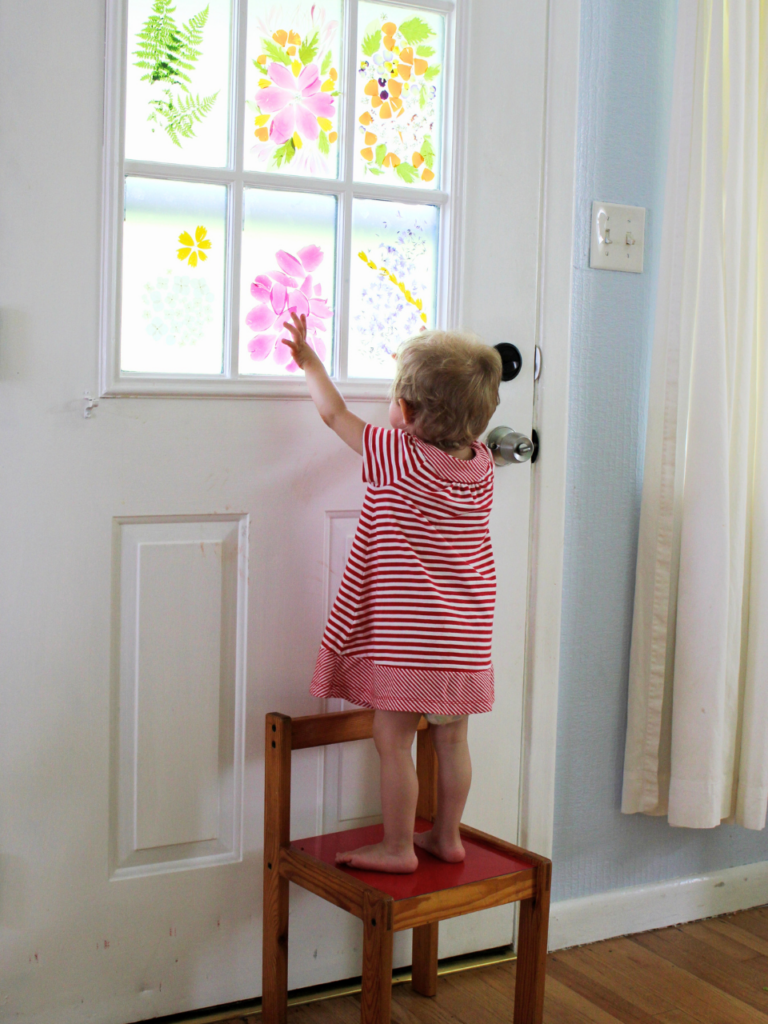
This is such a perfect way to bring the beautiful colors of spring into your home.
And the best part of this stained-glass door is that you can recreate it any time of year! Maybe in a week or two when these flowers fade, you can create some new flower designs.
More Spring Flower Crafts for Kids
- 12 Flower Crafts for Kids
- A Flower Suncatcher Craft for Kids
- How to Make Paper Flower Crowns
- How to Make Flower Flags with Flower Pounding
- Make A Magical 3D Nature Suncatcher from A Cardboard Box
- How to do Flower Printing with Kids
Want even more creative ideas?
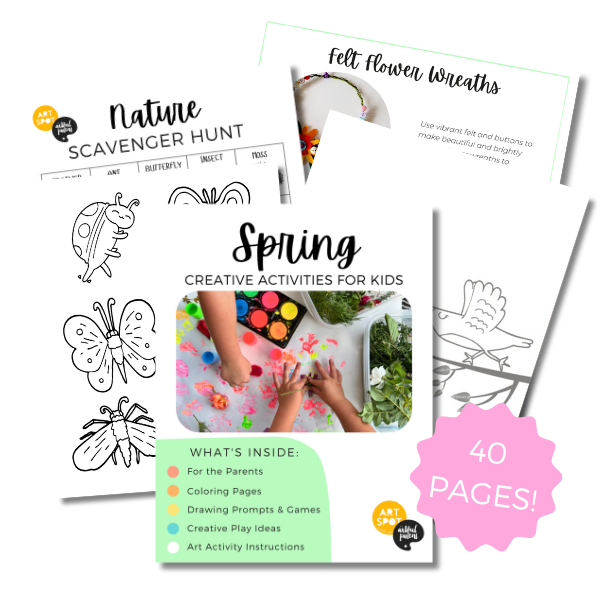
Check out our Spring Creativity pack!
Let creativity blossom with this fun bundle of art activities perfect for Spring!! This 40-page printable eBook is full of coloring pages, drawing prompts, games, and more!
Pin It for Later