Sensory play is so engaging for kids of all ages. Here’s how to how to make fizzy potions with baking soda, vinegar and glitter. Photo updates by the Editorial Team.
Updated August 2024
Summer and sensory play! They just go together. I love that the warm weather means those of us with aversions to mess can breathe a little easier by taking it all outside! Sensory play is at its best outdoors where kids can engage all of their senses.
My go-to activity when sibling tension gets high or when a playdate reaches a lull has been the most awesome, easiest, most engaging bit of sensory wonder… Fizzy glitter potions!
It’s an incredibly simple set-up with a few ingredients that you probably already have around the house. These glitter potions have kept my kids (and their friends) occupied for long stretches of time, especially in that late afternoon, pre-dinner witching hour.
Ready to find out how to bring fizzy glitter potions, giggles, and intense expressions of concentration and wonder to your own backyard?
How to Make Fizzy Glitter Potions

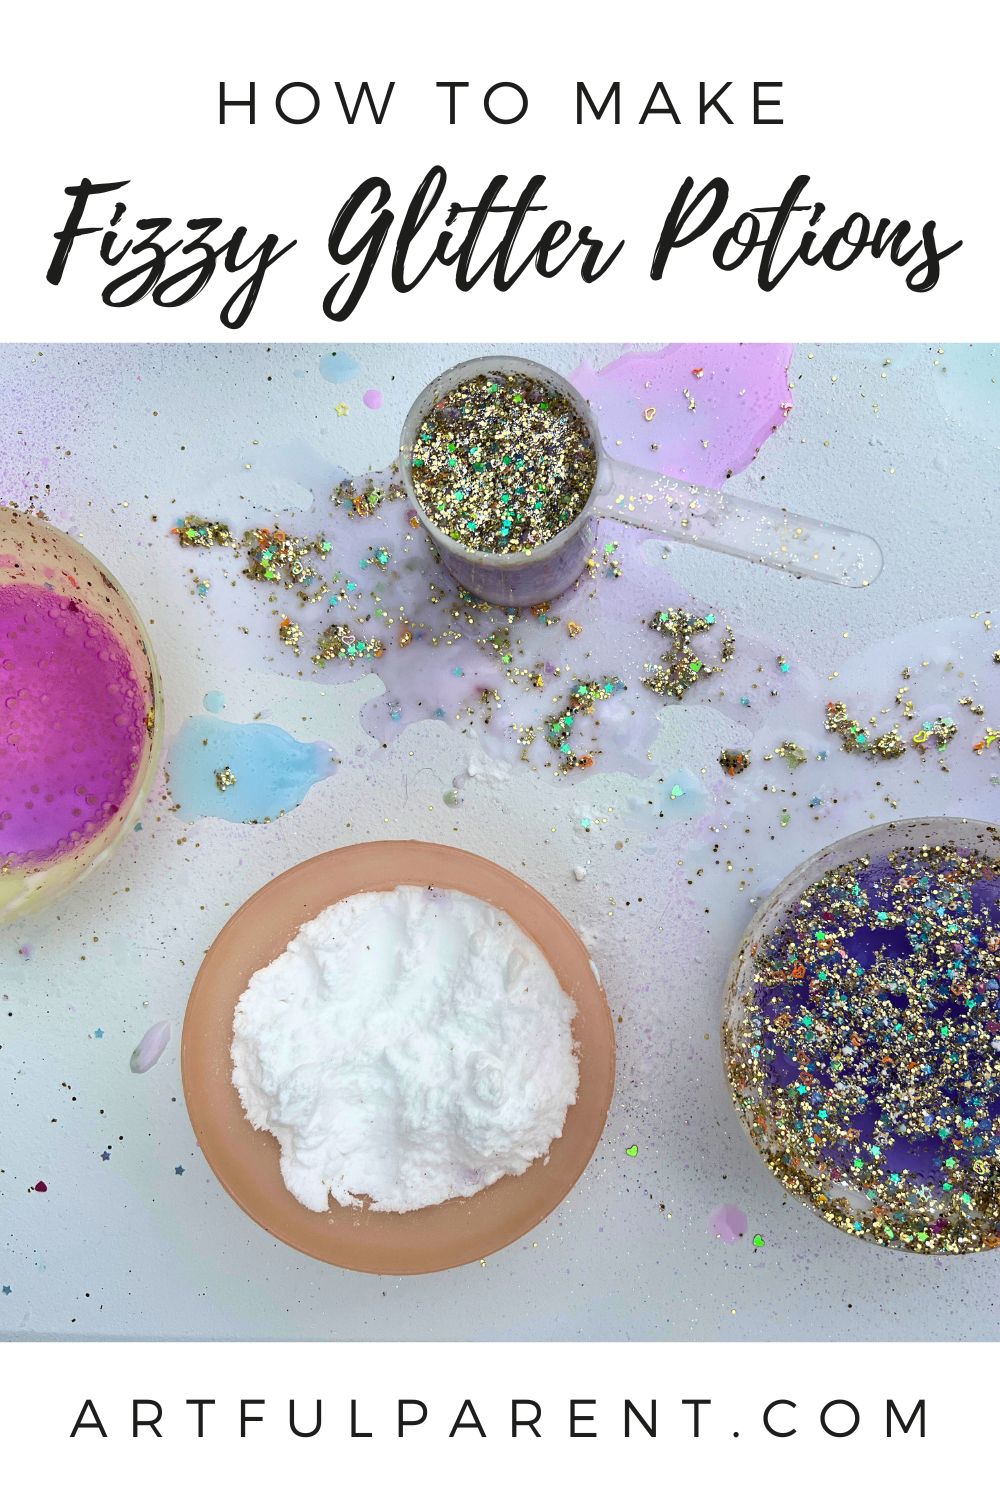
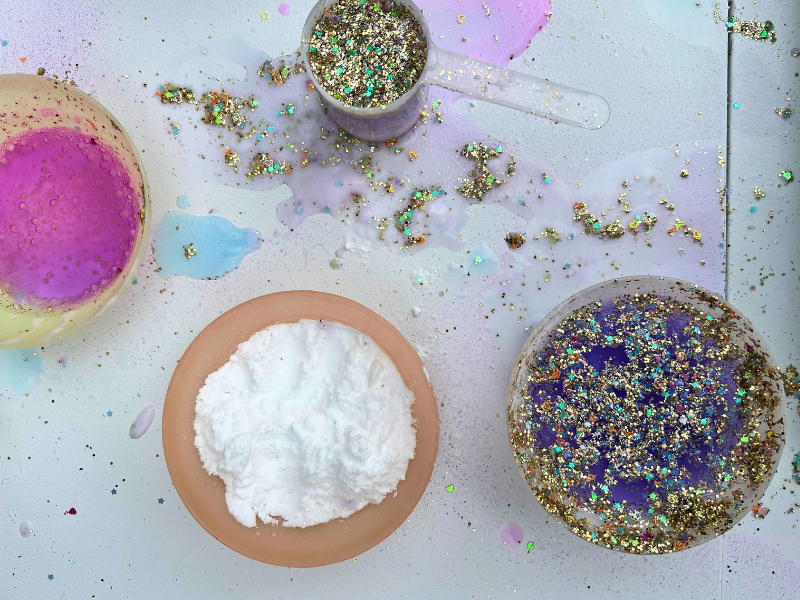
Here’s what you need to set-up a fizzy glitter potion station…
- Baking soda
- White vinegar
- Glitter
- Liquid watercolor or food coloring
- Ball jars, glasses, or other clear containers
- Spoons or scoops
- Squeeze bottles (optional)
- Droppers or pipettes (optional)
- A tray to contain the mess (or go tray-free if you’re outdoors, whatever you prefer!)
Time needed: 1 hour
INSTRUCTIONS
- Set up the glitter potion station
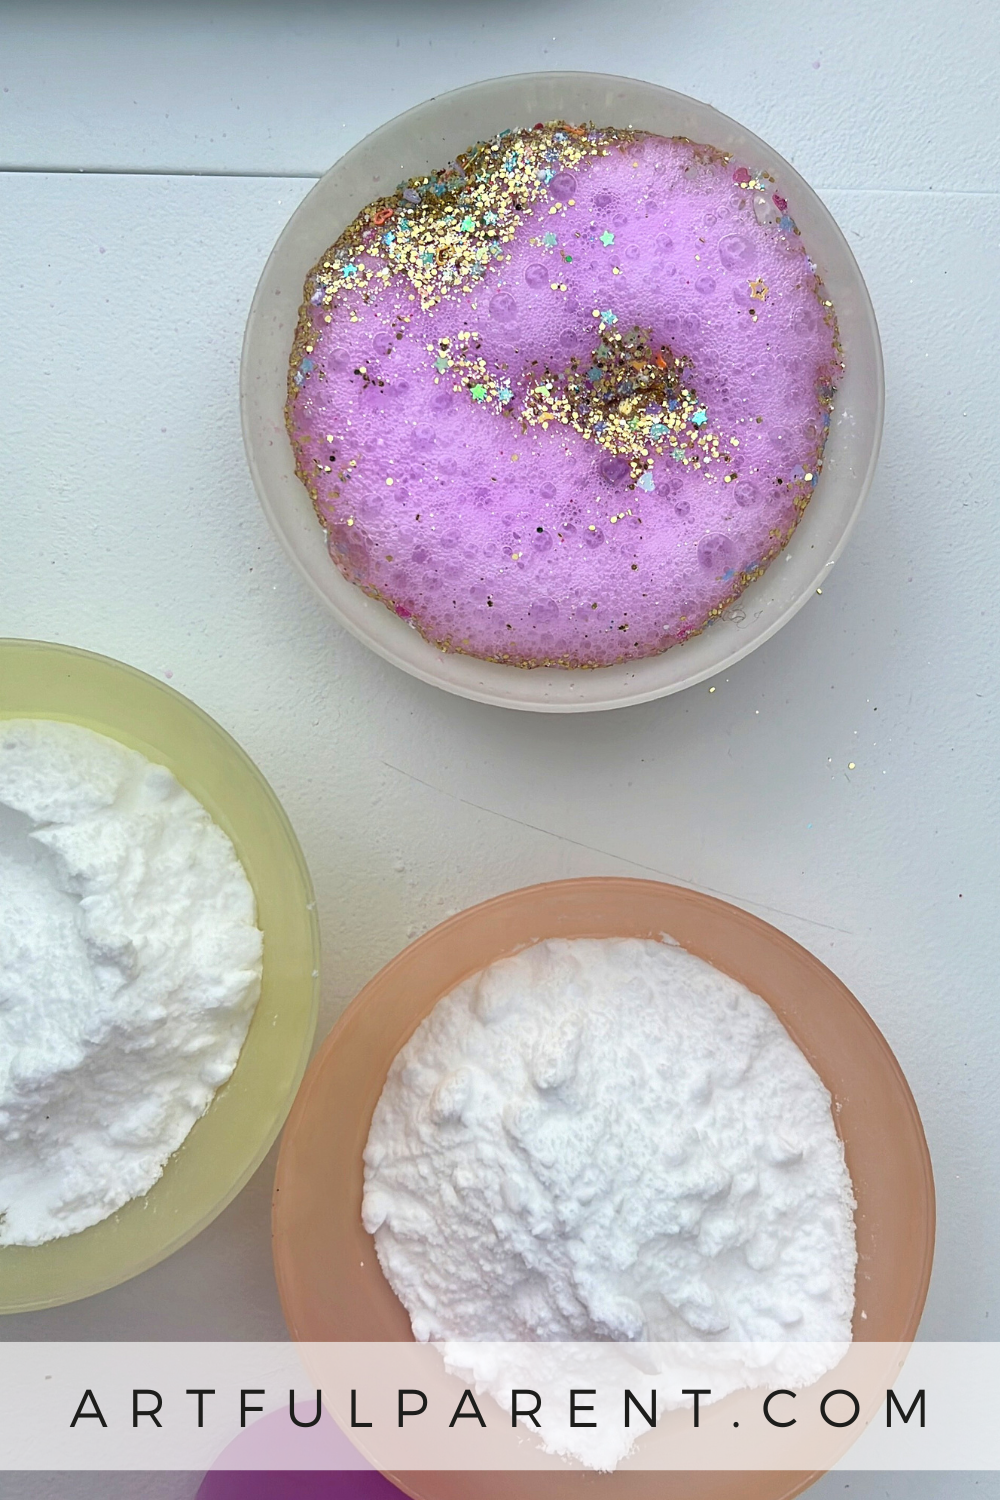
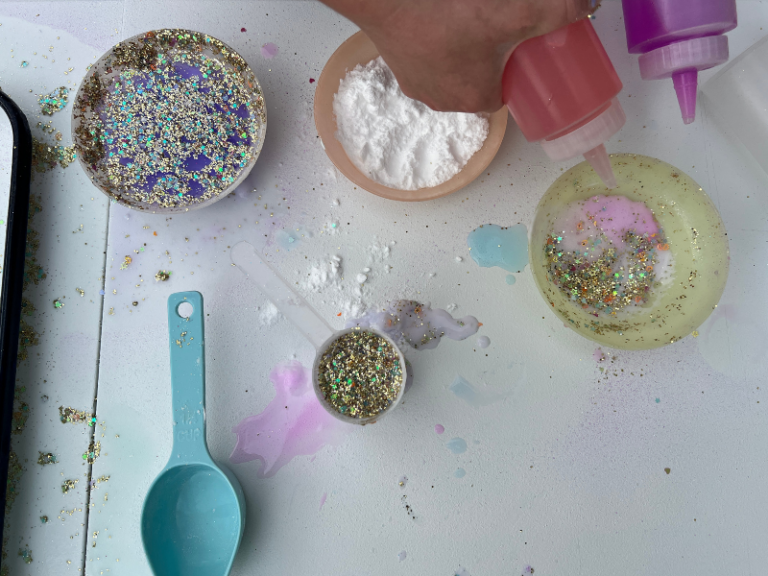
Set out a few containers with baking soda and spoons. You can use bowls or ball jars, or whatever you have on hand.
Fill a few squeeze bottles or jars with vinegar and add food coloring or liquid watercolor as desired.
If you have droppers or pipettes, they are really fun for squeezing the vinegar into the baking soda. Spoons work, too!
And of course, set out some glitter! You can use shakers or just pour a mixture into a bowl like we did.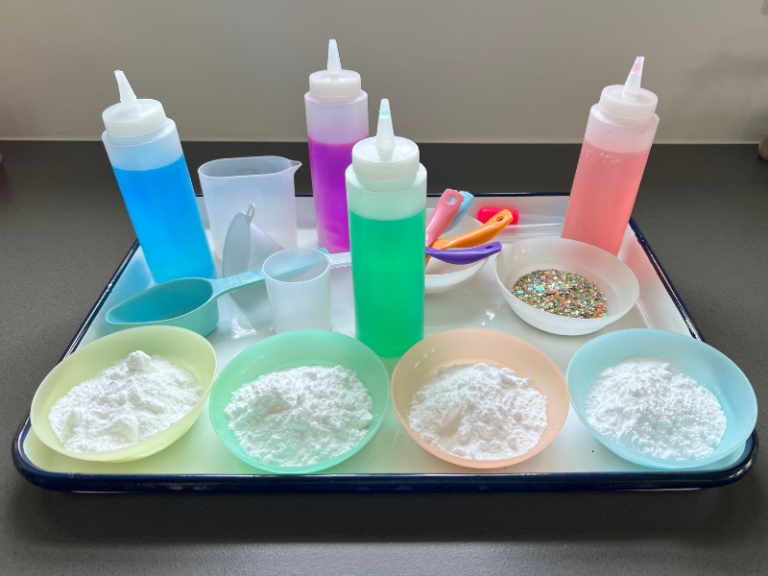
Seriously, my favorite part about fizzy glitter potions is that you just can’t go wrong.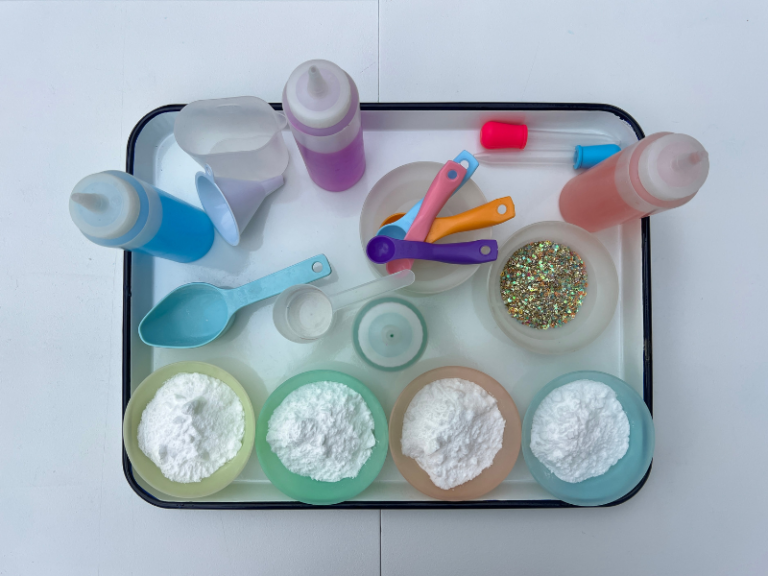
- Let the potion making begin!
My kids like to start by spooning some baking soda into an empty bowl and then they start squeezing different colors of vinegar on top.
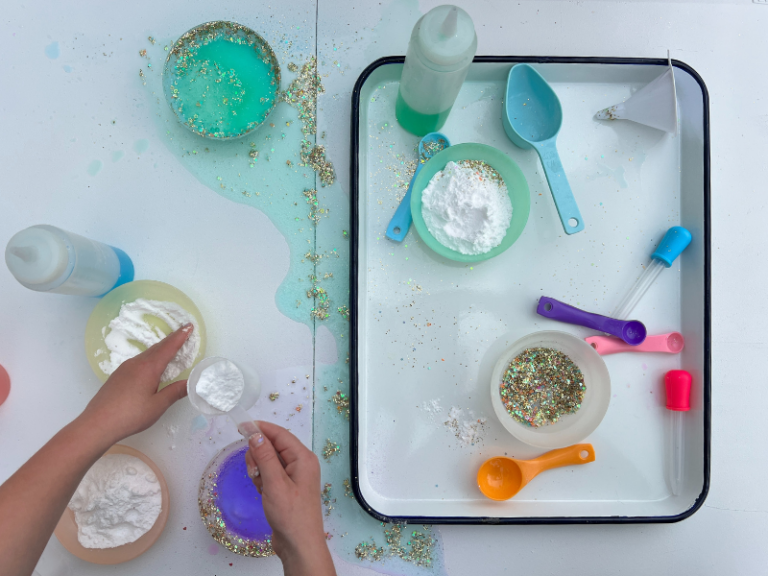
The fizzing part is pretty exciting!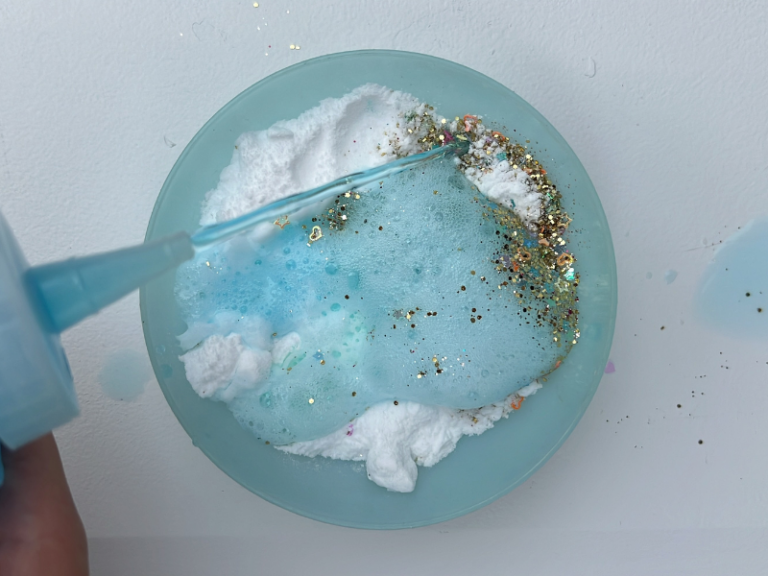
- Keep on experimenting!
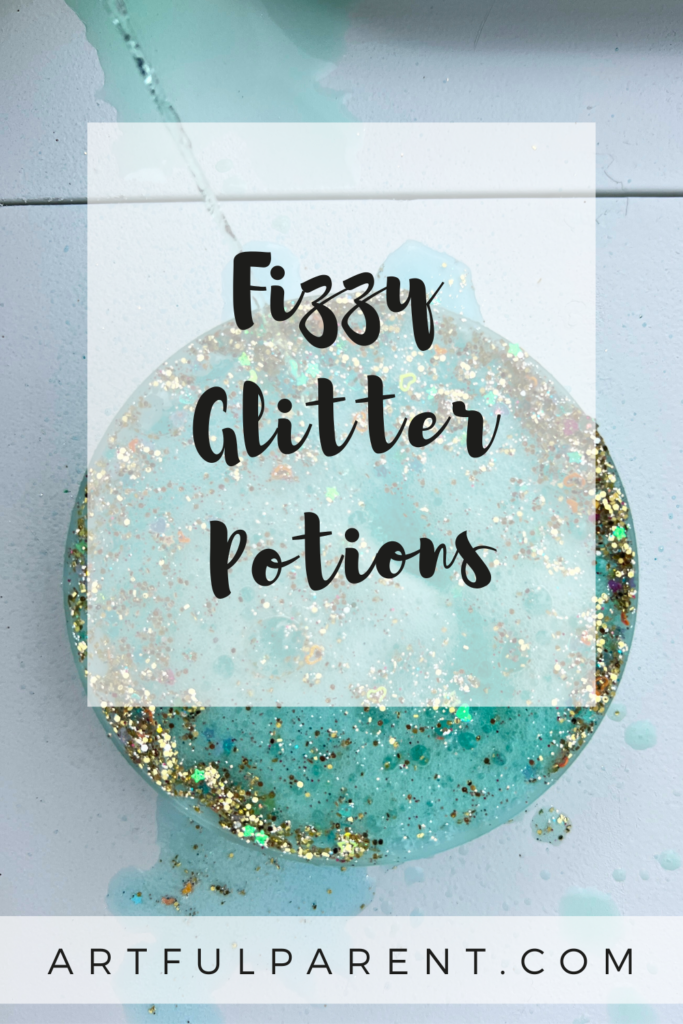
As the kids continue to add more of baking soda, vinegar and glitter, you can often see the layers build up in the glass or jar; it looks amazing!
Keep adding glitter, baking soda, vinegar, and repeat, repeat, repeat.
My kids usually do keep doing this until they run out of baking soda and vinegar (so far, we haven’t been able to shake out all the glitter, but there is still time left this summer!)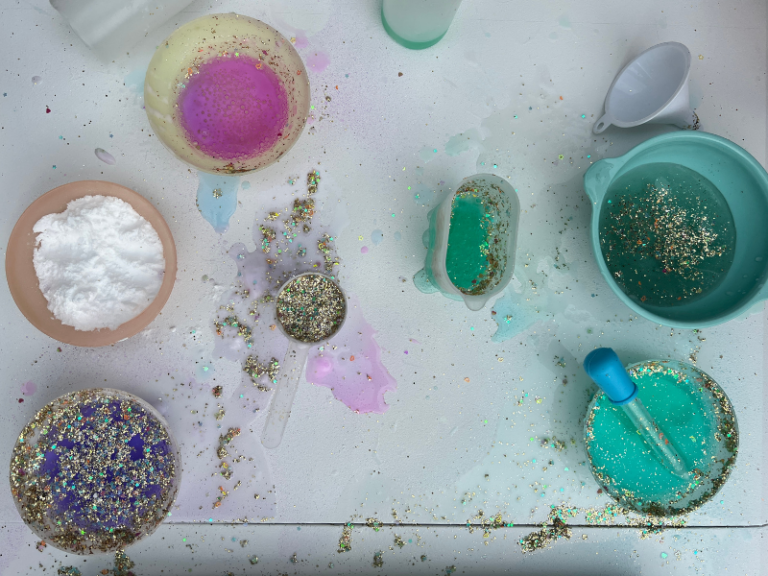
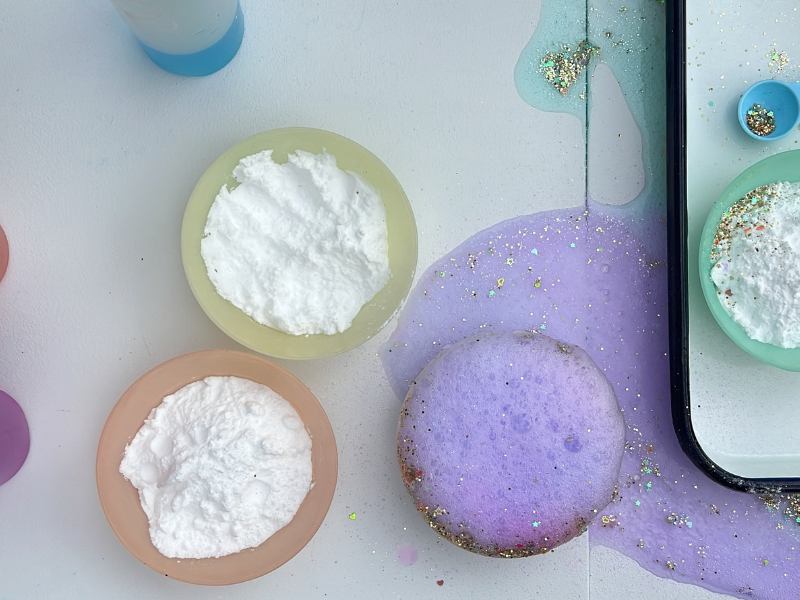
Once we’re out of baking soda and vinegar, we end up with glasses and bowls filled with layer upon layer of this baking soda + vinegar + glitter mixture.
So, what’s next? In my kids’ world, stir it all together and turn it into a goopy paste!
If your kids don’t naturally do this, you can try posing an open-ended “I wonder…” question, such as “I wonder what would happen if you mixed that all together?” or “I wonder what that would feel like in your hands?” (Talking to your kids about their sensory play is a lot like talking to them about their art.)
And I love that clean-up is such a snap when this kind of messy play is outside. Hooray!
If you haven’t tried sensory play with baking soda and vinegar, I hope this inspires you to channel your inner scientist / artist / chef / mess-maker!
More Sensory Play Ideas
- How to Do a Baking Soda Experiment with Kids
- The Ultimate Guide to Sensory Bin Materials
- 7 Sensory Bins for Toddlers
- The Artful Parent’s Guide to Sensory Play
- How to Make Glitter Slime for Kids
- 10 Fun Summer Sensory Bins for Kids
Pin It for Later