Blow painting with straws is a simple but fun action art activity. Use a straw to blow liquid paint on paper, creating amazing designs!
Updated August 2025
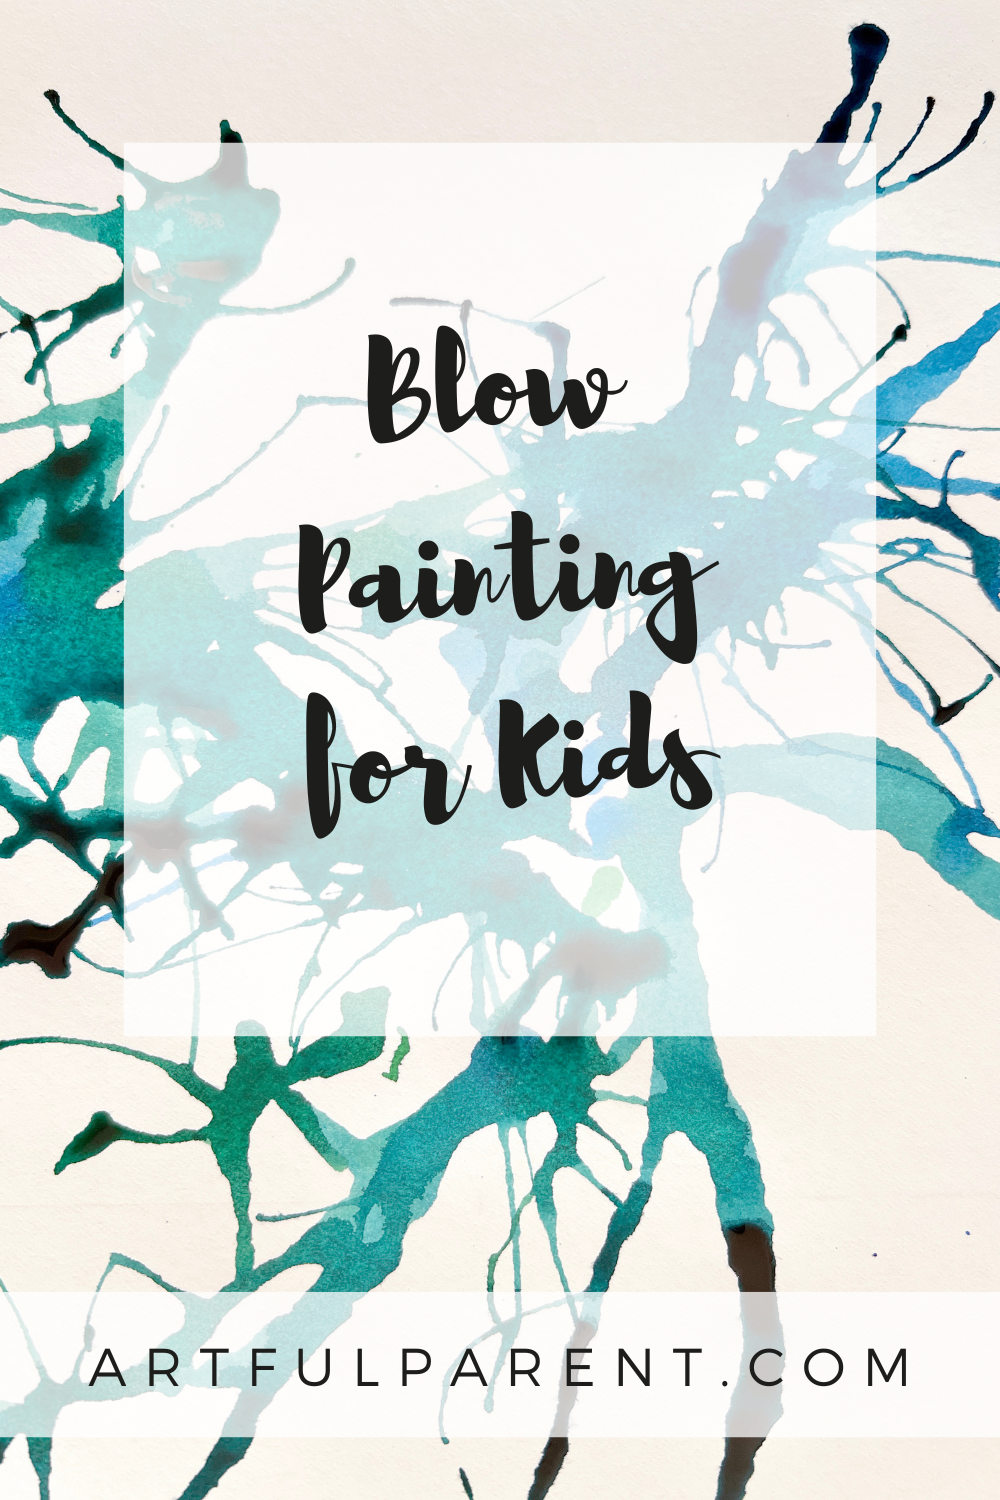
Blow painting with straws is one of those simple art activities that you can do over and over again—and enjoy it every single time. Each session brings a brand-new creation, with colors swirling and spreading in unexpected ways, making every piece unique. Kids love the fun of blowing the paint across the paper and watching it come to life like a colorful explosion!
It’s one of our Best Art Ideas for Kids, and once you try it, you’ll see exactly why—it’s creative, playful, and full of surprises!
Here’s a video showing blow painting with straws in action and keep scrolling for step-by-step instructions.
It’s kind of funny to watch, super satisfying to do, and the results are always interesting.
Blow Painting with Straws

MATERIALS
- Sturdy paper, card stock, or watercolor paper
- Liquid watercolor paint*
- Dropper or pipette
- Drinking straws
*If you don’t have liquid watercolor paint, you can use watered-down food coloring or watered-down tempera paint.
Time needed: 20 minutes
INSTRUCTIONS
- Set up for the activity
Place a sheet of paper on a tray with sides (a baking dish would work) or do this activity outside.
Cut your straws in half, so your blowing action is more effective and closer to the paint. If you’re doing this with young children, poke a hole halfway up the straw with a pin. This will prevent them from sucking paint into the straw by accident.
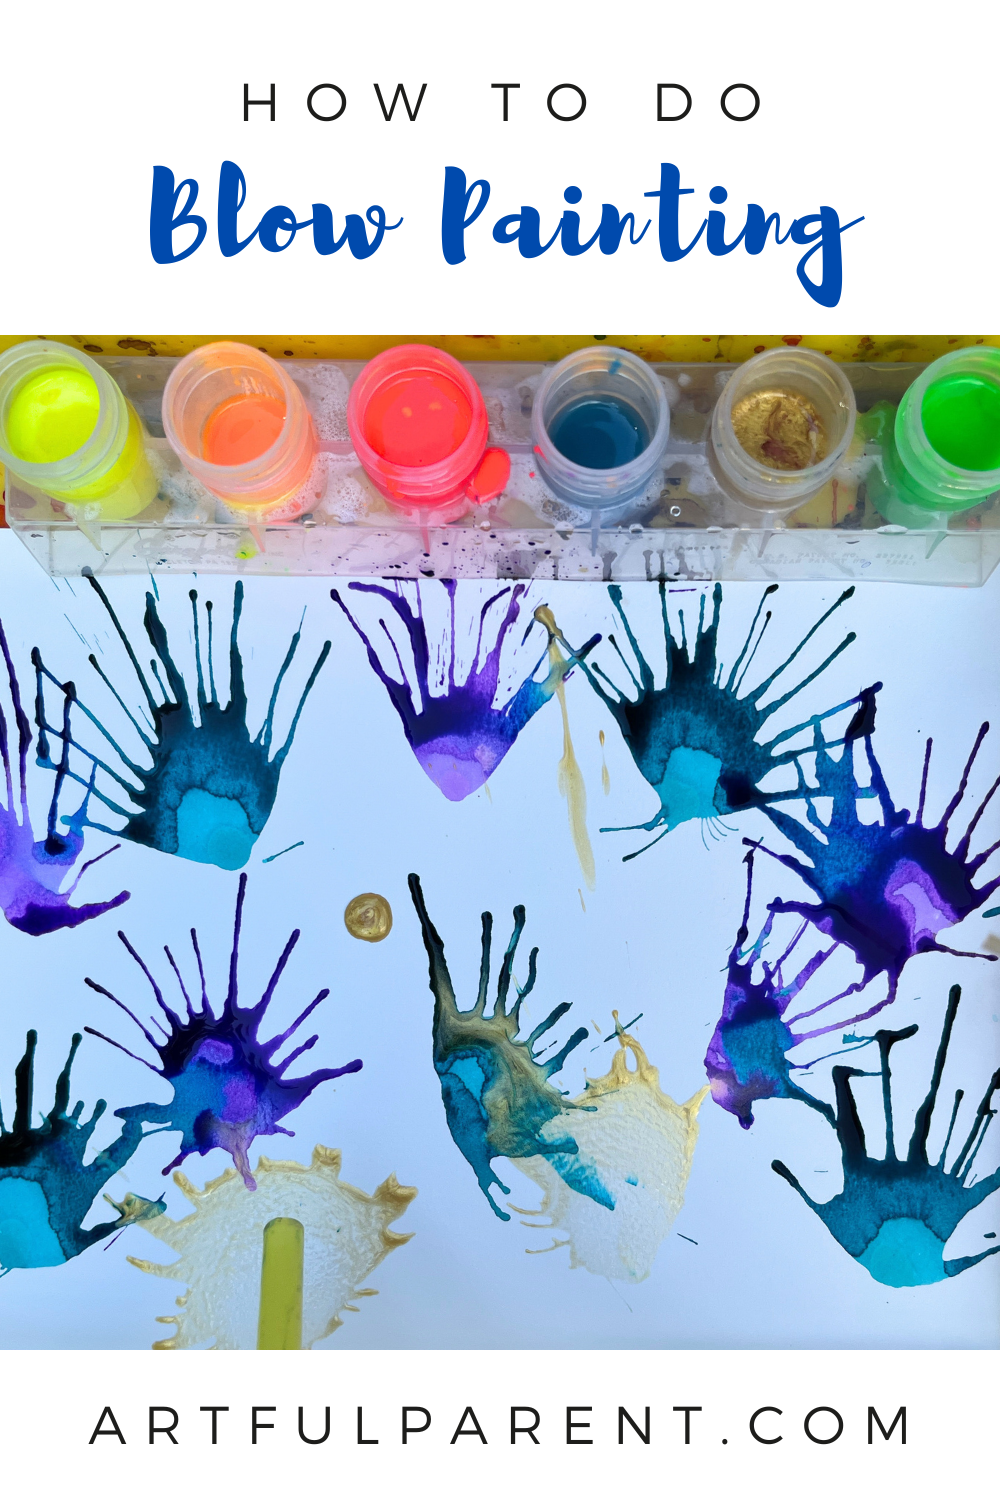
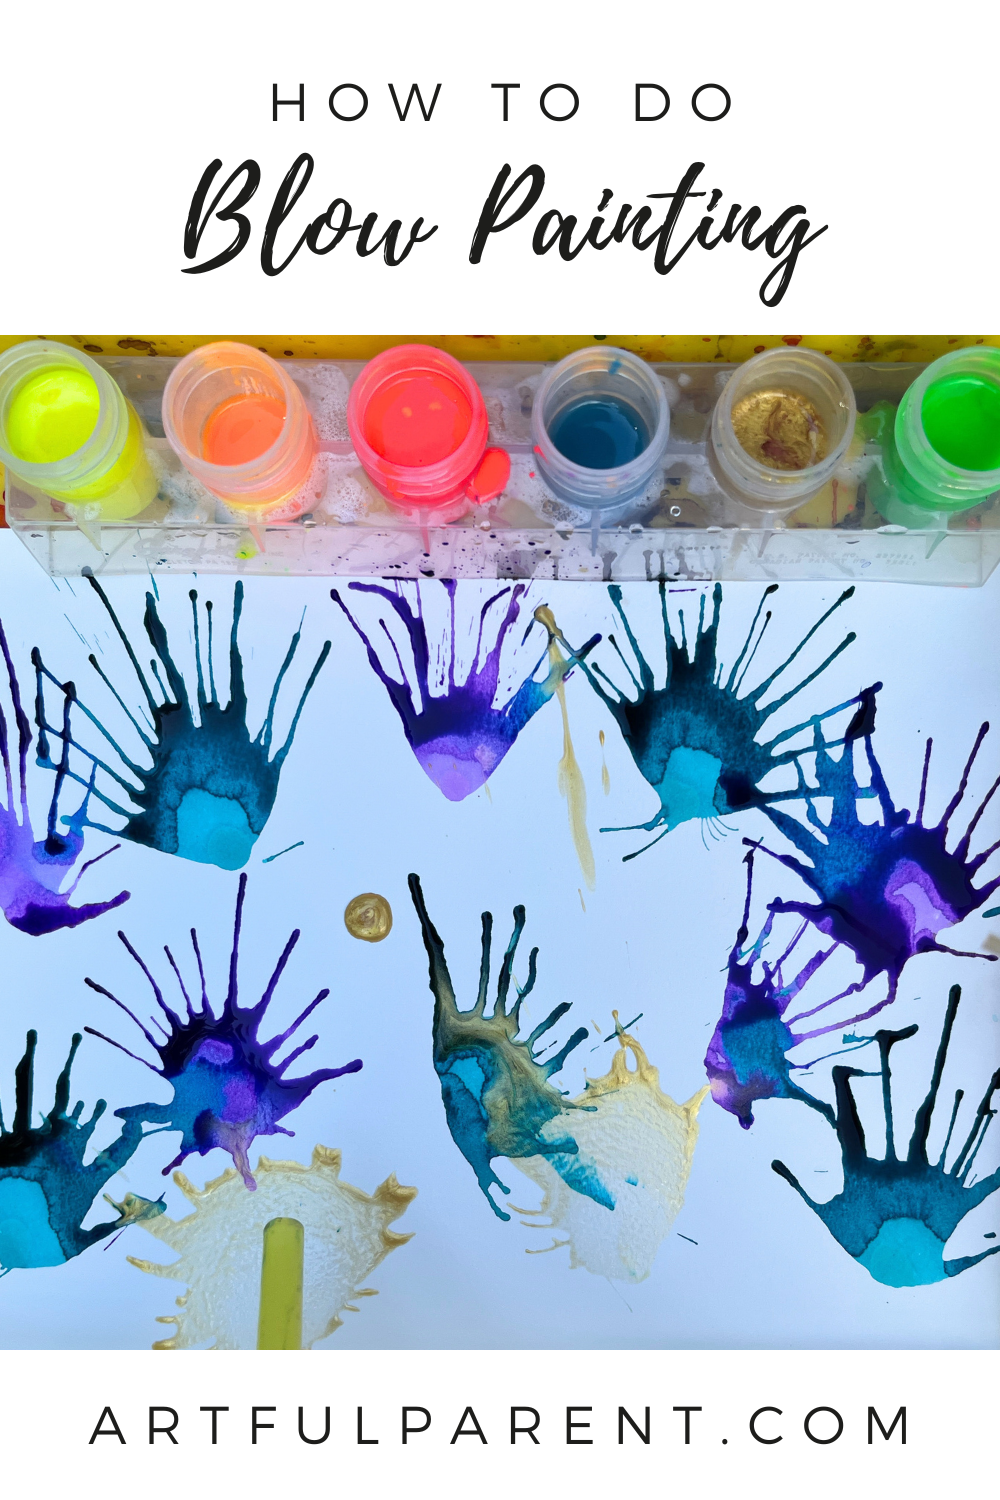
Put your liquid watercolor paints in small dishes or paint cups. - Add paint drops to paper
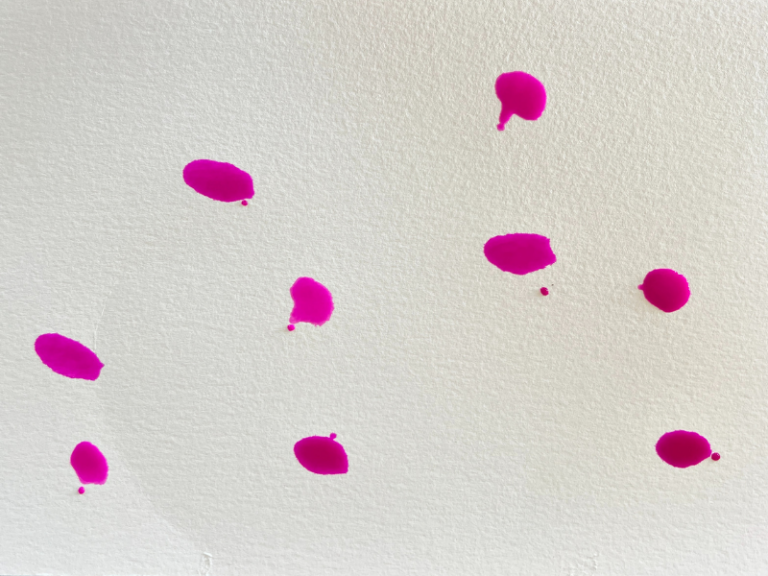
Use a dropper or paintbrush to transfer droplets of liquid watercolor paint to the paper.
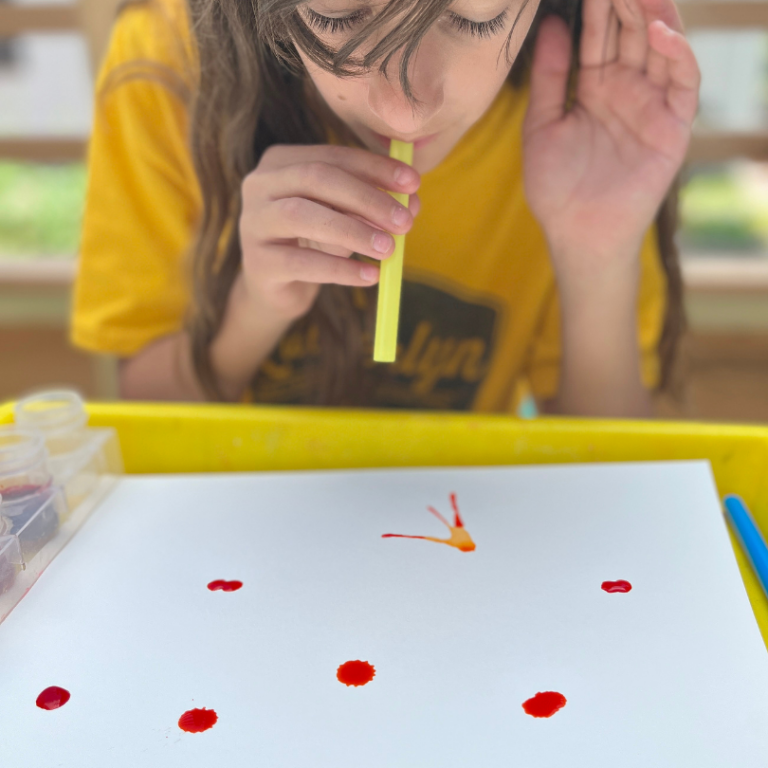
- Blow at paint through straw
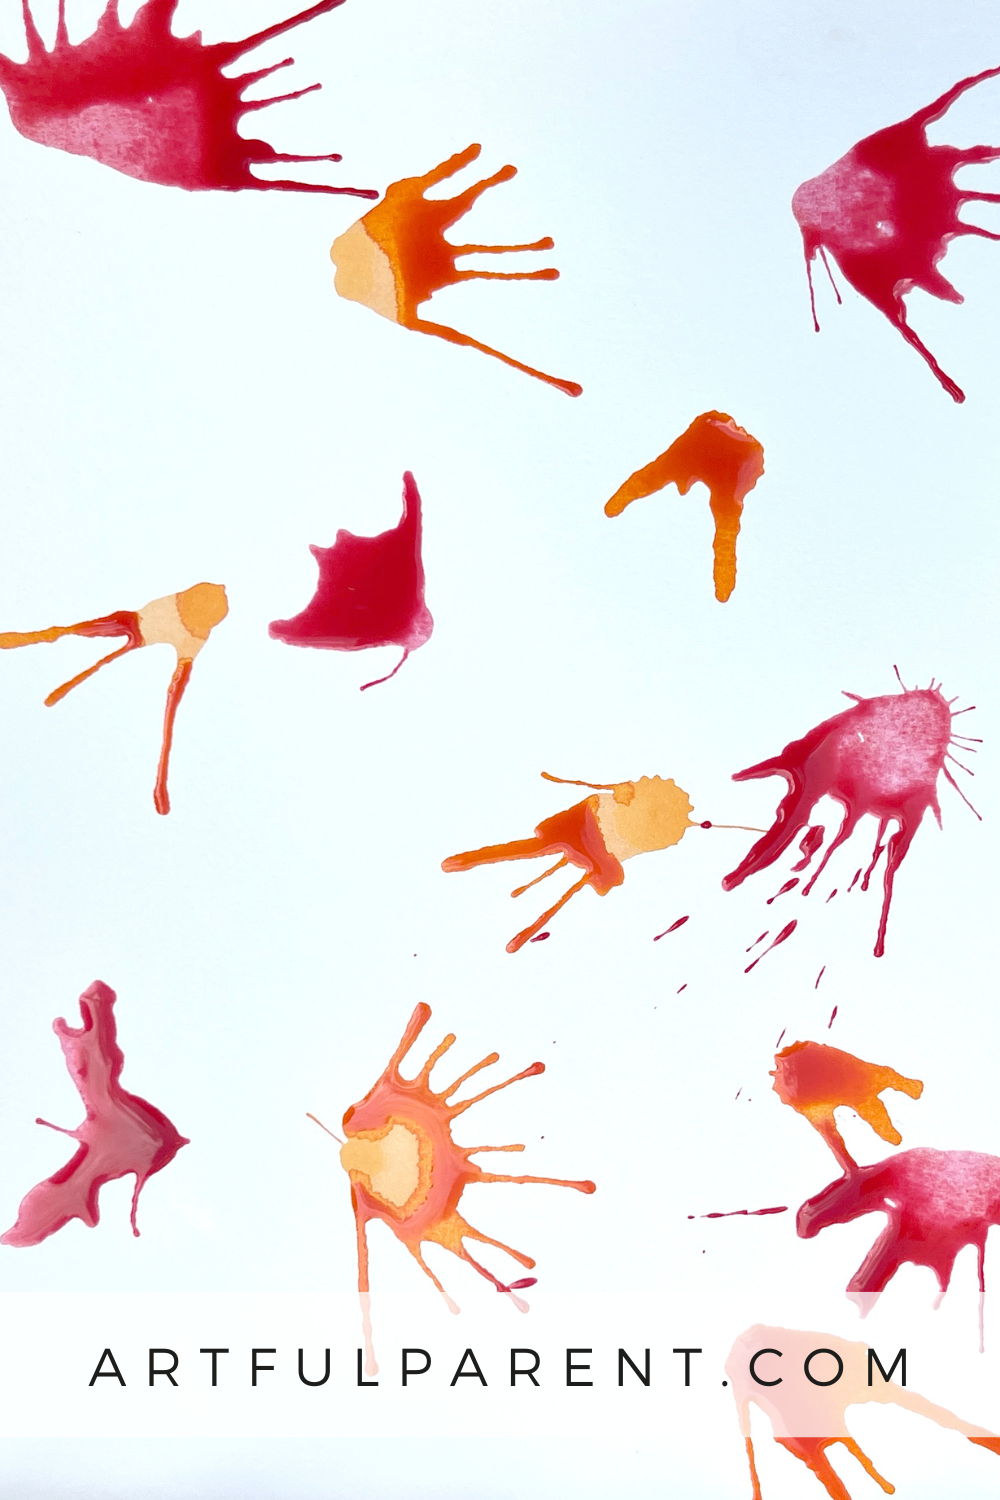
Blow through the straw at the paint drops, forcing the paint to move along the paper in tiny rivulets.
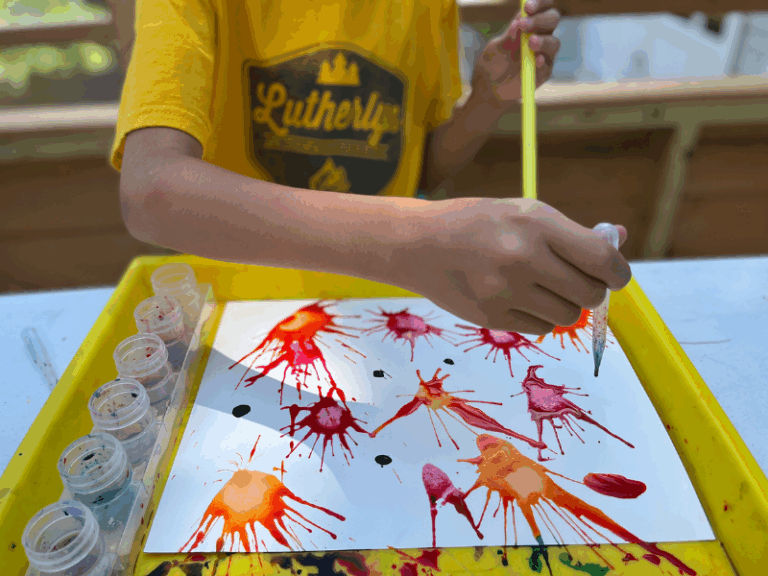
- Repeat with more paint
Repeat steps 1 and 2 with more paint and more colors until you are satisfied with your design. Set aside to dry and start over with a new sheet of paper!
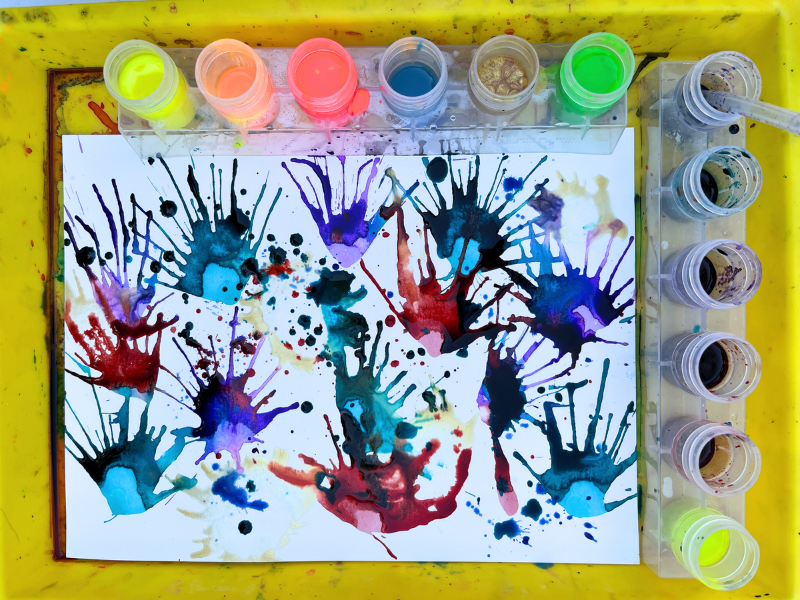
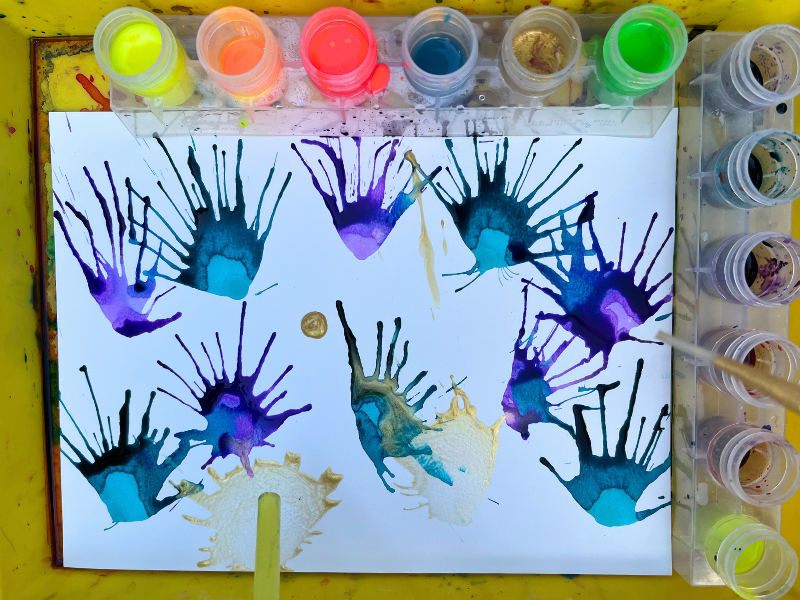
It is so fun to watch the colors run together and mix. After the paint dries, you can display your artwork or use it to make cards, wrapping paper, collage papers for other art, or more.
People Also Ask
- What is blow painting? Blow painting is a simple action art activity that uses straws and your breath to move paint around a piece of paper.
- What paint do you use for blow painting with straws? You can use liquid watercolors, food coloring, or watered down tempera paint.
- How do you use straws for blow painting? It’s easy! Add drops of paint to a piece of paper, blow at the paint drops through a straw, and repeat!
More Painting Ideas for Kids
- 7 Fun Painting Ideas for Kids
- How to do Splatter Painting with Kids
- Painting with Wheels for Kids
- How to Do Marble Painting for Kids
- How to do Splat Painting for Kids
- How to Do Scrape Painting
Want even more creative ideas?
Check out our Artful Parent Starter Pack!
Engage your kids through art and creativity with this printable booklet where you’ll find all of our best tips, tricks, and ideas for getting started on your artful parenting journey!
Pin It for Later