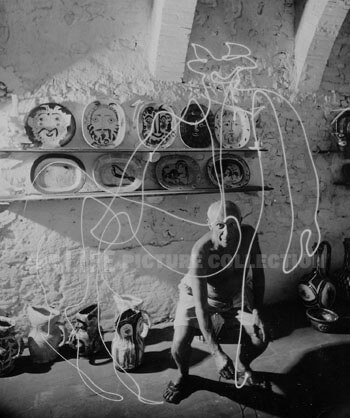
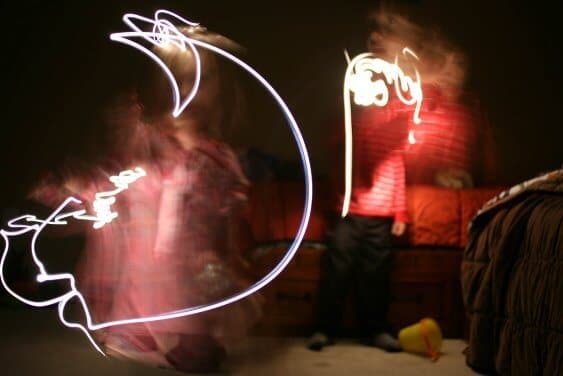
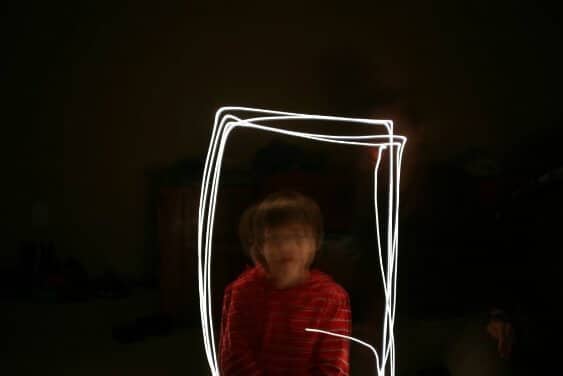
Hello Artful Parent Readers! As the daylight hours get fewer and the weather turns colder I find myself looking for projects that can be done inside or in the dark. I’m an avid photographer and I love getting my children involved in what I’m doing. Lately, we’ve been painting with light, just like Pablo Picasso.
Photo taken by LIFE photographer, Gjon Mili in 1949
Painting with Light Instructions
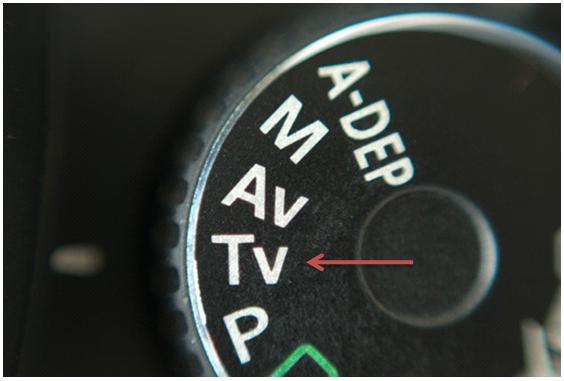
All it takes is a camera that allows you to change the shutter speed (like an SLR), a flashlight, and a willing participant. I placed my camera on a tripod, but you can use any stable surface like a table or a chair to keep the camera steady. The key to painting with light is a long shutter speed – several seconds up to a few minutes. You may have to consult your camera manual if you don’t know how to do this, but most SLR cameras come with a Shutter Priority mode that’s usually on the main dial.
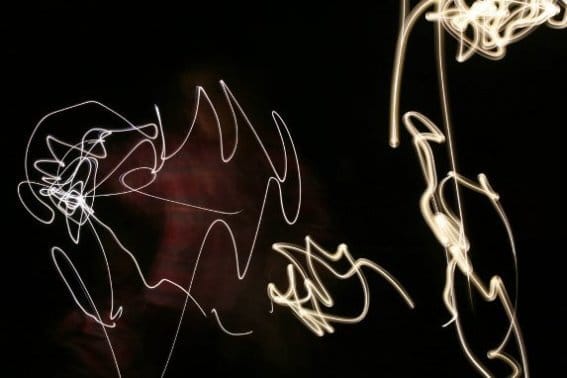
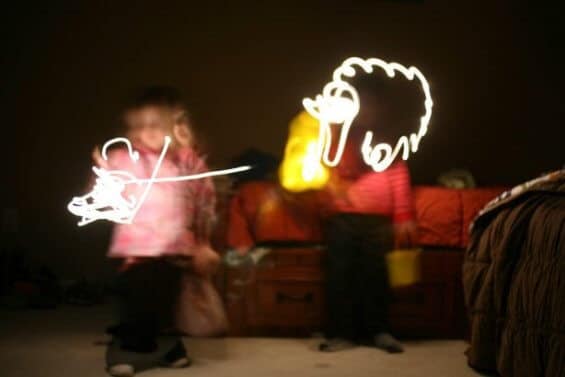
I set the camera to 15 seconds, turned off the lights and let the kids loose, flashlights blazing, before I pressed the shutter button to begin the shot. They waved the flashlights around, danced, drew flowers and dragons and even attempted to write their names. I ended up with about 10 pictures before they got tired of the “painting” and moved on to shining flashlights on each other, the toys, and turning them off and on repeatedly.
We tried a few different time spans, but 15 to 30 seconds seemed to work well for my children because they wanted to see the results on the display screen of the camera immediately after each shot. Showing them the pictures helped keep the activities going longer since they could see the effects of their motions with the flashlight and try again.
Here are a few ideas we will be trying next time: turning the flashlights on and off, using the blinking setting on a LED pen light to get dashed lines, shining the light on objects or faces to make them appear in the photo, and trying other objects that light up to see what effects we can create.
Trouble shooting: 1) Set the ISO on your camera to the lowest setting to get the darkest possible background. My camera goes down to 100 ISO. 2) If you’re having trouble getting the camera to focus in the dark, try having your child shine the flashlight on themselves. Once you’ve got the focus set, you can change your camera lens from Auto into Manual and you won’t have to keep resetting it for each shot. 3) We took the cover off the flashlight bulb to allow the light to be seen more easily in the picture when the light wasn’t pointed directly at the camera.
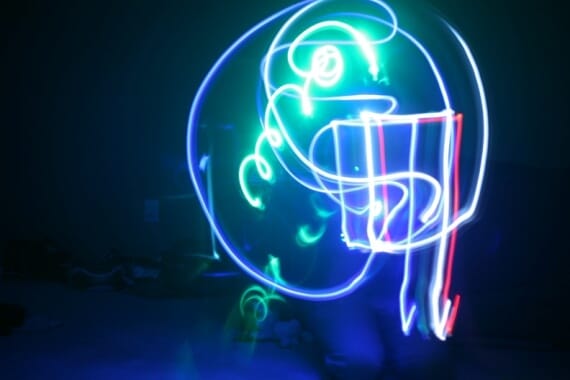
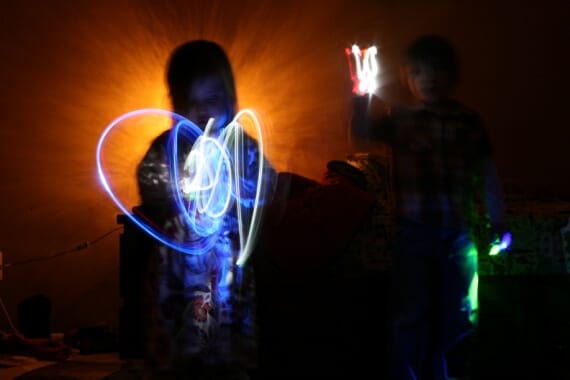
Painting with light :: using different colors
Painting with light photography
About Angie Dornier
Find me at anngeedee.com, and on Flickr.
Pin It for Later ::
21 Comments
Jena
January 11, 2012 at 6:52 amOh My, this is such an exciting post!!!
Julie Liddle
January 11, 2012 at 7:48 amWe had fun doing something like this by accident this summer when I took pics of the kids playing with colorful glow sticks out by our fire put one might. They were awesome.
Julie Liddle
January 11, 2012 at 7:49 amDarn auto correct…fire pit one night
Barbara Zaborowski
January 11, 2012 at 8:48 amAre there any inexpensive cameras that will let you adjust the shutter speed? My Samsung won’t but otherwise takes fine pictures. It’s hard to justify spending hundreds of dollars for a single project, but, on the other hand, I’ve been sooooo wanting to try this for the last year or so.
Sarah M
January 11, 2012 at 8:52 amI was into photography in high school and took *many* courses in it, including a couple independent studies (thank goodness for great art teachers!), and even had a dark-room in my basement for a couple of years. I remember first learning about this technique and playing with it all the time, especially downtown at night with passers-by. Thanks for sharing and helping me remember this can be fun for children, too!
Sarah M
anngeedee
January 11, 2012 at 9:47 amHi Barbara – On my point and shoot camera, I can set it to “Fireworks” mode and it lets the shutter speed go down a little more. You may get some good effects by pointing the camera in the direction of city lights or cars driving in the dark and moving the camera around while taking a picture? Sometimes playing around gives some excellent and unique effects! Have fun!
Julie Liddle, ART IN HAND
January 11, 2012 at 12:21 pmMy camera has automatic settings as well as manual ones, but I’m too lazy and scatter-brained lately to learn about the manual setting,s so I stick with the auto ones. I can’t remember if I set mine to the “nighttime” mode or the “ISO” mode to get the cool effects. Does your camera have either of those? I wish I could post the photos here. The kids has glow sticks in all different colors adn they were wearing them, throwing them, swinging them around, etc. The pictures were amazing.
Amy
January 11, 2012 at 12:40 pmI love it! What a fun way to create art. My kids have been fascinated by this shot of my brother and sister-in-law’s recent promo shoot for their band, Bowerbirds. To get this shot, the photographer had them jump on a trampoline and wave flashlights: https://www.bowerbirds.org/
Jean Van't Hul
January 11, 2012 at 11:42 amAnother option would be to consider finding an older model camera. Because of how quickly the technology is changing, I think you can probably pick one up, especially a film SLR, pretty inexpensively. Try ebay or maybe craigslist.
Jean Van't Hul
January 11, 2012 at 11:42 amI know! Isn’t it? I can’t wait to try this myself!! Thanks, Angie!
Jean Van't Hul
January 11, 2012 at 1:14 pmWow! Super cool photo, Amy! I can see why your kids are fascinated with it.
Barbara Zaborowski
January 11, 2012 at 6:52 pmThanks to anngeedee, Jean and Julie for the suggestions. My camera DOES have a nighttime setting, so I’ll start there, then move on to the other ideas. I want to do this indoors in a darkened room with my preschool class.
krista
January 11, 2012 at 8:21 pmvery informative! great post :)
anngeedee
January 11, 2012 at 10:44 pmFantastic news! I hope they enjoy it. Please feel free to share pictures after the fact!
Lucia
January 12, 2012 at 3:05 pmThis is FABULOUS!!! Can’t wait to give this a try. It will add a whole new twist to family drawing sessions. Thanks for all of the detailed instructions. Now off to check out some of your photos on flickr.
Julie A.
January 12, 2012 at 3:38 pmI love your blog and I LOVE this idea! I take LOTS of pics of my 2 little girls and they would be so excited to take part in this! I have gotten so many great ideas from your blog — coffee filter garlands, box houses, candy cane play dough…the list could go on and on. Thank you for all of the fabulous ideas!
Emily
January 12, 2012 at 10:28 pmGreat post. We tried it out tonight and were impressed with how well it worked. We had fun spelling out words like “hi” and figuring out that it had to be backwards. So fun!
Justine Ickes
January 13, 2012 at 1:10 pmOh, this is so cool. I definitely want to try it this weekend. It looks like we’re heading into a rainy three-day weekend, so we’ll need all the cool indoor ideas we can get! :-)
anngeedee
January 13, 2012 at 1:41 pmYay! So glad you guys had fun!
silvia causo-garbutt
May 21, 2012 at 6:17 pmBrilliant idea! Thank you for sharing it with us and setting us off on a new creative and interesting journey!
anna
June 14, 2012 at 9:32 amHi,
Are you currently accepting guest posts on website ?
My name is Anna Cleanthous and I am a freelance writer to help them reach new audiences online by developing content partnerships with good quality blogs and websites like yours.
I would like to stress that the article itself will not be self-promotional – I strive to ensure each piece I write is unique, written exclusively for your website and offers value to your audience.
If you are happy for me to do so, then I will include a reference to my client in the byline so that your readers can find out more if they wish.
Does this sound like something you would be interested in?
I look forwards to hearing from you.
All the best,
Anna Cleanthous