Valentine’s Day activities for kids including Valentine art projects, baking ideas and books for celebrating love & friendship.
Updated December 2024
It’s almost February! And you know what that means, right? It’s time to start thinking about homemade valentines and Valentine’s Day crafts!
If you haven’t already, that is.
We get started including hearts in our creative making and playing on the early side. Sometimes a full month in advance, because, well, HEARTS!
So here you go!
A whole month of Valentine crafts and activities for kids, including heart art, craft projects, handmade gifts, Valentine treats, books about Valentine’s Day, and more!
Valentine’s Day Activities for Kids
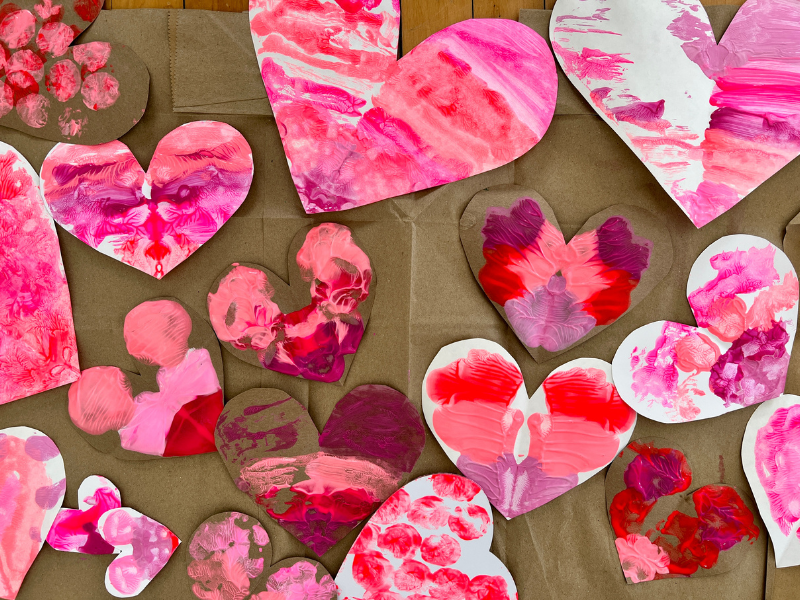
5 Heart Art Projects
There’s always simply drawing, collaging, or painting on heart-shaped paper, but here are some more elaborate heart art activities.
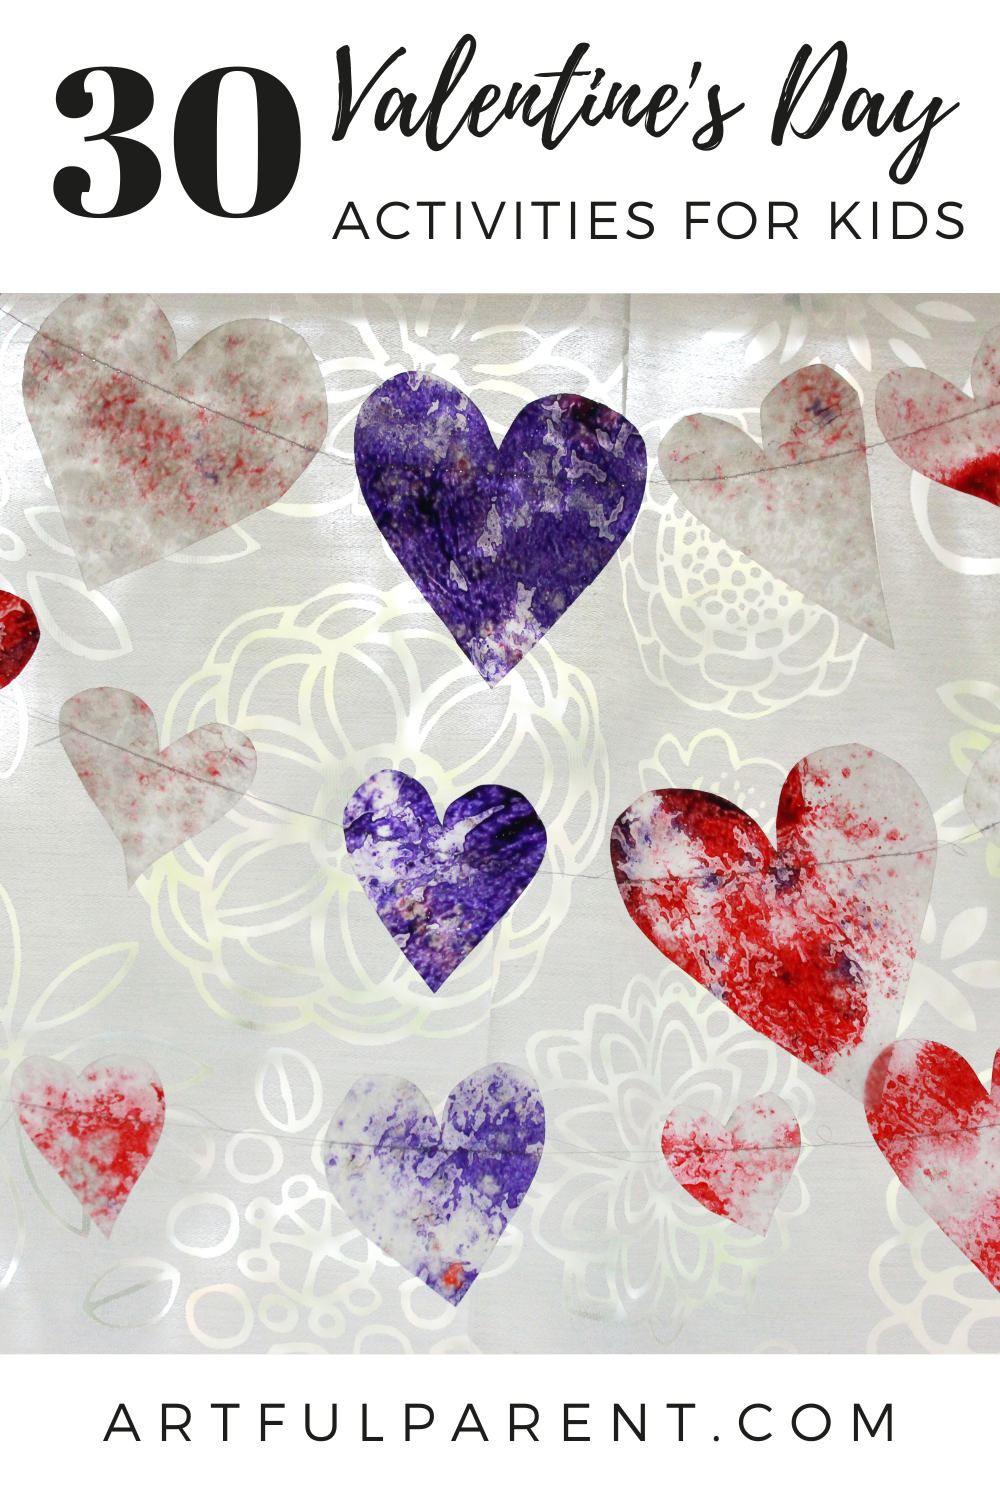
3. Coffee Filter Hearts for the Window
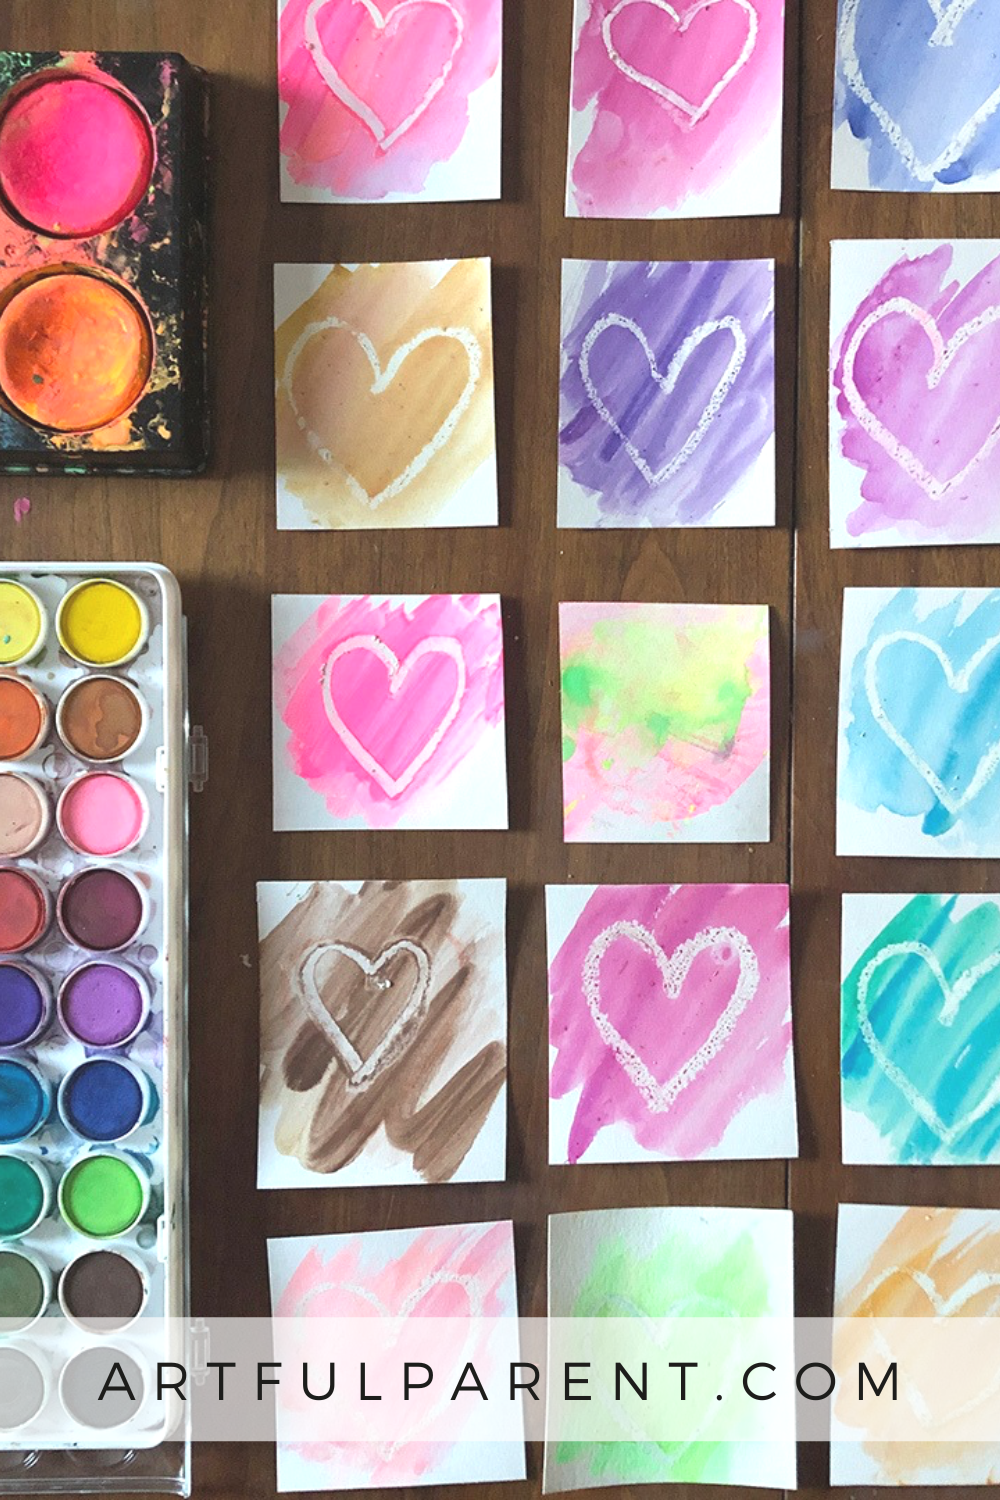
4. Easy Watercolors Hearts for Toddlers
5. Faux Stained-Glass Valentines with Black Glue
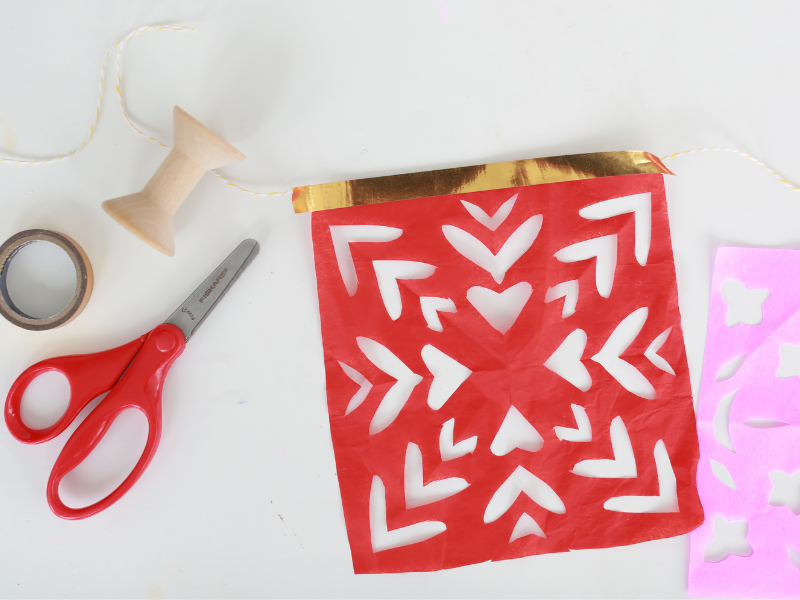
5 Easy Valentine Crafts for Kids
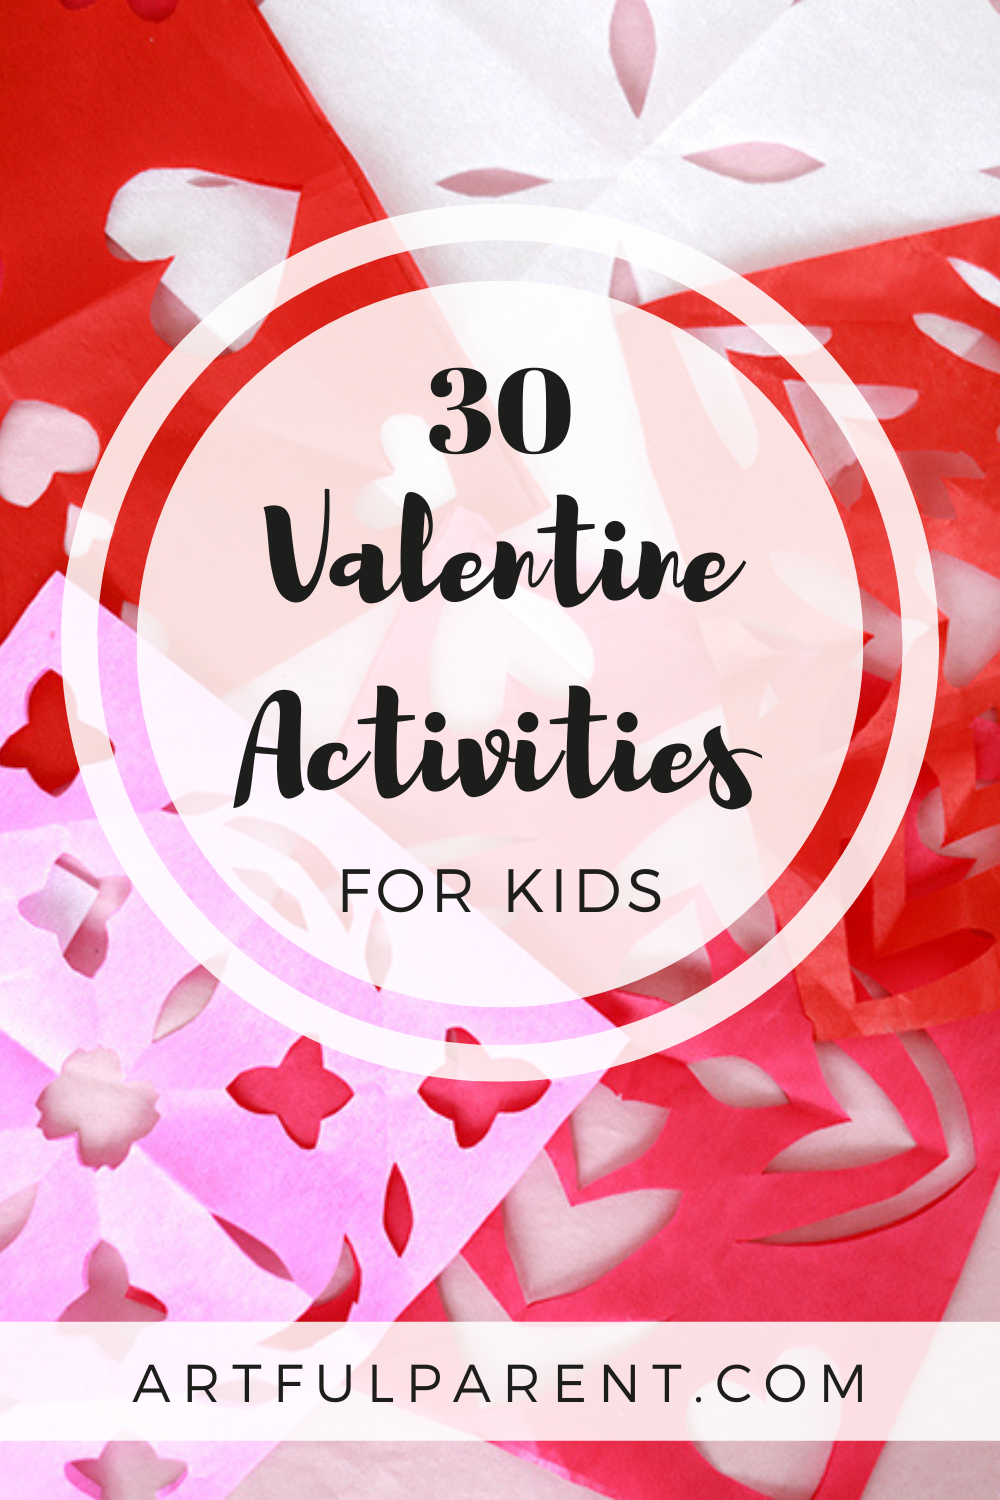
6. Papel Picado
8. Make a Valentine’s Day Garland
10. Heart Suncatchers with Tissue Paper
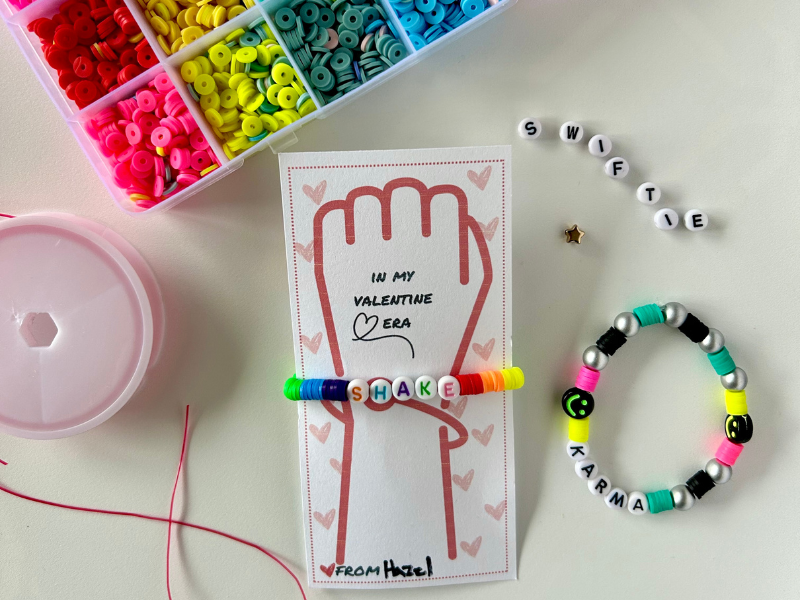
5 Homemade Valentines Kids Can Make
11. Fun Taylor Swift Valentines!
12. DIY Valentines for Kids with Cardboard Hearts
14. 12 Homemade Valentines Cards for Kids
15. Easy Foil Heart Valentines
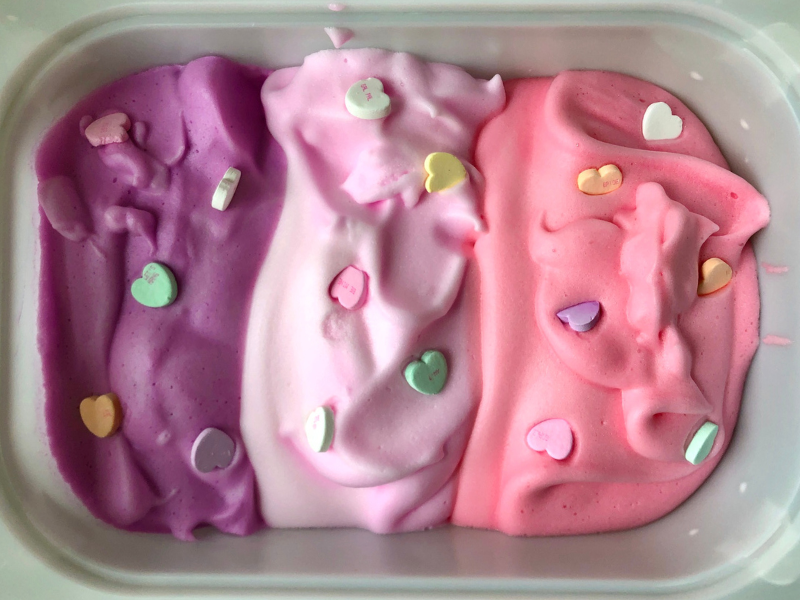
5 Valentine’s Day Activities for Kids
16. Set up a Valentine Themed Sensory Bin
17. Decorate for Valentine’s Day!
18. Book Crafts for Valentine’s Day
19. Try an Interactive Heart Drawing Activity
5 Homemade Gifts for Valentine’s Day
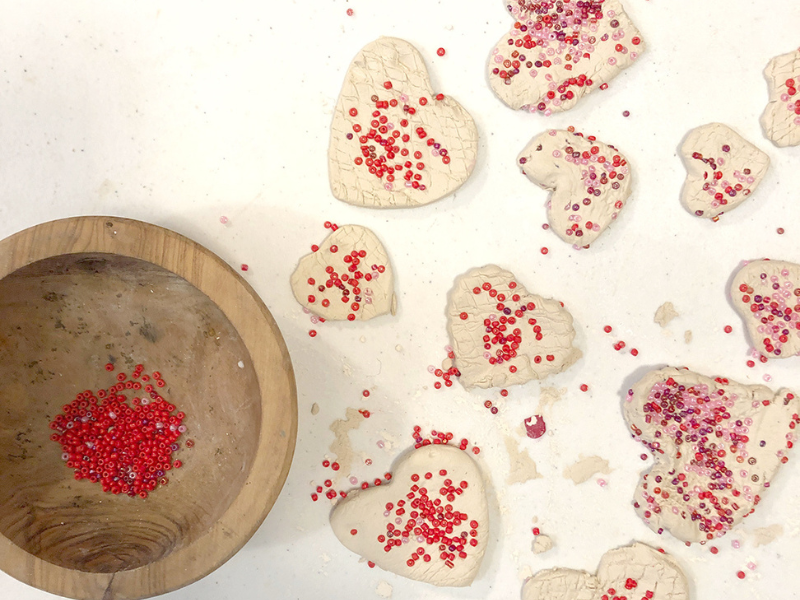
21. Make Clay Hearts
22. Melt Beads to Make Suncatcher Hearts
23. Make Sharpie Tie Dye Pillows
25. Clay Coil Hearts
4 Valentine’s Day Baking Activities
You can cook just about anything in a heart shape, right?
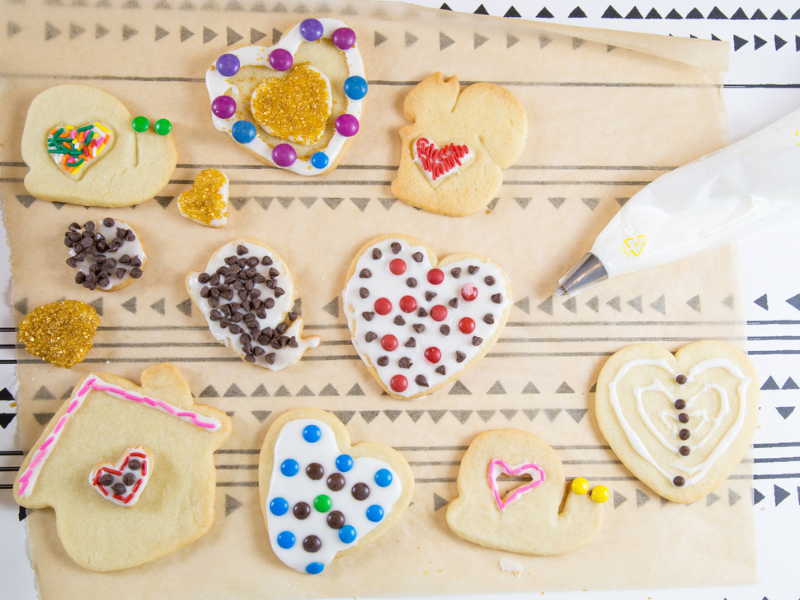
26. Decorate Valentine Sugar Cookies
27. Heart-Shaped Cherry Hand Pies
28. Make Cranberry Oatmeal Heart Cookies
29. Make Peanut Butter Cups in Heart Molds
30. And don’t forget to head to the library and check out some books about Valentine’s Day. Need some suggestions? Check out our list of favorites!
Would you like a printable version of 30 Valentine Activities for Kids to hang on your fridge?
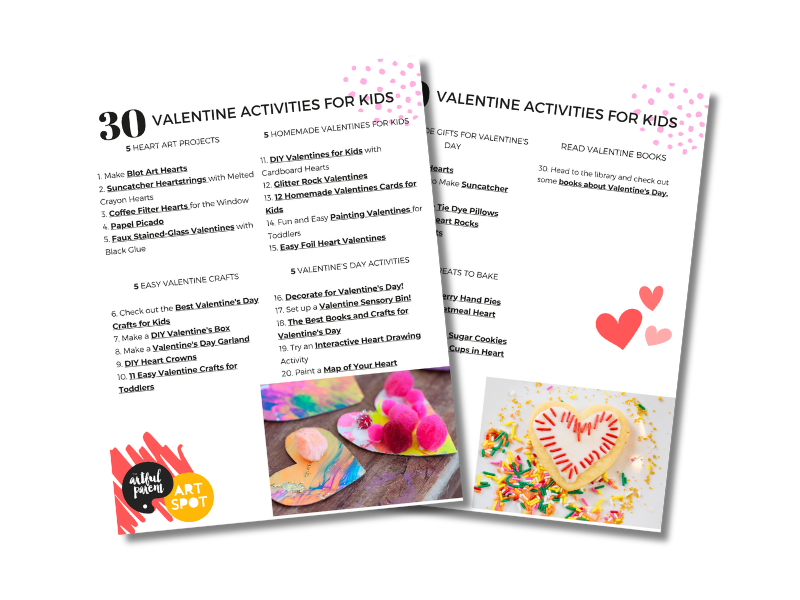
If you missed it, clear your cookies & refresh this page!
More Valentine’s Day Crafts for Kids
- 12 Valentine’s Day Crafts for Kids
- 19 Valentine’s Day Craft Ideas for Kids
- How to Make Coffee Filter Heart Crafts for Valentine’s Day
- How to Make a Valentine’s Day Mailbox
- Valentine’s Day Drawings: Heart Mandalas for Kids
- 10 Valentine Craft Ideas for Kids
Want even more creative ideas?
Check out our Hearts Activities pack!
We think you’re going to LOVE this sweet collection of adorable heart activities! This 32-page printable eBook is full of coloring pages, drawing prompts, games, and more!

Pin It for Later