
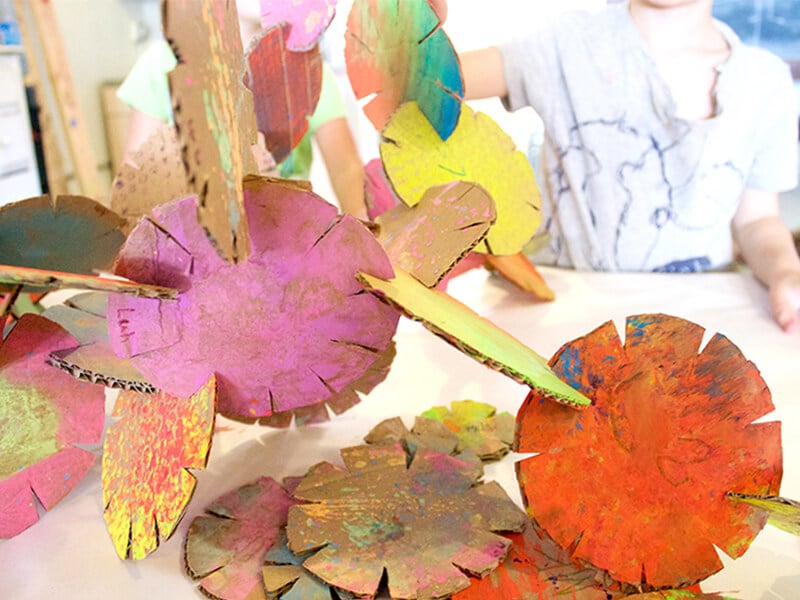
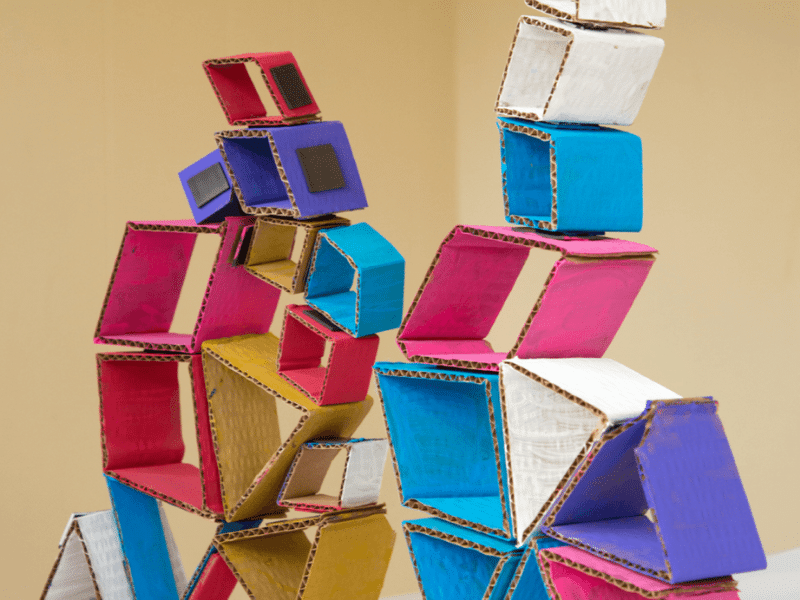
How to Make Neon Cardboard Sculptures for Kids
Create vibrant neon cardboard sculptures with kids! A fun process art activity using recycled materials. Perfect for kids of all ages. Project and photos by
Create vibrant neon cardboard sculptures with kids! A fun process art activity using recycled materials. Perfect for kids of all ages. Project and photos by
Fun arts and crafts for tweens that include painting, drawing, sculpture and more! Perfect for makers ages 10-12 to make and create! Updated August 2025

Colored ice sculptures are a fun and easy 3D art project for kids! Kids can stack the ice shapes and refreeze for a beautiful ice
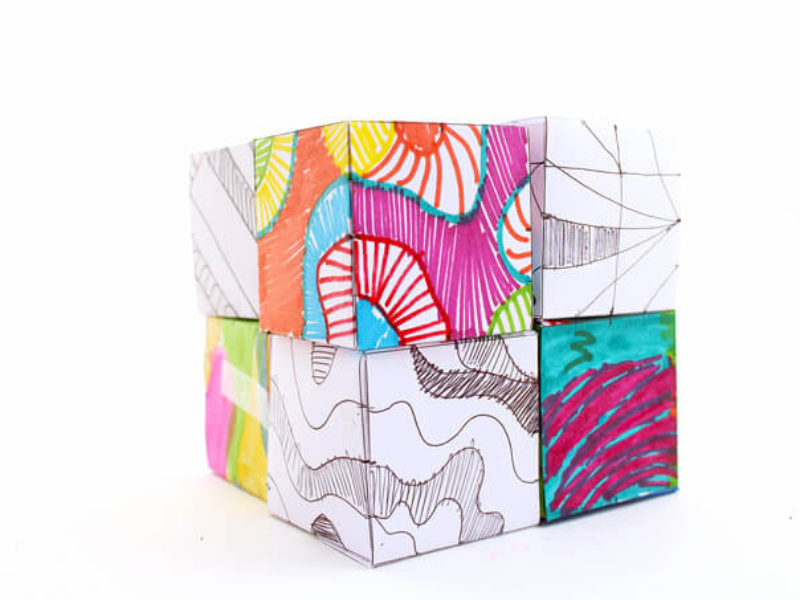
Doodle cubes are a fun art activity for kids that allows them to see how their 2D designs can translate into 3D designs. Great for
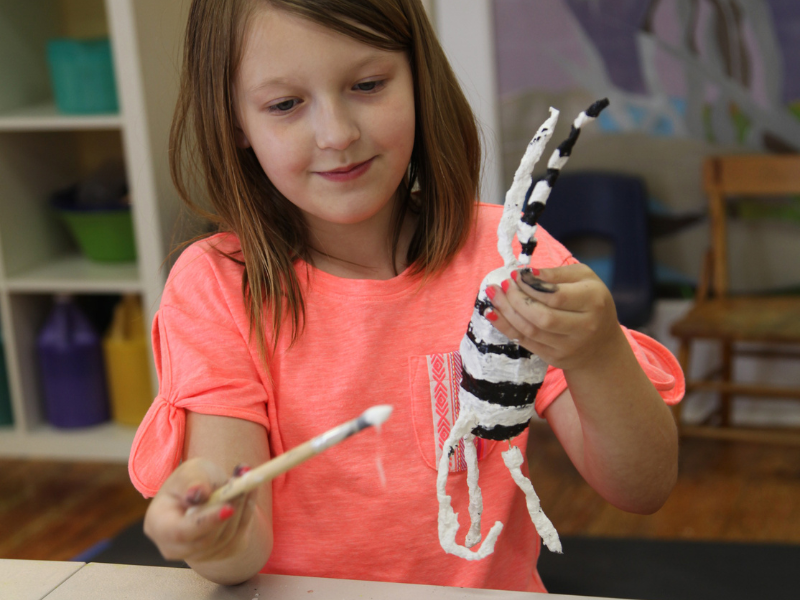
Plaster cloth is a fun material for kids to create amazing sculptures. It’s a less messy alternative than paper mache and engaging for a variety
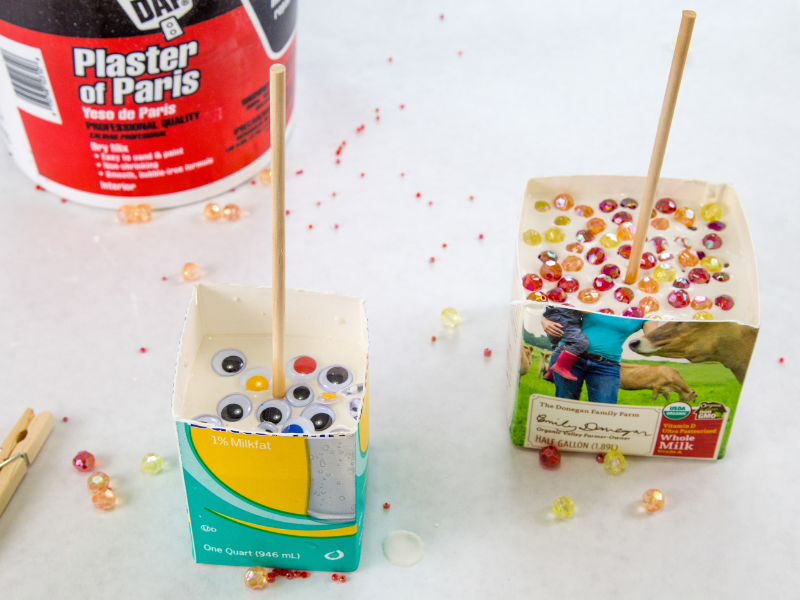
Our favorite plaster crafts to try with your kids, including plaster casting, plaster sculptures, 3D art, and sidewalk chalk. Updated May 2025 We love sculpture
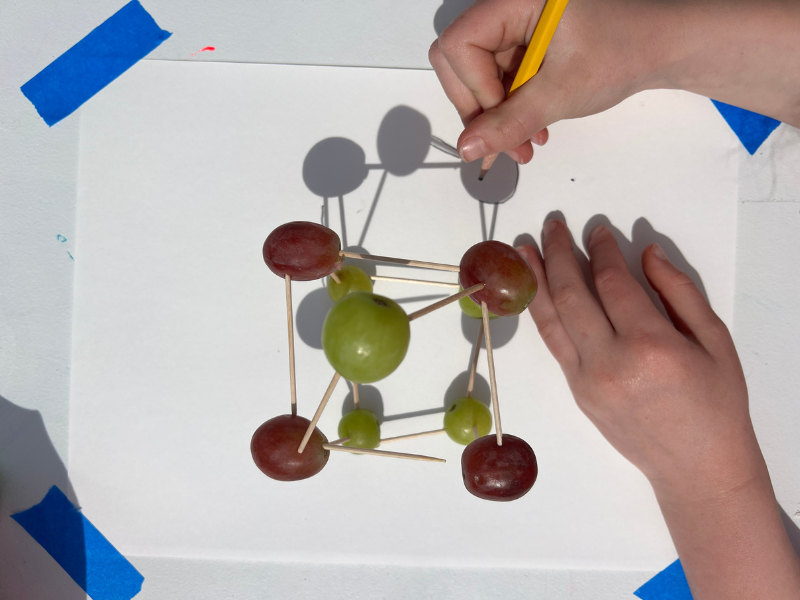
Shadow tracing is a simple, engaging drawing activity for kids! Build grape sculptures and draw shadows for an edible art experience! Updated April 2025 We
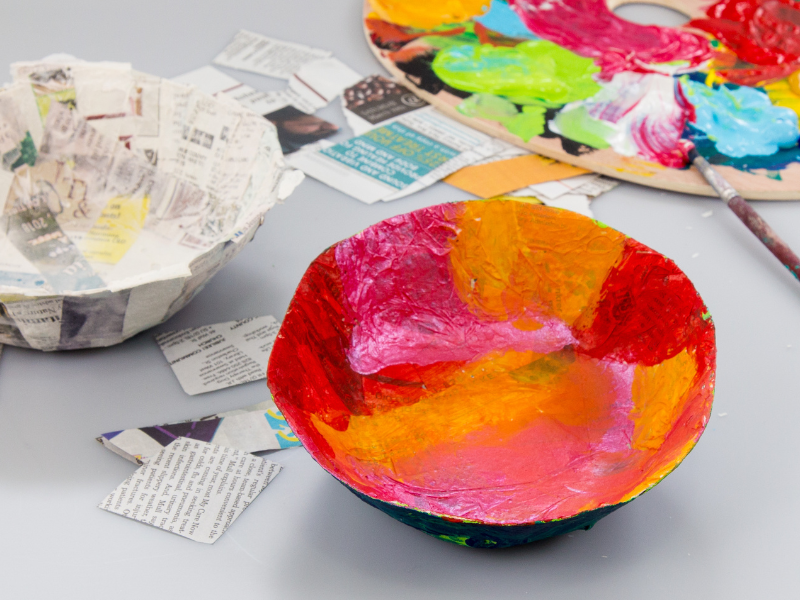
Learn how to make paper mâché bowls with kids. Use a bowl from your kitchen as a mold and then paint the finished product! Updated
Try these 5 fun ideas to DIY cardboard into toys and building materials for kids. These are great recycled projects for the whole family! Updated
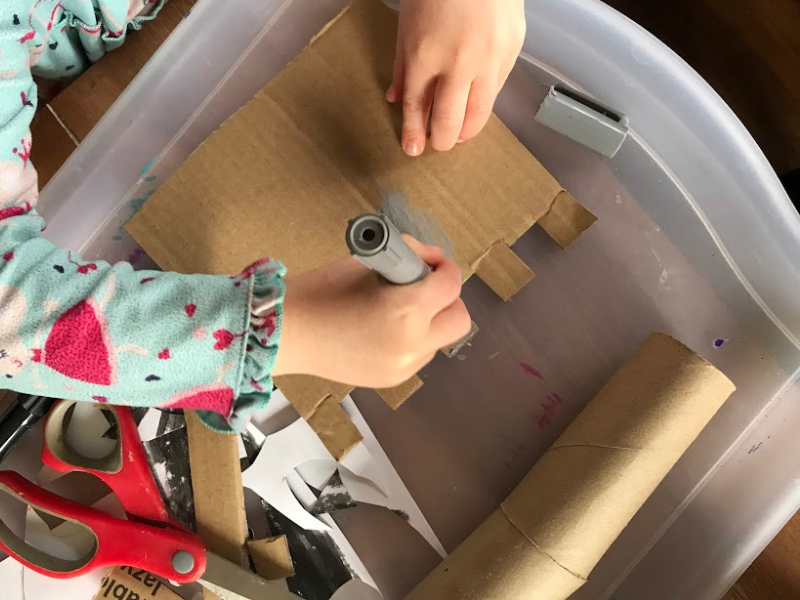
Kids can create their own building material by transforming a box into cardboard building discs. Stack the discs to make these awesome sculptures! Project &
Make your own magnetic building set for kids using cardboard. These sculptural magnetic shapes are easy to make, fun to play with, and cheap! Updated
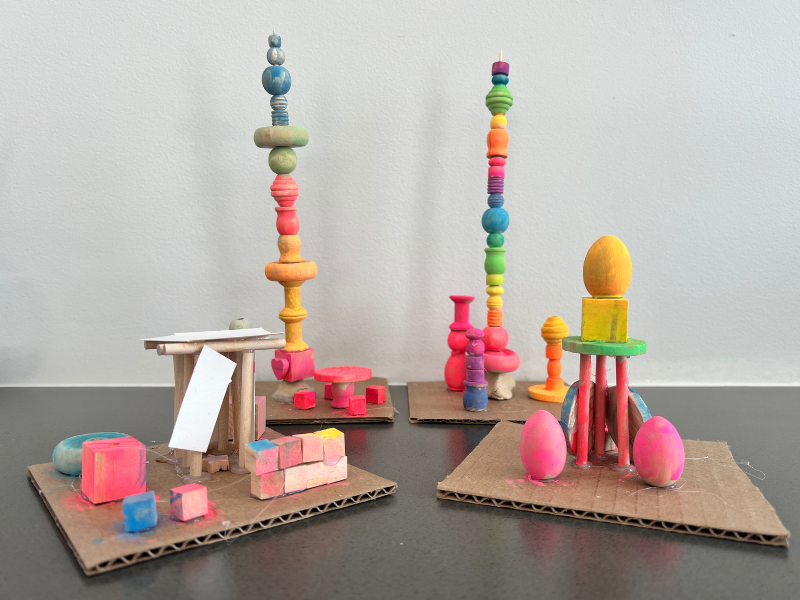
Wood sculptures for kids are easy to make with wood pieces and hot glue. Paint or add additional details with permanent markers. Updated February 2025