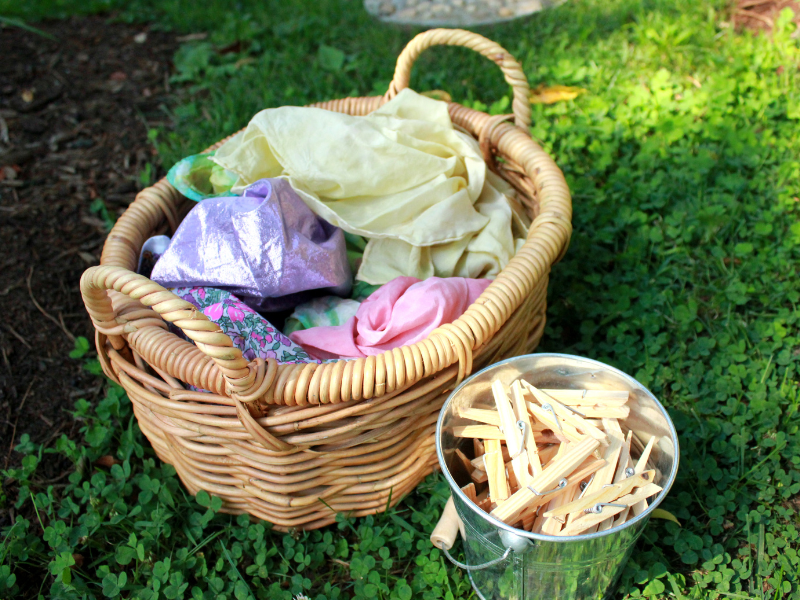
Have you tried dyeing with Kool Aid yet? The vibrant colors make wonderful dye for play silks or other fabrics.
Updated 2024
Do you have play silks at home? We tried dyeing a set of plain white ones with Kool Aid which resulted in lovely, vibrant colors.
Aren’t they beautiful?! The tutorial is found on Kristen*Can.
Play Silk Dyeing with Kool Aid

MATERIALS
- Plain white playsilks
- Kool Aid in a variety of flavors & colors
- Glass bowls, one per color
- Distilled white vinegar
- A microwave
INSTRUCTIONS
- Prepare plain silks
First soak all undyed silks in hot water with a dash of vinegar (we used distilled white vinegar) for half an hour.
- Mix dye
Then, for each silk, mix the following in a glass bowl:
2 cups water
1/2 cup vinegar
3 packets of Kool-Aid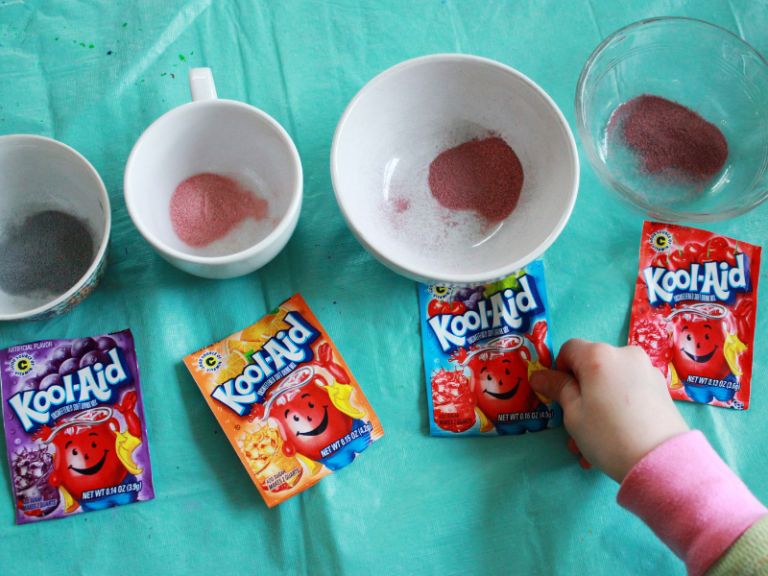
- Dye silk
Then add the playsilk, cover with plastic wrap, and microwave for three minutes.
Note: according to the original instructions, you’re supposed to let it sit for three minutes, stir, then repeat the microwaving and sitting three times total for each silk. Others had commented on how dark the silks get and since we prefer a lighter playsilk, we just did the whole process once for our silks.
We thought we’d dye two scarves at a time in each color, but it turned out that there was just room for one at a time. And the color from the Kool-Aid was gone from the water after one silk was dyed so we couldn’t reuse it.
- Dry and rinse
After the microwaving process, the silks should be hung to dry. Then you should wash them in cold water (we put them in the sink with dish soap one at a time – the red bled a little bit) and dried again.
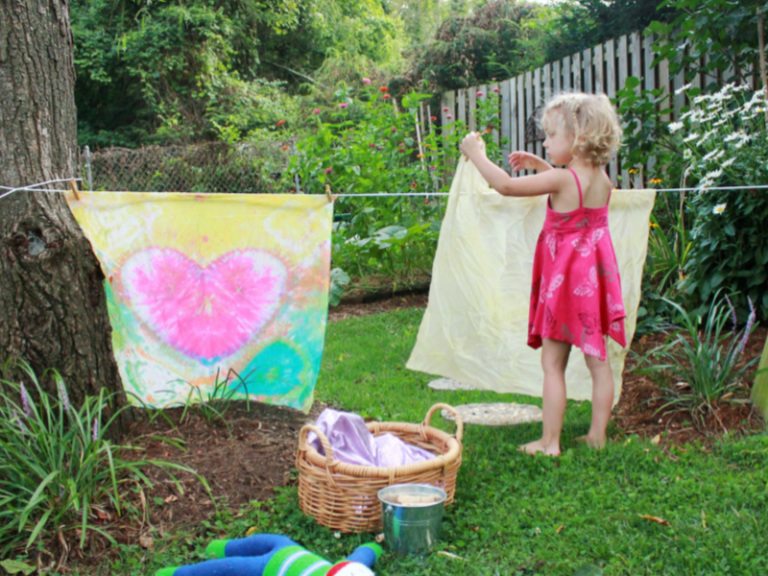
Update: Our kool aid dyed play silks have lasted 6 years now with little fading.
Related Posts
-
How to Marble Easter Eggs with Kool-Aid
Learn how to marble Easter eggs with Kool-Aid. This is an easy and lovely egg…
-
How to Make DIY Bubble Wands with Beads
These DIY bubble wands made with pipe cleaners and beads are a fun kids' craft…
-
10 DIY Outdoor Games for Summer
10 DIY outdoor games for kids to try this summer! These are easy and fun…

