Catalina of Redviolet Studio shares tips and tricks on resin for beginners plus important safety protocols to consider.
Updated March 2025
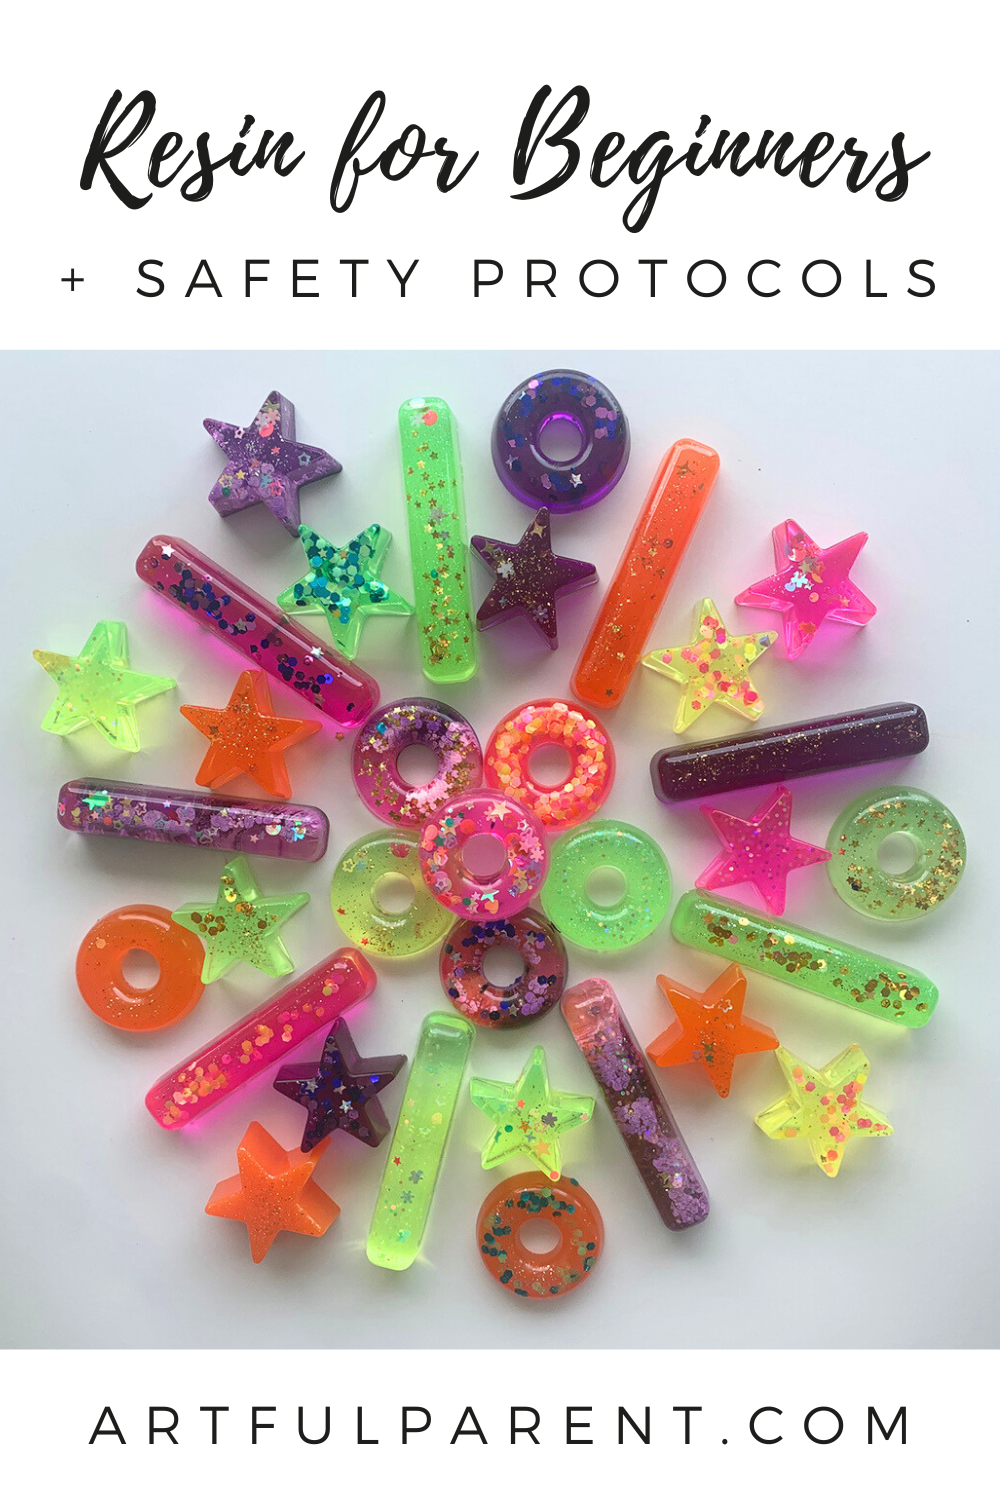
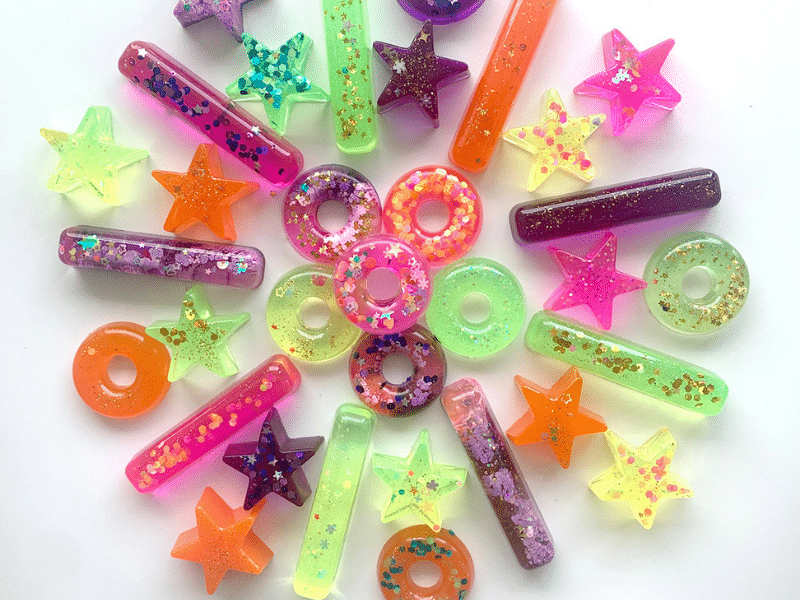
Have you seen all of the cute resin creations popping up on social media these days? Did you know you can make your own resin objects? It’s less complicated than you might think.
Here are the steps to do resin at home, plus important safety protocols to consider. Please note, this is not a project to do with little kids, but rather ages 10 and up, with adult supervision.
Resin for Beginners and Important Safety Protocols
The first thing you must know about resin is it’s a toxic material if not handled properly. People who work with it on a regular basis use respirator masks to protect themselves from toxic fumes and VOCs.

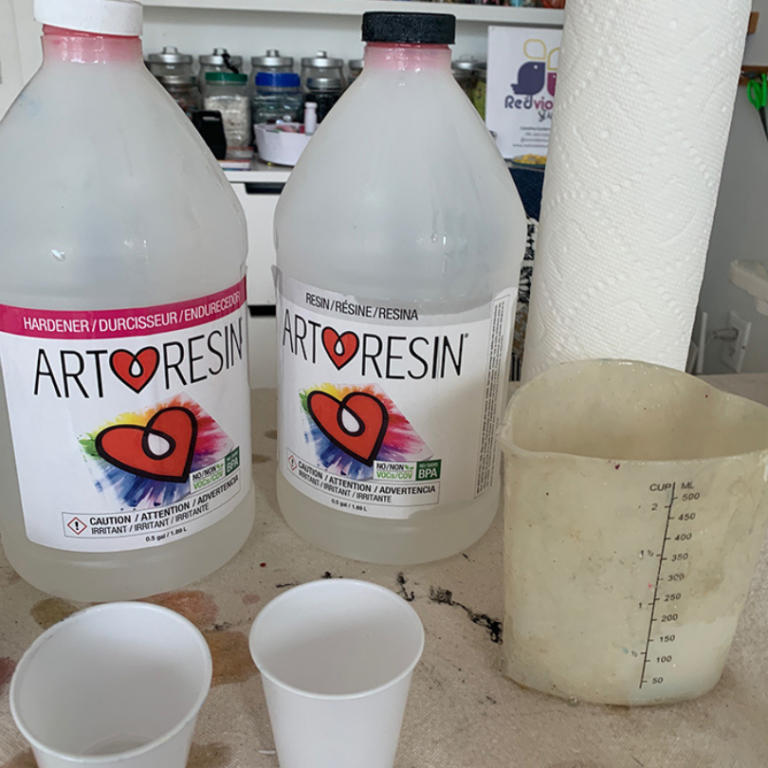
In order to avoid this risk, I work only with ArtResin brand (one of the most popular brands of clear epoxy resin used worldwide). It is marketed as non-toxic, non-hazardous, non-flammable and it has no VOCs/ fumes produced.
ArtResin is more expensive than other brands, but it feels a bit safer to work with compared to the alternative options. And when I use ArtResin I still work in a very well-ventilated area with all windows open and the proper PPE (which includes: nitrile gloves, protective clothing, respirator mask, safety goggles.).
Resin is super fun, but it also requires some skill. And for me, these skills came with the practice of doing it over and over again. I recommend taking it easy and starting small. But once you get the hang of it, you won’t be able to stop!

How to Do Resin
MATERIALS
- Art Resin
- Disposable nitrile gloves
- Plastic or paper cups
- Large and small craft sticks (for mixing)
- Measuring Cup
- Toothpicks
- Resin inks
- Paper towels
- Plastic tablecloth
- Molds (letters and numbers, or any mold for resin)
- Glitter
- Resin Fillers (mini shells, charms, sprinkles, flowers, mini beads, anything goes!)
- Timer
- Q-tips
- Baby wipes
- Wet or dry sandpaper (P800)
INSTRUCTIONS
- Prepare the work station
First and foremost you must make sure to work in a well-ventilated area with open doors and windows. Cover your table with cardboard, Kraft paper or a plastic tablecloth. Keep in mind that anything used will have to be disposed afterwards as it will be ruined if it gets resin on it.
- Decorate your molds
Start by decorating your molds with all of the goodies! You can add mini charms, beads, sprinkles, flowers––pretty much anything as long as it fits in the mold!
Once you have your molds ready, set them aside. - Measure the resin
Next, measure the ArtResin. The amount you will mix depends on the molds you choose. I usually mix 500ml total, when making a complete big letter mold, for example. First, measure the resin by pouring it in a cup or plastic container and then measure the exact same amount of hardener and pour it into the same container.
If your room temperature is cold (during winter time for example) you may want to give your resin a warm bath before pouring it to avoid the appearance of bubbles.
*If this is the case, you may want to research a little more about how to give your resin a warm bath before pouring it. - Mix the resin
Use a craft stick and start mixing the resin. Be sure not to lift the stick to prevent too many bubbles from forming. Set a timer and mix for about 3-5 minutes or until the resin is completely clear with no streaks. Be sure to mix the bottom and sides of the bowl, too.
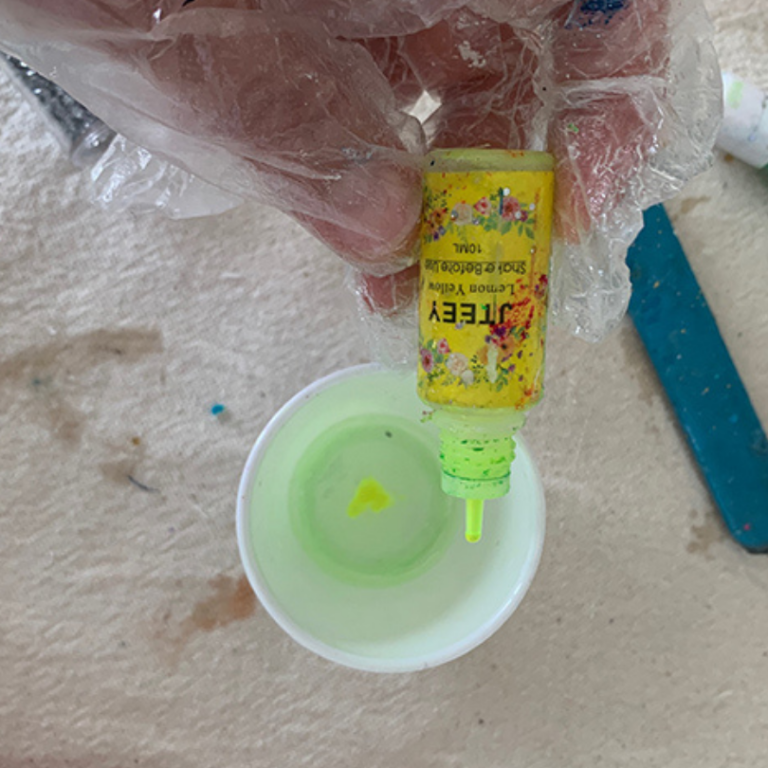
- Add color (optional)
If you want to add color to your resin (versus using it clear), now is the time to tint it. You can separate the resin mix into different plastic/paper cups and use small craft sticks to mix tints into each one. Start with a few drops, mix well and if you would like a more intense color, then you can always add more. If you want to add glitter to it, do that now, too.
- Pour into molds
Now pour the resin mix into the molds. Be very careful and do it slowly to prevent spills. Fill your molds all the way to the top. Do not move the molds after pouring the resin.
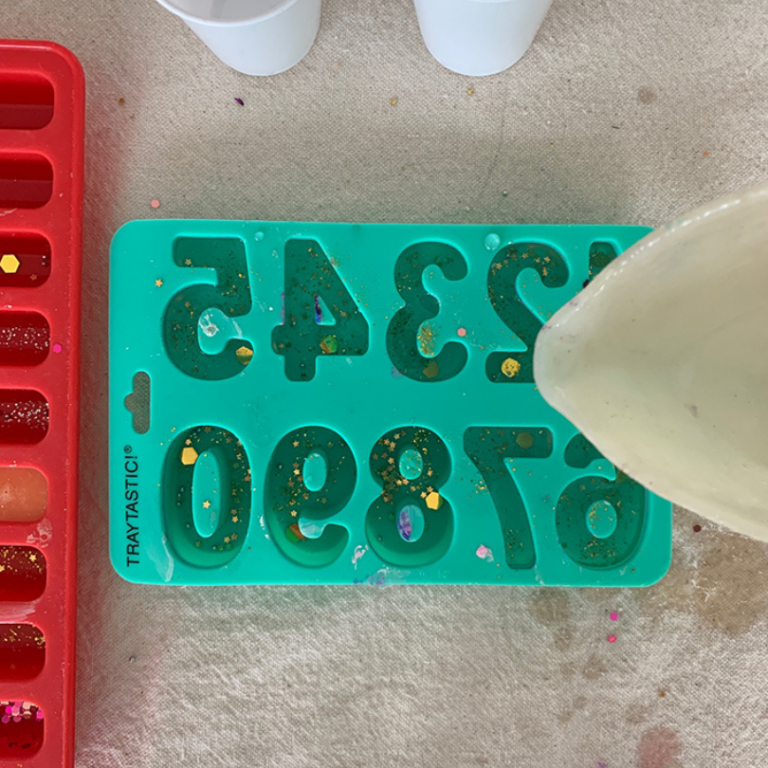
Clean the edges of the molds with Q-tips or baby wipes.
You will notice bubbles on the surface of the poured resin. Use a toothpick to pop them.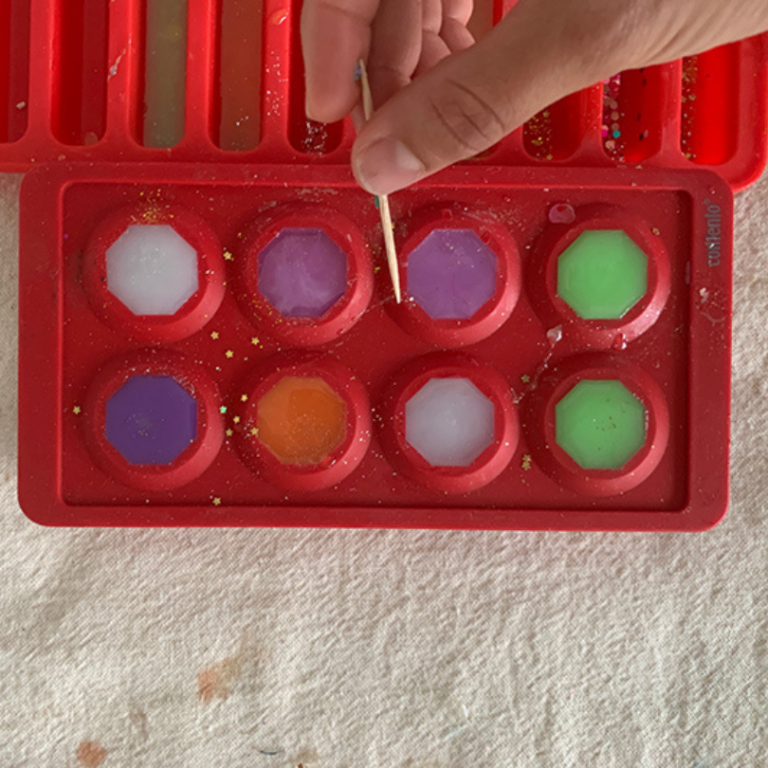
- Let cure
Once the resin is in the molds, let it cure for 24 hours and then gently remove from the mold.
Sometimes resin creations will have sharp edges, If that’s the case, add a little water to the sandpaper and gently sand the edges of your pieces.
Wash silicone molds afterwards with soap and warm water and let dry.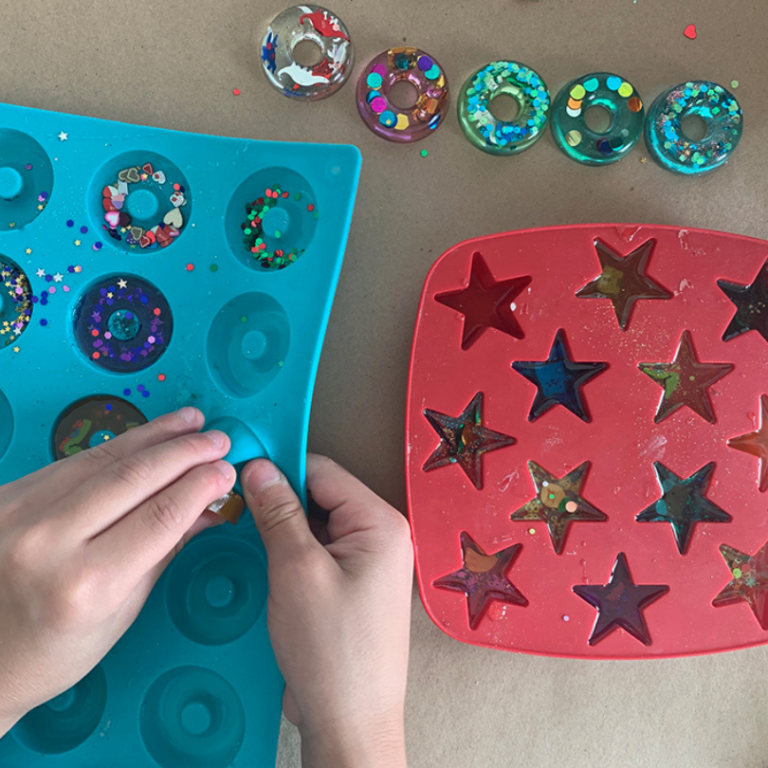
Your resin creations should be hard and sturdy. If not, chances are the measurements of resin and hardener was not exact or the mixing was not thorough. I had a few of these incidents where I ended up with soft and bendable resin creations and it can be really frustrating.

What to Do with Resin Creations?
Resin creations are great gifts for kids! Letters are fun to press in playdough and use for all sorts of literacy acquiring skills. Kids can practice writing their names in a fun new way.
And resin gems, shapes and flowers make a super fun addition to sensory bins for kids. Or use them alone as the star of the show with kinetic sand or another sensory bin filler.
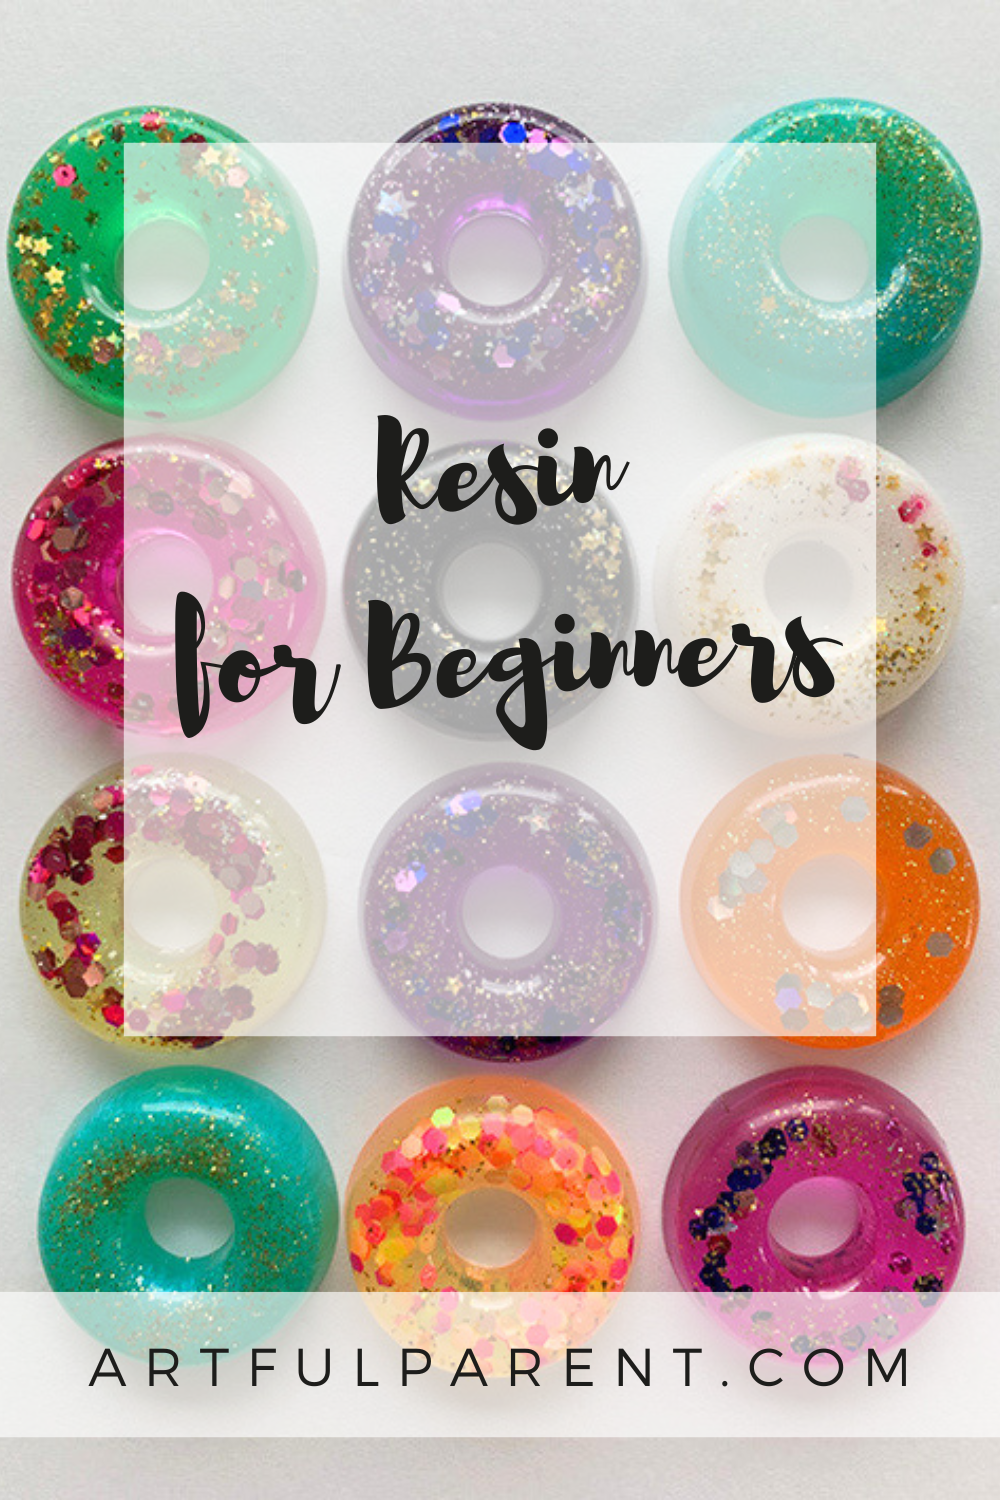
You can also make your own keychains, coasters, earrings and resin crystals. The possibilities are endless, once you start looking up molds on Amazon you will see the many options there are for creating with resin!

Now remember, resin requires time, dedication and lots of practice. But once you get it right, I guarantee you will want to keep creating with it! Please share and tag me with your creations! I can’t wait to see them!
More Crafts for Big Kids
- 18 Fun Arts and Crafts for Tweens
- Easy Gelatin Printmaking for Kids
- The Best Arts and Crafts Supplies for Tweens
- How to Paint a Watercolor Geode
- How to Make Mandala Art Designs on Records
- Try These Fun Slime Ideas for Kids
Pin It for Later