Tie dyeing isn’t just for tee shirts! Here are five of our favorite tie dye ideas, perfect for a summer day!
Updated August 2025
We love to tie dye. We do it every summer and love to try new techniques (thanks to the Neon Tea Party for the endless inspiration!).

Whether you’re just dipping your toes into the tie dye waters, or you’re a seasoned pro, here are 5 of our favorite tie dye projects.
A note about kits: for all of our projects, we use Tulip One Step kits. We love these kits because they come in so many awesome colors and they don’t require any other ingredients (besides water) for the dyeing process.
If you’re looking for step-by-step instructions on how to tie dye, be sure to read our post on How to Tie Dye Shirts with Kids.
5 Tie Dye Ideas to Try
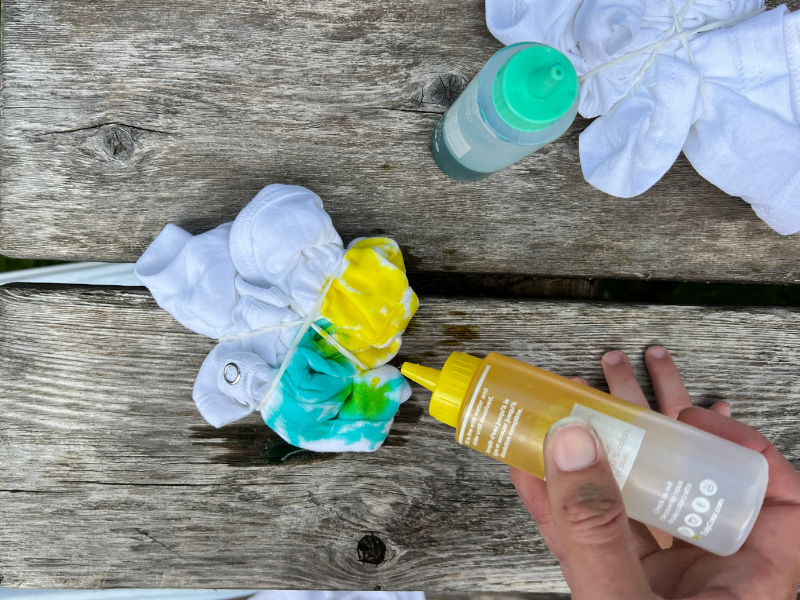
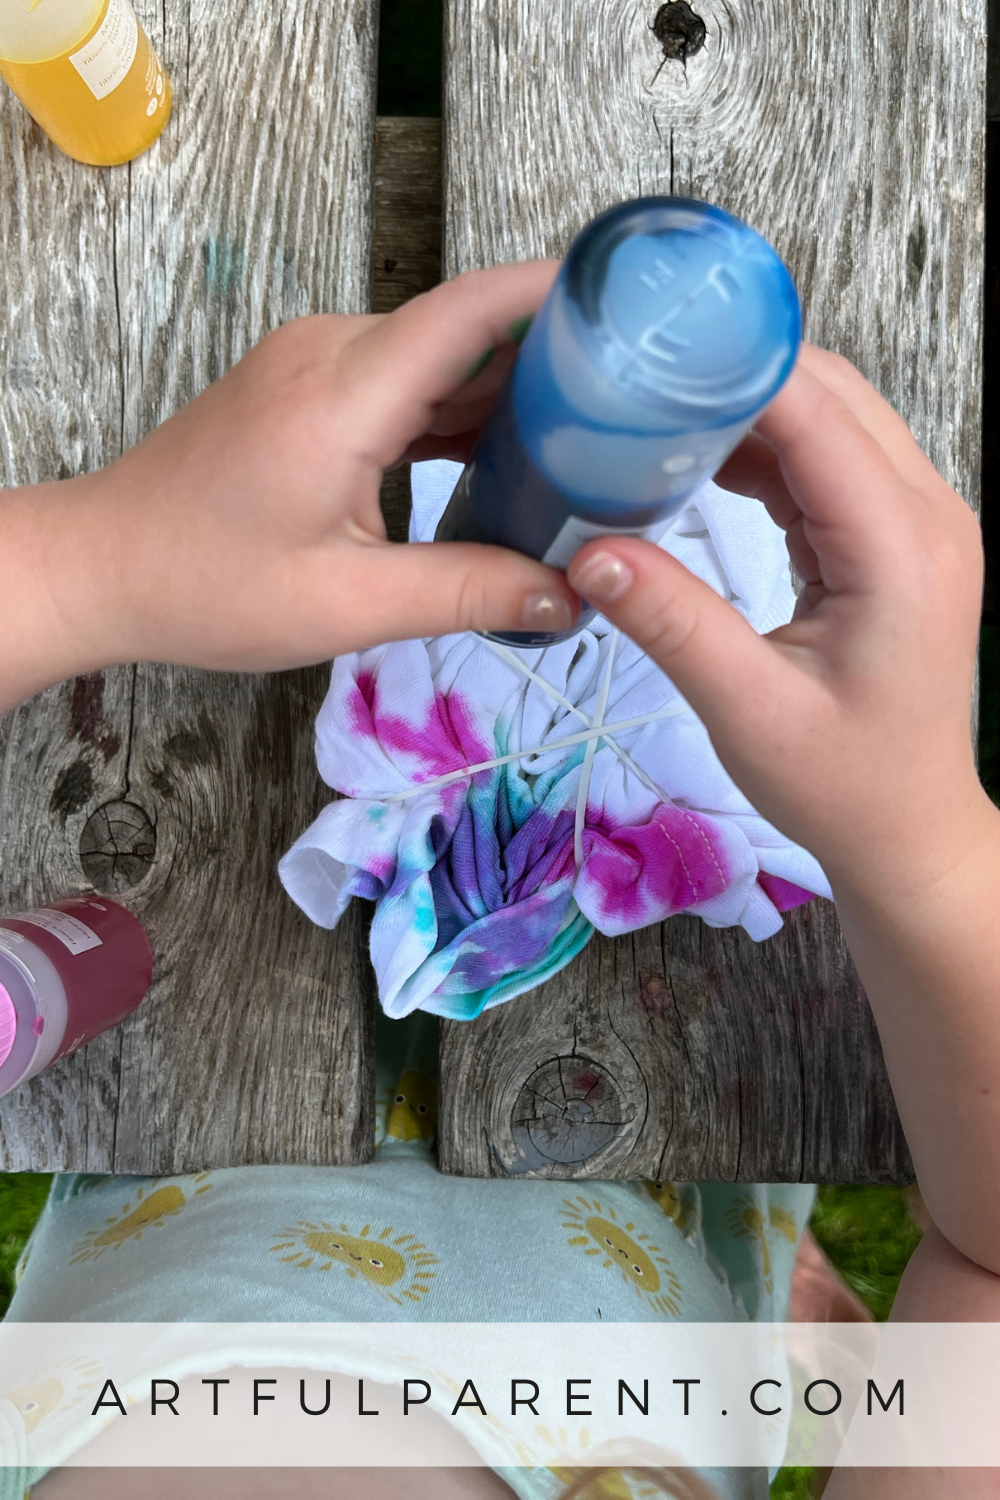
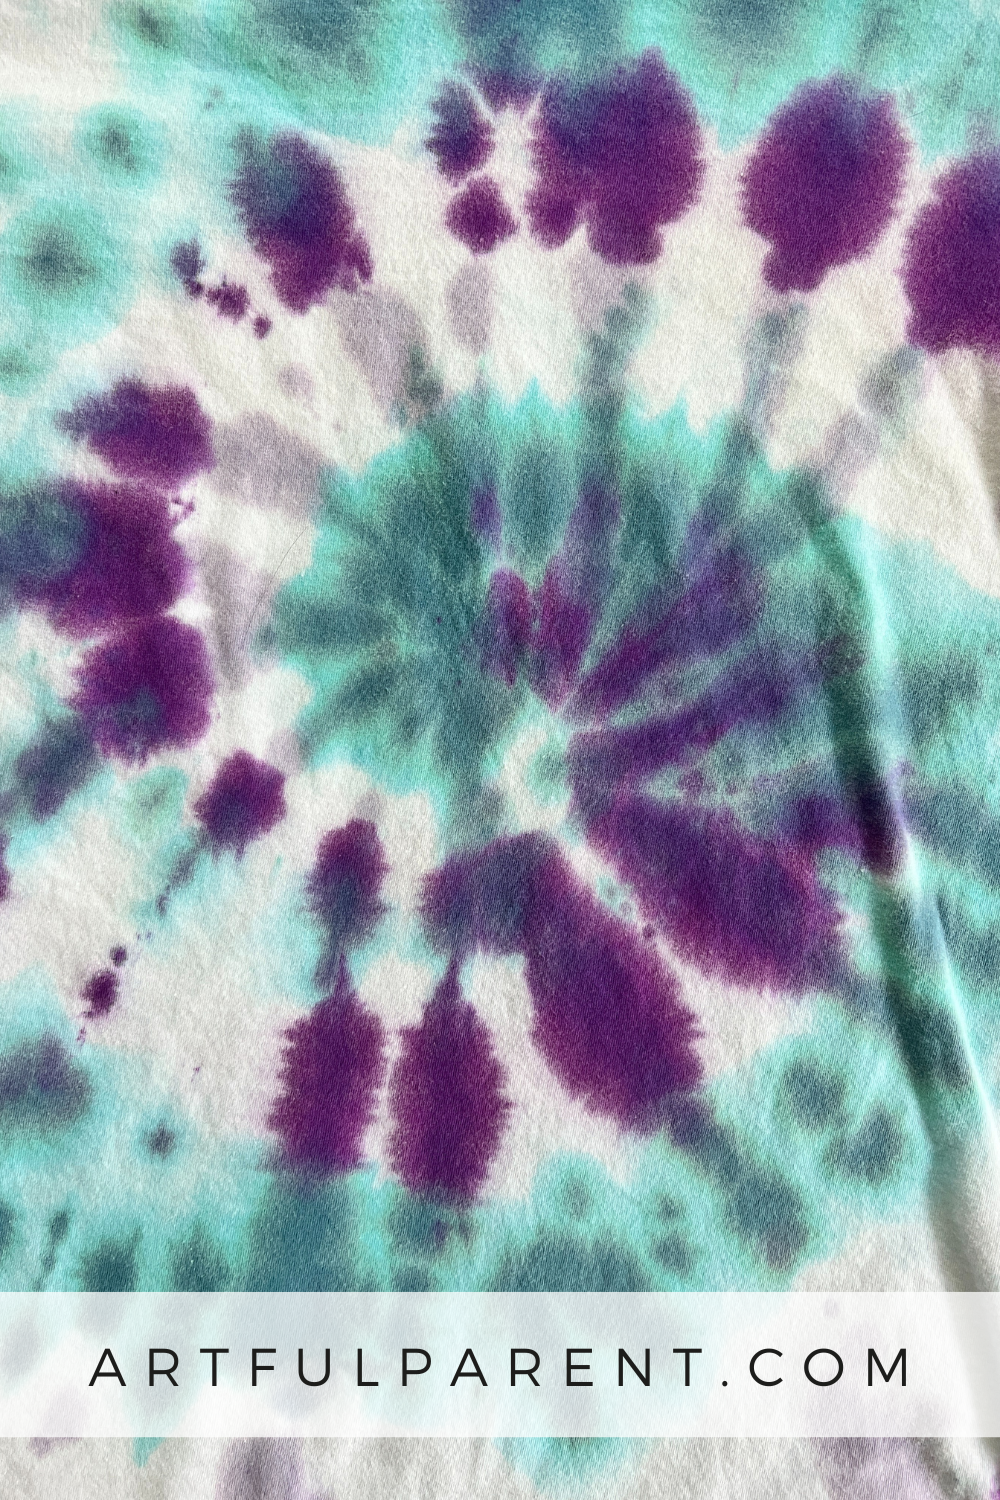
1. Tie Dye a Tee Shirt
It’s a classic for a reason. Every kid we know loves to wear a tie-dyed tee, and they love making them even more.
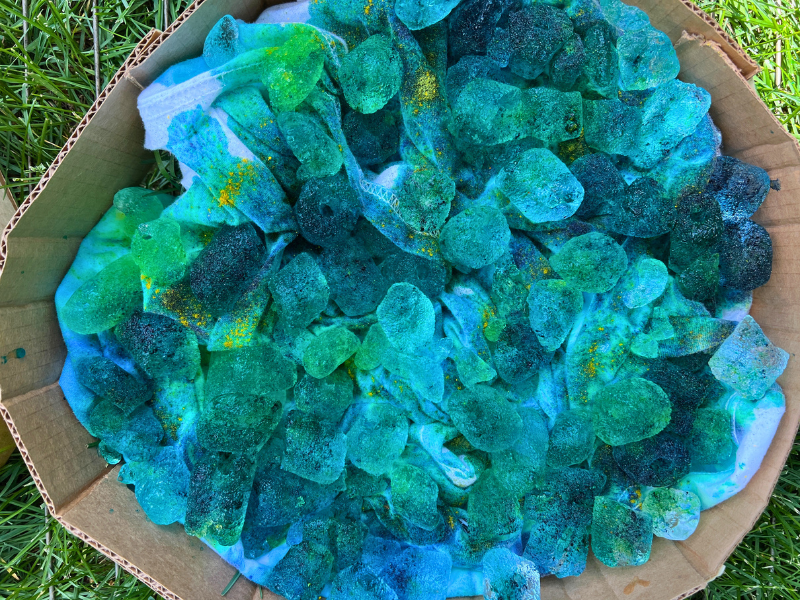
2. Ice Dye
This variation on tie dyeing uses ice and powder dye to make amazing designs. It’s super easy, almost like ‘set it and forget it’!
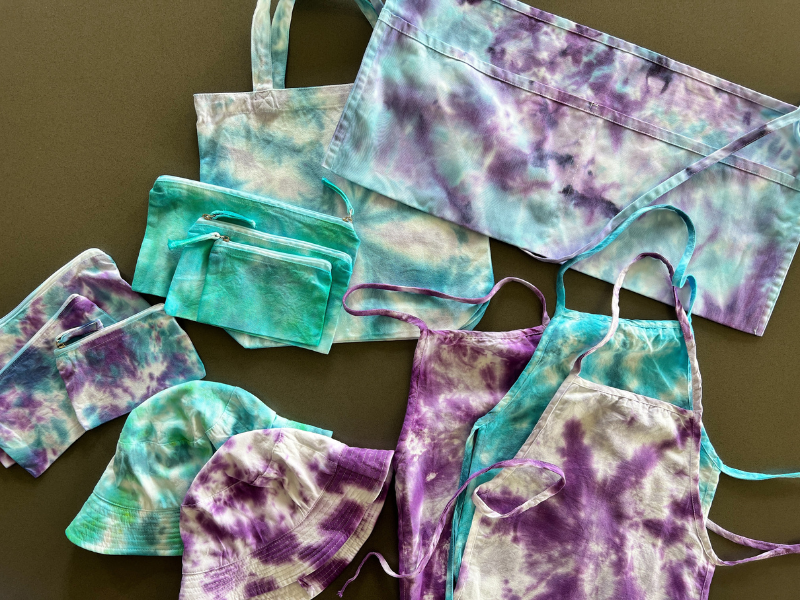
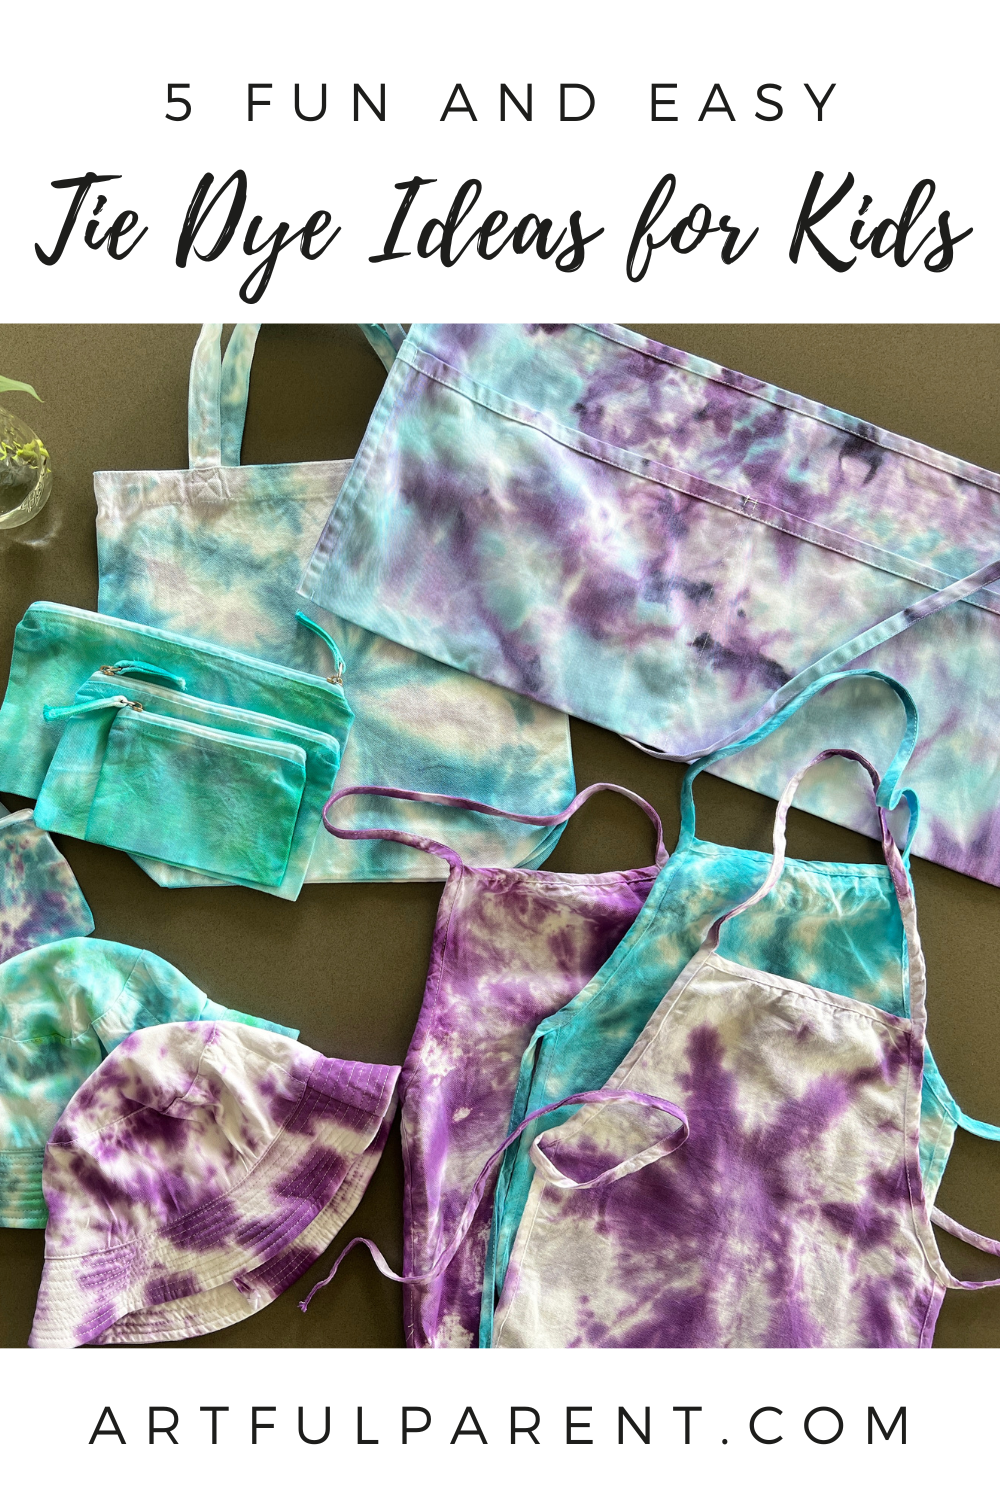
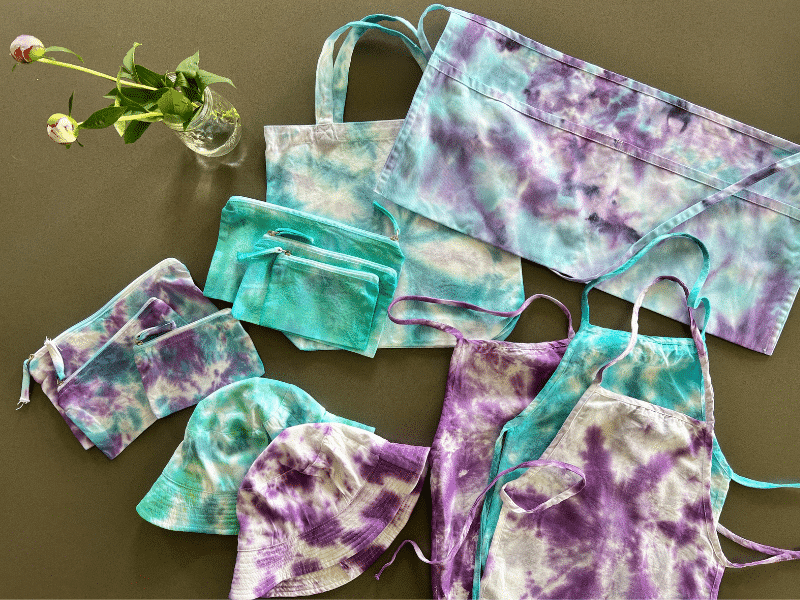
3. Think outside the tee shirt box
Once you’ve got enough spiral tees, branch out! We’ve made tote bags (they make the perfect end-of-the-year gift for teachers!), aprons, bandanas, and bucket hats and they’ve all taken the dye wonderfully. We love to visit the tie dye aisle of any big box craft store to see what white items they have.
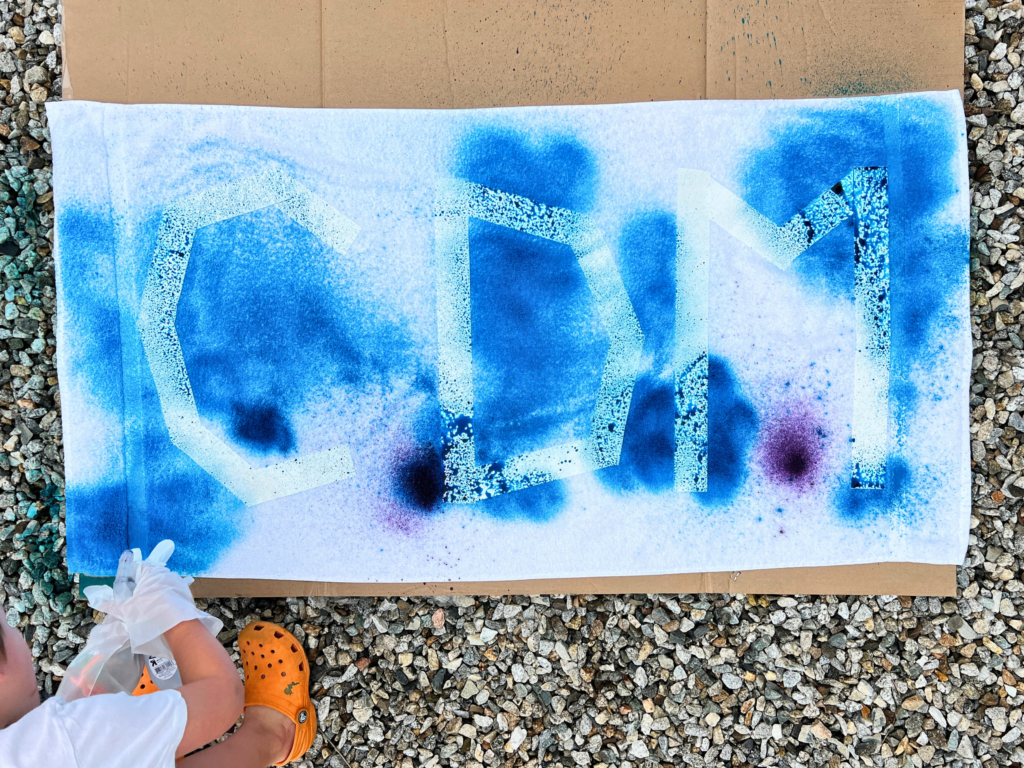
4. Try spraying on your dye
They sell spray kits, or you can add your dye liquid to an empty spray bottle and spray away! Last summer we tried these tape-resist tie dyed beach towels and LOVE the way they came out!
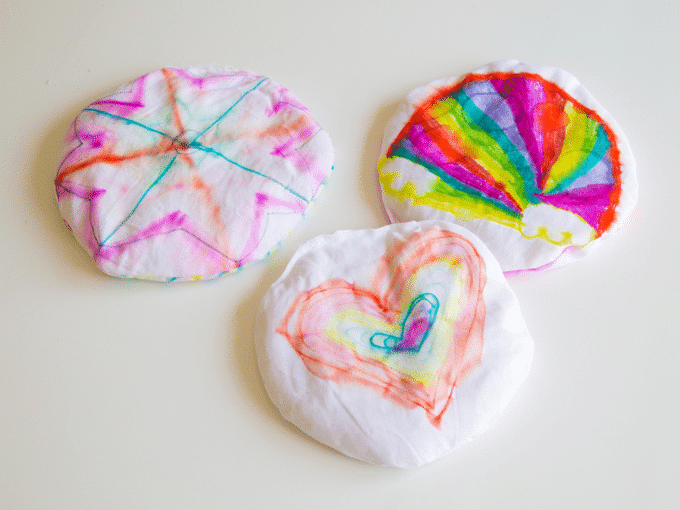
5. Try Sharpie Tie Dye
We love this less-messy version. Use sharpie markers and rubbing alcohol to create cool designs on fabric! These are the perfect project for a rainy day.
Which of these tie dye projects will you try? We can’t just pick one!
More Tie-Dyeing Activities for Kids
- How to Tie Dye Shirts with Kids
- How to Ice Dye
- How to Sharpie Dye Comfort Pillows
- DiY Playsilks: Dyeing with Kool Aid
- 11 Ways to Have a Creative Summer with Kids
- 12 Best Summer Art Activities for Kids
Pin It for Later