How to Do Splatter Painting
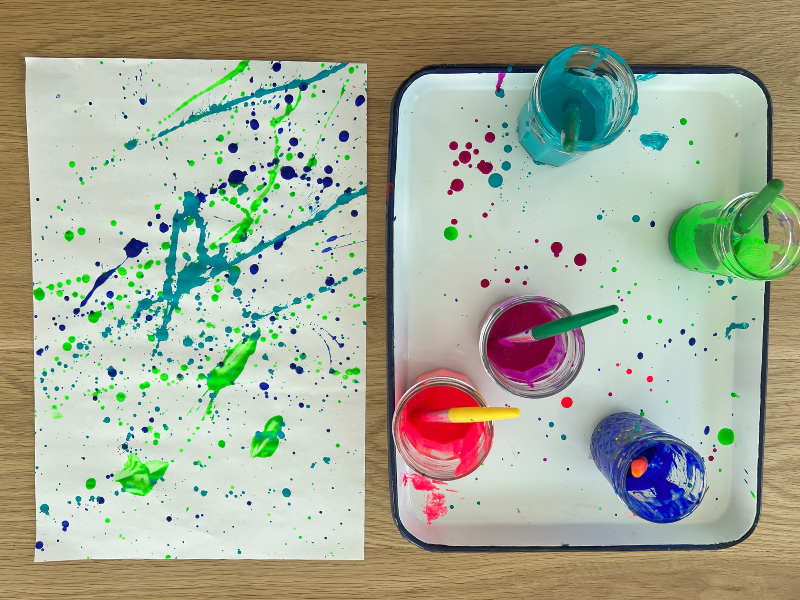
Splatter painting is one of our favorite action art activities for kids of all ages! Here are tips and tricks plus ideas for what to
Splatter painting is one of our favorite action art activities for kids of all ages! Here are tips and tricks plus ideas for what to
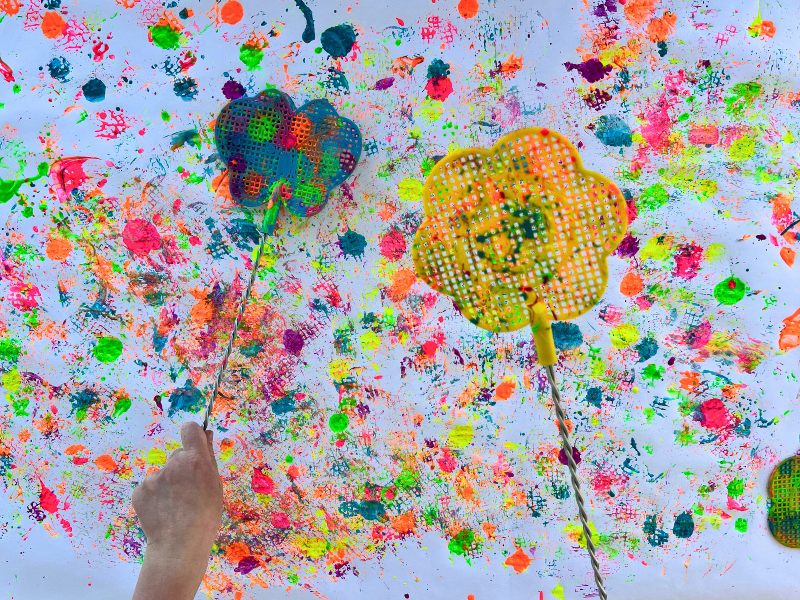
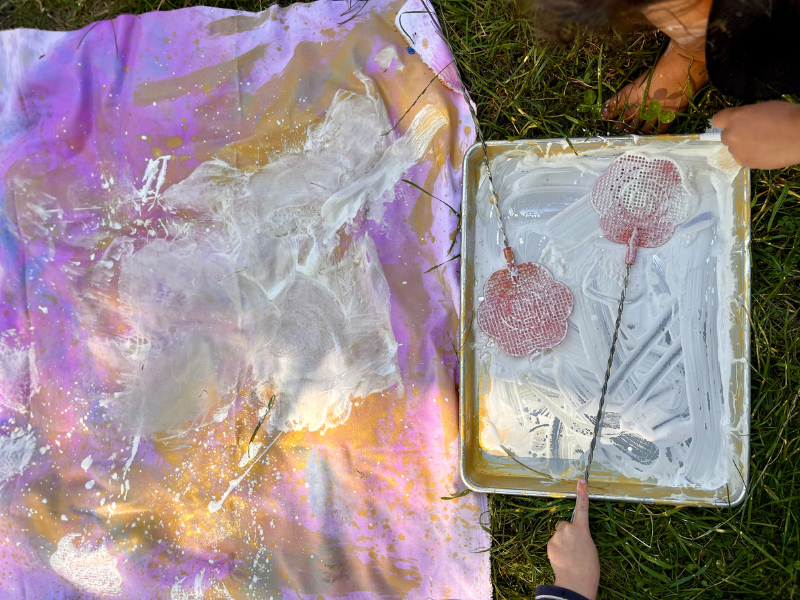
Fly swatter painting is a messy and fun action art activity where you use a fly swatter to make colorful, abstract designs. We love action
Here are our favorite action art painting activities for kids! Let kids move their bodies and make art at the same time with these fun
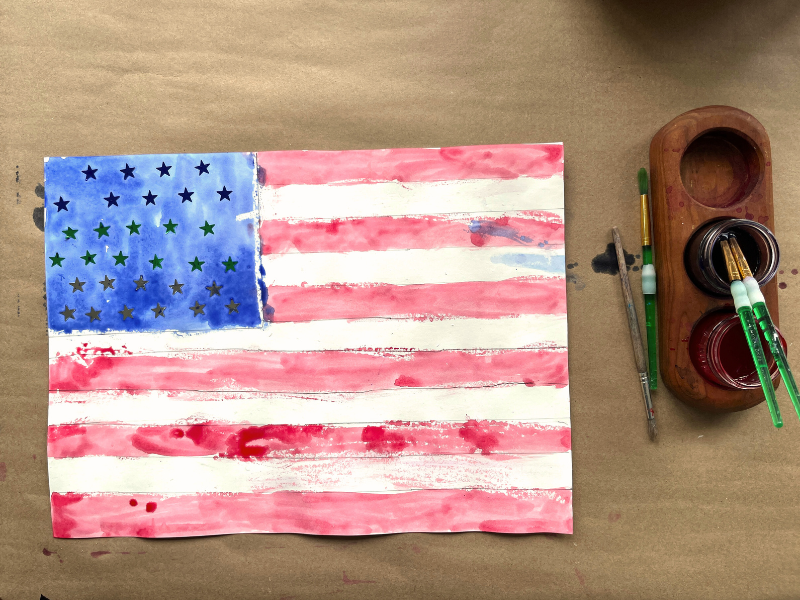
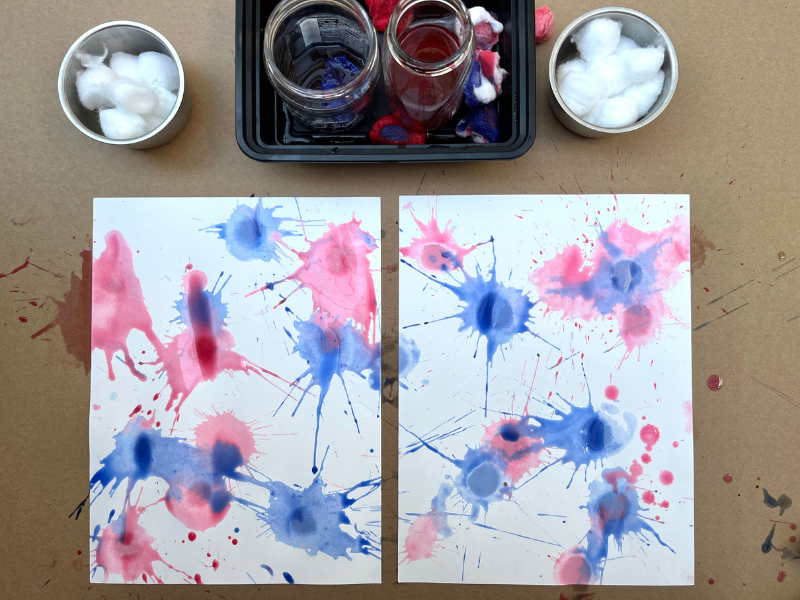
Use watercolor resist techniques to create easy and fun flag art for kids. Perfect for patriotic art projects! Summer is almost here in the United
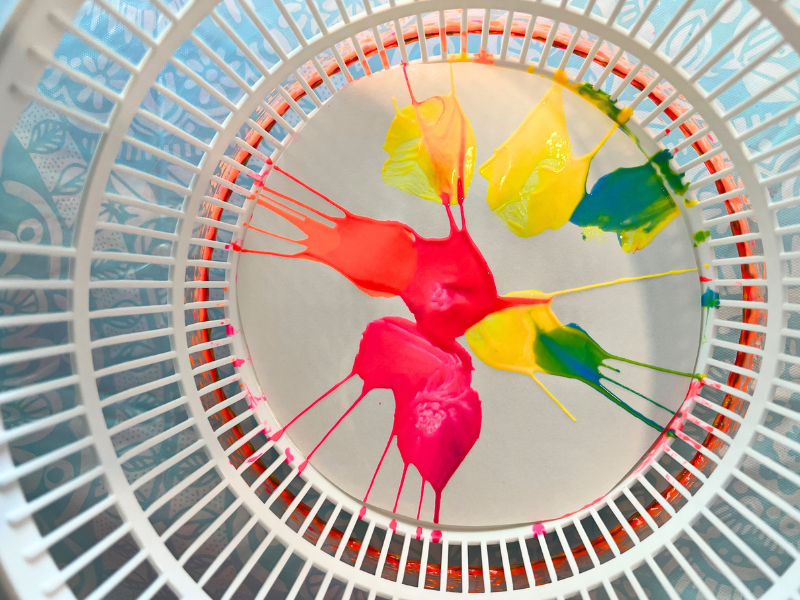
Spin art is a fun and easy action art activity for kids. Using paint and a salad spinner, the process is mesmerizing, and each painting

Danielle Falk of Little Ginger Studio explores how to create colorful geometric art with tape resist paintings for kids. Updated June 2025 Looking for a
Splat painting so easy and so much fun for kids! This simple action art activity involves hitting paint-soaked cotton balls with a small mallet or
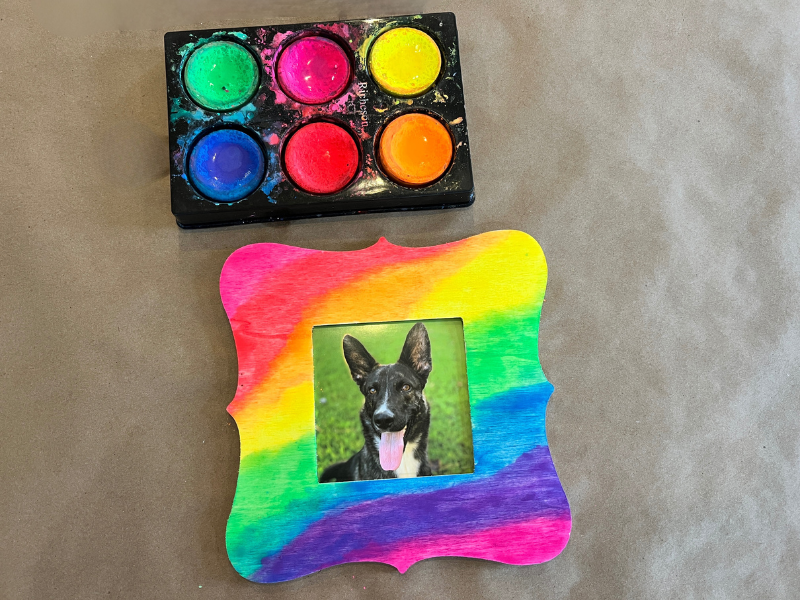
A painted frame is an easy, kid-friendly craft that makes a heartfelt, handmade gift for birthdays, holidays, or just because. Updated May 2025 If you’re
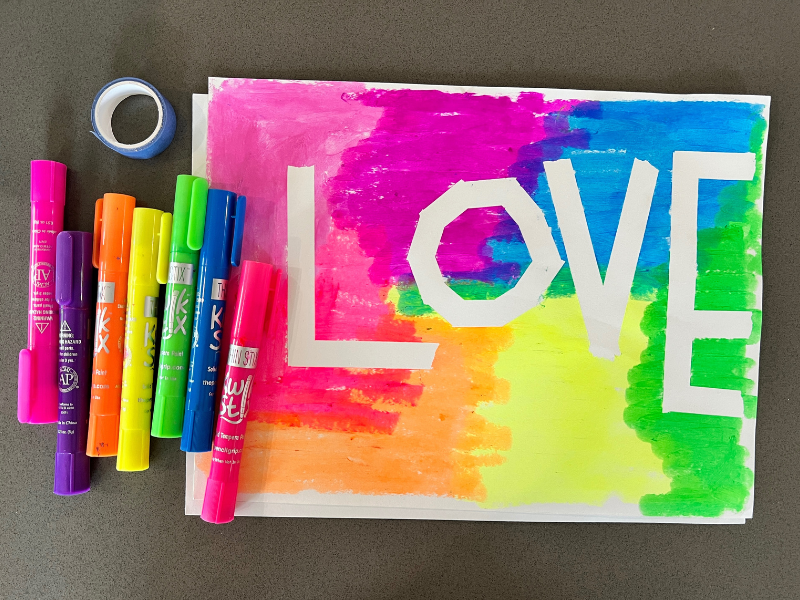
If you want to make tape resist art or signs with kids, try using paint sticks! It’s quick, easy, and virtually mess-free. Updated June 2025

Painting stained glass butterflies allows you to explore the symmetry of butterflies while creating a beautiful and unique artwork. These lovely stained glass butterflies combine
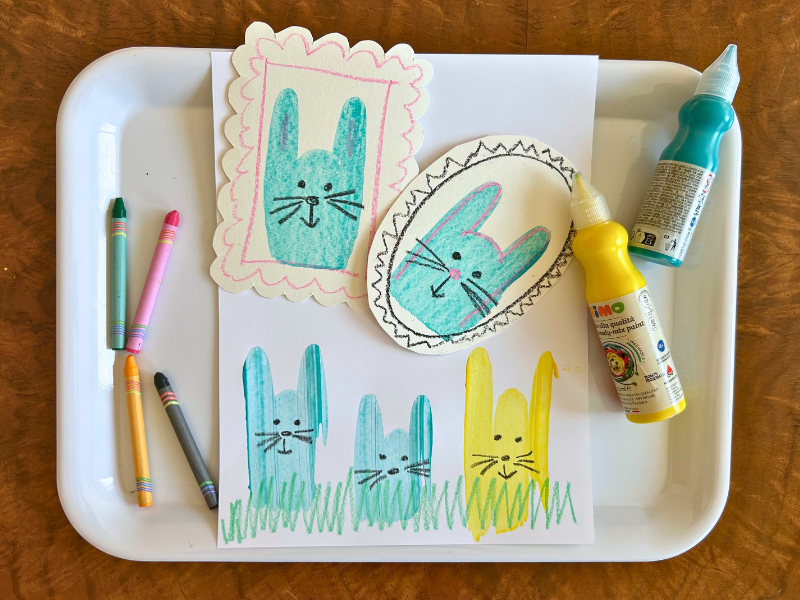
Learn how to do bunny painting with this trendy scraper art project. It’s an easy process art activity with colorful, unique results! From the first
Let your kids paint with water! This easy and mess-free painting activity can be done anytime and anywhere. Updated April 2025 Looking for a fun