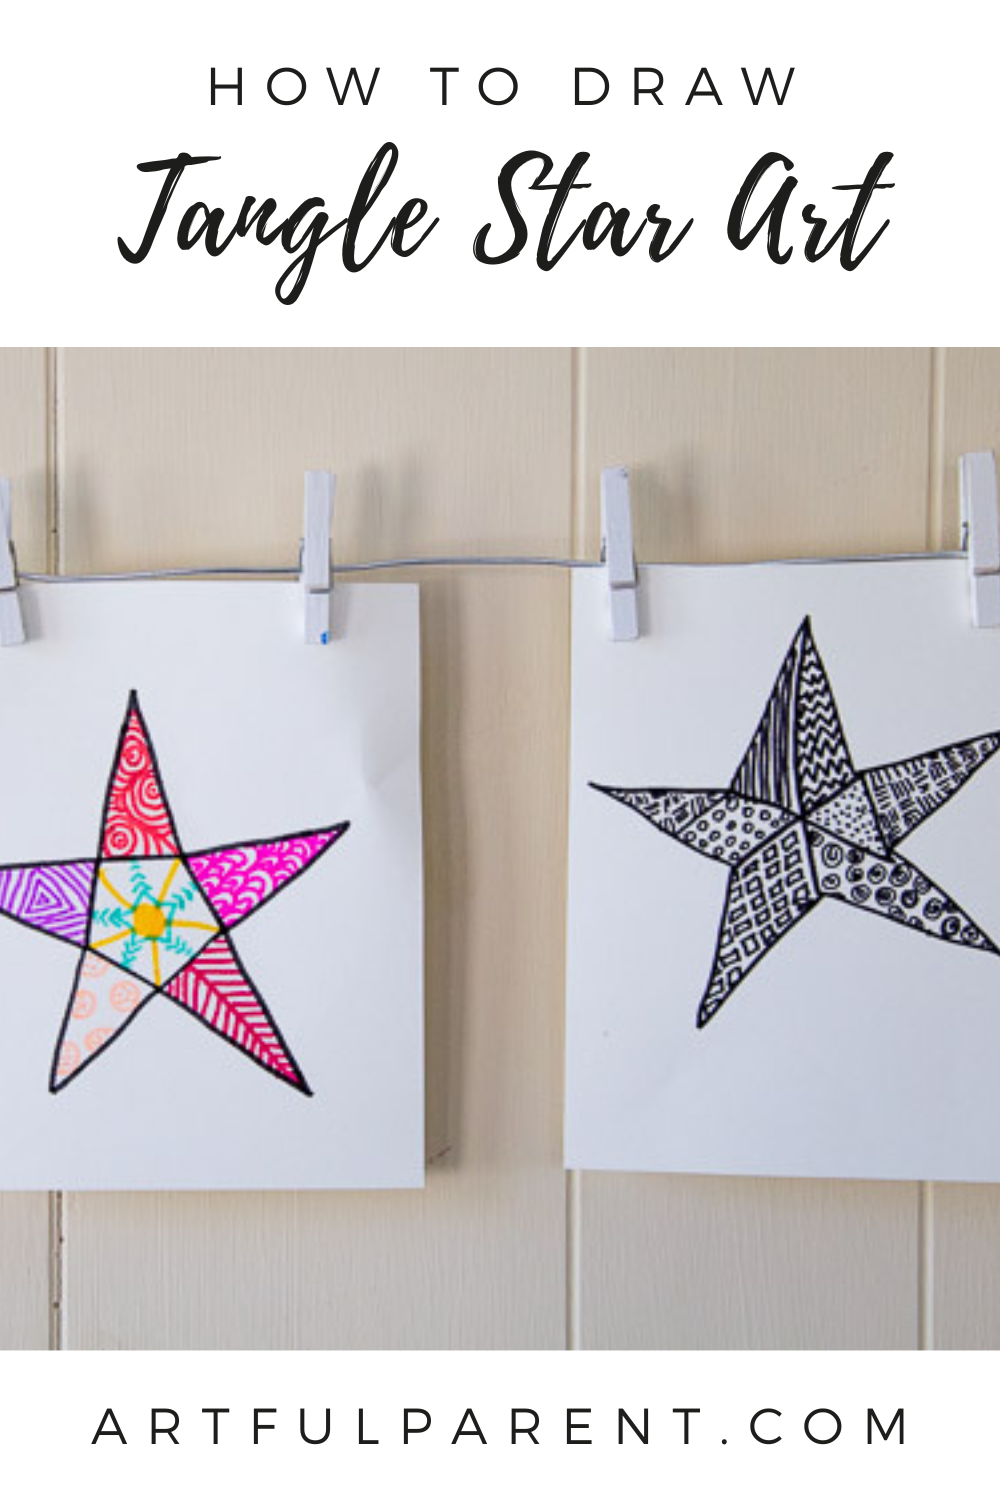
How to draw tangle star art, a fun and easy drawing activity for kids. Plus, a tangle star printable to print and use!
Updated October 2024
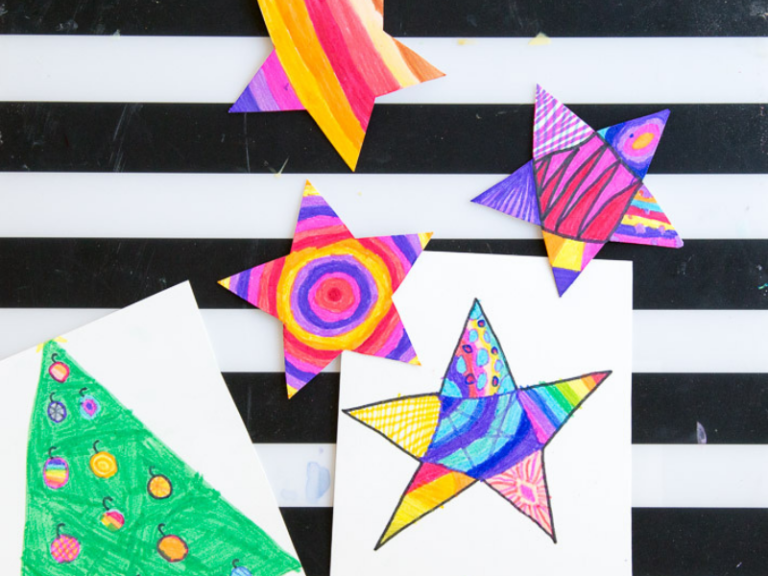
This is a fun and easy drawing activity for kids that you can do at Christmas time or any time of year.
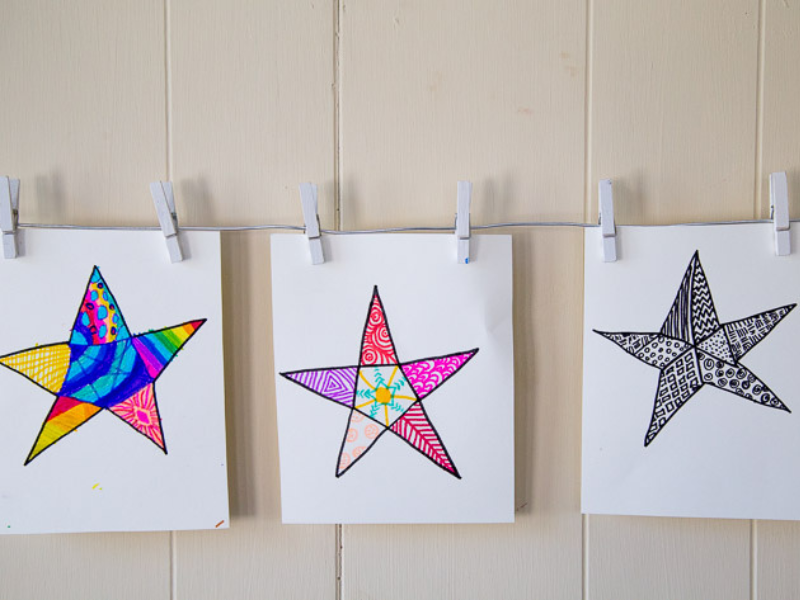
Use markers or any drawing tools to draw Zentangle-style stars. Zentangles are formed when the same pattern is drawn over and over again. You can draw them inside any shape, but stars are especially fun.
If you are making these at the holidays, you can cut them out and turn them into ornaments, gift tags, holiday cards, or a garland.

Tangle Star Art
MATERIALS
- Tangle star printable or white card stock
- Markers, such as Magic Stix, or any drawing tools
Note: we have a tangle star printable for you below that you can print out (on sturdy cardstock) and use to make your own tangle star ornaments.
INSTRUCTIONS
- Draw star
If using plain card stock, draw a star freehand or use the printable stars as a template.
- Divide star into sections
Use markers to draw lines between the points of your star.
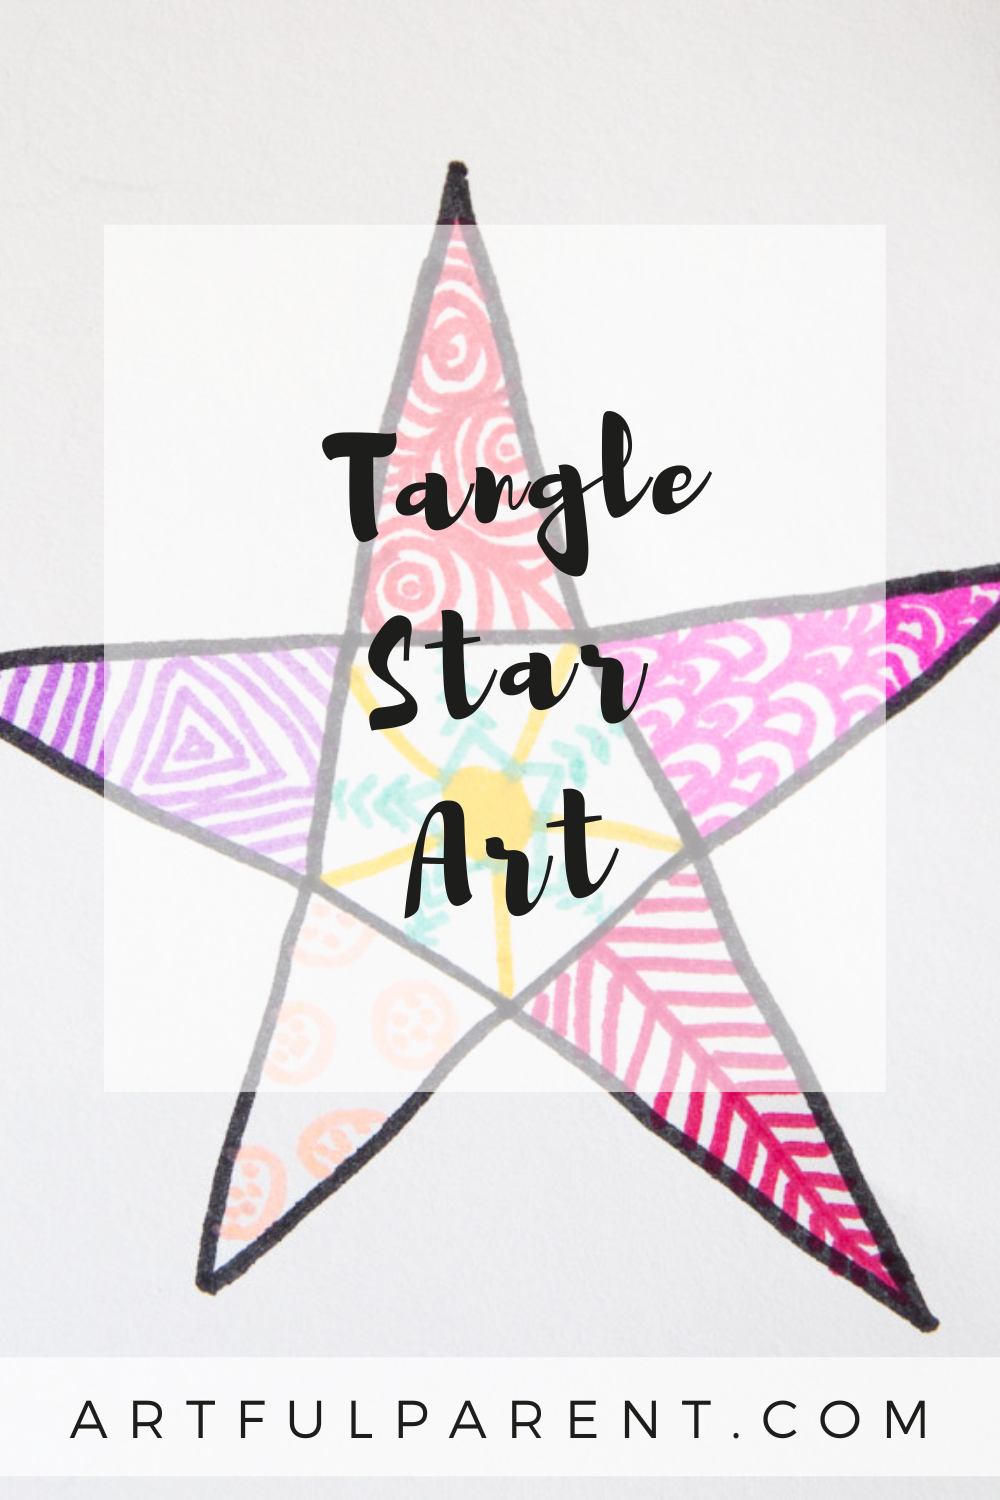
- Add tangle designs
Fill in each section of the star with different tangle style designs. Or simply color and decorate as desired.

- Cut out stars
Cut out the stars and use as ornaments, gift tags, or decorations.
To turn the stars into ornaments, punch a hole at the top, add a loop of string, and hang them on your tree.
You can also use this technique to make Zentangle-style Christmas trees, holiday ornaments, animals, or anything else.
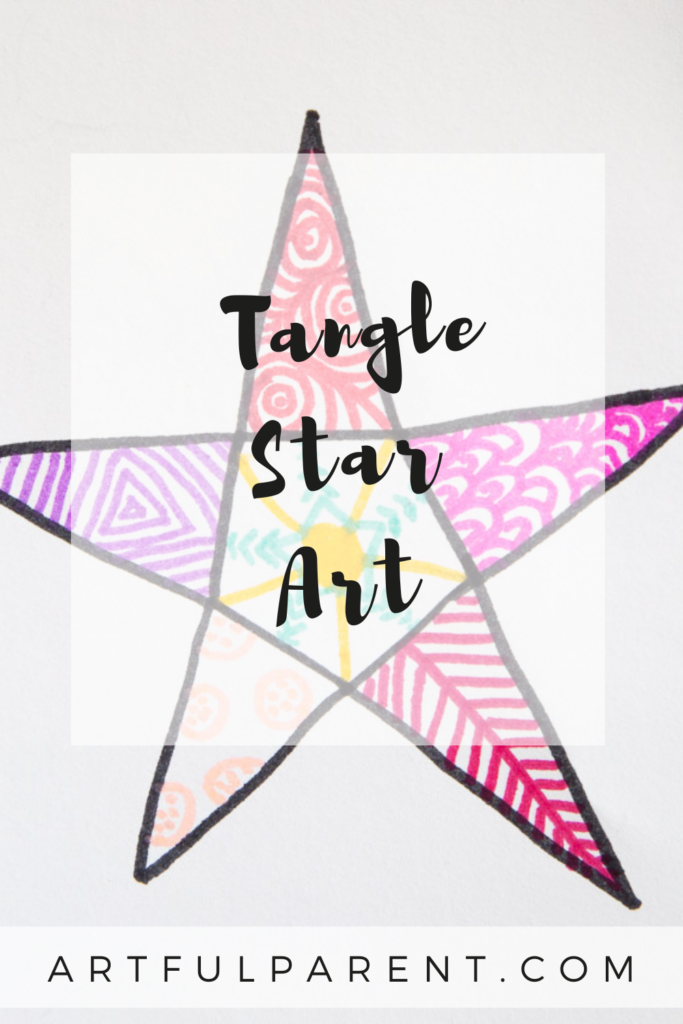
Download the Tangle Stars Printable to use with your kids!

More Printable Drawing Activities for Kids
- 16 Drawing Printable Art Activities for Kids
- Fun & Creative Drawing Ideas for Kids (+ FREE Printable!)
- Frame Art Drawing Prompts for Kids
- A Valentine Activity for Kids and Families (Free Printable!)
- Drawing People from Around the World (+ FREE PRINTABLE)
- How to Draw a Spiderweb with Zentangle Designs
Pin It for Later