Here are 11 easy Christmas craft ideas for kids to try this holiday season. Create homemade ornaments, gift tags, garlands, wrapping paper and more!
Updated November 2024
Making Christmas crafts with kids is a fun way to celebrate and spend time together. From decorating ornaments to making holiday garlands, each craft lets kids add their own touch to the season and create memories to treasure.
And the best part? Many of these activities double as holiday decorations or gifts too!
Here are our most favorite Christmas crafts to make with your kids.
Easy Christmas Craft Ideas

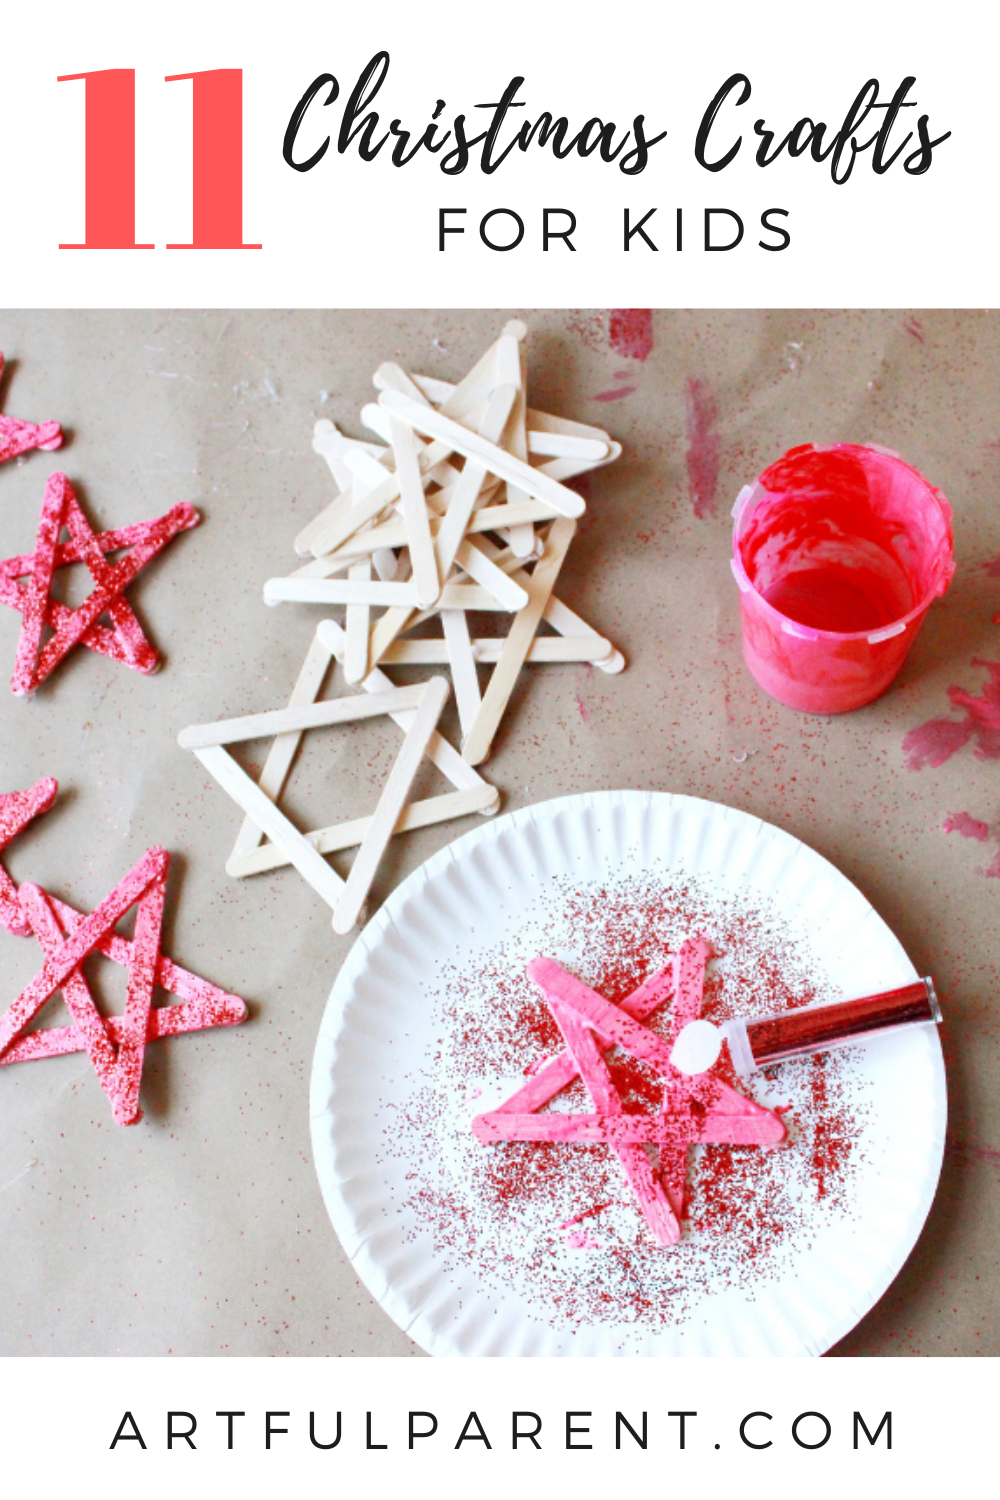
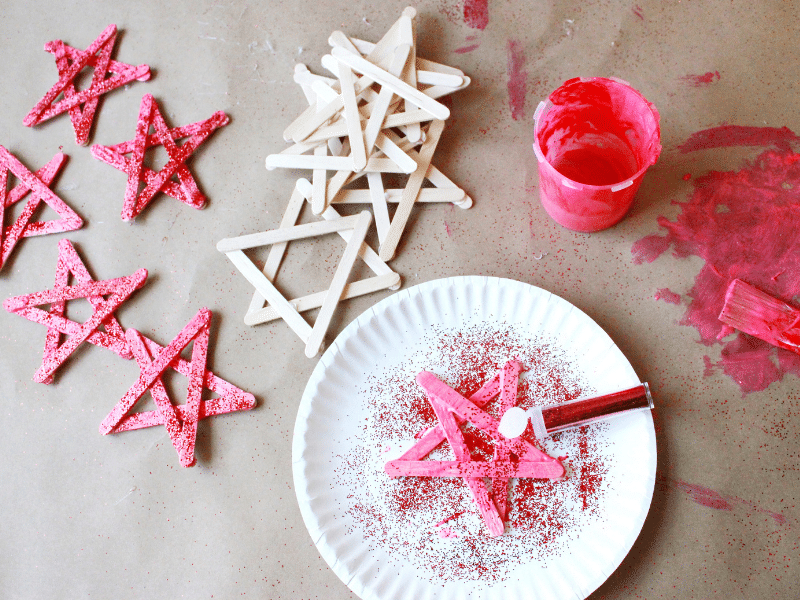
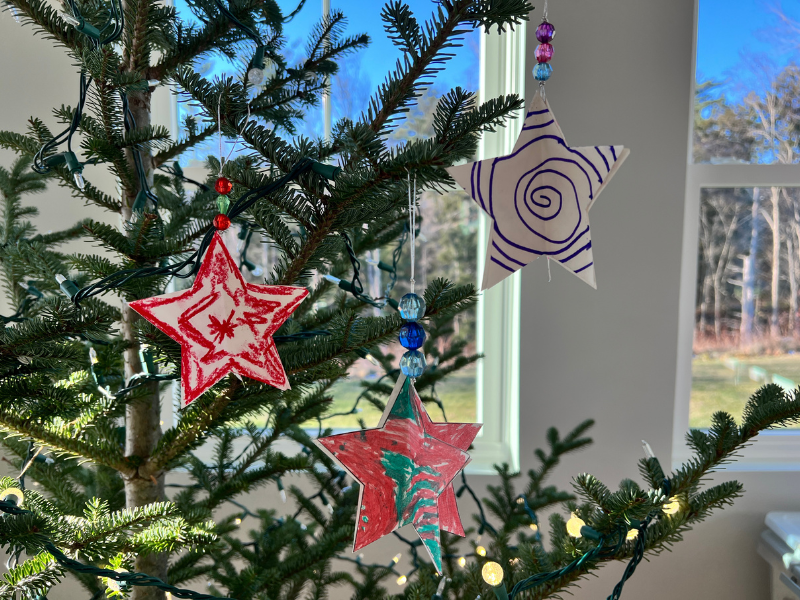
1. Popsicle Stick Stars
Try this simple Christmas craft made using popsicle sticks, paint and glitter for simple holiday decorations or ornaments.
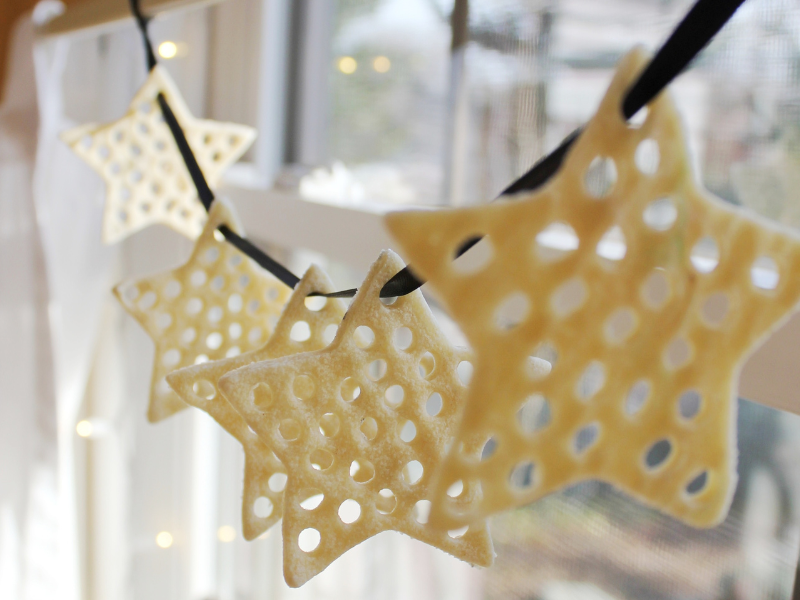
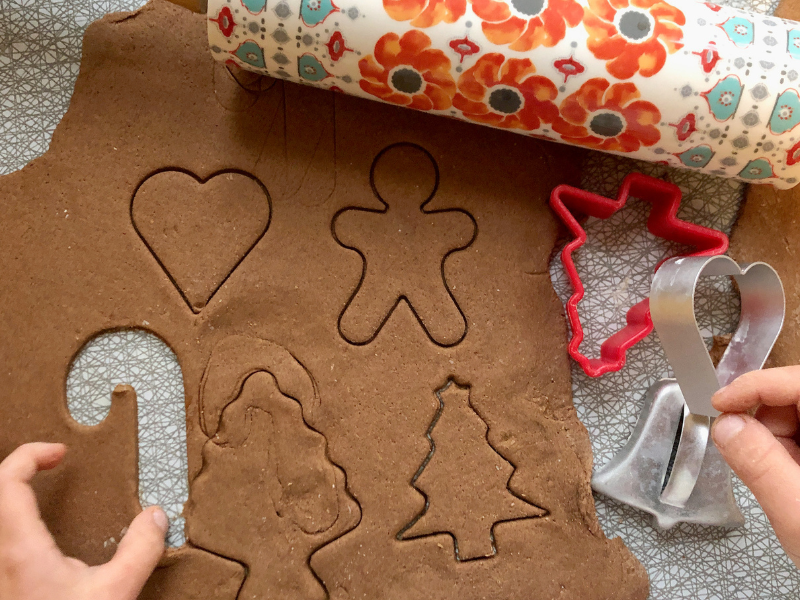
2. Salt Dough Ornaments
11 salt dough ideas for ornaments this Christmas. Create lacy hole punched ornaments, add beads and more!
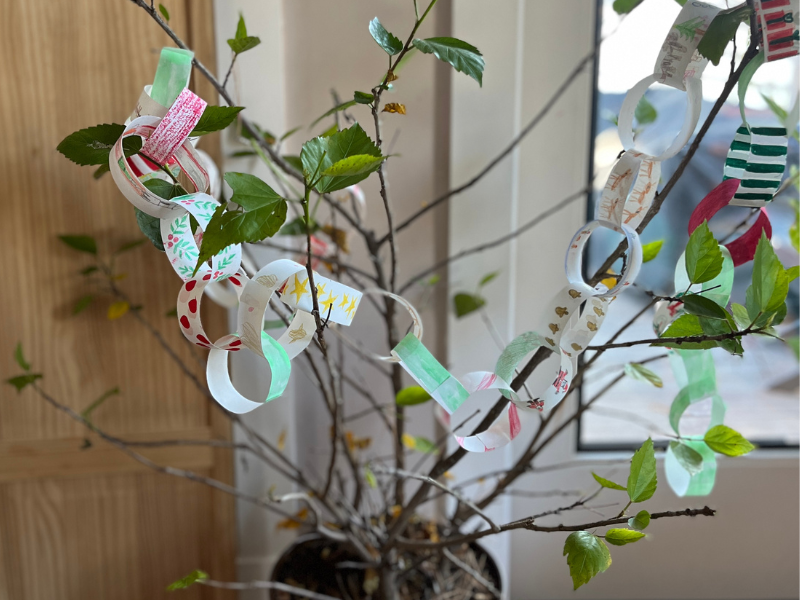
3. A Paper Chain Garland
Draw and paint holiday patterns on strips of paper (like trees, stars, holly, reindeer, gifts, Santa, etc.), then connect to form a paper chain for kids. This can be a garland decoration or used as a countdown to Christmas!
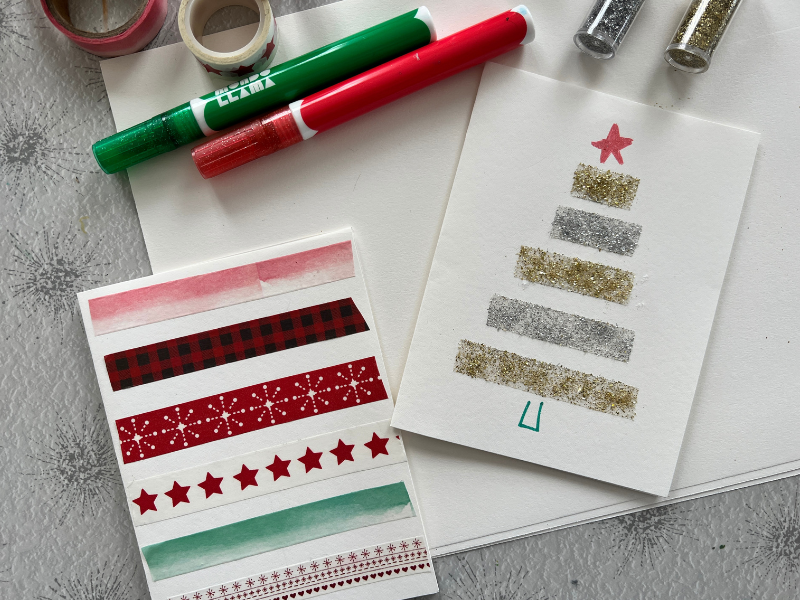
4. Glitter Tape Christmas Trees
Add sparkle to handmade Christmas cards with this DIY glitter tape! Easy to make with double sided tape.
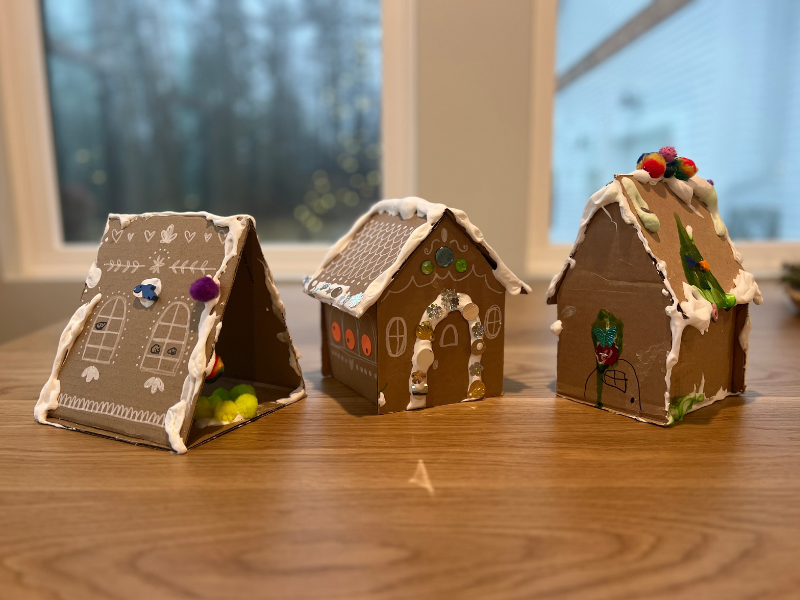
5. Cardboard Gingerbread Houses
Use simple materials like cardboard, shaving cream, and white glue, to create a fun and easy alternative to the classic holiday bake!
6. 3D Paper Star Ornaments
Learn how to make 3D paper star ornaments. These paper stars make great Christmas ornaments, decorations, and gifts!
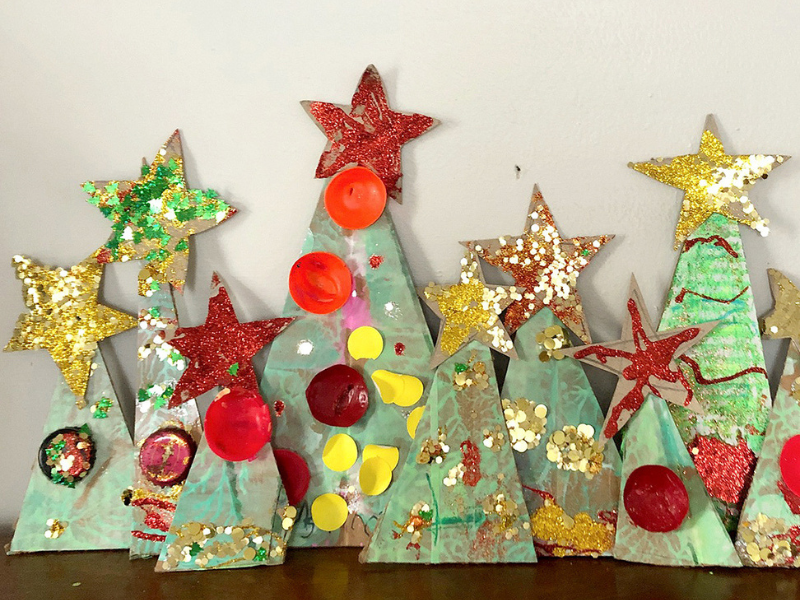
7. Cardboard Christmas Trees
Use cardboard to create trees and then paint and decorate with buttons and other craft materials.
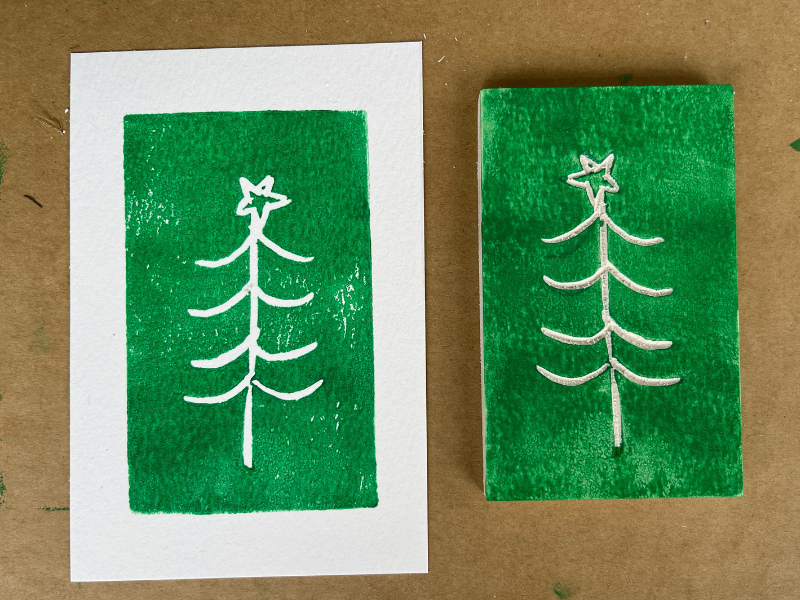
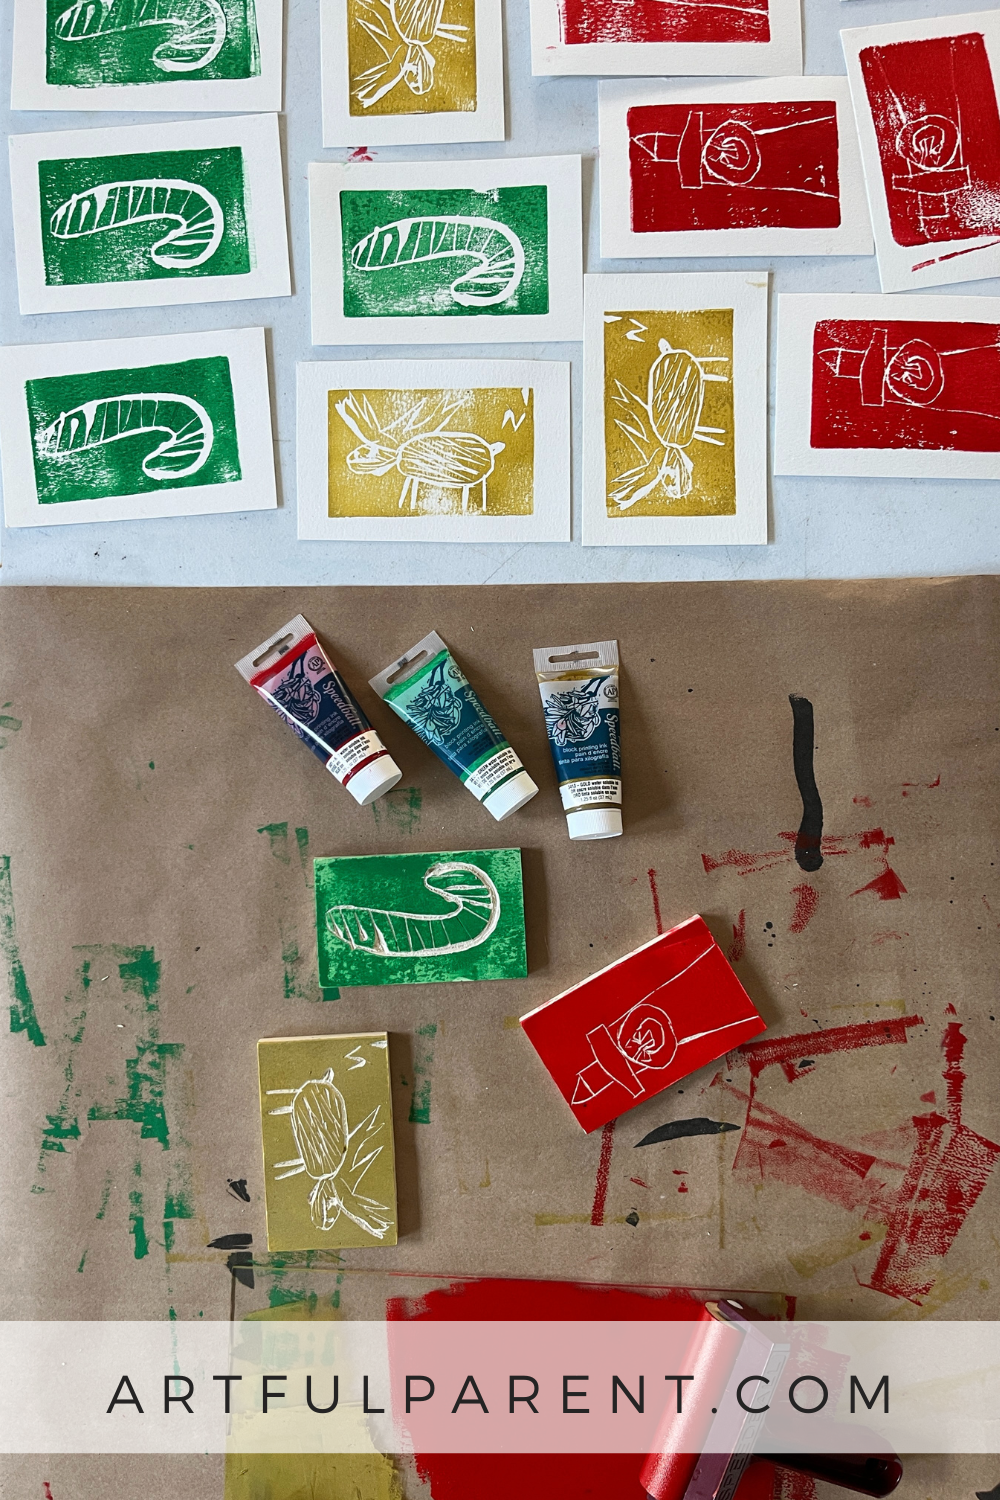
8. Styrofoam Printed Holiday Cards
These homemade Christmas cards are a fun introduction to a printmaking project for kids.

9. Candy Cane Playdough
This playdough is easy to make, smells great, and makes a creative gift for kids.
10. Cinnamon Ornaments
Make homemade cinnamon ornaments with applesauce that smell amazing for Christmas! An easy, eco-friendly holiday decoration for kids.
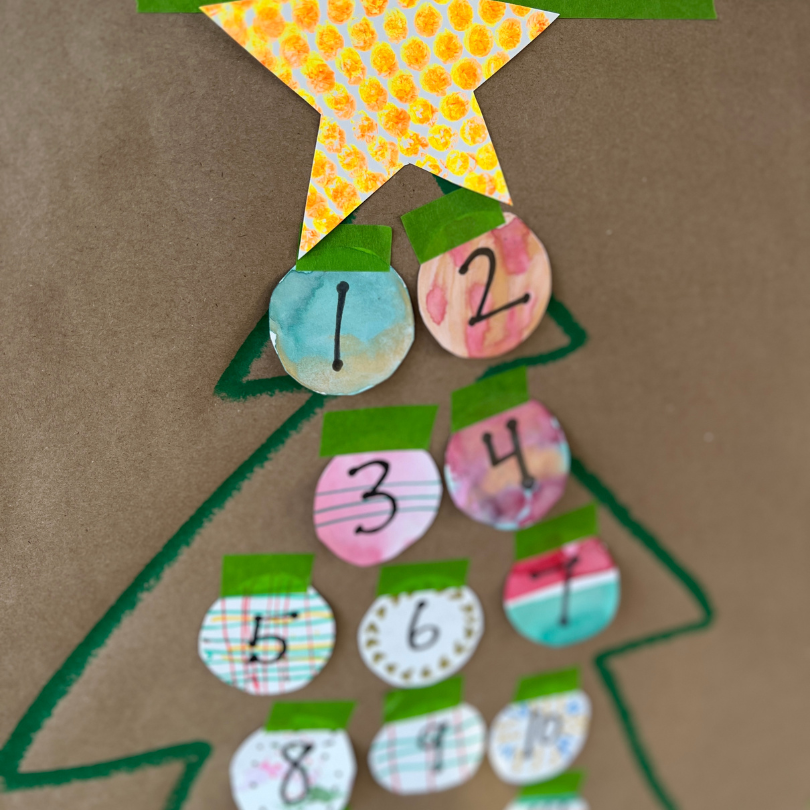
11. Homemade Advent Calendar
Countdown to Christmas with this homemade advent calendar for kids. Create annual traditions with your family with daily activities for kids.
How about you? What are your favorite Christmas crafts ideas for kids?
More Christmas Craft Ideas for Kids
- 5 Natural Christmas Decorations for Kids
- 20 Homemade Christmas Ornaments the Whole Family Can Make
- 5 Holiday Books for Kids to Inspire Family Creativity
- 12 Christmas Sensory Bins for Kids
- 5 Christmas Baking Ideas for Kids
- The Artful Parent’s Creative Gift Guide for Kids
Want even more creative ideas?
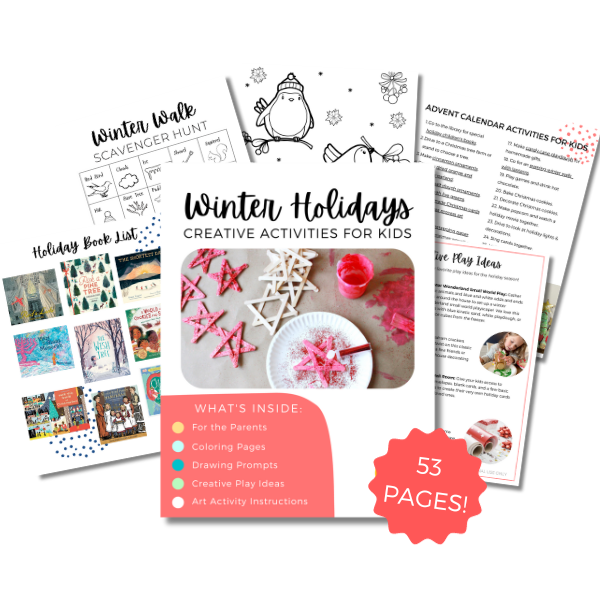
Check out our Holiday Creativity pack!
Let’s celebrate the holidays with all things crafty! Here are 53 pages full of our favorite drawing prompts, creative play ideas, art activities, and more!
Pin It For Later