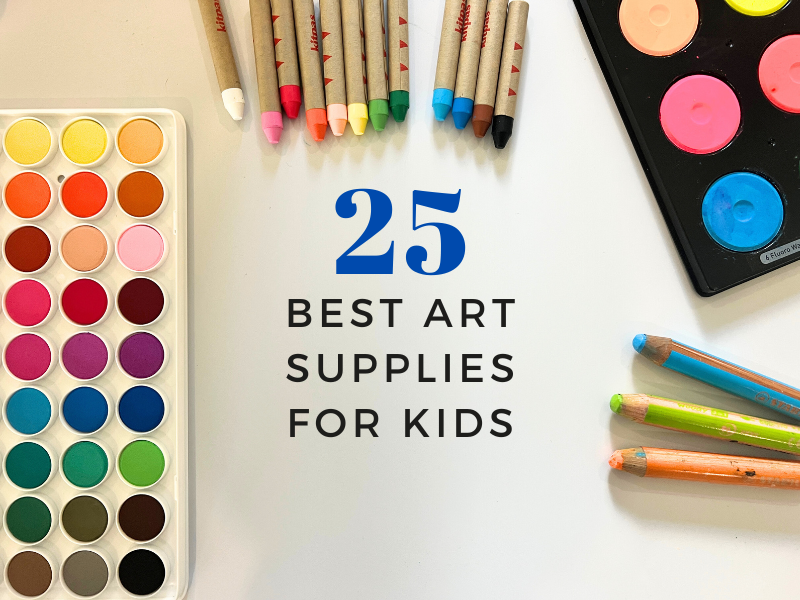
Here’s how to make and use DIY salt puffy paint with kids. This is a favorite process art material and it’s fun for children of all ages!
Updated November 2024
Have you tried salt puffy paint? It is super easy and inexpensive to make. It’s simply a mix of equal parts salt, flour, and water with a bit of paint added for color.
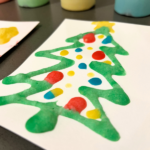
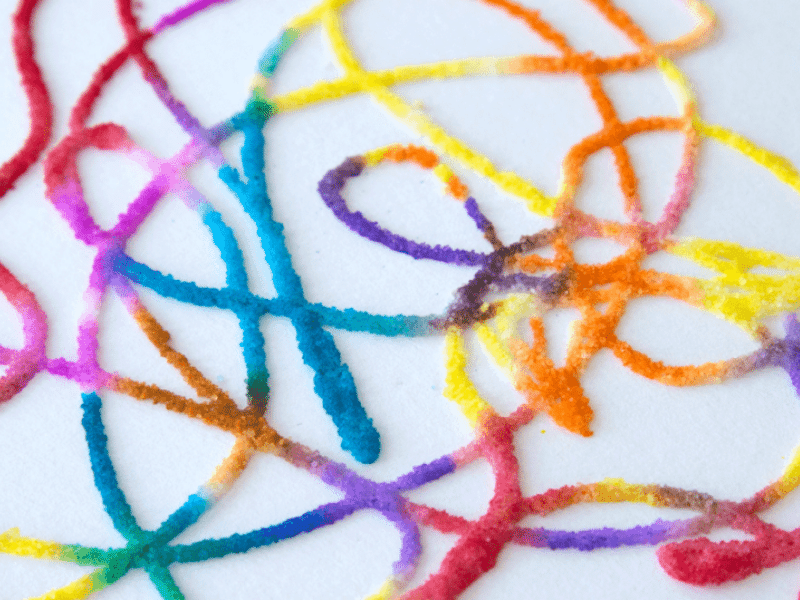
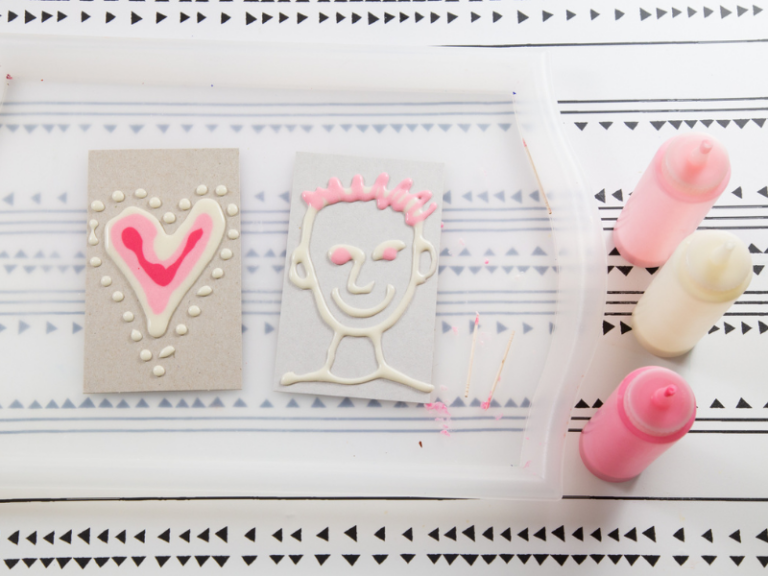
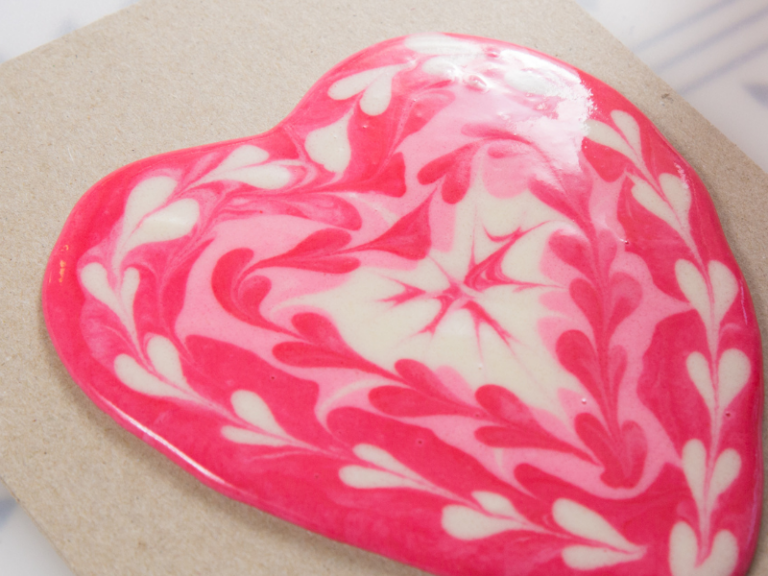
You can apply it with a squeeze bottle or an icing bag, and because of the viscosity of the paint, it stays raised, like frosting. Hence the “puffy paint” even though it’s not actually puffy to the touch. Once the paint dries, it’s hard and crystalline from all that salt.
The coolest part is that the colors stay separated rather than mix. You can squeeze out a puddle of yellow salt paint, then add drops of blue on top and those drops of blue will hold their shape and color until dried.
Here’s a brief video showing salt puffy paint in action. Be sure to keep scrolling for the step-by-step instructions!
DIY Salt Puffy Paint

- Flour
- Salt
- Water
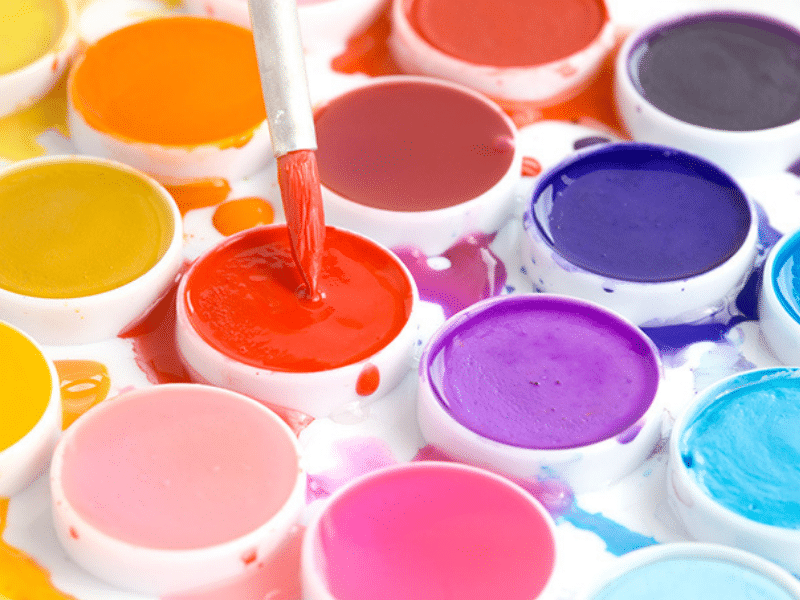
- Food coloring or tempera paint
- Squeeze bottles*
- Sturdy paper like card stock, watercolor paper, cardboard, or even paper plates
*Icing bags or plastic sandwich bags with a hole cut in the corner work okay, too, but are not quite as ideal.
INSTRUCTIONS
- Make your salt puffy paint
Whisk together equal parts flour, salt, and water. Then mix in color. That’s all!
For the color, you can use food coloring or a tablespoon or two of tempera paint.
Pour paint into squeeze bottles. - Create designs
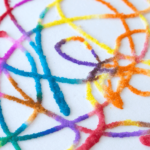
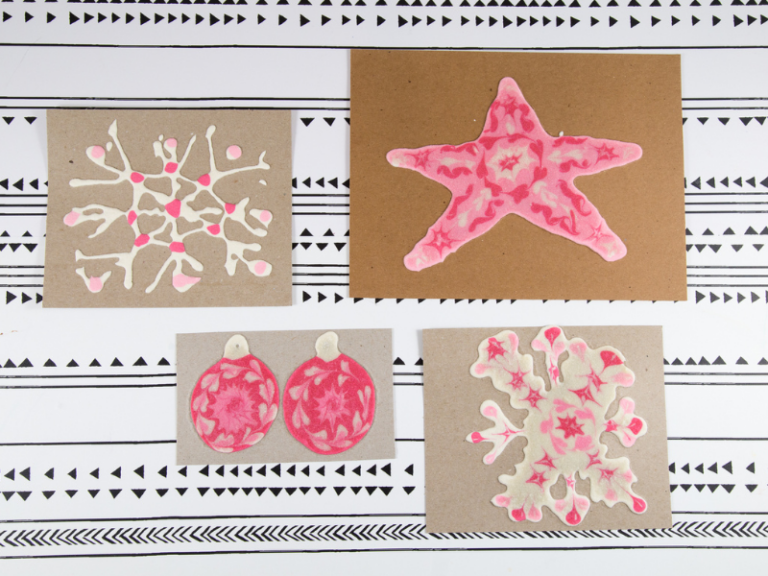
You can make any image, design, or abstract marks you like.
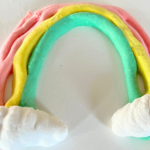
- Add a second color on top of the first
Watch as the colors remain separate and don’t mix.
Continue until your artwork is finished. Then make another! - Lay your artworks flat to dry
Depending on how much paint is used, these may take from 1 to 3 days to dry completely.
Once the artworks dry, the salt puffy paint is hard and crystalline from all the salt and flour.
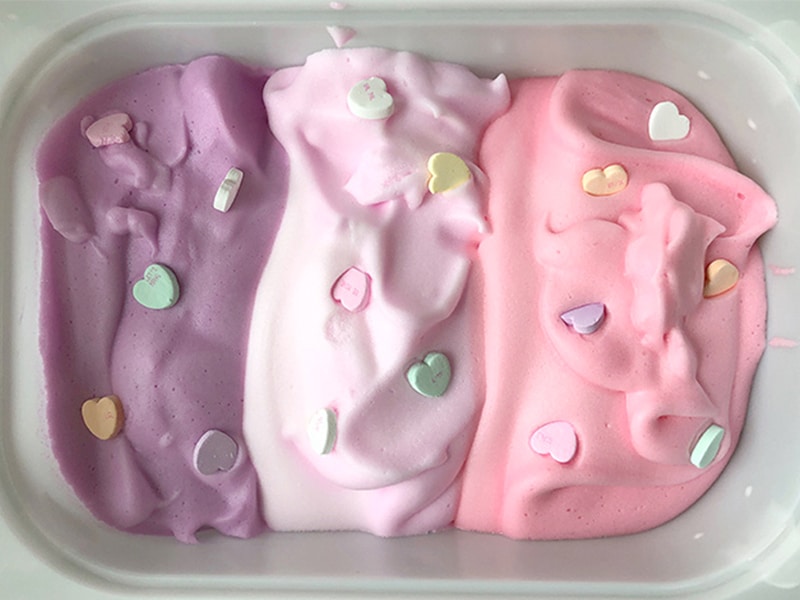
More Puffy Paint Ideas for Kids
- 5 Puffy Paint Recipes for Kids
- How to Make Microwave Puffy Paint
- Easy Puffy Paint for Kids
- How to Do Foam Painting
Pin It for Later