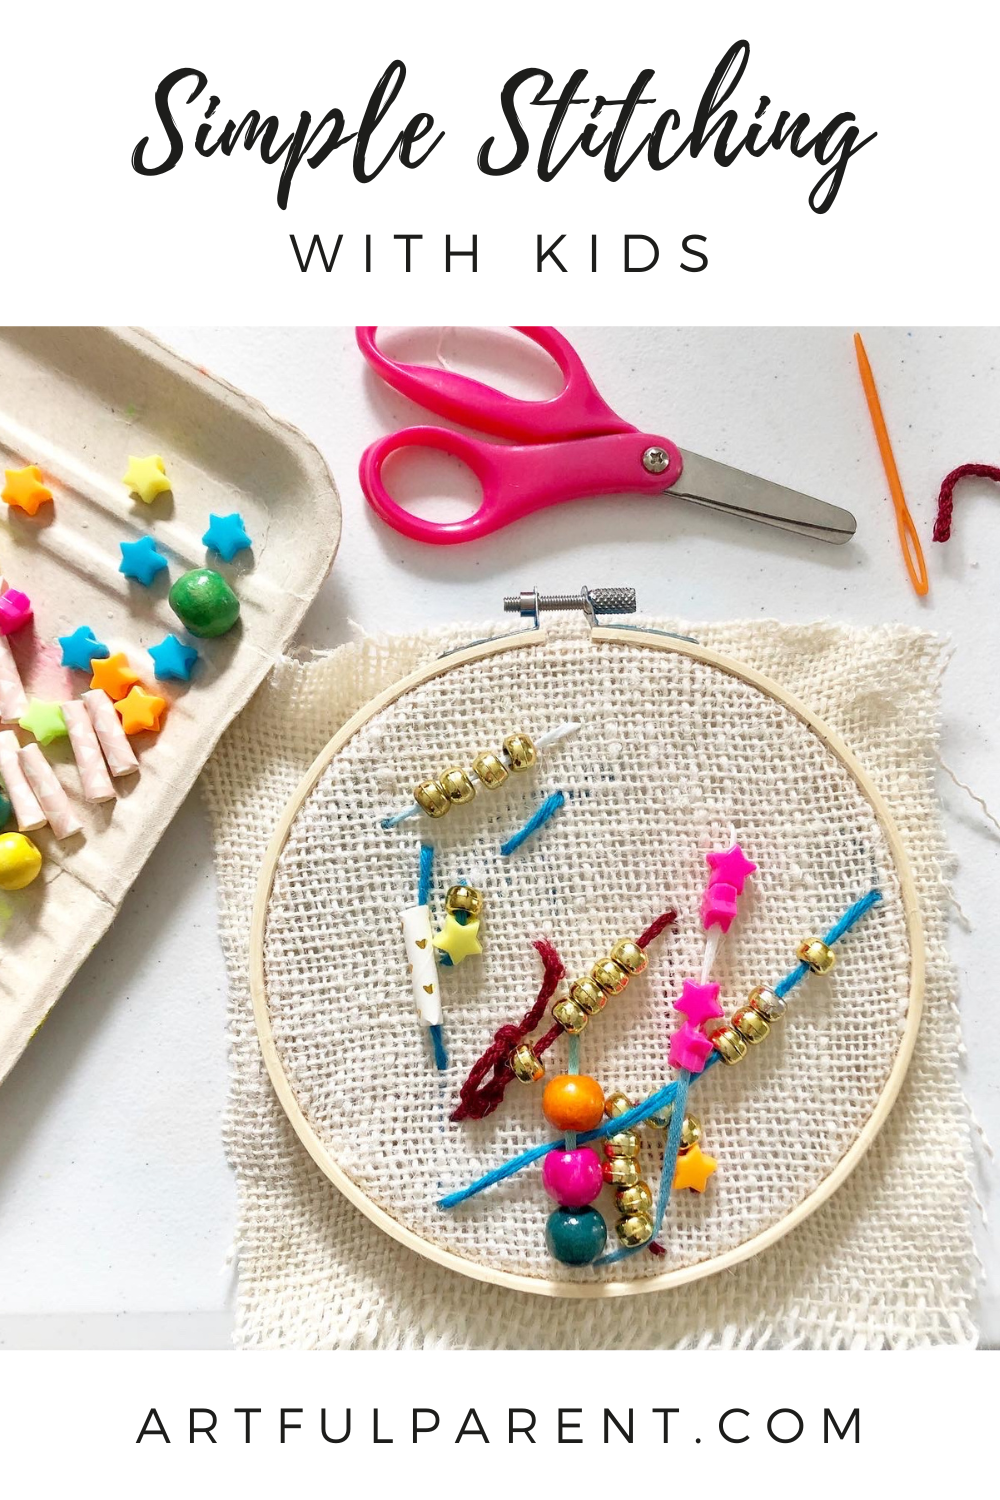
This simple stitching project is accessible & fun for kids 4 and up. Sew and bead with burlap on hoops for a fun textile activity.
Updated November 2024
This simple stitching & beading project is one that takes major inspiration from Shannon at Hatch Studio and the tutorial she wrote over on Art Bar. I’ve done it with my firstborn, my pre-k art class and now my second child (who is now 4).
When we tried this with my art class, I had students who had never stitched before. But they still had so much fun with this simple embroidery project. The room was quiet with concentration as they practiced moving the needle up & down through the burlap.
This class in particular reminded me how capable kids are if only we give them the opportunity.
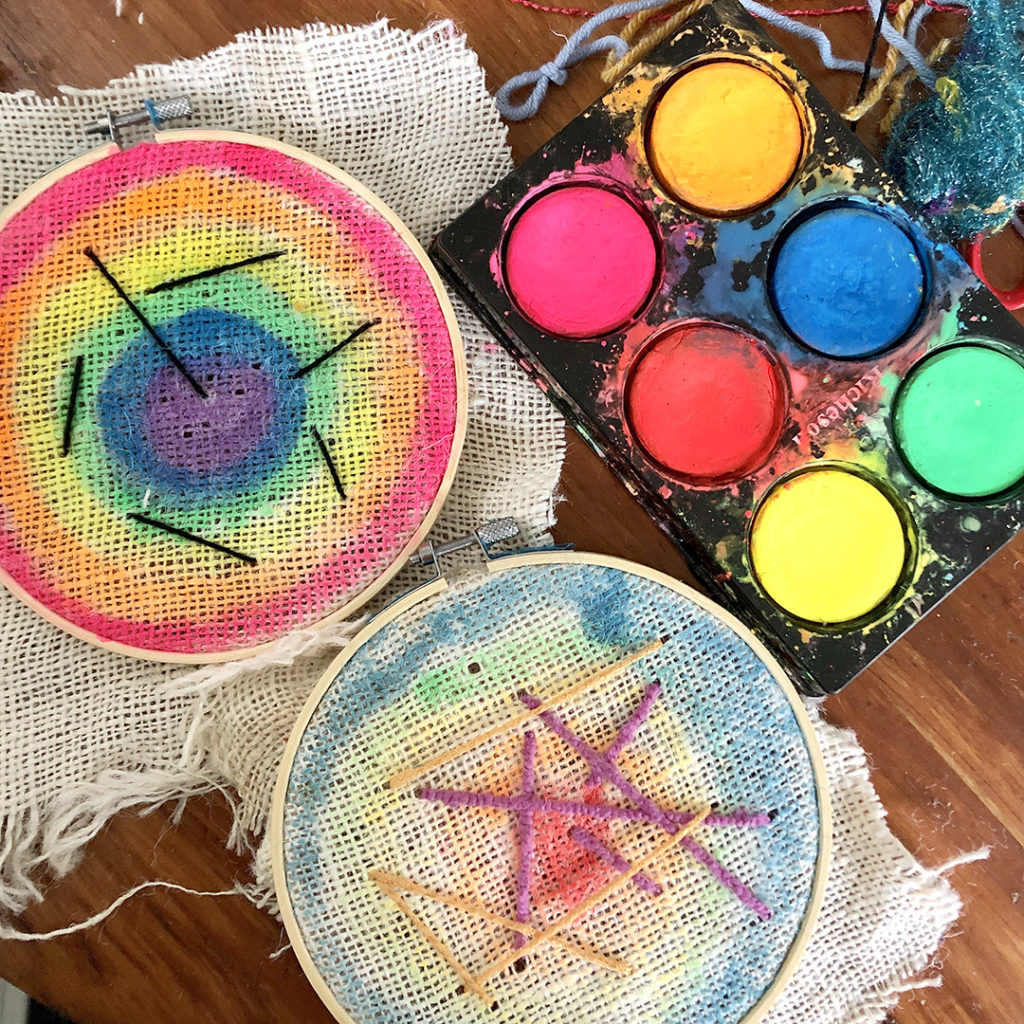
A few months later, I wanted to try another stitching project with my 4 yr old son. But this time we added a painting element (inspiration thanks to @mericherryla & @makersri ) which was fun to experiment with as well.
And I think the little hoops look amazing hung together for some new wall art. It’s definitely a project we’ll be revisiting again and I hope you try it too!
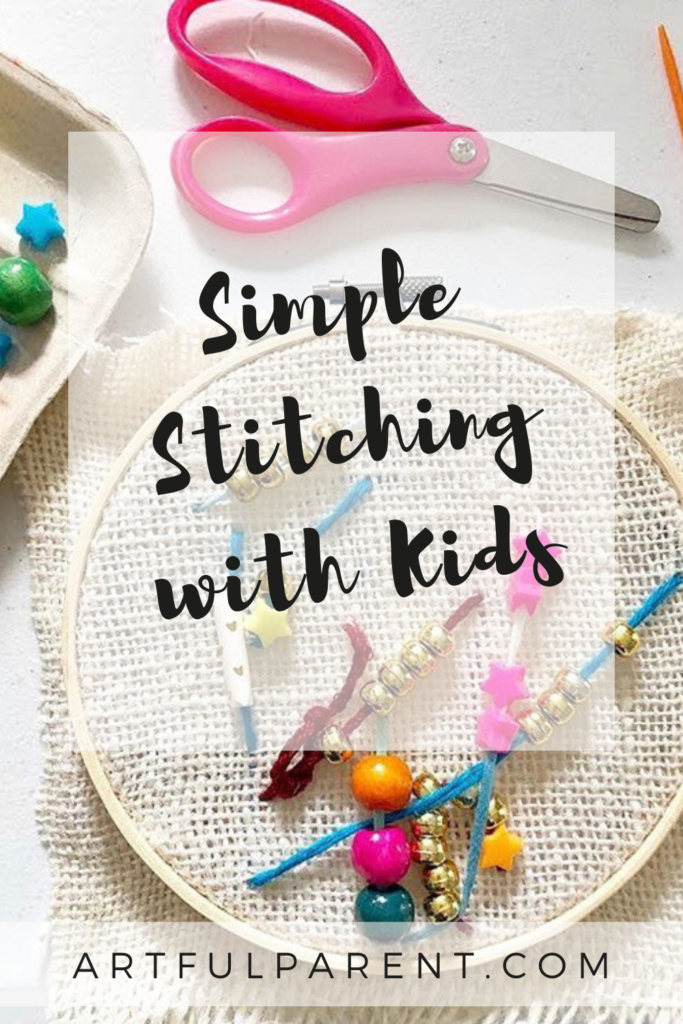
How to Do Simple Stitching with Kids

MATERIALS
- embroidery hoop
- burlap fabric
- watercolor paints and brushes
- plastic needles
- yarn
- wooden beads or star beads or pony beads (optional)
Time needed: 30 minutes
INSTRUCTIONS
- Thread the needles
First, thread the plastic needle with yarn and double knot the ends. You may wish to have a bunch of needles prepped with multiple colors, especially if you’re doing this with multiple kids or in a class setting.
- Stretch burlap across embroidery hoop
Place the burlap into an embroidery hoop and make sure the burlap is snugly stretched in place. Then trim the excess fabric leaving an 1-2 inch border.
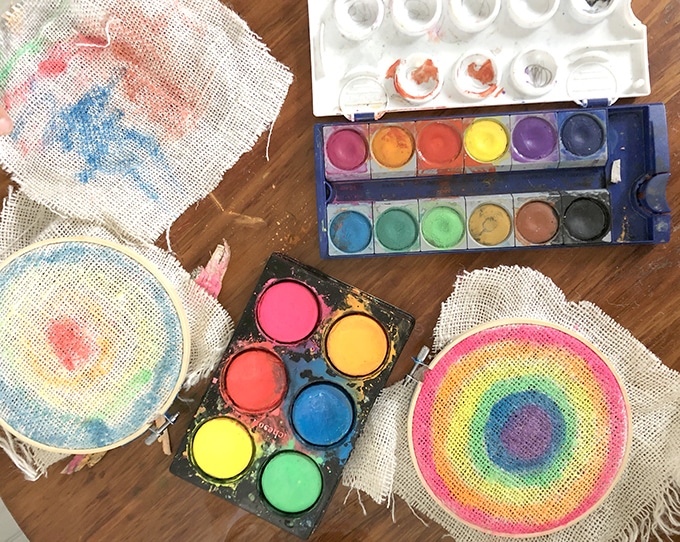
- Paint your burlap
Paint the burlap with watercolors. Then let the fabric dry completely.
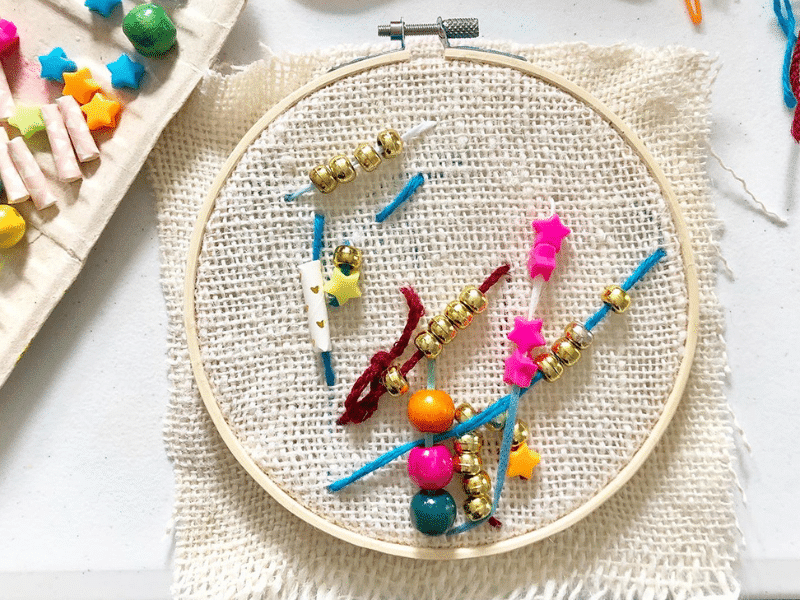
- Begin stitching
Start to stitch and practice the up and down movement. Once kids get the hang of this you might choose to add beads.

- Add beads!
There are so many choices for beads: wooden or plastic beads, glitter, neon, or star shapes. Be sure the bead hole is wide enough to easily slide over the plastic needle.
Since beads make really fun embellishments, kids can add them to the plastic needle and stitch into the burlap.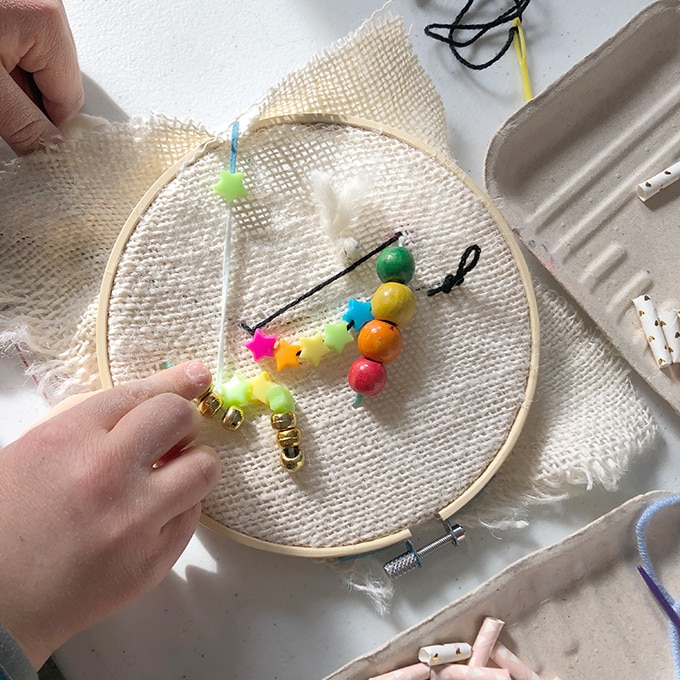
I hope you give this a try as it’s a great bonding activity and intro sewing project for 4 year olds and up!
More Textile Projects for Kids
- How to Do Glue Batik with Kids
- 5 BEST Tips to Teach Sewing for Kids
- How to Paint Lace with Kids
- How to Tie Dye Shirts
- How to Make Cardboard Looms
- How to Make a Circular Weaving for Kids
Pin It for Later