This simple DIY zen garden is a big hit with kids, combining the sensory experience of a sand tray with the meditative beauty of a zen garden.
Updated June 2022
We love the idea of a mini zen rock garden, the kind where you rake the sand into patterns around strategically placed rocks.
But we wanted to use melted crayon rocks for a pop of color, like shiny, colorful treasures amidst the sand.
This is a wonderful sensory and visual experience. And it was so easy to make!
DIY Zen Garden Sand Tray
MATERIALS
- Small tray or baking dish with sides
- Sand (we just used sand from our sandbox)
- Small rocks (we used our melted crayon rocks)
- A fork (this functions as the miniature rake)
INSTRUCTIONS
- Prepare your tray
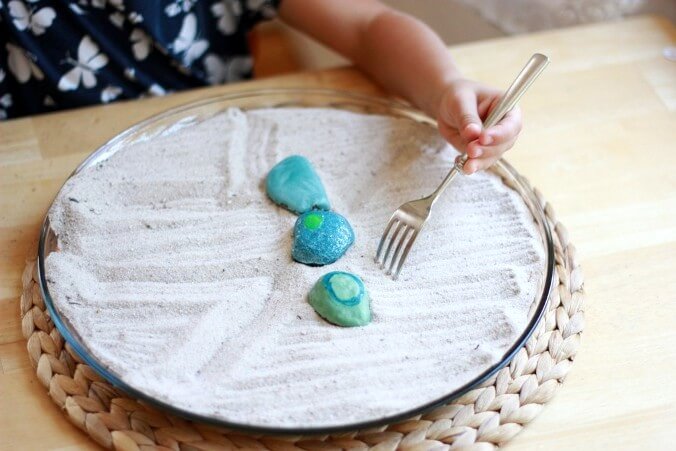
Fill a baking dish or tray with sand from the sandbox and add a few melted crayon rocks.
Note: the photos here show a plate being used, but we found that a tray or baking dish with steeper right-angled sides works much better to contain the sand.
You can also place the whole set up on a tray or mat to catch any sand, too. - Rake!
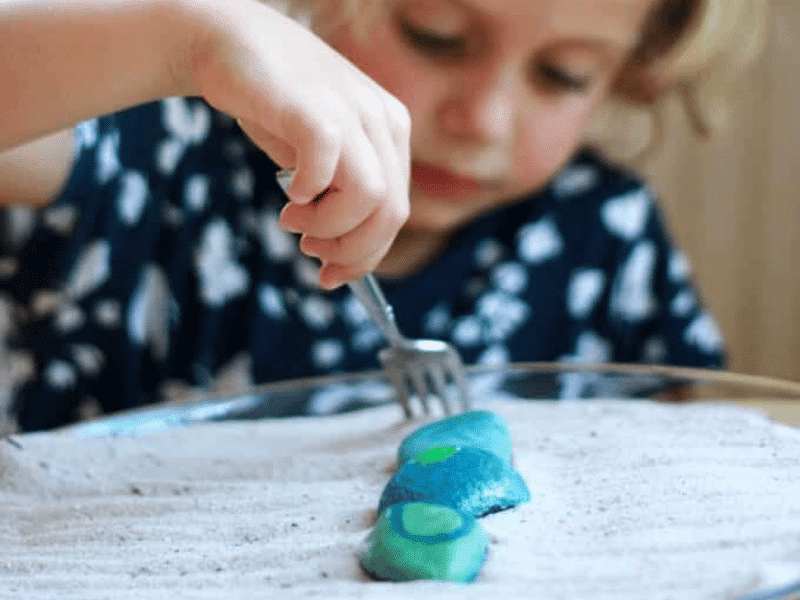
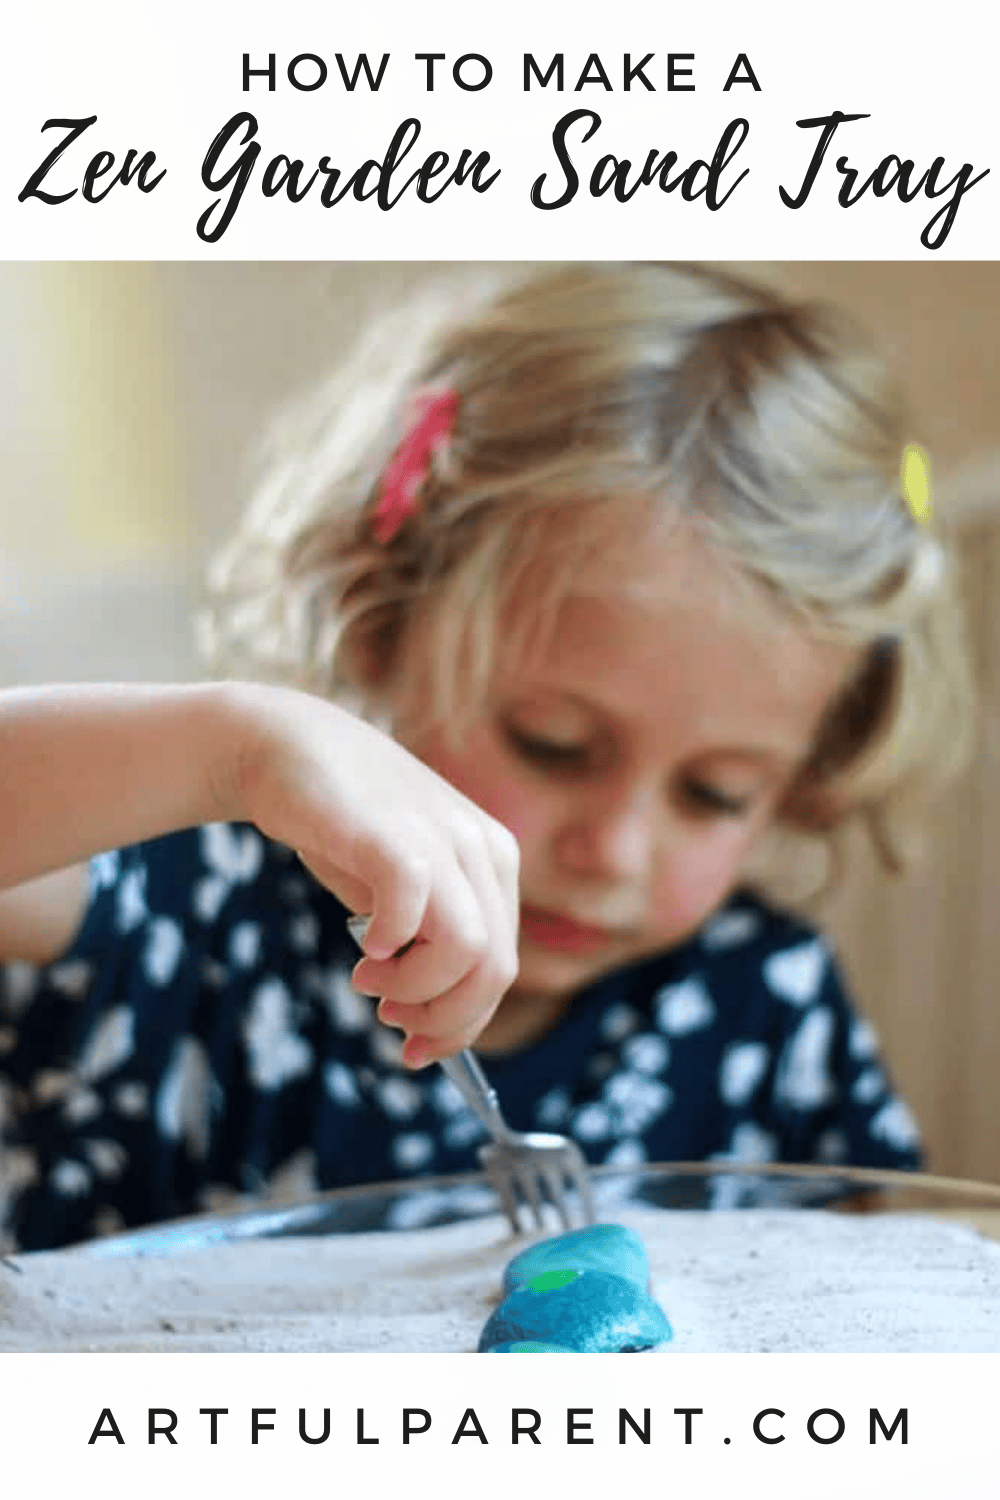
You can rake the sand around the rocks with your miniature rake (AKA fork).
We set the little zen garden sand tray on the table, beside a bowl of more melted crayon rocks and the mini rake, as an invitation to explore for our kids when they came home from school.
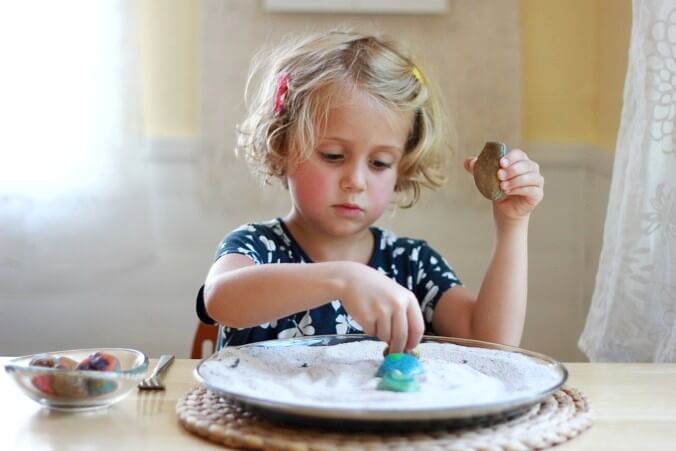
Kids typically use this sand tray in two very different ways. For some, it is a pure sensory experience! They touch the rocks and handle the sand, letting it run through their fingers. They smooth the sand and push it around.

Other children might use it more like a typical zen garden, arranging the melted crayon rocks and raking the sand. They might even add a few little toys or figures to the scene.

However they use it, this DIY zen garden is always a hit with kids and adults alike.
By the way, if you’re not a big DIYer, you can buy a tabletop zen garden like this one that comes with two different miniature rakes, a little broom, and a couple of mini crane figurines.
More Sensory Exploration for Kids
- The Ultimate Guide to Sensory Play
- What is Sensory Play & Why It’s Important for Kids
- How to Make Cloud Dough for Kids
- 8 Sensory Activities to Engage Kids
- Make Your Own Zen Sand Tray for Drawing and Writing
Pin It for Later
