Create beautiful sun prints in a few easy steps with a sun print kit for kids. Learn about Anna Atkins, an early female photographer too!
Updated May 2022
A long time ago, I was a photojournalism major in college. I loaded up all my electives on photography classes and dove into traditional film photography. I spent many a Friday night in the darkroom working on projects, but by far one of my favorite classes was non-silver printing.
In this class I learned how to make cyanotype and Van Dyke prints by painting a photo sensitive emulsion onto thick watercolor paper. These created beautiful painterly photograms in blue and browns respectively.
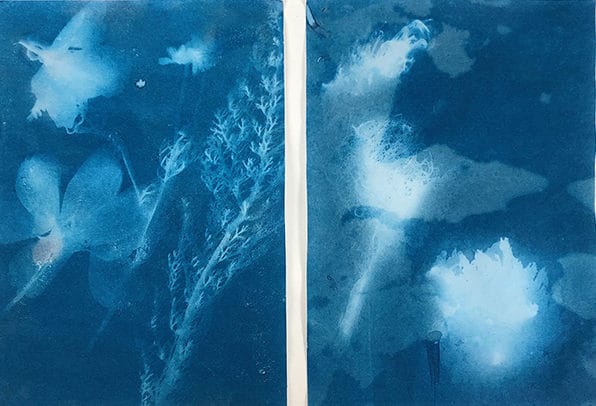
Years later I taught photography classes in after school & elementary school settings (K-6). I liked to incorporate a sunprint project with the kids because it’s not only fun, but acts as a bridge to the past, connecting digital photography to the traditional methods.
This process is super accessible to kids–all you need is a sun print kit and water to make the magic happen.
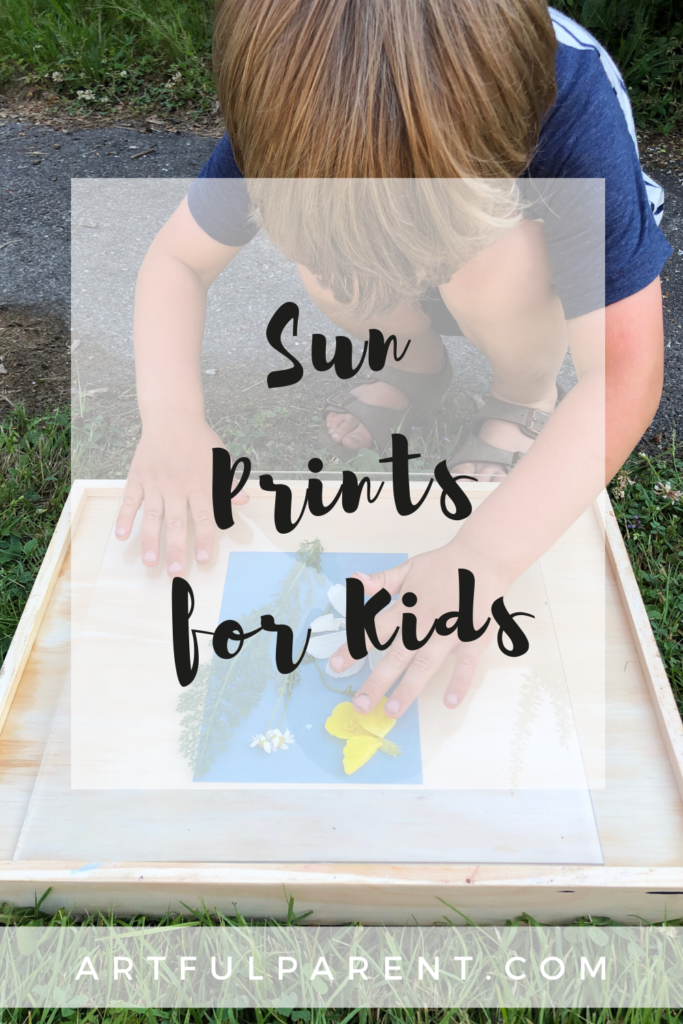
Sun Prints for Kids
My son William and I created our first sun prints together this summer. This is our first foray into photography together as he’s a little young still. But this activity is definitely accessible for preschoolers with assistance.

MATERIALS
- Sun print paper or kit (these come in various paper sizes)
- water
- flat objects to print: from nature (flowers, leaves, feather, ferns) or household objects (paper clips, lace, keys, etc.)
INSTRUCTIONS
- Gather items for sunprints.
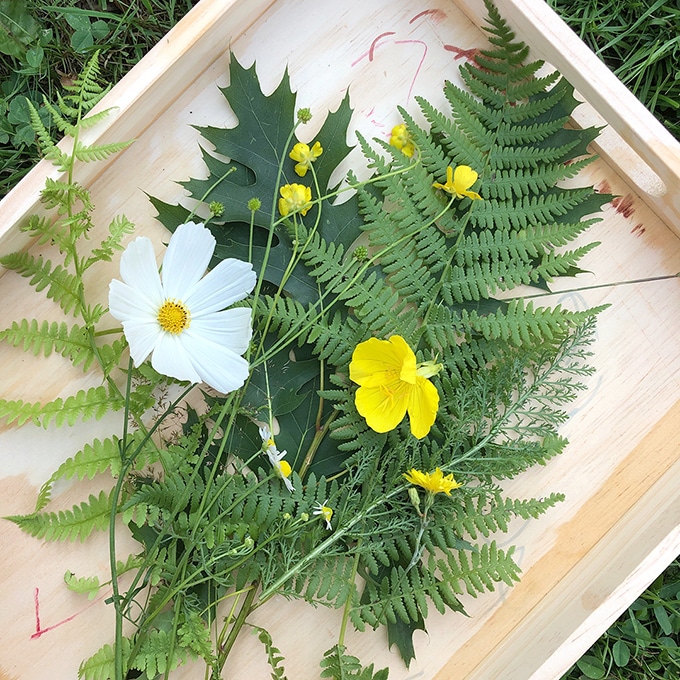
Begin by going on a nature walk or gathering flowers and plants from your yard. Alternatively, gather flat household items with interesting shapes and patterns.
- Prepare supplies.
We used a tray to place our paper on along with a separate shallow tray filled with water.
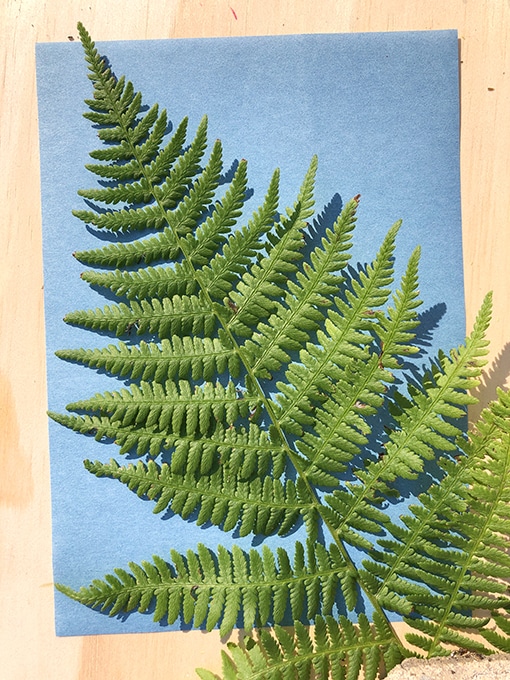
- Arrange items on sun print paper.
Remove one or two pieces of sunprint paper from the bag. Work quickly to arrange your items onto the paper. If you have plexiglass, place this on top to keep everything in place.
Then place tray in a sunny spot.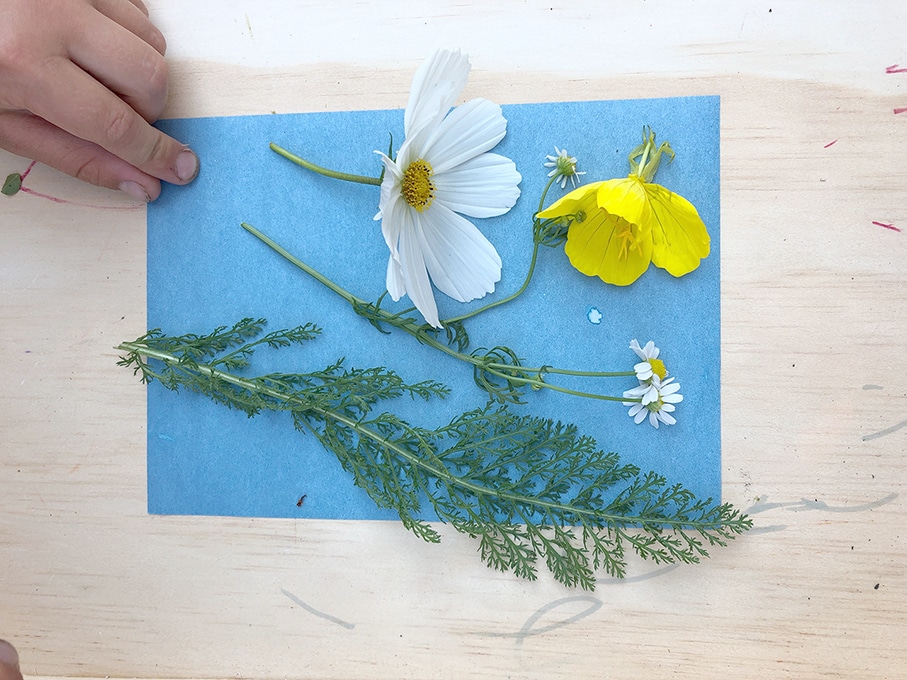
- Expose sun print paper.
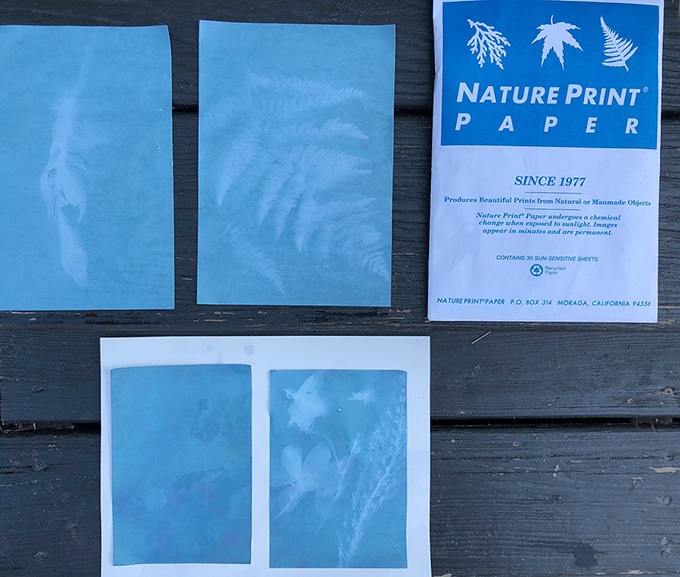
Set a timer and leave the paper for at least 2 minutes while it exposes in the sunlight. The paper will begin to turn a pale blue; then it’s time to remove all your items.
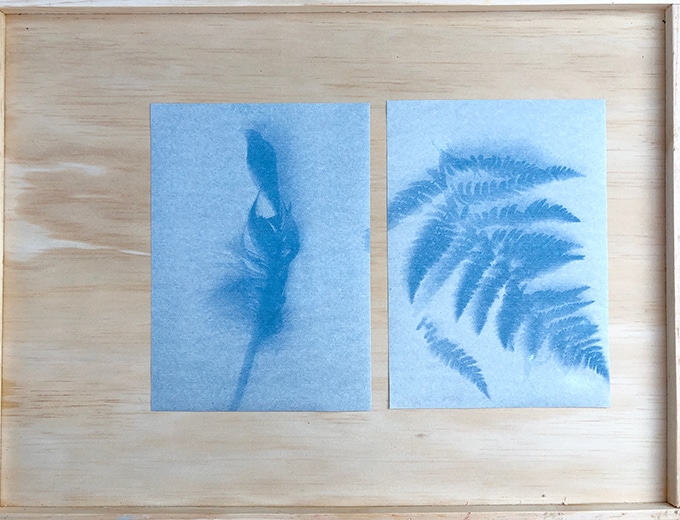
- Place paper in water.
Gently slip the paper into the tray of water. This will stop the exposure. Let sit for 1 minute then remove.
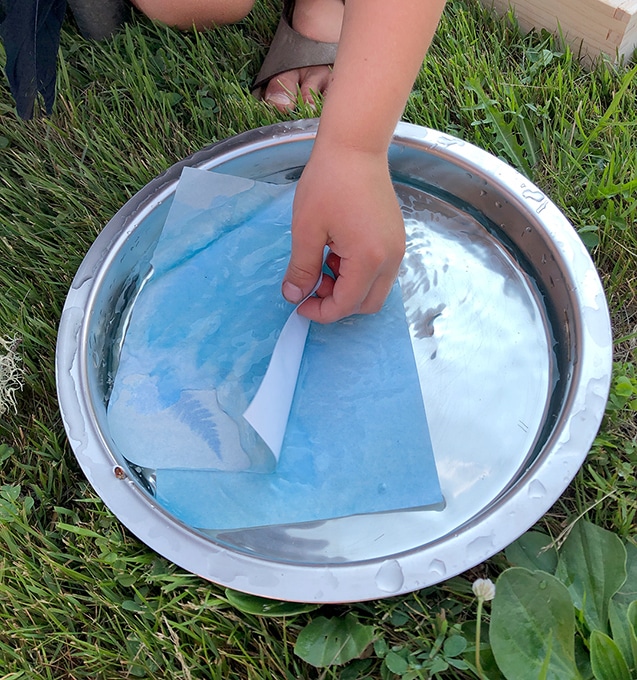
- Let dry.
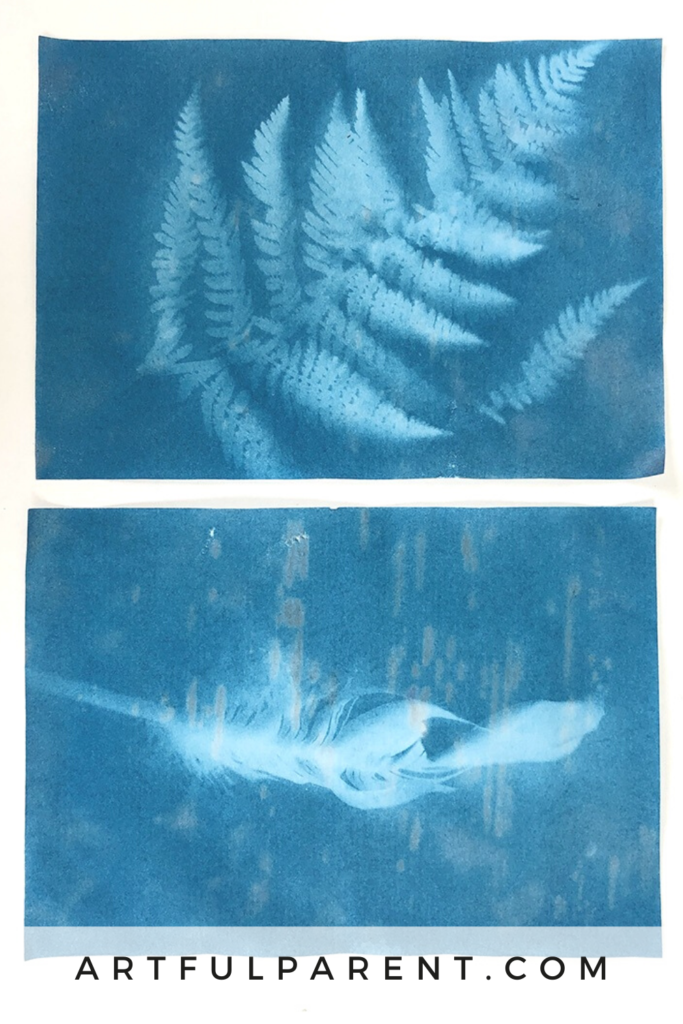
Lay sunprints carefully out on a clean, flat surface. Gently remove any wrinkles and let dry. Then put those sunprints on display because they’re sure to be beautiful!
Who was Anna Atkins?
Anna Atkins was an English botanist from the 1800s who created a large body of work documenting British algae & seaweed. She made photograms of dried seaweed using the cyanotype process that were published in three separate books.
She remained relatively unknown for many years but is now believed to be one of the first female photographers (if not THE first).
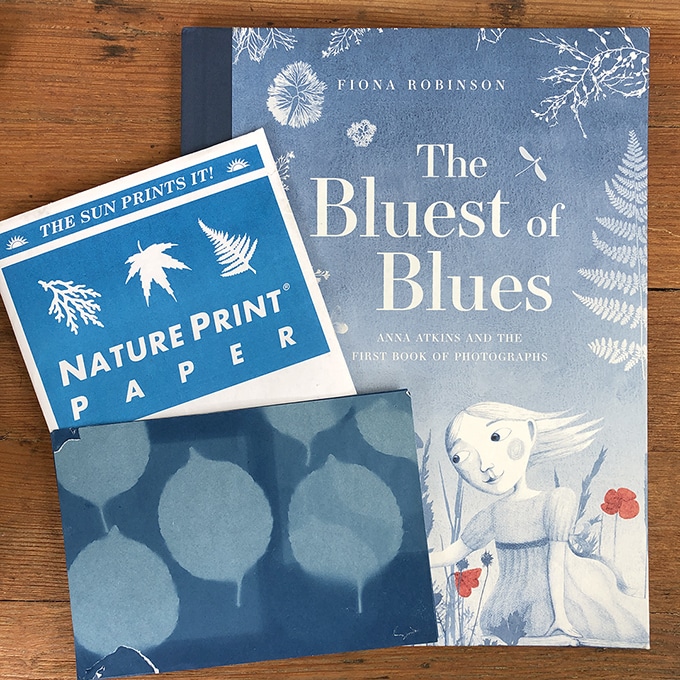
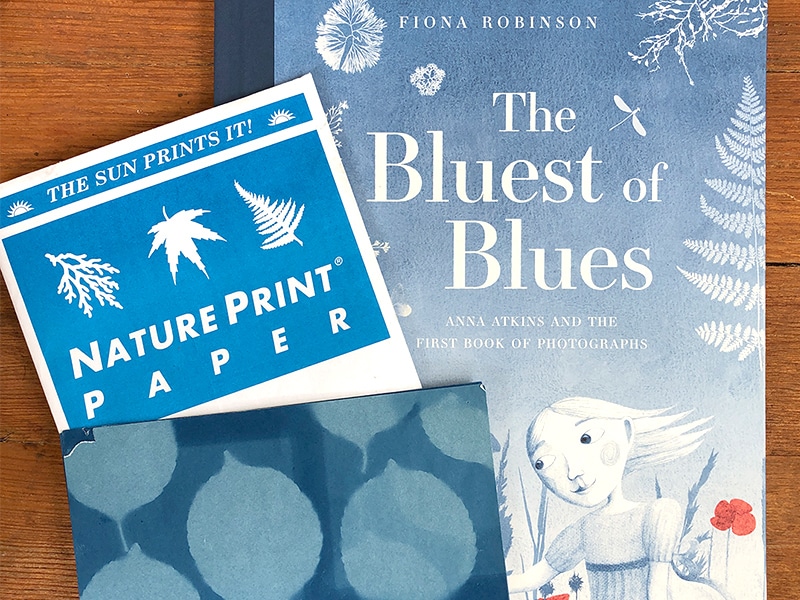
I highly recommend The Bluest of Blues by Fiona Robinson. I originally saw this book on artclasspdx’s Instagram account and it’s a retelling of Anna Atkins’s story with beautiful art .
More Sun Prints for Kids
- I’d love to buy cyanotype emulsion to try on fabric like Samara of Purple Twig did framed in embroidery hoops.
- And I think this phases of the moon fabric wall hanging is absolutely amazing!
- If you’re still looking for more sunprint inspiration, Bar from Art Bar wrote a whole post on sunprints with additional ideas towards the bottom. Be sure to check it out!
Pin It for Later
Related Posts
-
How to Make Paper Flower Crowns for Kids
How to make paper flower crowns for kids with paper bags, duct tape, and fresh…
-
How to Make Ice Sculptures for a Winter Art Project
Colored ice sculptures are a fun and easy winter art project for kids! Kids can…
-
How to Make a Sticky Snowflake Craft
Create sticky snowflakes with yarn and contact paper! A fun snowflake craft that's an easy…

