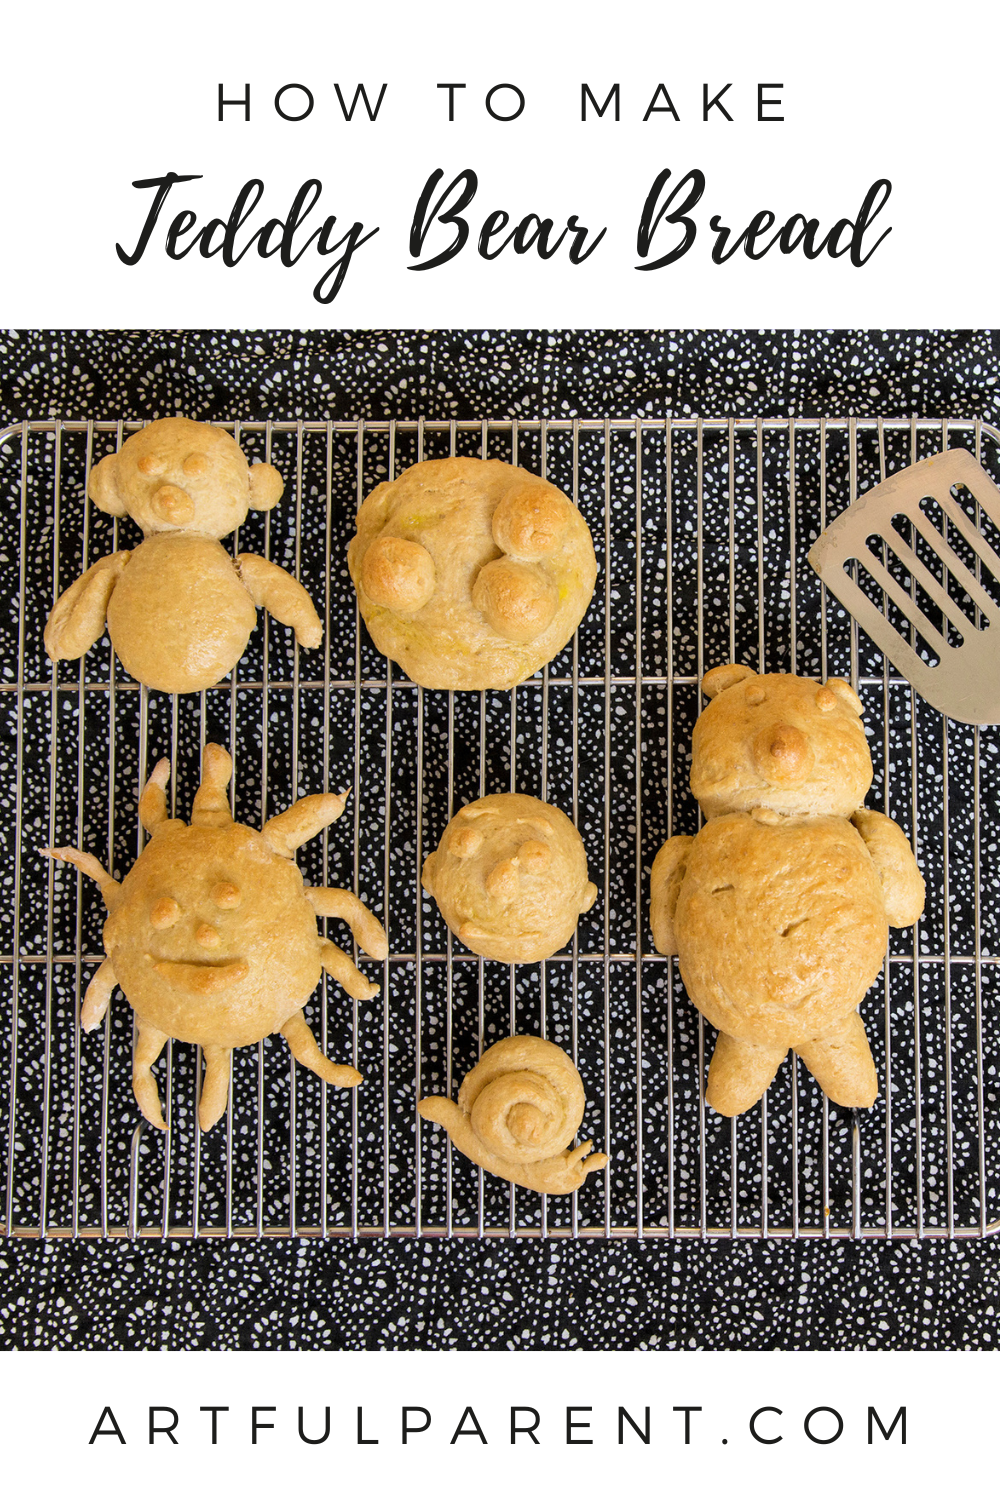
Learn how to make teddy bear bread! Use bread dough as an edible modeling dough and create faces, animals, and other fun shapes.
Updated June 2025
There’s just something exciting about shaping dough and turning it into something delicious. That’s why we love this teddy bear bread activity. It’s easy, creative, and tasty—perfect for kids who like to play in the kitchen.
You can use our simple bread recipe (it’s at the bottom of the post) or just use store-bought pizza dough to make it even easier. Shape the dough into cute teddy bears (or dinosaurs, cats, monsters, or anything!) bake them, and enjoy a warm, yummy treat when you’re done. It’s such a fun way to spend time together and get a little messy in the best way!
How to Make Teddy Bear Bread

MATERIALS
- Bread dough (see recipe at the end of the post, or use uncooked pizza dough)
- 1 egg
- 2 tablespoons water
- Pastry brush
- Cookie sheet
- Parchment paper (optional)
INSTRUCTIONS
Time needed: 4 hours
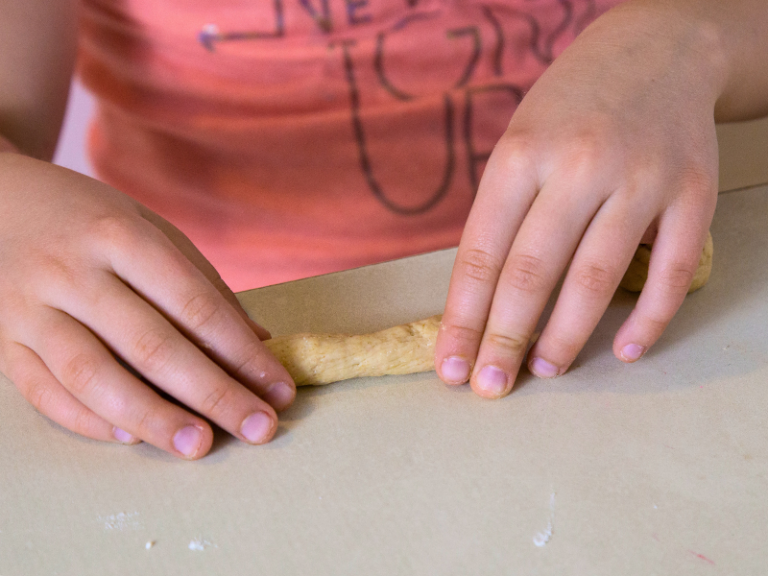
- Make bread dough creations
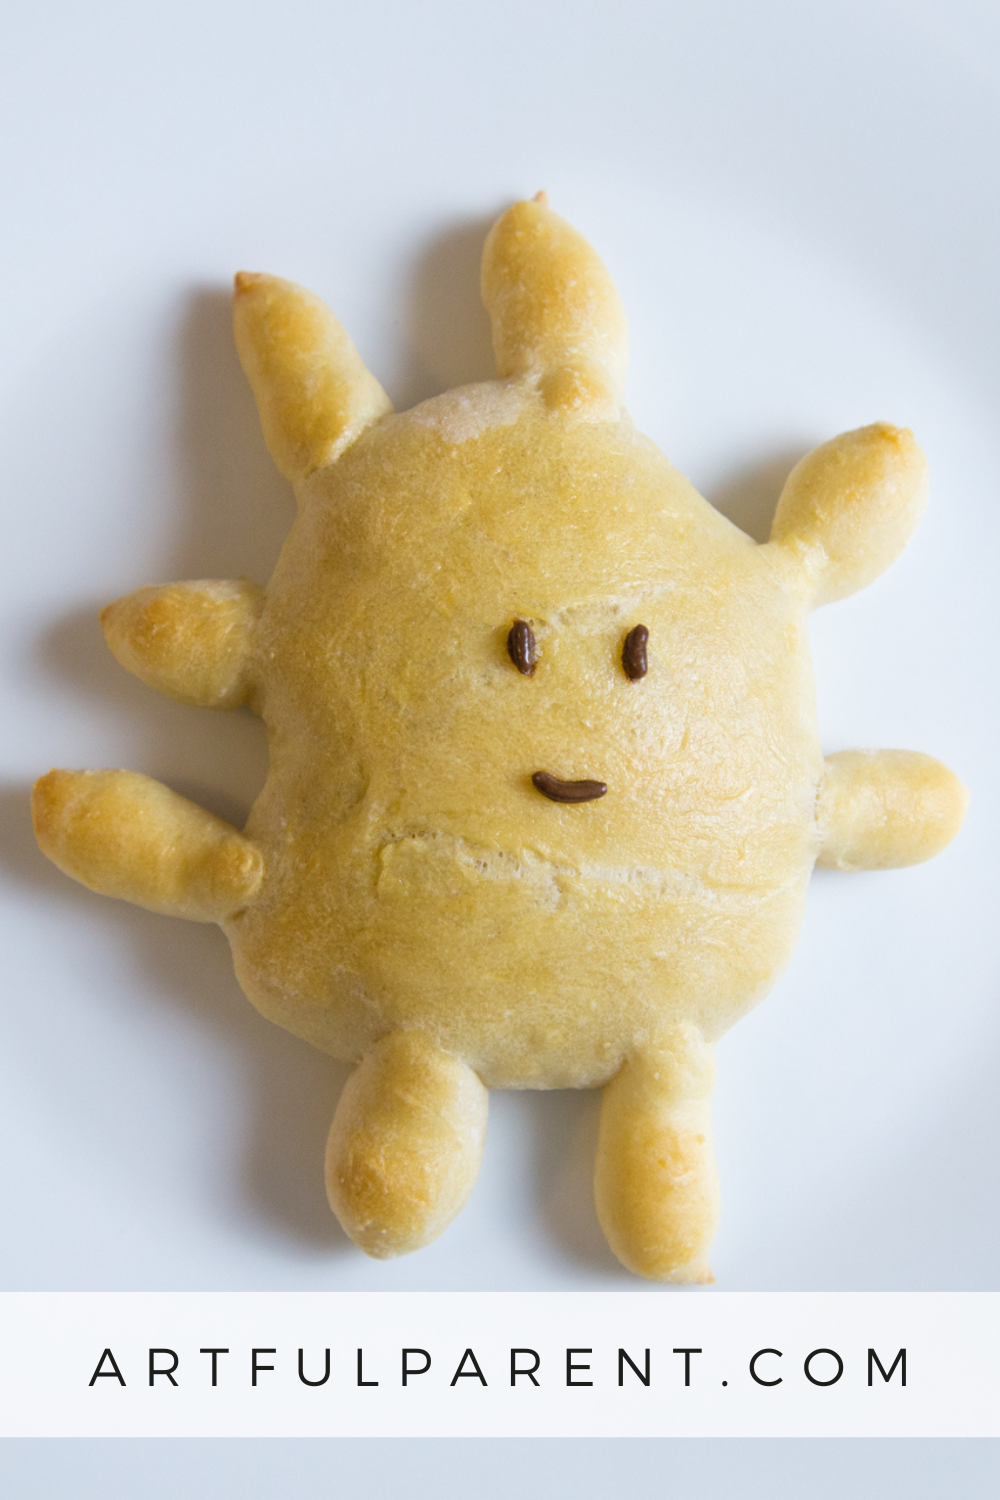
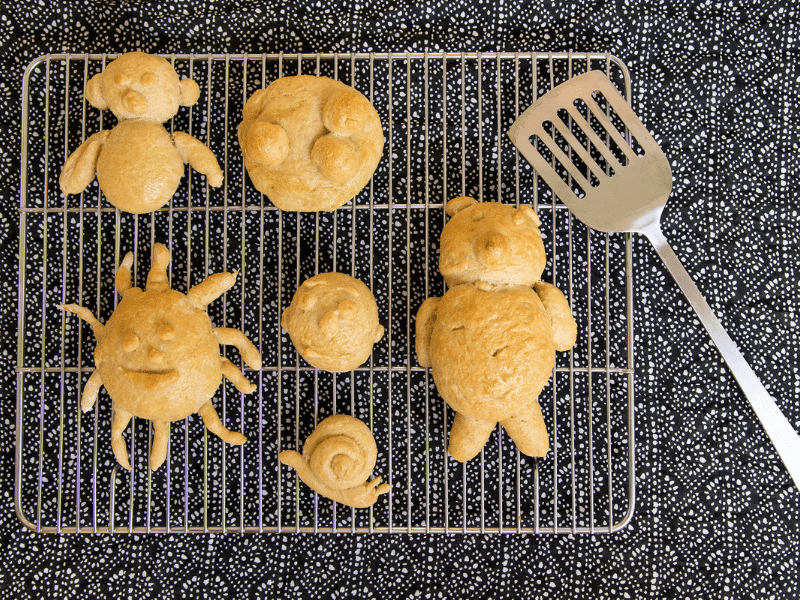
Form the bread dough into faces, animals, suns, snails, and other fun shapes.
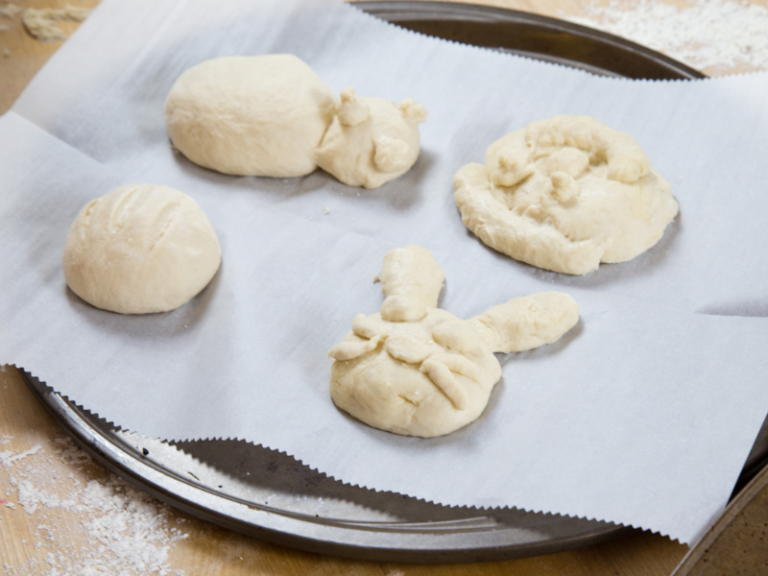
- Let rise
Place your bread dough creations on a cookie sheet lined with parchment paper (or greased) and let them rise until doubled in size (30 minutes or so).
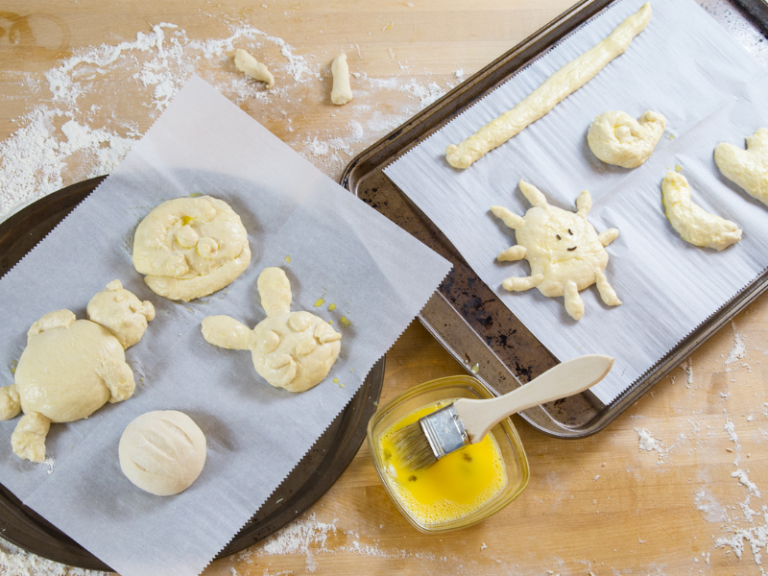
- Prep bread for baking
Preheat the oven to 350 degrees Fahrenheit. Make an egg wash by whisking together the egg and water. Brush the tops of the bread shapes with the egg wash.
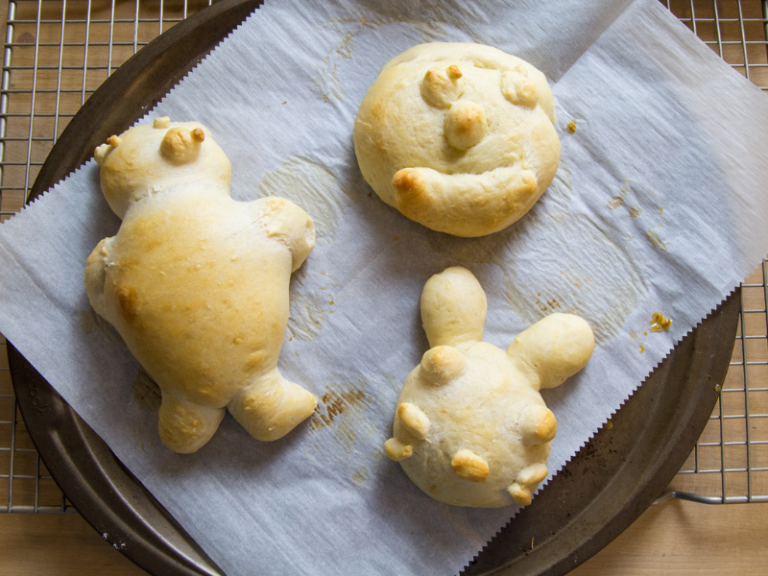
- Bake!
Place your bread shapes in the oven and bake for 20 minutes or until golden brown. The smaller shapes might need less time and the larger ones might need more time. Let cool and enjoy!
Wouldn’t it be awesome to have a whole bunch of these fun bread shapes for a little kiddo tea party?!
Print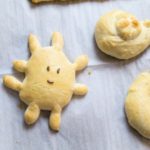
How to Make Teddy Bear Bread
- Prep Time: 3 hours
- Cook Time: 20 minutes
- Total Time: 3 hours 20 minutes
- Category: Baking
Description
This bread dough is easy to make! Use it to shape fun bread dough faces, animals, and more!
Ingredients
1.5 cups warm water (about 110–130 degrees Fahrenheit)
1 packet active dry yeast
1–3 tablespoons honey
1 teaspoon salt
1 tablespoon vegetable oil
4 cups all purpose flour or bread flour
Instructions
1. Mix the warm water, yeast, and honey in a large bowl. Let it sit for 5 minutes.
2. Stir in half of the flour to the yeast mixture, then let it rest for 30 minutes.
3. Mix in the salt, oil, and rest of the flour.
4. Dump the dough out onto a lightly floured counter and knead for five minutes. Add a little more flour if the dough is too sticky.
5. Put the dough in a greased bowl, cover with plastic wrap, and let the dough rise until doubled in size (about 2 hours).
6. Punch the dough down, then divide it into small balls and pieces to use it to make bread dough creations.
More Fun Baking Ideas for Kids
- Check Out Our Cooking Creativity Pack!
- Painting a Cake with Kids
- The Best Blueberry Muffin Recipe
- Kids’ Cake Decorating Tips and Ideas
- Easy Raspberry Lemon Cream Cheese Coffee Cake
- The Best Cherry Pie Recipe Ever (+ video!)
Want even more creative ideas?
Check out our Cooking Creativity pack!
Have a budding chef in the family? This 35-page eBook is ready for immediate download and includes a Family Meal Planner, Tips & Tricks, Easy Recipes, and more!

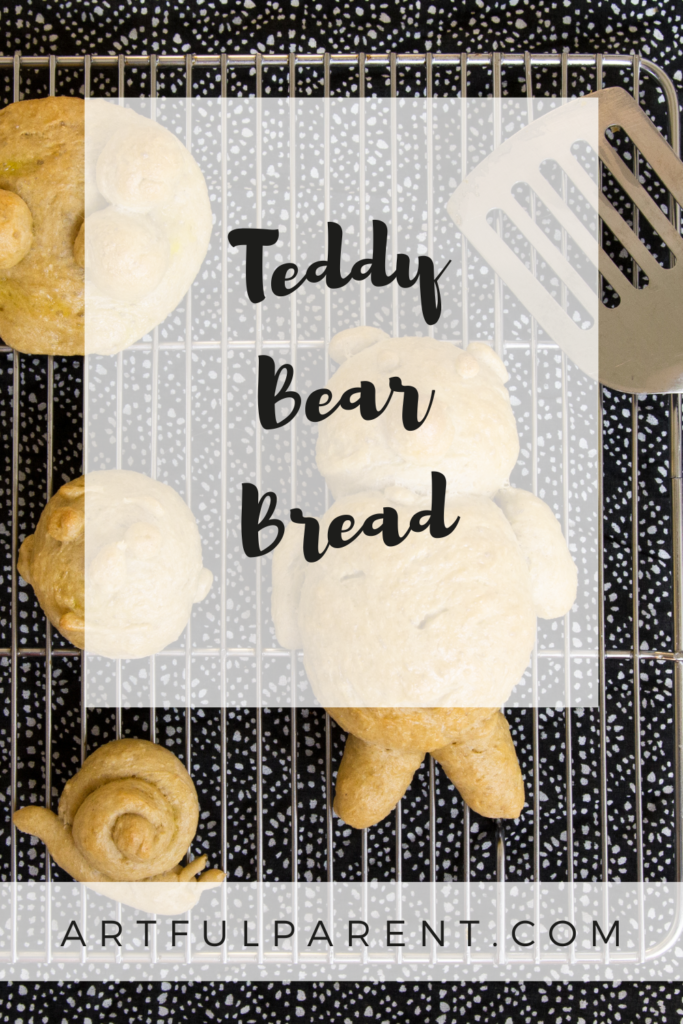
Pin It for Later