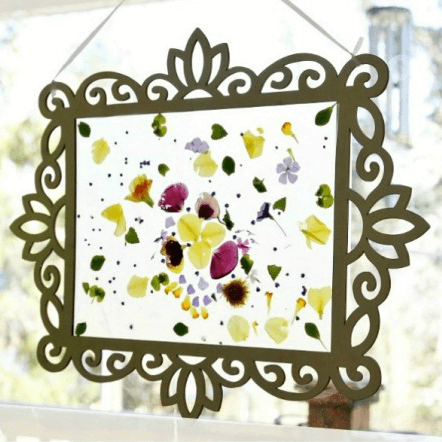
Earlier this week I came across a wall of decorative wooden frames at Michael’s and immediately thought of using one for a contact paper suncatcher.
Sort of like a permanent window display for a changing display of suncatcher art over time.
Can’t you see it?
A flower petal suncatcher one month and a colored tissue paper suncatcher the next? Then when fall rolls around, the suncatcher will be a gorgeous window display of Autumn leaves. And in winter, it will be the perfect place for showcasing coffee filter snowflakes.
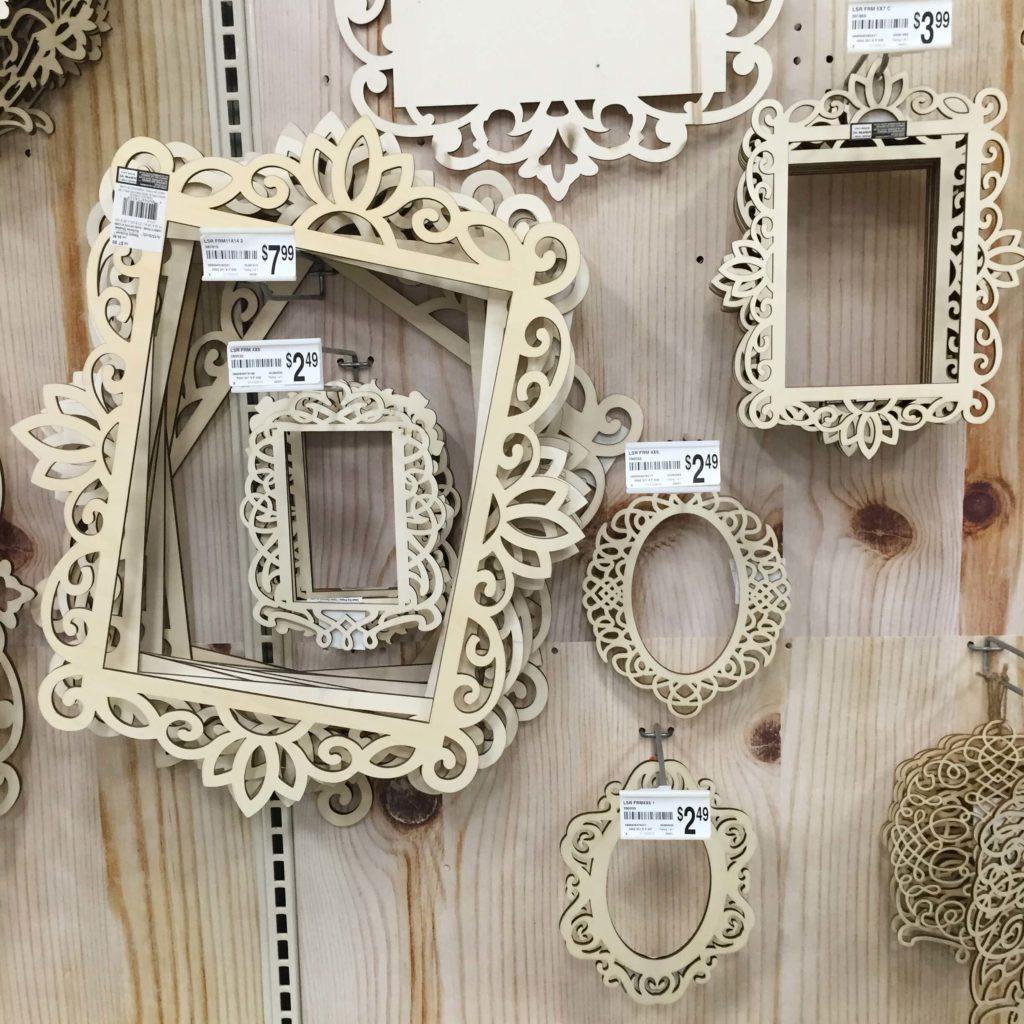
Anyway… I was so excited by the idea that I bought one of the larger wooden frames. It was $7.99 but I had a 40% off coupon on the Michael’s app on my phone so it ended up being remarkably inexpensive.
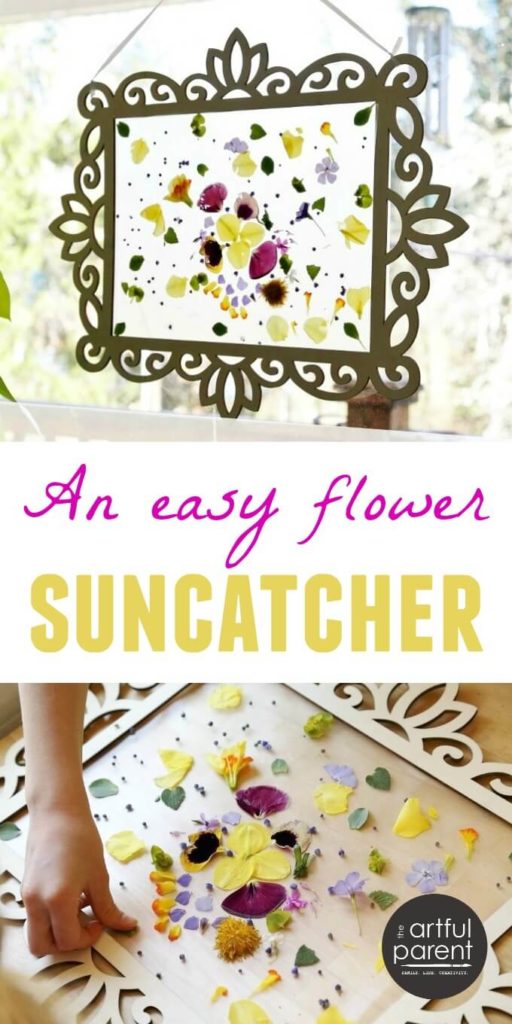
Here’s how we made the suncatcher, plus more ideas for changing out the suncatcher artwork over time…
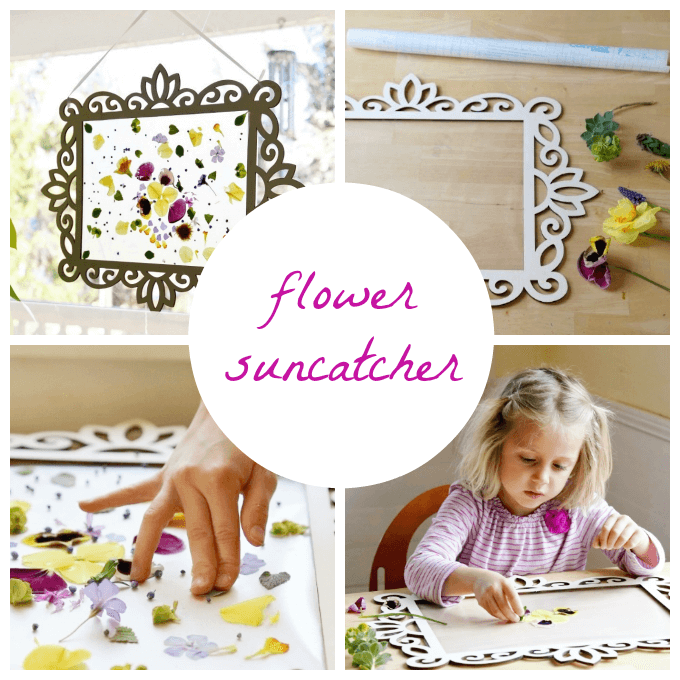
Contact Paper Suncatcher in a Wood Frame
MATERIALS
- A decorative wooden frame (you can find them in the wood craft section of the chain arts and crafts supply stores)
- Transparent contact paper / sticky back plastic (you can find this with the shelf liner paper at the grocery store or drug store)
- Stapler (optional)
- Flowers and leaves
- Ribbon or string
INSTRUCTIONS
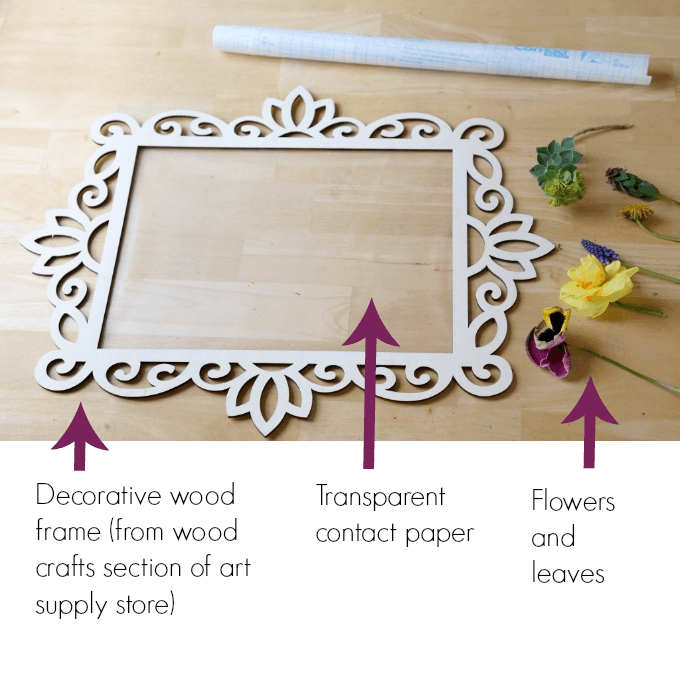
1. Cut a piece of contact paper to fit the frame, large enough to overlap part of the wood.
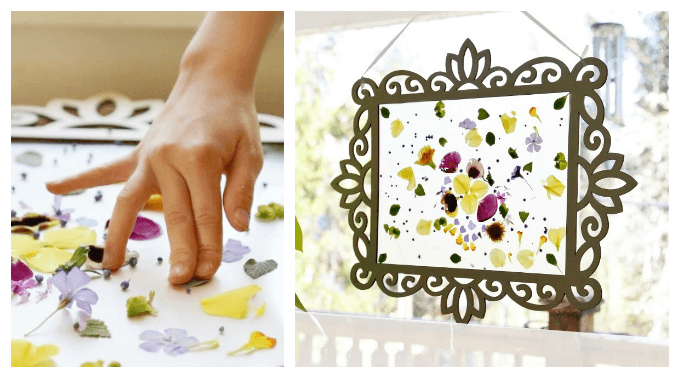
2. Attach the contact paper to the frame. Here’s how I did it :: Pull the paper backing off the contact paper and lay it on the table, sticky side up. Position the wood frame over the contact paper and press down. Turn the whole thing over carefully and run your fingers around the edge, making sure the contact paper is adhered to the frame. If you like, you can staple it in each corner, although I didn’t.
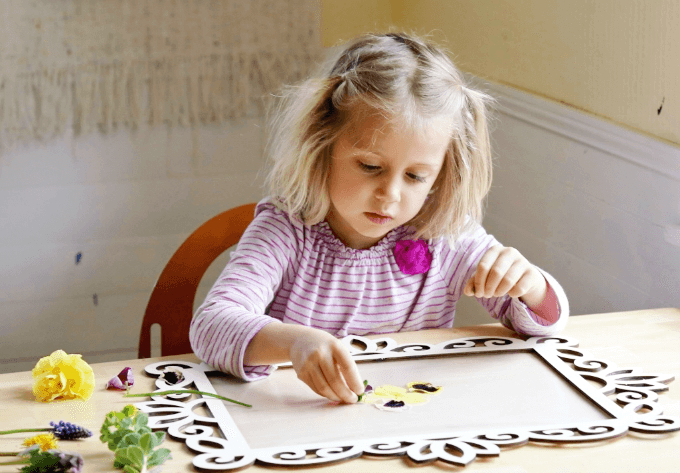
3. Press flower petals to the sticky contact paper in any arrangement desired.
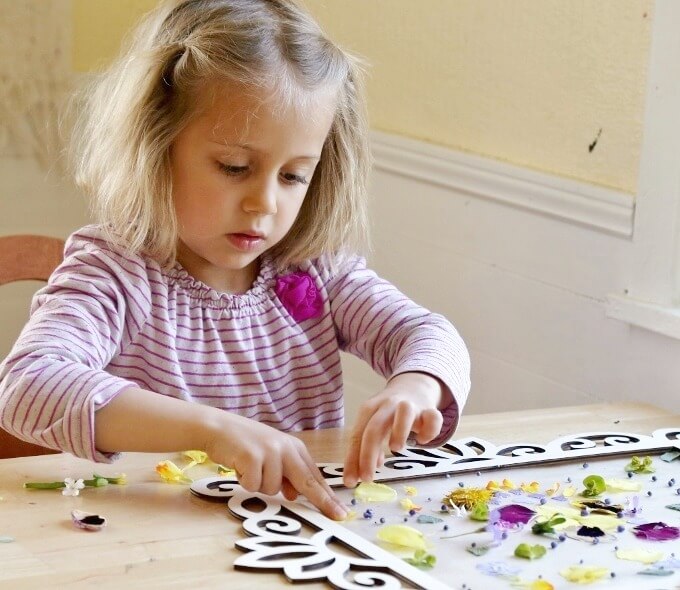
Daphne added flower petals and leaves from pansies, periwinkle, creeping phlox, dafodils, grape hyacinth, and more. (And Maia joined in after a while.)
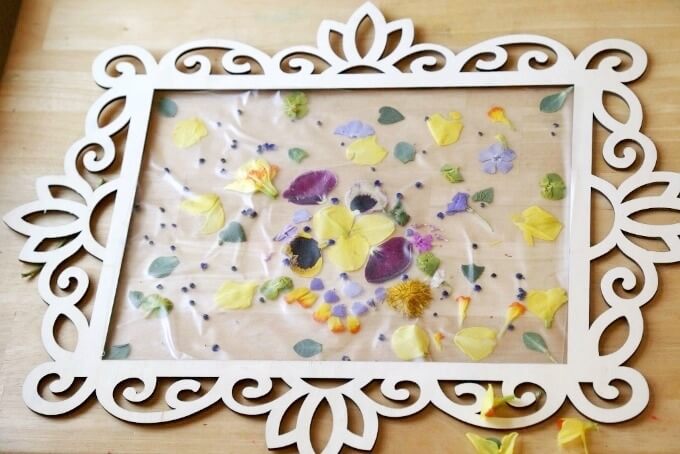
4. When the flower petal design is finished, press a second sheet of the contact paper over the flowers.
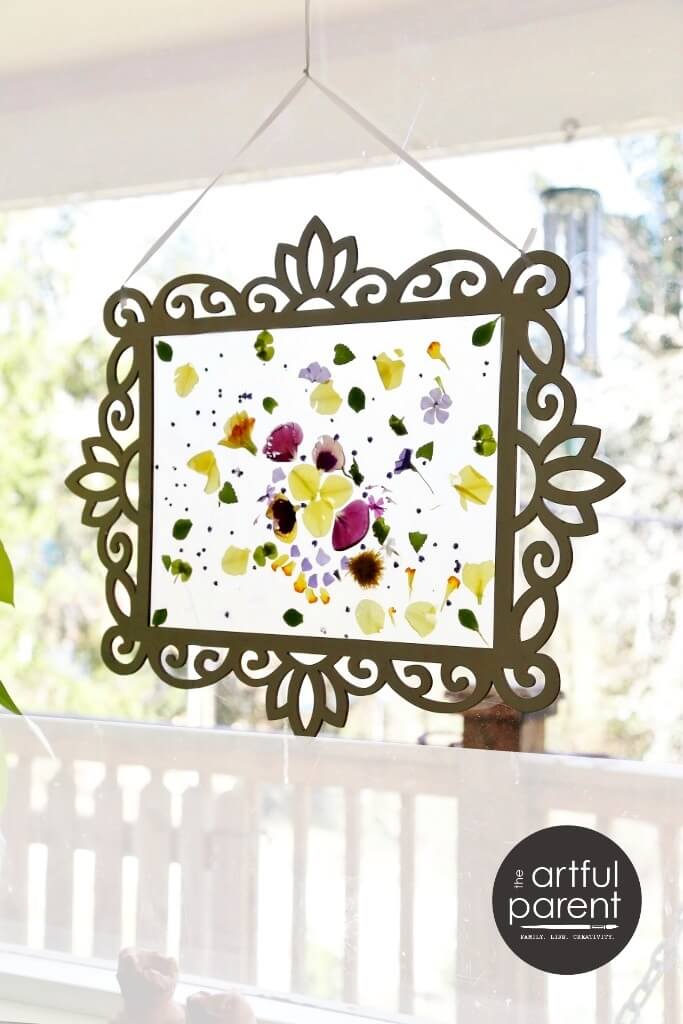
5. Tie a ribbon to both corners of the wood frame and hang in the window. I hung ours in our large picture window with a suction cup hook to hold it in place. You could also hang from a hook above a window.
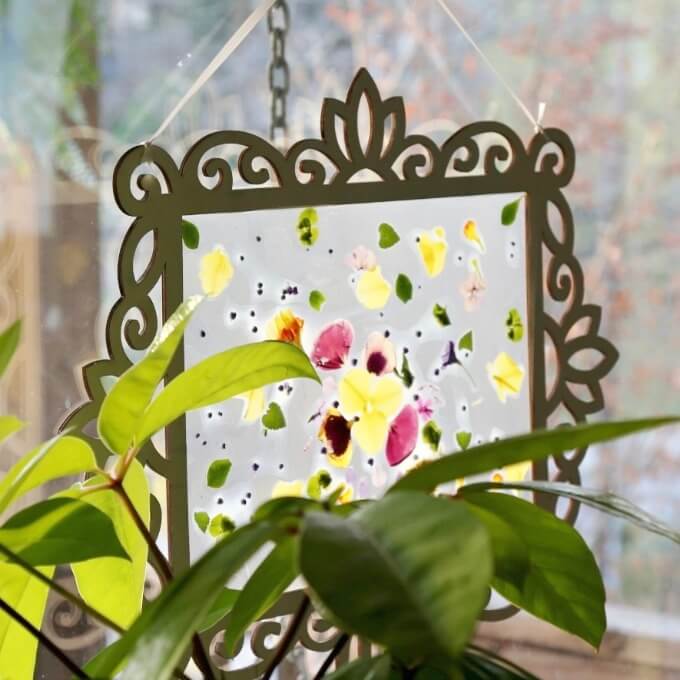
I love it! The kids love it!
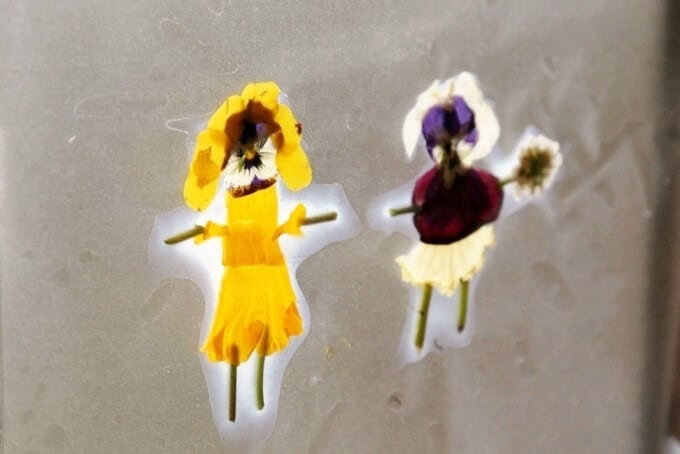
Maia’s asking if we can get another wooden frame to make another suncatcher. And we might. I think she wants to make a scene with some of her flower fairies…
As much as we love flower petal suncatchers and continue to make them, the flowers fade and decay over time. After two weeks or so, they don’t look as fresh. And so we’ll pull the contact paper suncatcher off the wood frame and add a new sheet of sticky contact paper to create a new suncatcher.
Maybe another nature suncatcher or maybe something completely different, such as colored tissue paper or colored film.
Here are some contact paper suncatcher ideas that would work with these wood frames.
6 Contact Paper Suncatchers
- Flower petal suncatchers (as here)
- Autumn leaves suncatchers
- Tissue paper stained glass
- Stained glass with colored film (index dividers)
- Lace, ribbon, washi tape, string
- Suncatcher with mosaic tiles
Pin It for Later ::
Related Posts
-
A Tissue Paper Suncatcher Craft on Wax Paper
I wanted to show you the new tissue paper suncatcher craft we tried in the…
-
Hole in Paper Art for Kids
Hole in paper art activities for kids encourage them to think and create differently. Kids…
-
Hole in Paper Art for Kids
Hole in paper art activities for kids encourage them to think and create differently. Kids…

