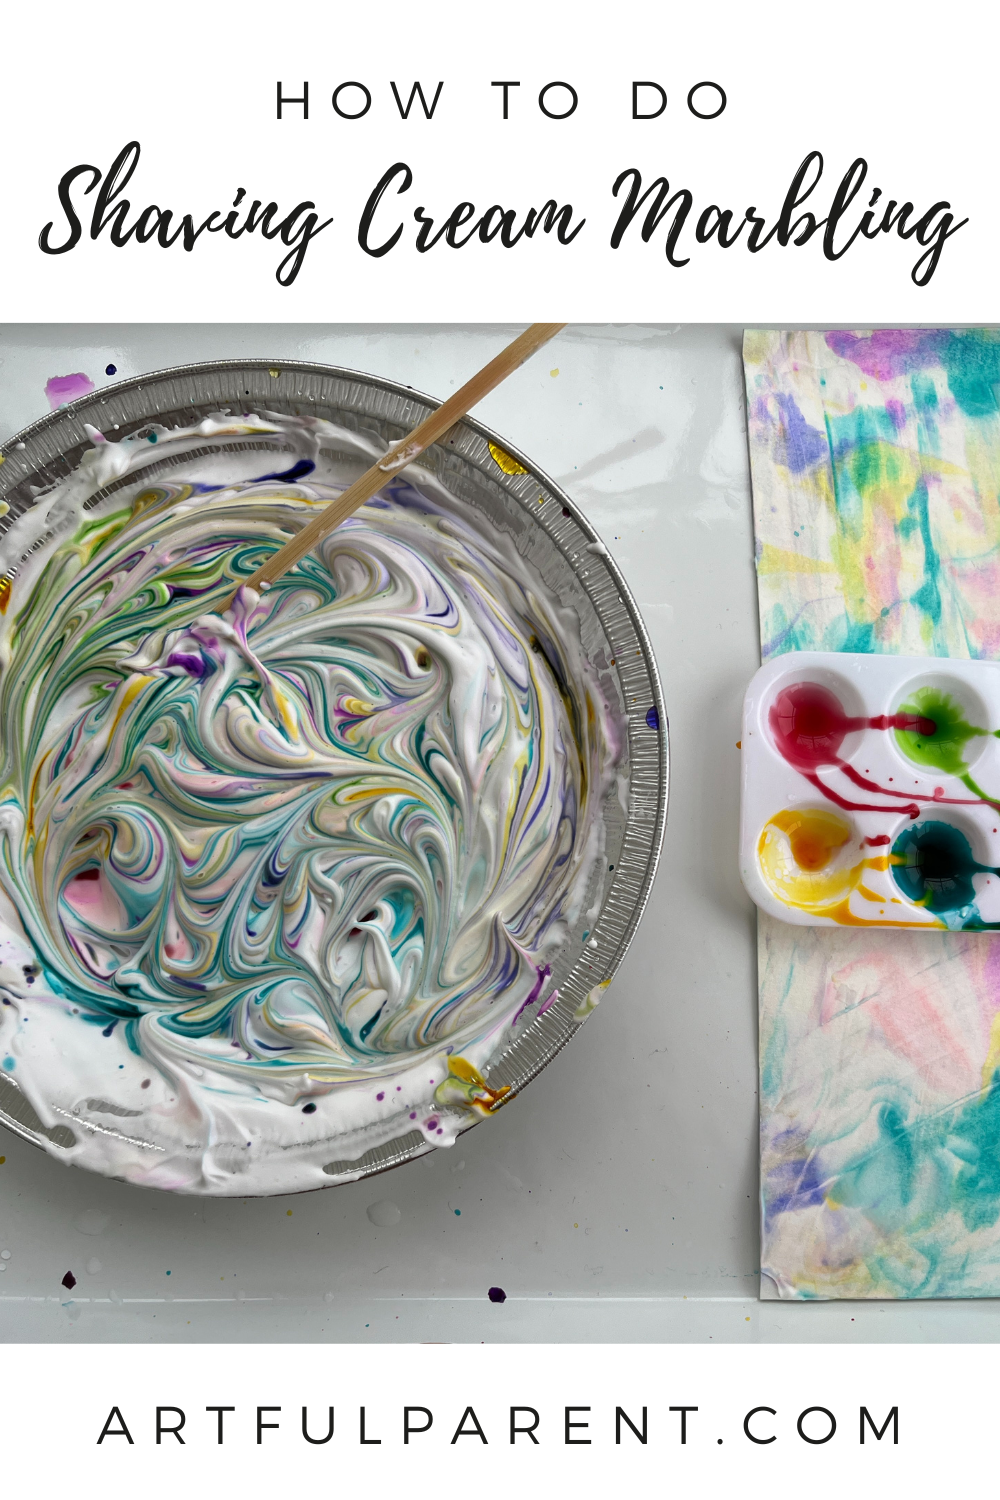
Our favorite marbled paper technique for kids is shaving cream marbling! So fun and easy, this is one of our top art activities for kids of all ages!
Updated March 2025
The best and easiest homemade marbled paper is made with shaving cream marbling.
This marbling technique is one of our all-time favorite art activities. Like raised salt painting and splatter painting, it’s an art activity that kids never tire of and that we’ve returned to again and again over the years.
Here’s how to do this super fun marbling activity, plus some helpful tips for success!
First, here’s video showing the shaving cream marbling in progress. And scroll down for the step-by-step instructions.
And if you’ve got leftover shaving cream, you can also check out our post of great ideas for shaving cream art and play.
Shaving Cream Marbling
 MATERIALS
- Shaving FOAM
- Shallow baking dish, such as a pie plate or brownie pan
- Liquid watercolor paint (or watered-down food coloring)
- Droppers
- Stir stick, like a chopstick or the bottom of a paint brush
- Cardstock
- A scraper, such as a square piece of cardboard
INSTRUCTIONS
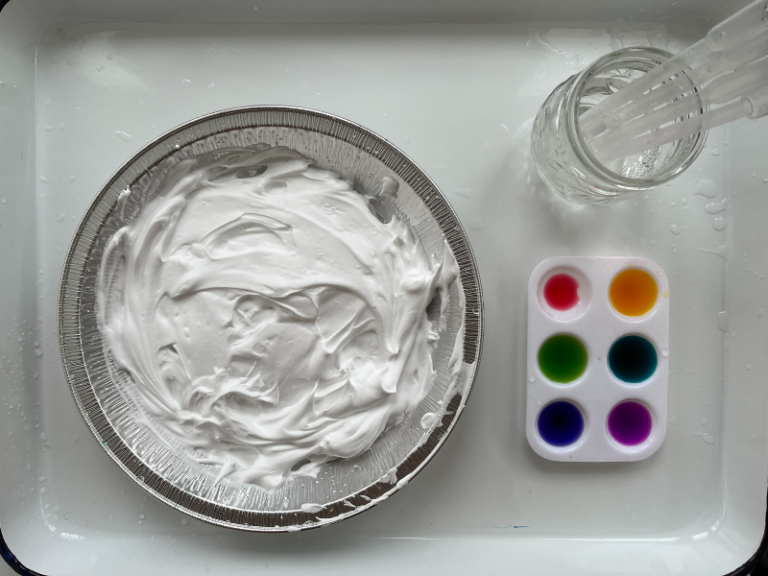
- Create a layer of shaving cream
First, spray a layer of shaving cream to cover the bottom of your baking dish.
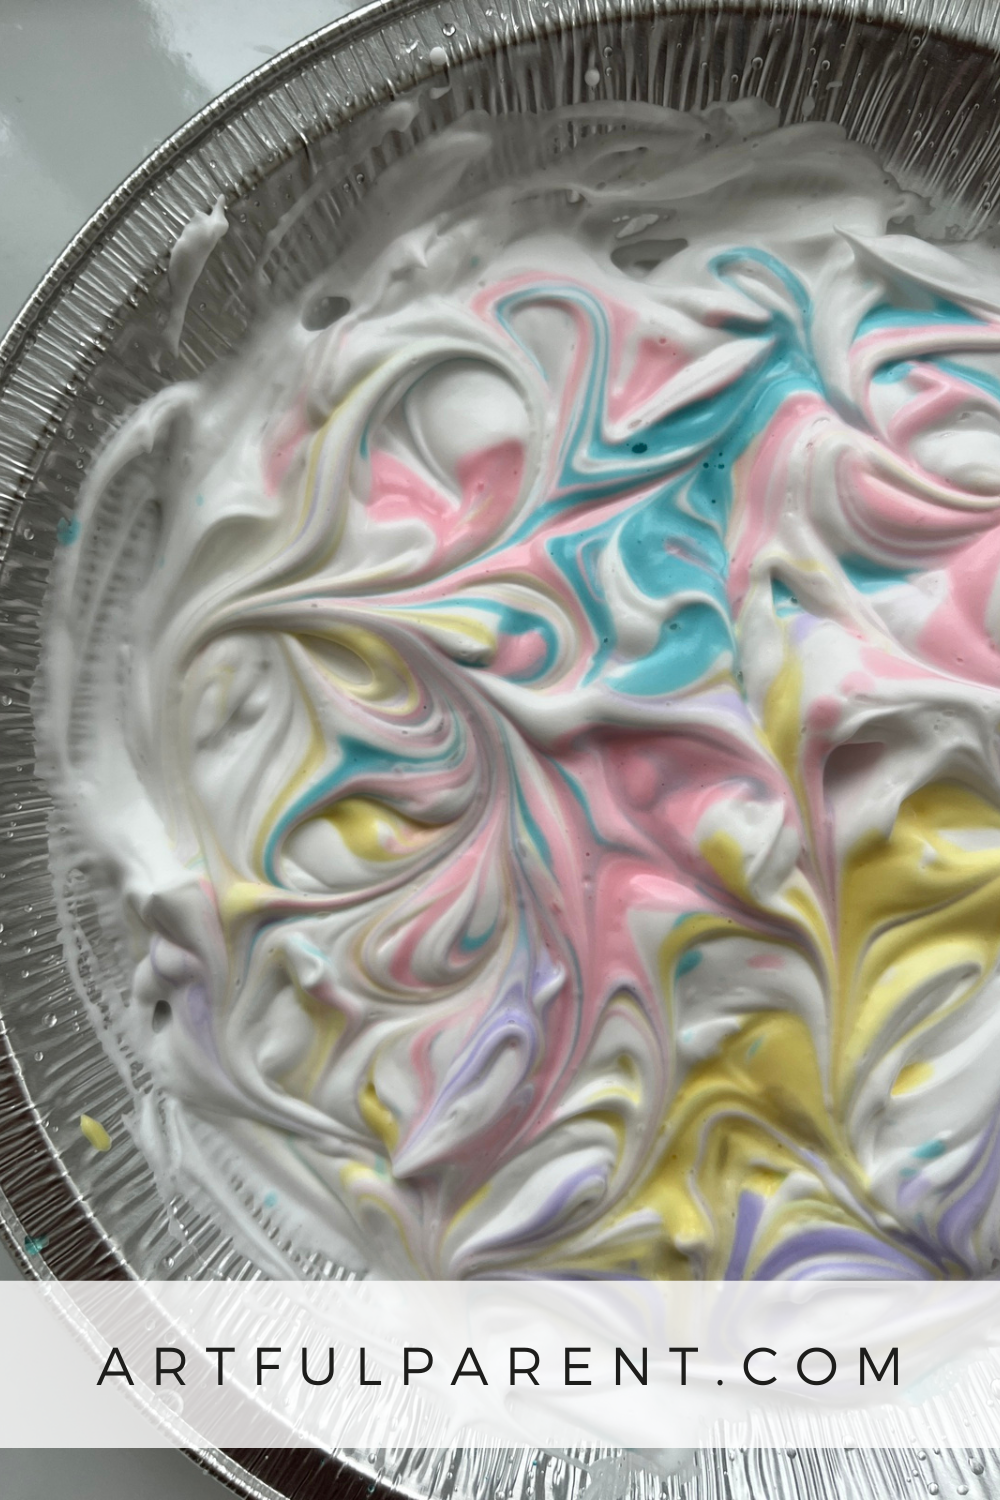
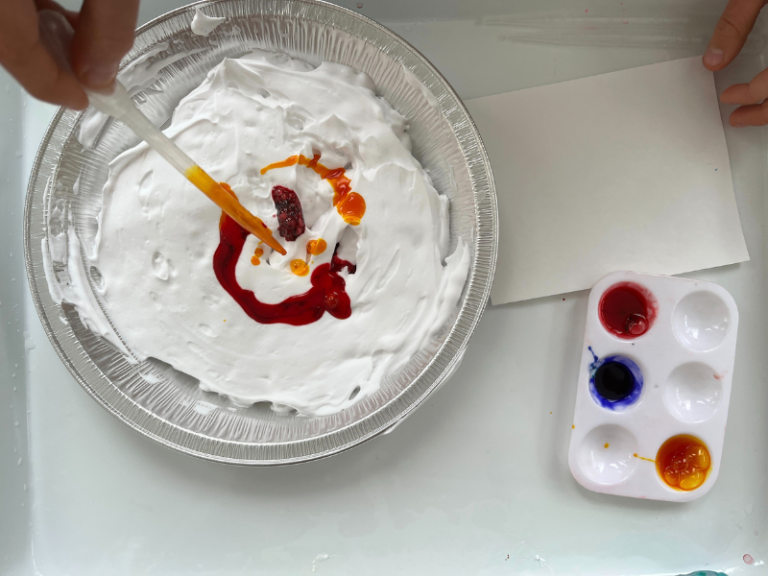
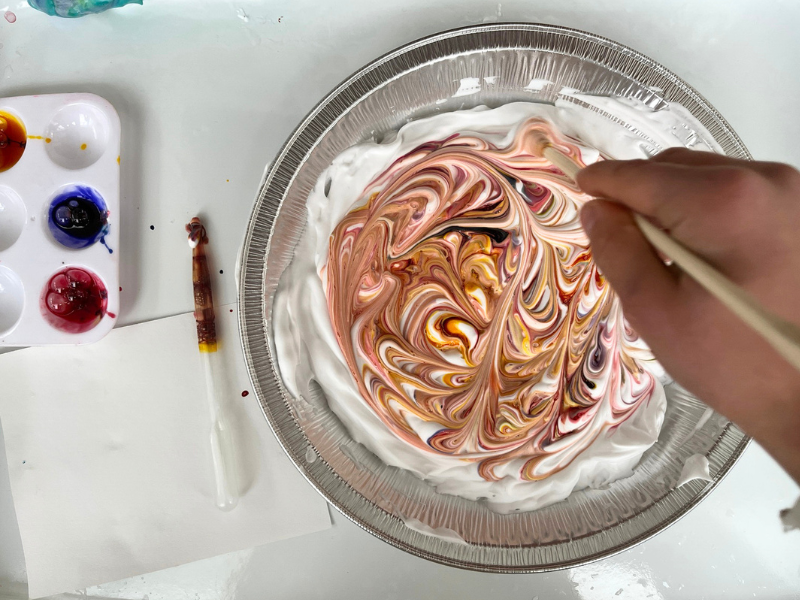
- Add color
Then, add drops of liquid watercolor paint on top of the shaving cream. Feel free to add several colors!
Note: If you don’t have liquid watercolors, you can use watered-down food coloring. You can even do this project with other paints, such as tempera or liquid/craft acrylics, although the results will look a bit different.
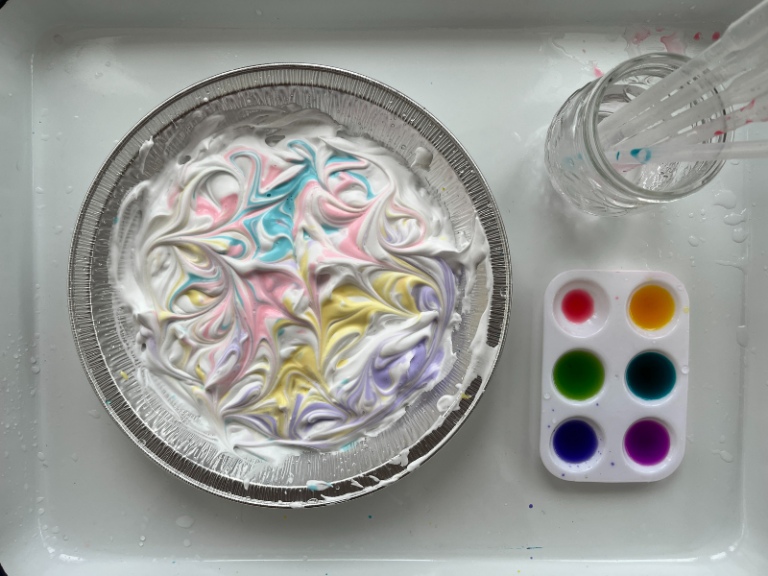
- Swirl the paint
Use a stick (a chopstick, the end of a paint brush, or even a dropper) to swirl the paint around for a marbled effect.
- Press the cardstock onto the cream
Carefully press a piece of card stock into the paint-covered shaving cream.
- Remove card from shaving cream
Carefully lift up the card stock off the shaving cream.
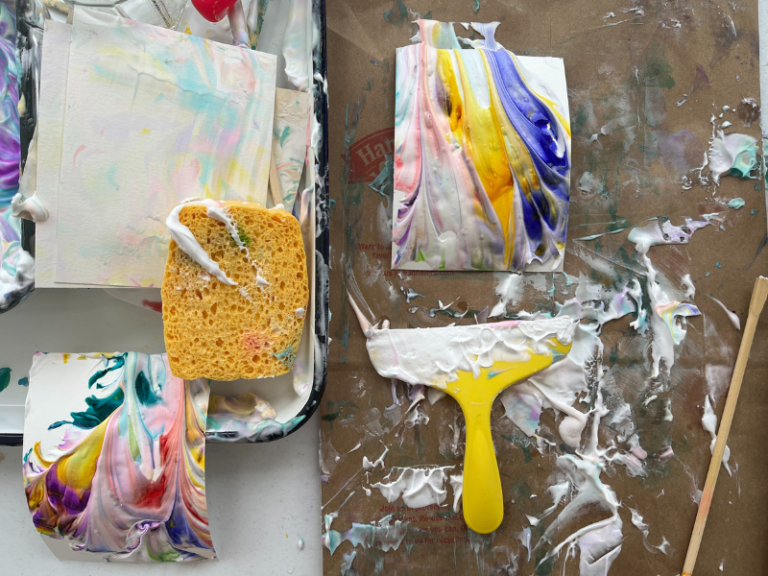
Then use a piece of cardboard to scrape off the shaving cream, revealing your beautifully marbled paper!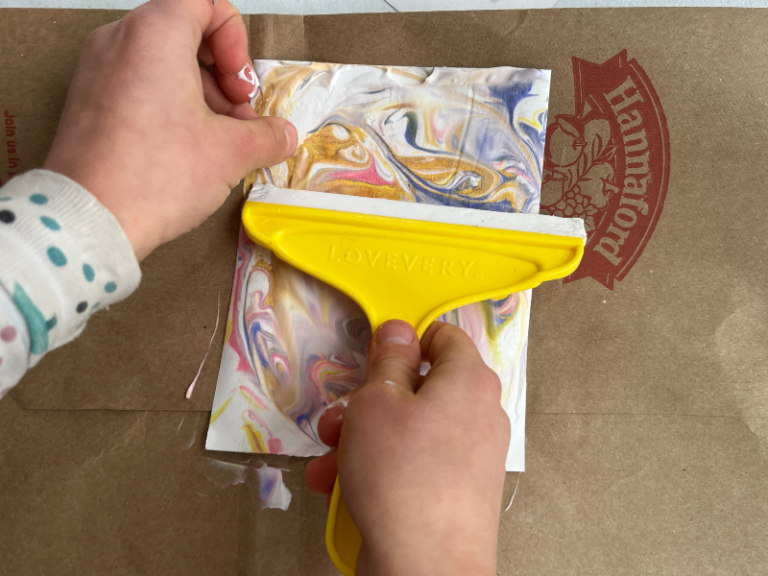
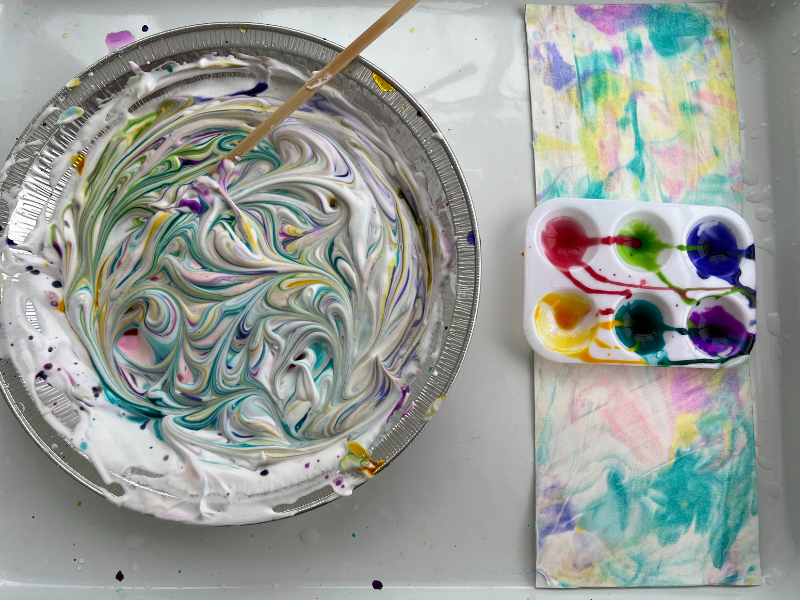
- Repeat!
You’ll marble a few papers and then want to add more drops of liquid watercolor to swirl around and make even more! We kept adding different colors and seeing how they popped on the paper.
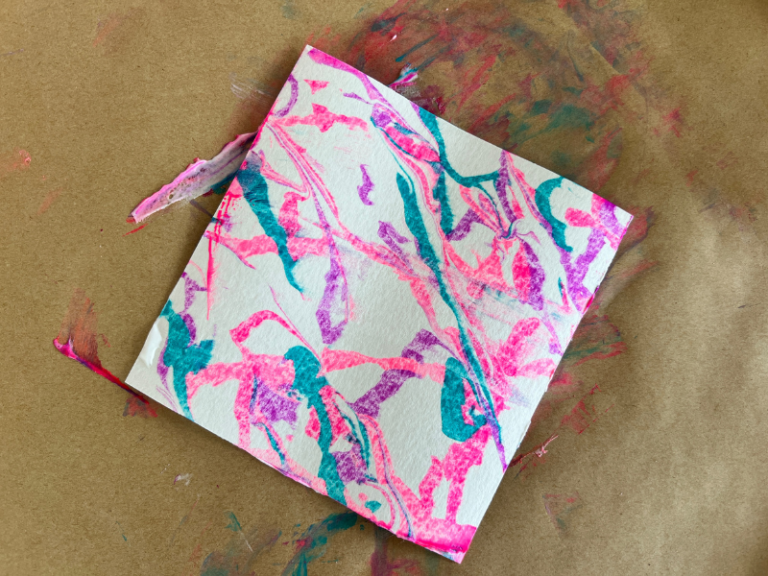
Allow the papers to dry and then enjoy your newly marbled paper! Looking for some fun ways to use that new paper? Check out some of our favorites!
We’ve done shaving cream marbling enough times to figure out how to make the process as easy and fun as possible! So here are our tips for success:
Tips for Shaving Cream Marbling Success
- Use shaving FOAM not gel. We really like to use the Smartly brand from Target – it’s very cheap and smells like summer (rather than the typical shaving cream scent!)
- You can any kind of paint. We’ve done this with tempera paints, BioColors, watered down food coloring, and acrylics.
- Use smooth paper, not textured. You’ll actually get the best results with a very smooth surface (like cardstock) rather than the textured surface of watercolor paper.
- Keep a bowl in the center of the table while you’re working. The shaving cream we scrape off of the paper gets re-scraped into the bowl.
- Keep a wet washcloth and/or bowl of water handy for washing shaving cream-covered hands.
- To make clean up easier, spray off all the dishes and art trays outside with a hose. Or use a rubber spatula and scrape it all into the trash first, then rinse off.
This classic Artful Parent art activity is so fun! We LOVE our marbled paper!
More Marbling Activities for Kids
- Marbled Paper and Tips for Success
- Shaving Cream for Kids: Ideas for Art, Play, and Learning
- Paper Marbling with Acrylic Paint and Liquid Starch
- How to Marble Paper with 6 Easy Marbling Techniques for Kids
- Marbling with Oil and Food Coloring
- How to Make Marble Paper Art Landscape Collages for Kids
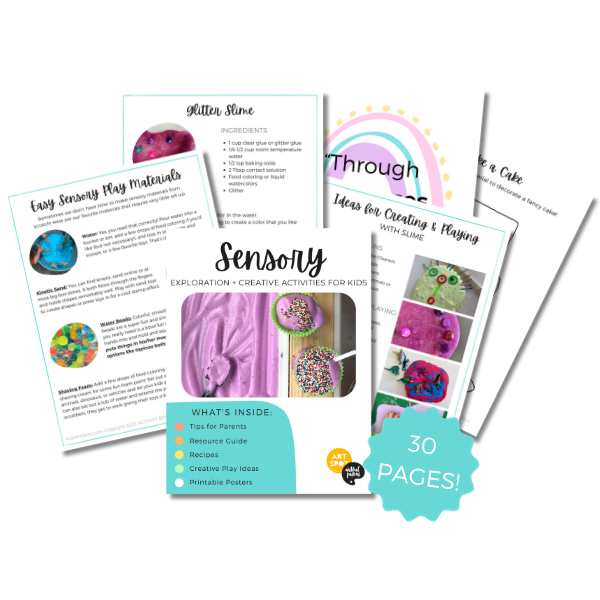
Want even more Sensory Exploration fun?
Check out our Sensory Creativity Pack!
This 30-page printable eBook is stuffed full of sensory play fun! An ultimate guide to sensory play, complete with our favorite recipes and tips for success!