Make easy painted magnet sticks with your kids. This fun popsicle stick craft will inspire lots of play and creating!
Updated February 2025
These simple magnetic sticks inspired more creativity in our kids than we could possibly have imagined.
Making them was a creative activity in itself, but these DIY toys inspired so much open-ended play and creative expression.
The best part is that they are so easy to make and require only a few materials! Here’s how to make your own painted magnet sticks.
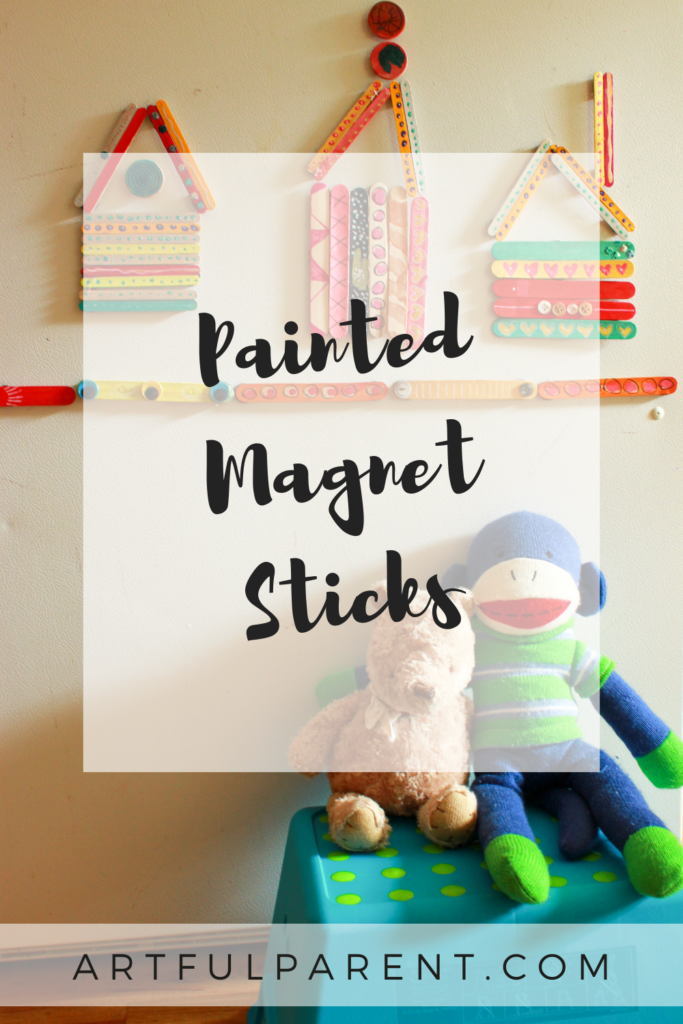

How to Make Painted Magnet Sticks
MATERIALS
INSTRUCTIONS
- Draw on craft sticks
If you’d like, doodle or draw on the wood craft sticks with the permanent markers.

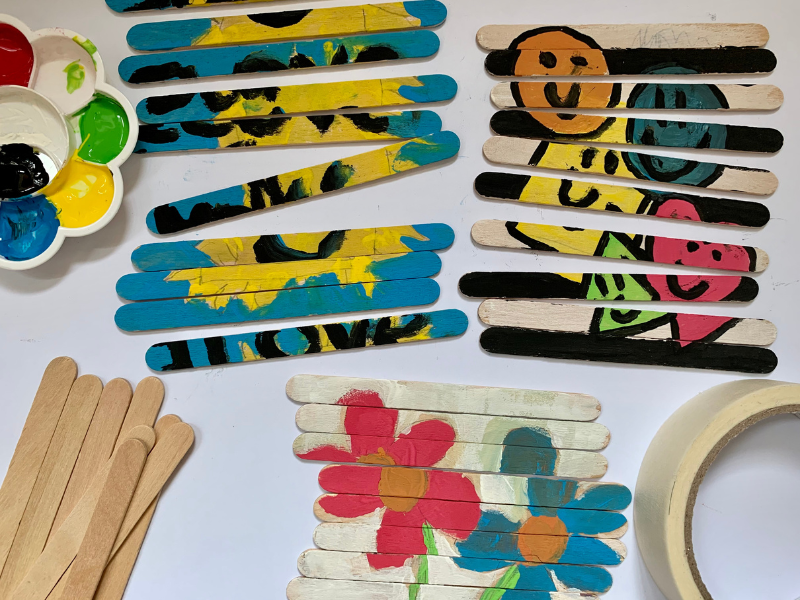
- Paint craft sticks
Paint the wood craft sticks with the liquid watercolor paints. Let dry.
- Attach magnets to craft sticks
Position the magnets on the backs of the painted sticks, with one magnet at each end. You can simply peel off the protective paper and press the sticker magnet to the wood. This is a great fine motor activity and allows the child to stay involved during the entire process.
- Play with your new magnets!
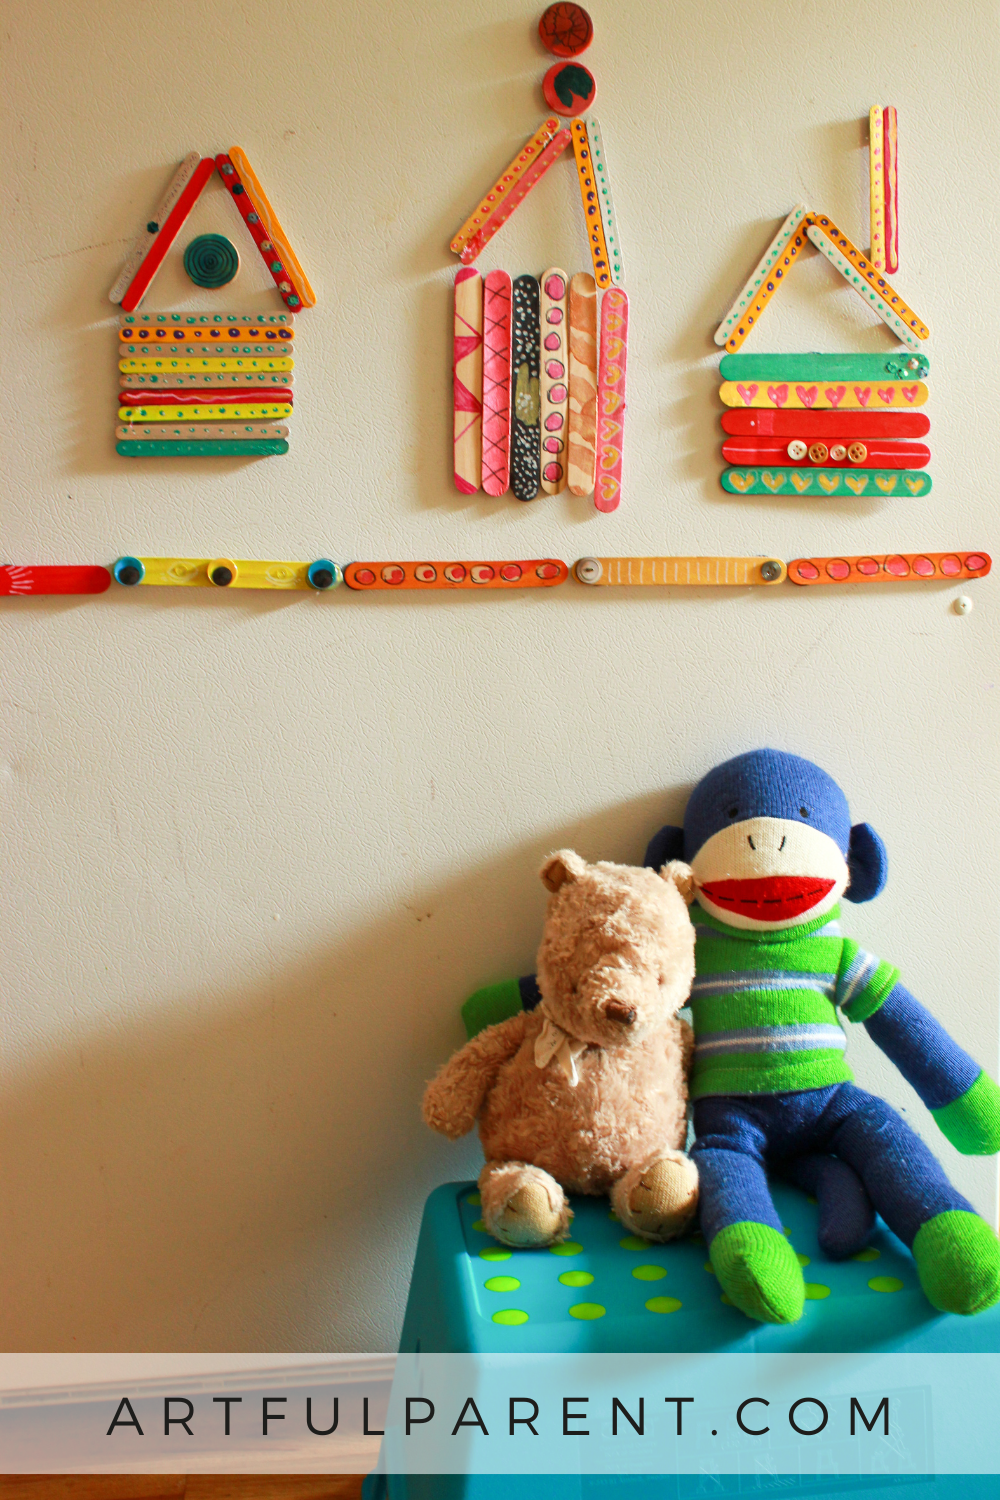
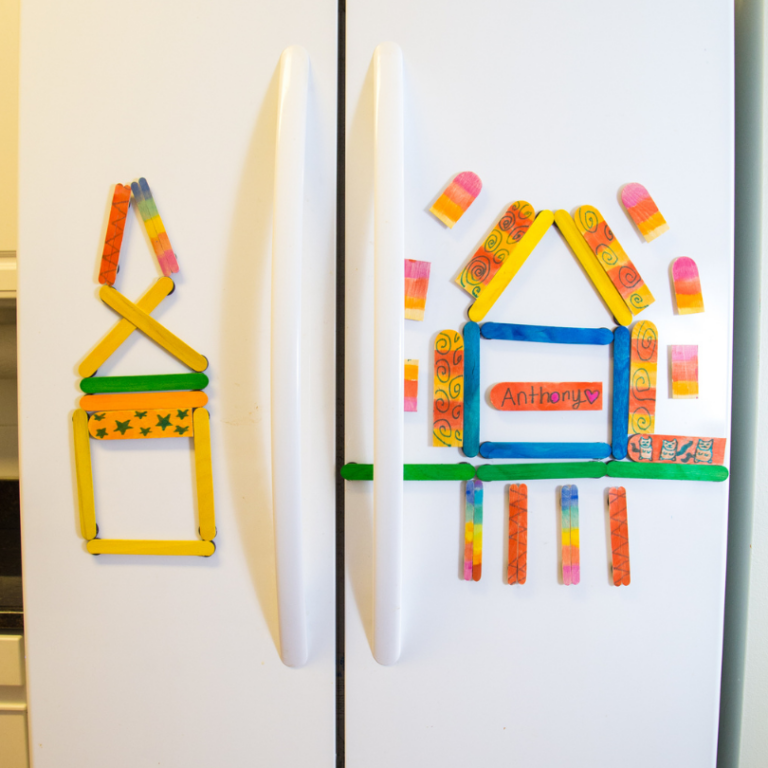
Once dry, you can play with your new magnets! We like to stick them to the fridge and use them to make designs.
You can also paint one image across several craft sticks and then use them as a puzzle!
This is a super simple and super fun activity for kids of all ages!
More Crafts for Kids
- How to Make Painted Wood Blocks for Kids
- 9 Amazing Process Craft Activities for Kids
- How to Make Easy 3D Sculptures for Kids
- How to Make Glitter Stars
- 10 Fun Yarn Crafts for Kids
- 10 Simple After-School Arts and Crafts Activities
Pin It For Later