Danielle Falk of Little Ginger Studio shares how to make a rainbow cardboard sculpture for kids. This is a fun and easy 3D activity that kids will love to build!
Updated February 2024
Cardboard is the best art material out there! It’s free, versatile and readily available. And it can be shaped into countless art projects.
I’ve turned into a bit of a “connoisseur of cardboard” over the years. Because of this I recommend IKEA for cardboard that’s strong and possible for little hands to cut through. Also, LEGO and NESPRESSO pod boxes provide cardboard that is super versatile for art making.
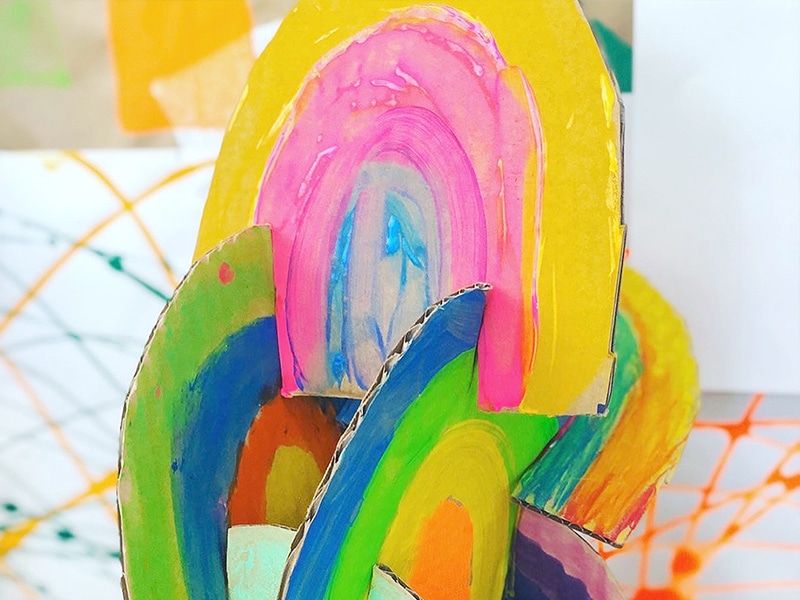
For these rainbow cardboard sculptures, we slot the shapes together loosely (inspiration from Eames’ House of cards). It’s the sort of connecting technique that can be used to make many different sculptures.
This is a technique I’ve often used to make groovy cardboard dinosaurs. Today I’m going to show you how to make our ever-popular cardboard rainbow sculptures! Everyone loves rainbows, right?
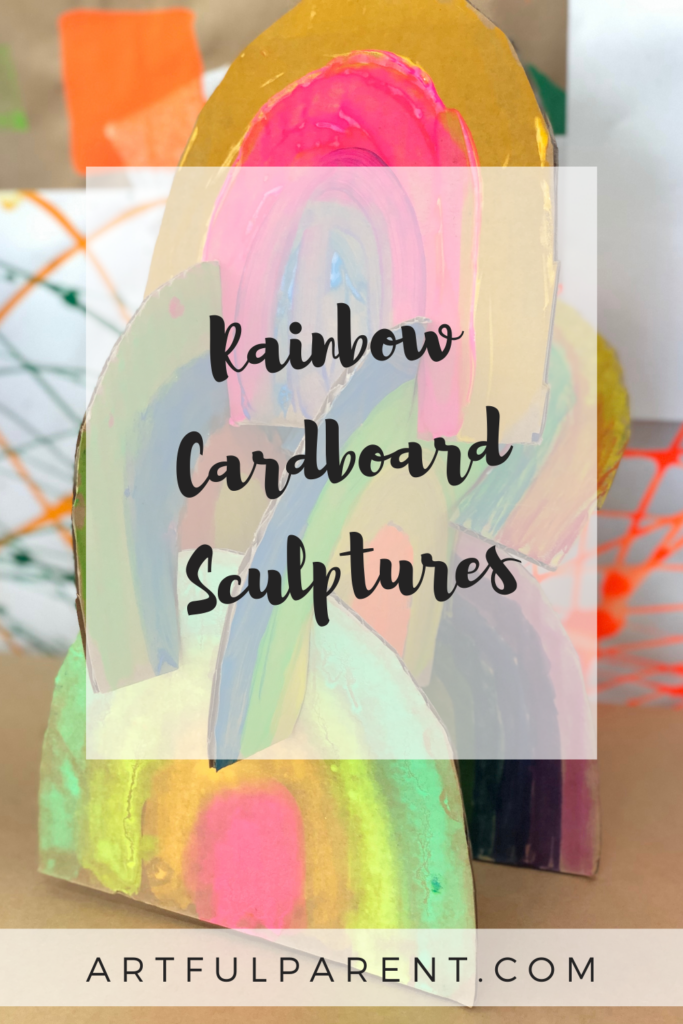
3D Rainbow Cardboard Sculptures for Kids
MATERIALS
- hoarded cardboard (please don’t go buying any, there’s no need!)
- large sharp scissors
- pencil
- ANY sort of paint or drawing supplies you have available or ALL of them: watercolors, acrylic, tempera, markers, oil pastels, crayons, etc.
INSTRUCTIONS
- Cut cardboard pieces.
First, use a pencil to draw a rainbow shape (elongated semi-circle) onto some cardboard. Then cut it out (an adult may need to help with this depending on the thickness of the cardboard).
- Rainbow stencil.
Now use the rainbow as a template stencil to trace more rainbows the same size.
- Cut out rainbow shapes.
Next, carefully cut out all the rainbow shapes.
- Color the rainbows.
Then use paint or drawing materials to add color to your cardboard rainbows. You might create naturalistic rainbows with the color spectrum or mix up your color order any old way you please.
I used a wide range of art supplies to create my rainbow but use what you have at home. This activity is a great impromptu creative prompt since you really don’t need any fancy supplies!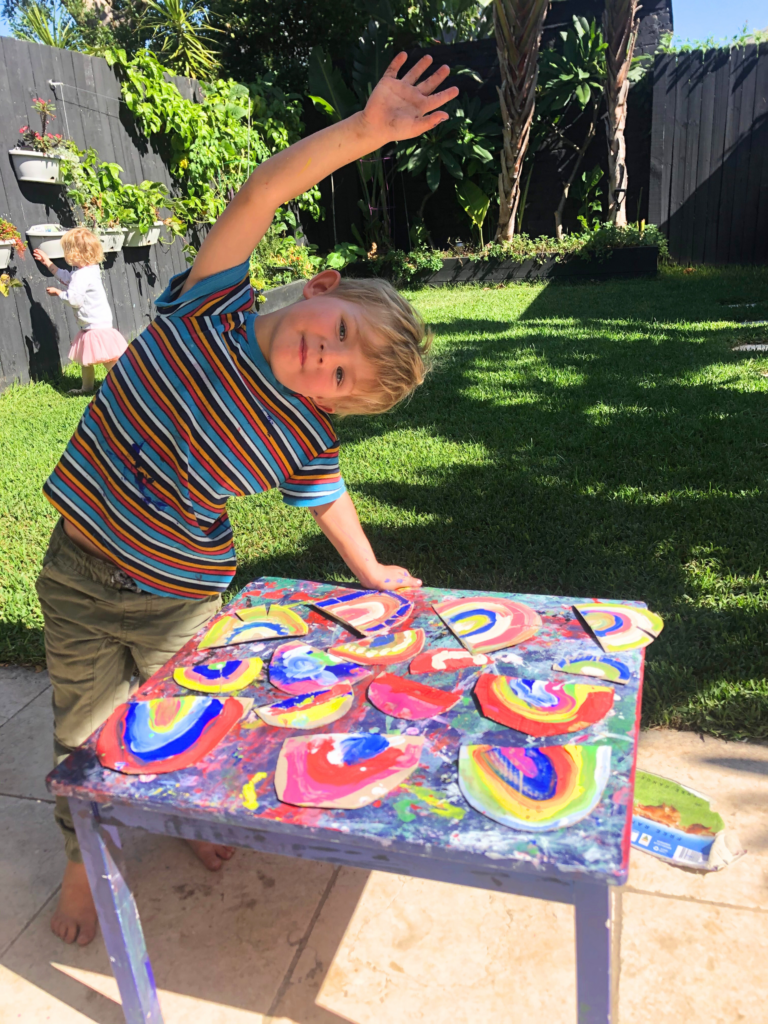
- Cut the slots in the rainbows.
Next, cut two slots into the top and two slots in the bottom of your cardboard rainbow (about an inch or 2.54cm long).
Pro tip: The bottom two rainbows won’t need slots along the bottom edge as this looks a lot neater. - Build your sculpture.
Now carefully slot the rainbows together to make a standing rainbow that can balance.
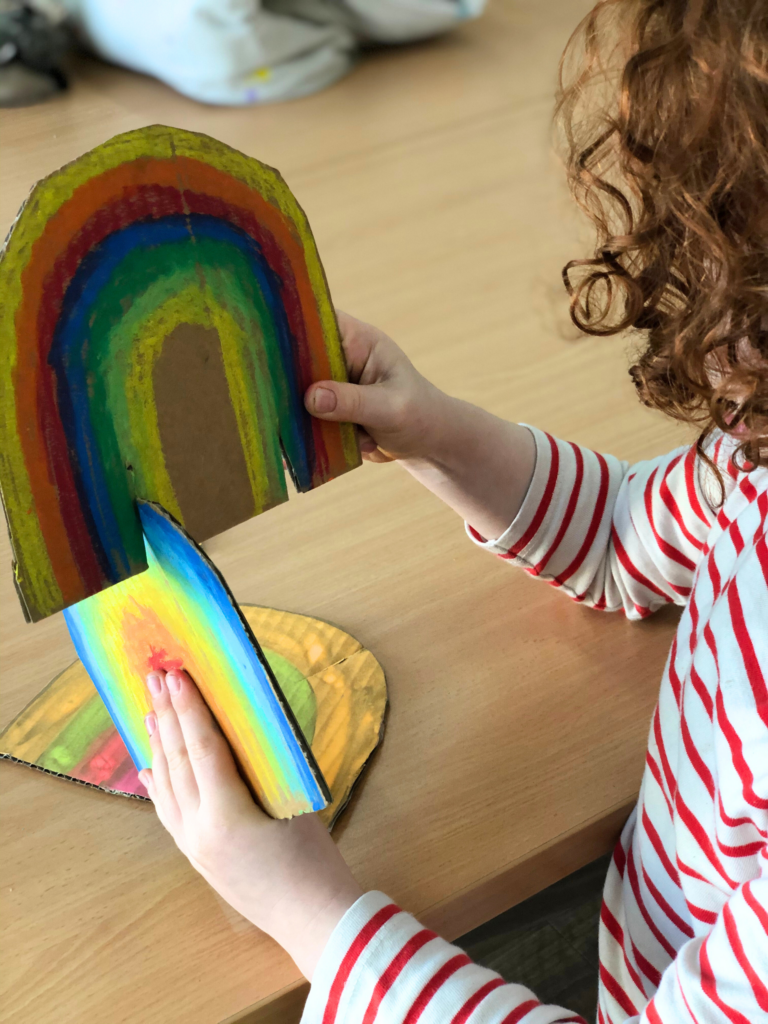
It’s very important that each slot slots into another slot. This is what gives the sculpture its strength. Don’t try to slot it without a second slot or your sculpture will be flimsy and fall apart.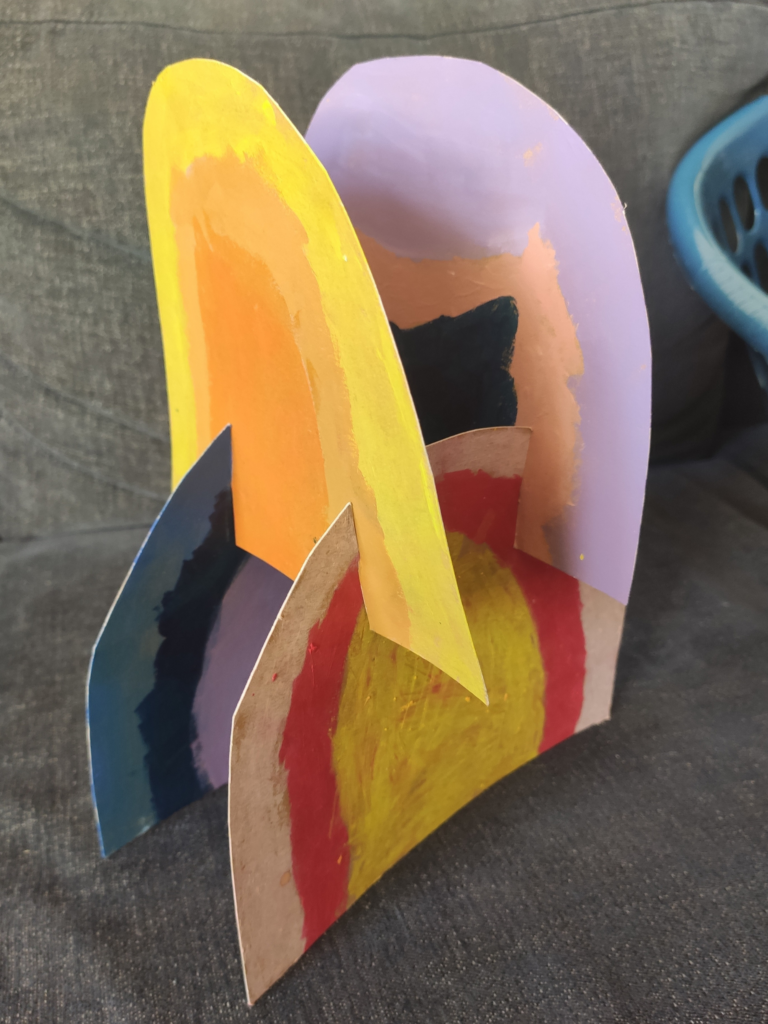
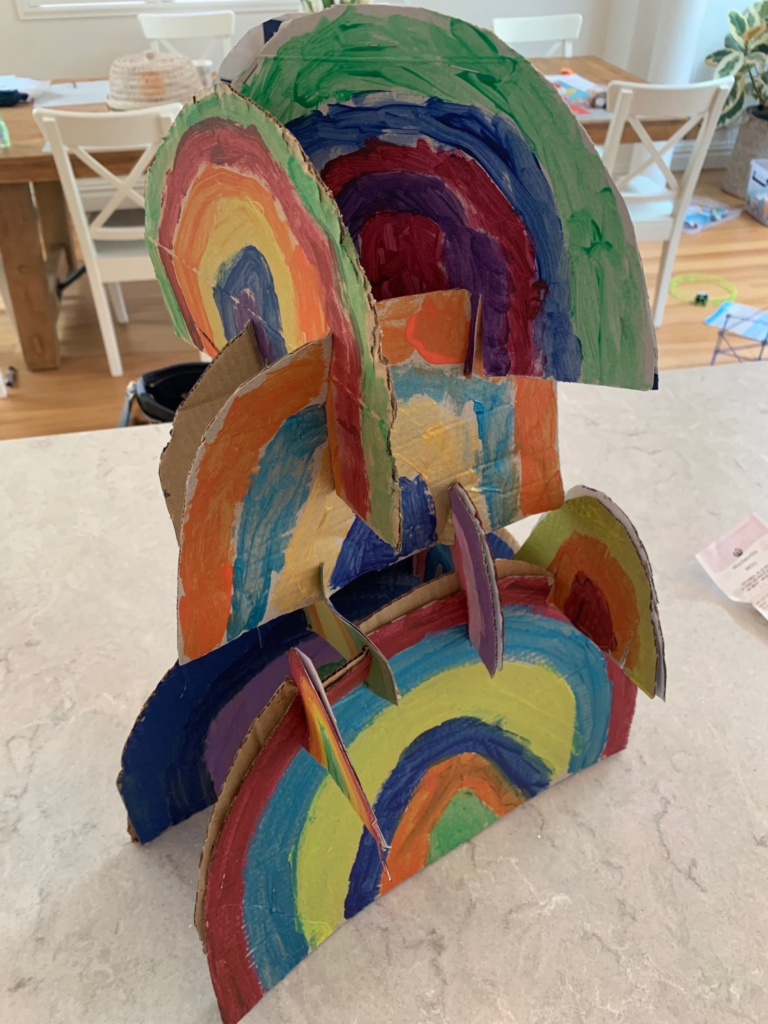
- Get creative.
Continue adding to your sculpture until you think it’s finished. Once you get the hang of building with slotted cardboard you can experiment with different arrangements of slots (different shapes and even making GIANT slotted sculptures)! Personally, I’m itching to do this!
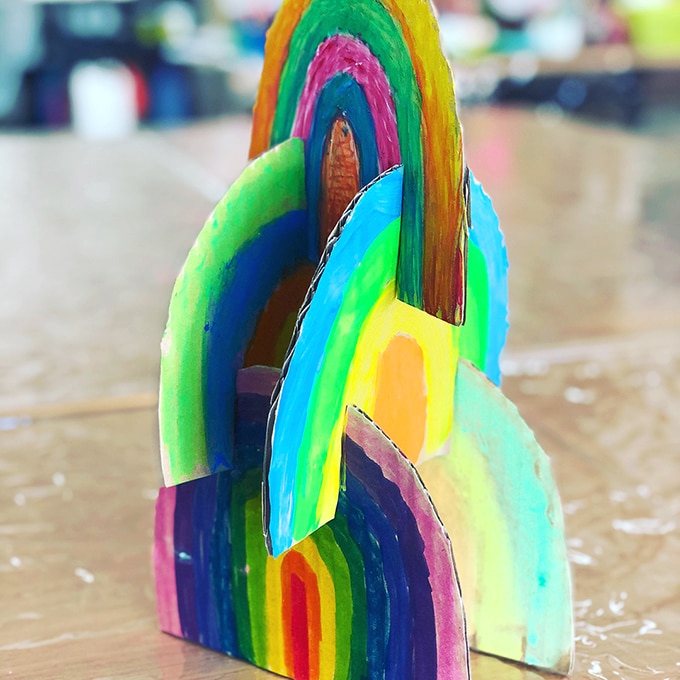
I hope you make your own rainbow cardboard sculpture!
More Sculpture Activities for Kids
- How to Make Colorful Cardboard Tree Sculptures
- Magnetic Cardboard Sculptures
- Build with Cardboard Disc Sculptures
- Recycled Sculptures with Styrofoam
- Toothpick Sculptures Ideas for Kids
- 3D Art & Sculpture page on The Artful Parent
Pin It for Later


