Danielle Falk of Little Ginger Studio shares a simple and effective way for kids to learn how to create their own circular weaving.
Updated January 2023
Weaving with children is a favourite activity in our art studio and we return to it again and again.
There is something so satisfying about this ancient craft and kids just love making something beautiful out of fabric scraps and yarn.
This circular weaving version is about as simplified as you can get and perfect for preschoolers on up! The best part is you can use any old craft materials you have lying around (as long as they’re kind of long and skinny– long and flexible is even better).
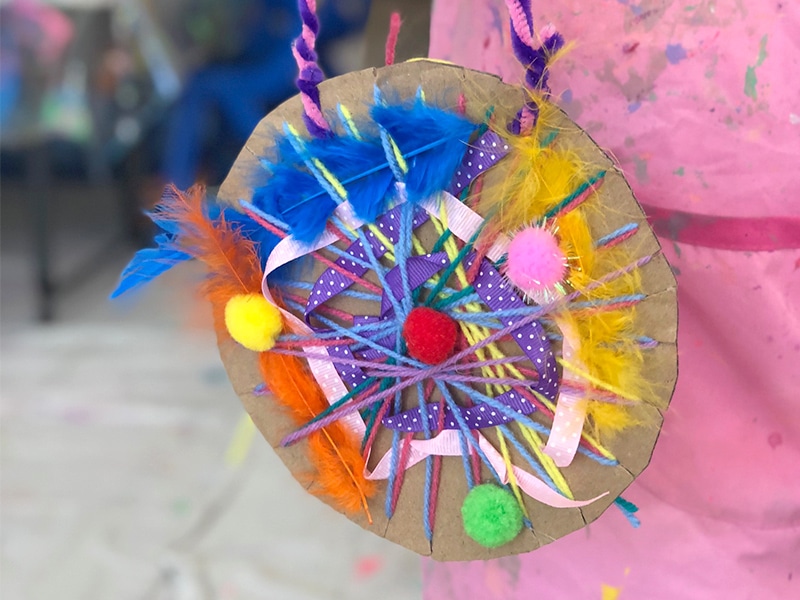
The second great thing is you end up with a ready-made decoration to hang up and admire. I created some Christmassy versions this year for our studio tree.
Circular Weaving for Kids

MATERIALS
- cardboard cut into a circle (whatever size you wish – we did ours about saucer-sized)
- scissors
- pipe cleaners
- material scraps
- feathers
- paper straws
- ribbon
- paper streamers
- yarn
- shiny paper strips
- anything else shiny or pretty that catches your child’s eye!
INSTRUCTIONS
- Prepare the cardboard loom
A cut out cardboard circle will be your loom (weaving apparatus) in this activity. Prepare the loom and carefully cut notches evenly all the way around the circle.
Young children tend to struggle a bit with this step so you might do this step for them. If you choose to let them have a go themselves it is more fun and the end result will be a delightfully wonky kid-made weaving.
And I do believe it’s important to let little ones try to use scissors at every opportunity. It’s such an empowering skill and with supervision, scissors are perfectly safe.
My 4 year old has been using scissors for years and just loves cutting up paper (and then re-attaching it in new configurations). Yes, we did go through a cutting-inappropriate-materials phase (dresses, my linen sheets etc) but thankfully it didn’t last long!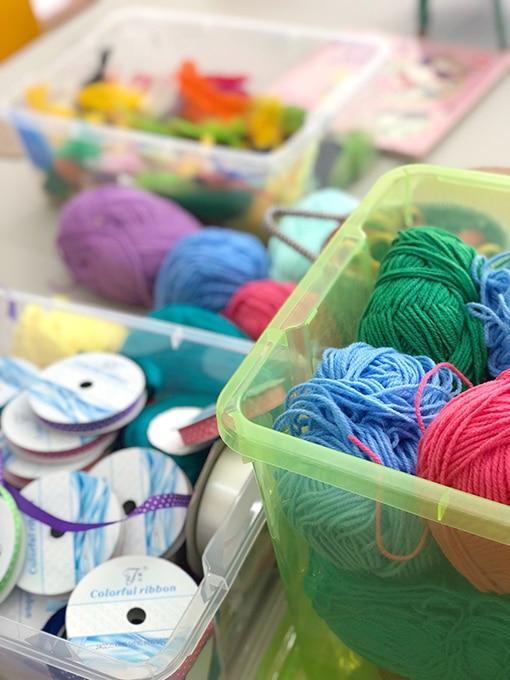
- Add yarn to the loom
Next you need to add yarn (or possibly twine) to the loom. Knot the yarn onto the loom across the middle (with the knot at the back).
Begin by winding the yarn around once, then wind it around again, starting at the next notch over. Continue going until your entire loom is filled like the spokes of a bicycle wheel. Tie off the yarn to finish.
You should now have a starburst shape of yarn on your loom. (In fact, you could just keep adding yarn in this way and different patterns to make pretty decorations.)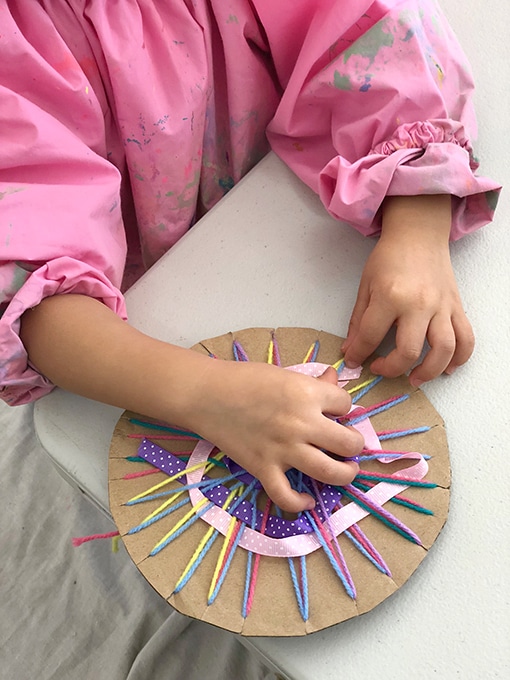
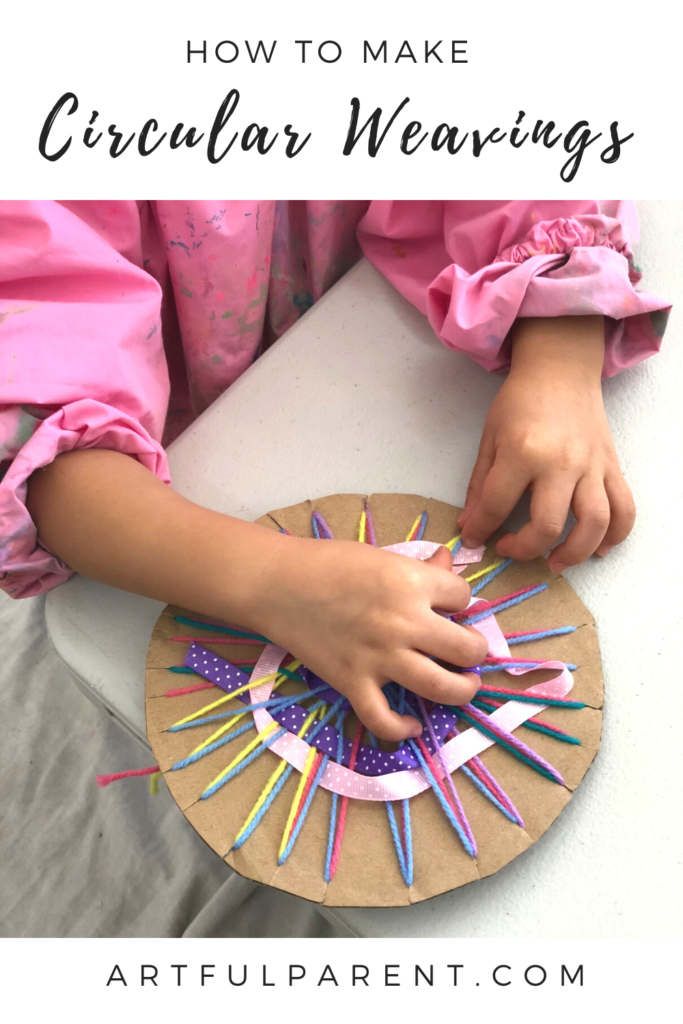
- Weave in the materials!
Now comes the fun bit––your loom is ready for weaving! Although little hands may find it a bit fiddly to weave things over and under, kids usually soon get the hang of it.
Start with the thinner materials such as yarn and ribbon and weave from the centre outwards. Save the thicker materials, such as feathers and streamers, for the edges. (There isn’t really a need to tie off the beginnings and ends of yarn and ribbon as it stays put on its own).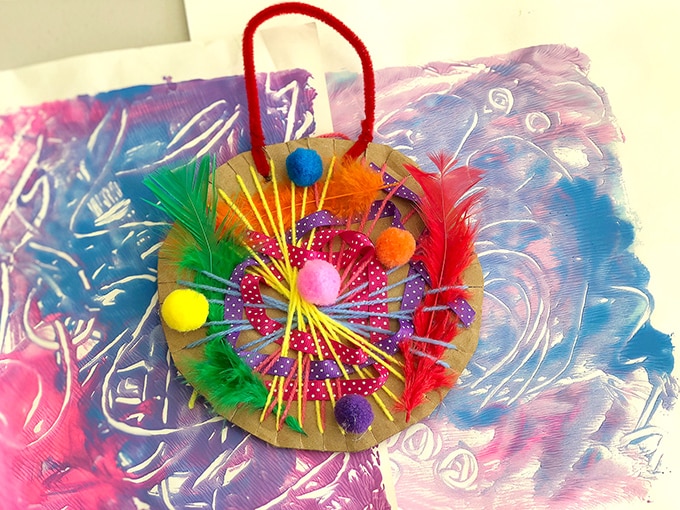
- Finish off the circular weaving
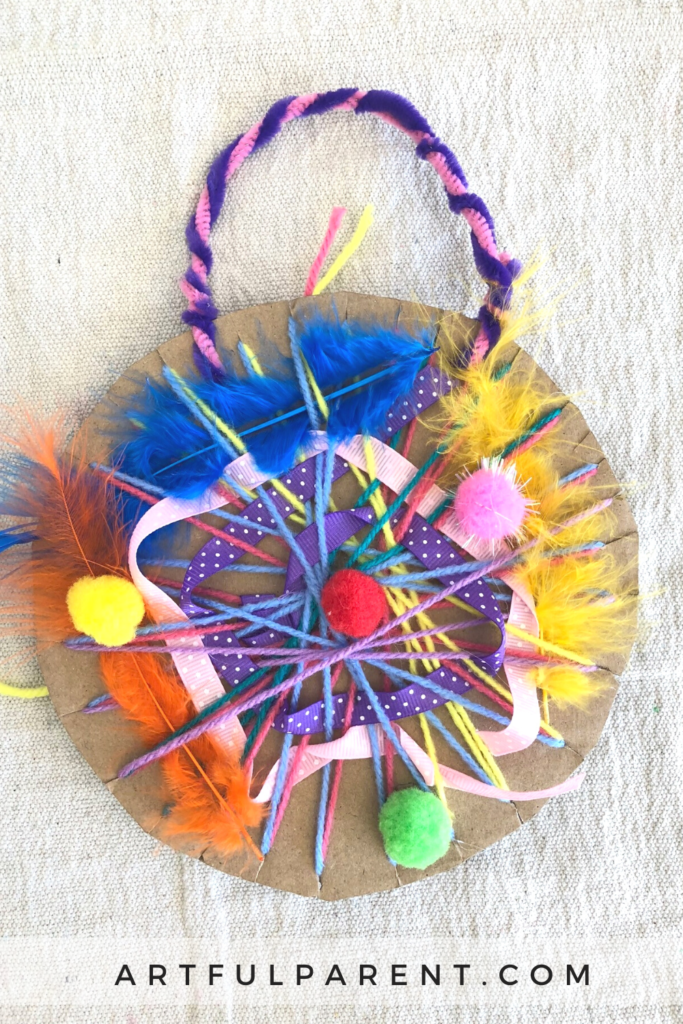
Finally, poke a couple of holes through at the top of your weaving with a sharp pencil and attach a colorful pipe-cleaner for hanging.
You could even embellish this with beads to add another decorative element or hang yarn tassles from the bottom of your weaving.
This is such a fun and simple craft, I hope you give it a try!
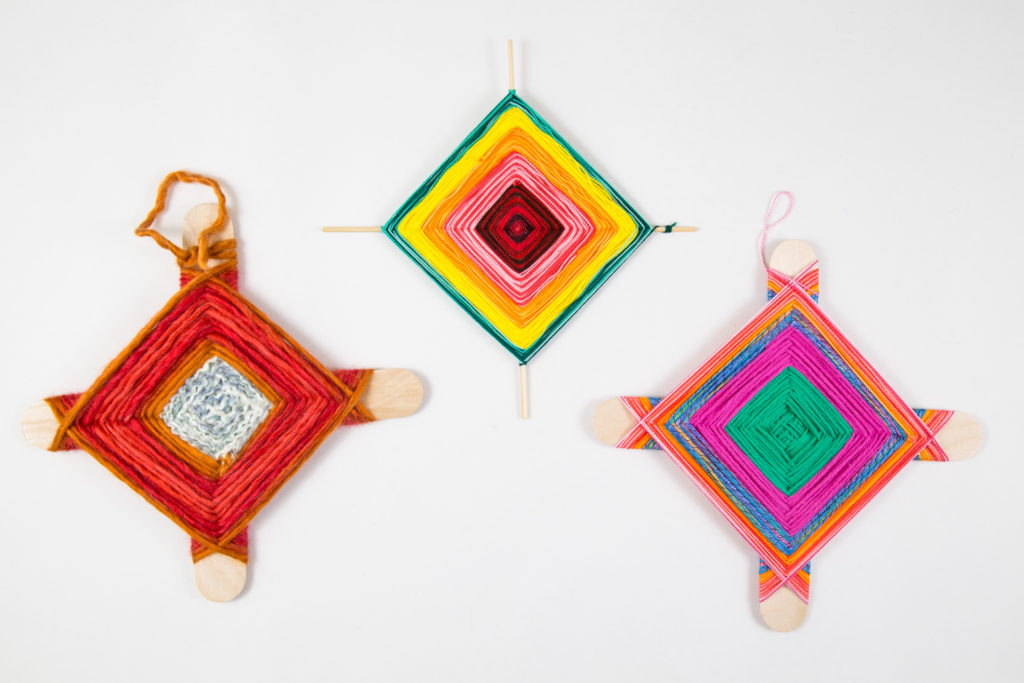
More Textile Art for Kids
- How to Make Cardboard Looms for Kids
- How to Paint Lace for Kids
- Stitching & Beading with Burlap
- How to Make a Wooly Wall Hanging
Pin It For Later

