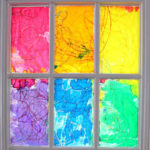
We did a fun new stained glass art project after school yesterday using colored index dividers and Sharpies. Our dining room window is now filled with brightly colored modern stained glass art, sunflowers from Maia’s garden, and the two melted bead stained glass pieces that never popped out of their cookie cutters (they are perfect for our window sill!).
By the way, I’ve decided you can pretty much count on a suncatcher or stained glass post from me about every couple of weeks. I love them that much and my kids seem to like them a lot, too (or maybe they’re just humoring me…).
Here’s how we did it.
Stained Glass Art Project for Kids

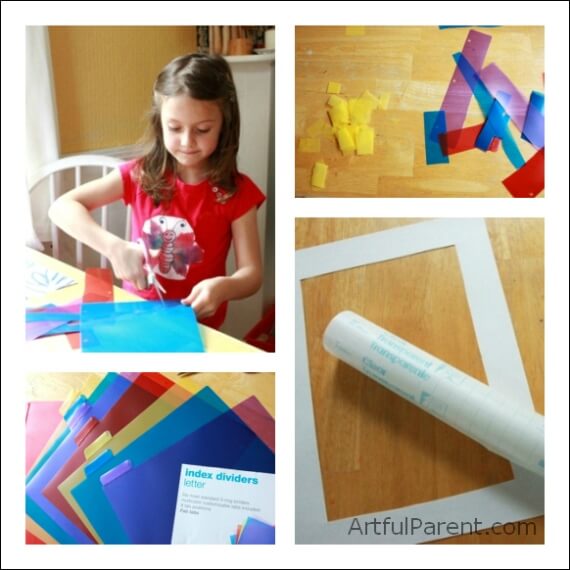
MATERIALS
- Transparent contact paper
- Card stock, tagboard, or heavy paper
- Translucent colored index dividers
- Scissors
- Sharpies or other permanent markers
INSTRUCTIONS
We used a pack of transparent colored index dividers from Target. I think they were $1.99. Last time we made stained glass with colored film, we used a packet from Kmart—but I like this bright color selection better.
To begin, we all cut the index dividers into shapes and small pieces. Maia is a cutting pro, of course, but Daphne held her own as well. I cut narrow strips for her to cut up, though, to make it easier for her.
I decided to make frames for our stained glass art at the beginning this time, rather than at the end. I cut the centers out of several pieces of tagboard then attached pieces of clear contact paper
. We used them sticky side up and they stayed nice and flat while we worked.
This worked so well, that I don’t know why I haven’t done it before. We usually just tape the contact paper down on the table, sticky side up. But it doesn’t always stay in place, and taping it down is an extra step. And then we’re left trying to figure out a way to frame our suncatchers and usually resort to making a border of masking tape around the edge.
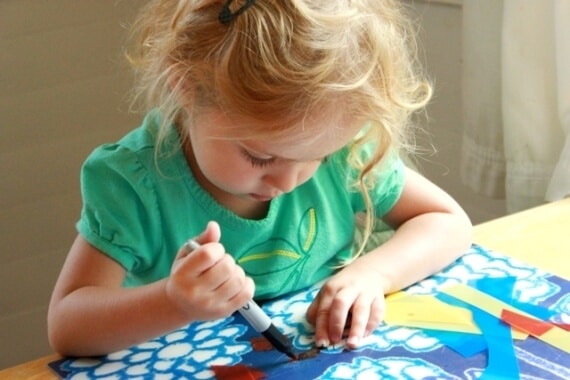
Once our index dividers were cut up into little pieces, we got out our Sharpies and drew on them. See that plastic placemat underneath the Sharpie drawing activity? Very important! In fact, if you have a small child who might be tempted to draw on the table as well just because it’s there (I won’t name names), I would suggest putting down a plastic tablecloth or newspapers.
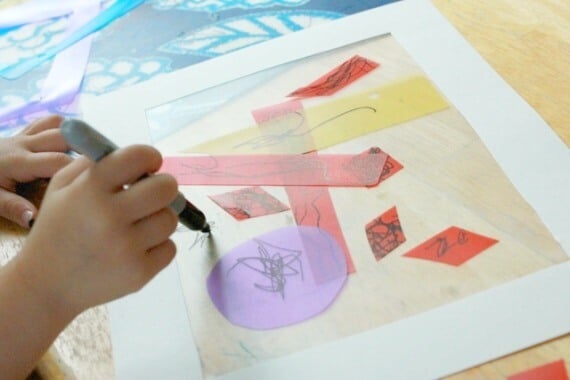
After drawing on our colored film pieces, we positioned them on the sticky side of the contact paper. And here you can see that Daphne decided to add some more Sharpie drawings to her contact paper as well.
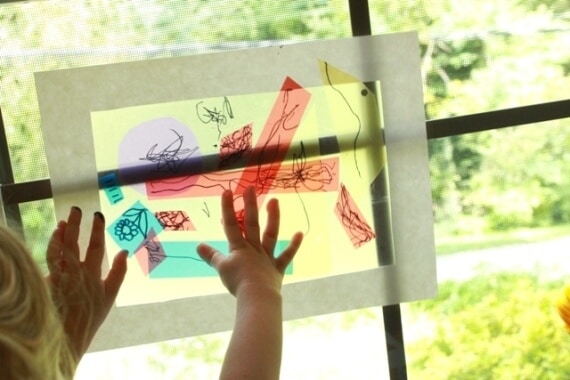
Once she was finished with her stained glass artwork, Daphne held hers up to the window to admire in the sunlight. Beautiful!
Btw, she added a second sheet of contact paper over her stained glass pieces, but Maia and I didn’t. It worked well both ways.
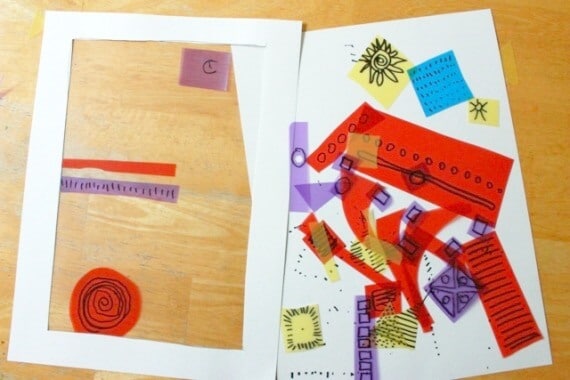
Here’s one of my stained glass pieces in progress.
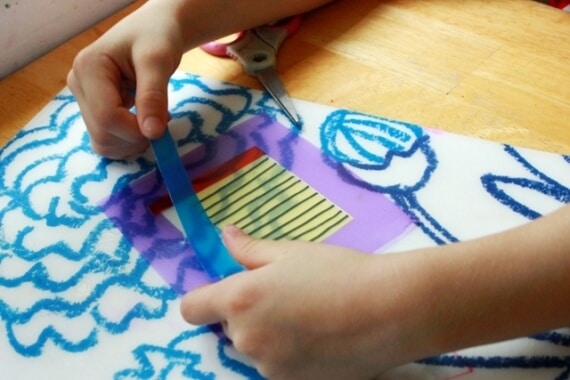
And here’s Maia’s. She decided to make a couple of her frames out of the colored film.
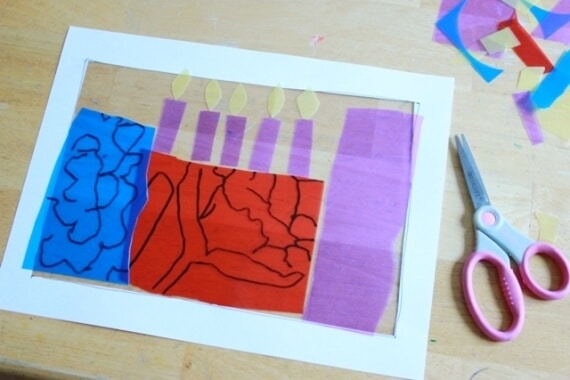
And then she made a birthday cake stained glass with the tagboard frame. See the floral designs she drew? She traced those from her placemat. There are only five candles on that cake, but Maia is turning seven in less than a week! We’re pretty excited around here!
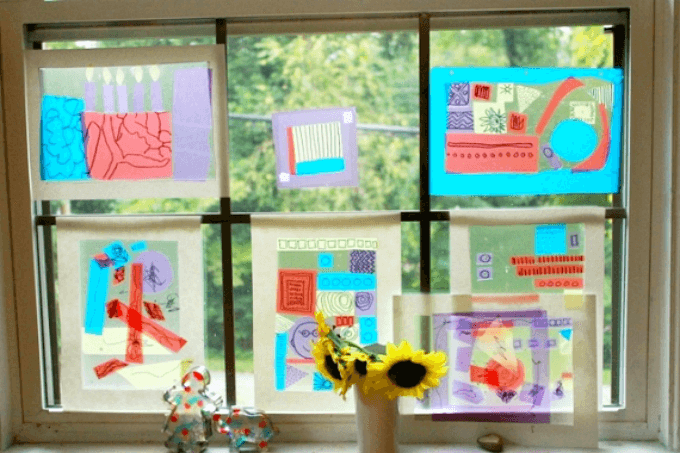
And here is the window as it looks now—filled with colorful stained glass art.
I highly recommend picking up a package of these colored index dividers and giving this project a try with your kids!
Pin It for Later ::
Related Posts
-
How to Make Melted Crayon Stained Glass Art
How to make melted crayon stained glass art with kids using grated crayons and wax…
-
Easy to Make Rainbow Stained Glass Window
DIY rainbow stained glass art project for kids using oil pastels (for a watercolor resist)…
-
Easy to Make Rainbow Stained Glass Window
DIY rainbow stained glass art project for kids using oil pastels (for a watercolor resist)…


