How to make melted crayon stained glass art with kids using grated crayons and wax paper. Add marker drawings on top for an added creative dimension!
Updated May 2022
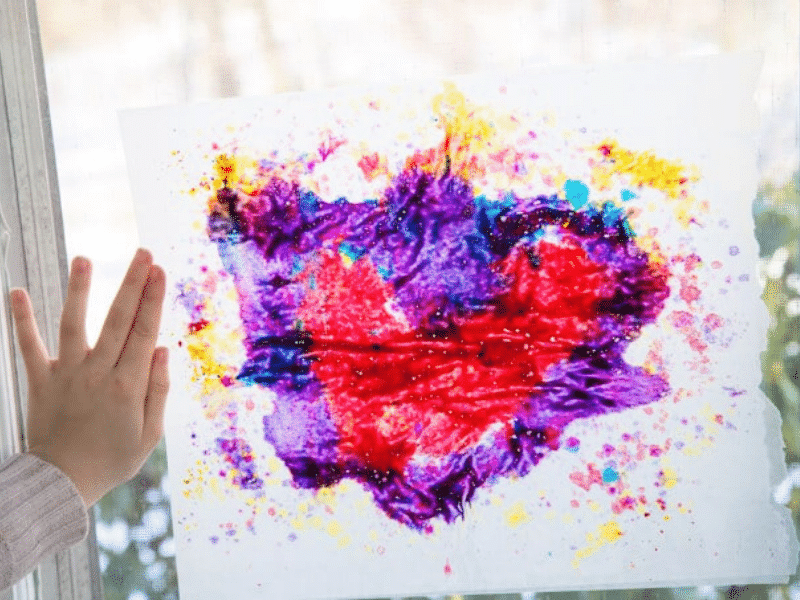
We’ve made melted crayon stained glass before, and cut the sheets of melted crayon art into hearts for Valentine’s Day.
But this time, we left things a little more open ended and the results were so awesome!
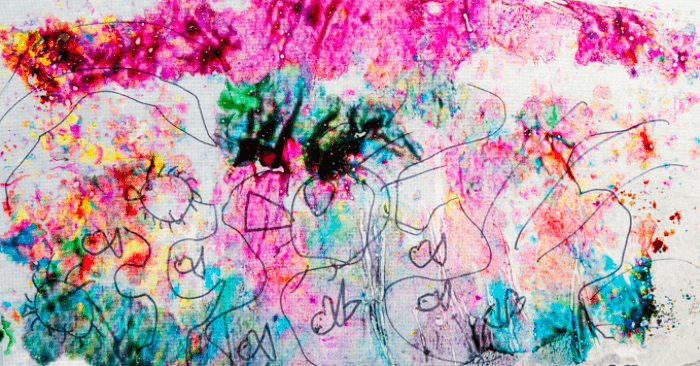
Not only did our kids arrange their crayon shavings painstakingly between the wax paper to create the look they were going for, but they also added marker drawings over the stained glass sheets to complete their artwork.
Melted Crayon Stained Glass Art
 MATERIALS
- Crayons
- Cheese grater (or a pencil sharpener)
- Wax paper
- Iron
- Sharpie markers
INSTRUCTIONS
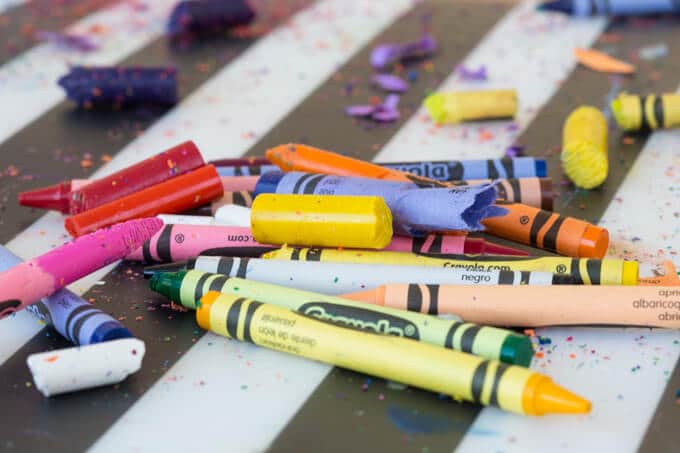
- Gather some crayons
Chunky toddler crayons are awesome because they are quicker and easier to grate. But regular crayons work fine, too. Any crayons you have on hand will do the trick.
- Grate crayons
Grate your crayons on a sturdy cheese grater to produce crayon shavings. Be careful with your fingers!
Note: You can also use a pencil sharpener to make crayon shavings.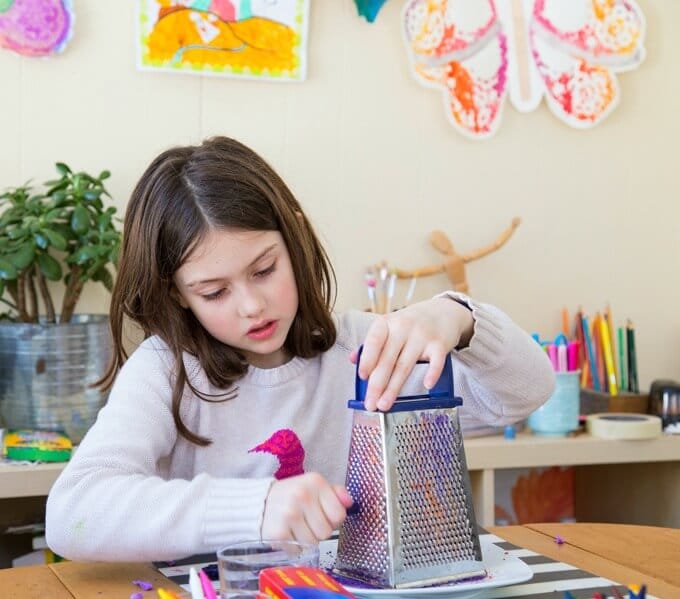
To some of you, this might look like a lot of work and not very fun. But kids LOVE to do this. The crayon grating part of this activity went on for days.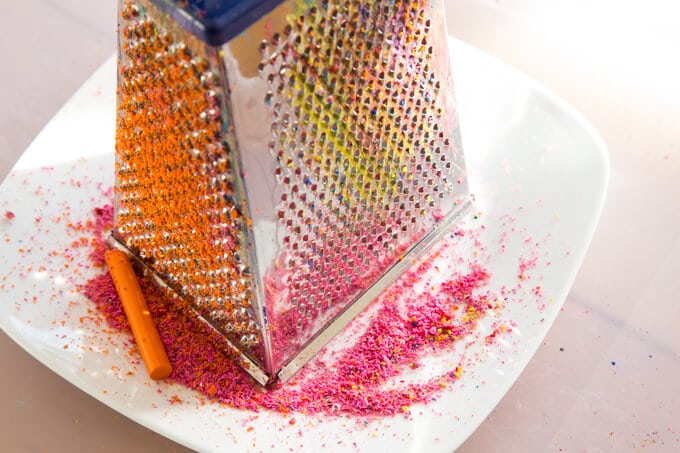
Keep your crayon shavings separated by color in individual dishes or the sections of a muffin tin. - Add crayon shavings to wax paper
Cut or tear a sheet of wax paper and fold it in half to crease the center. Unfold.
Trays come in handy, to contain the crayon shavings and to transport the half-finished artwork to the iron but are not necessary.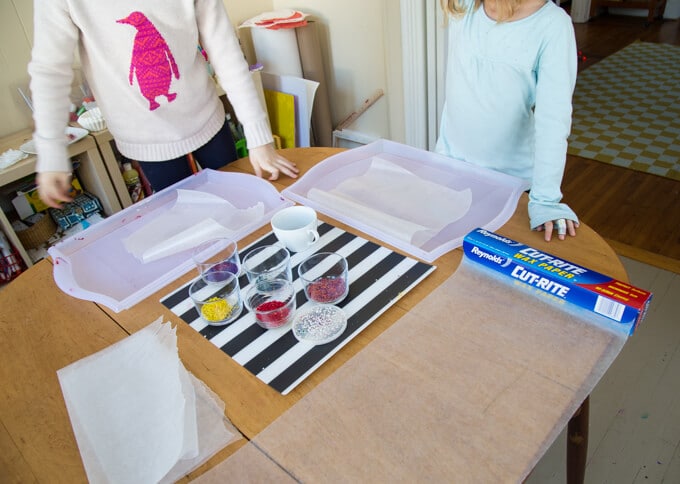
Add crayon shavings to one side of the wax paper in any pattern or design desired.
A small amount will go a long way. Fold the second half of the wax paper back over to sandwich in the crayon shavings.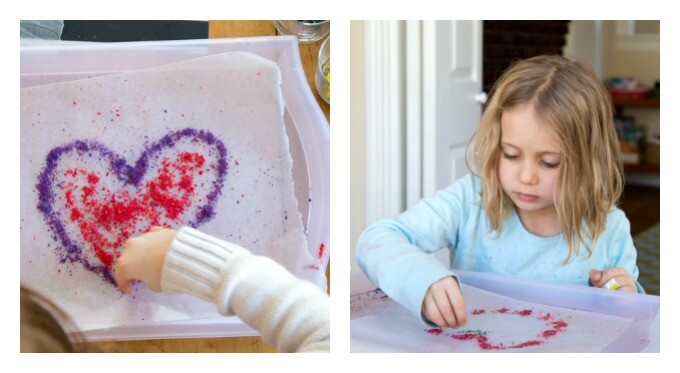
- Melt your crayon shavings
Set the wax paper/crayon shaving sandwich on a piece of newsprint or other paper on your ironing board or surface. Place another piece of paper on top.
The paper is to soak up the oils from the melting crayon.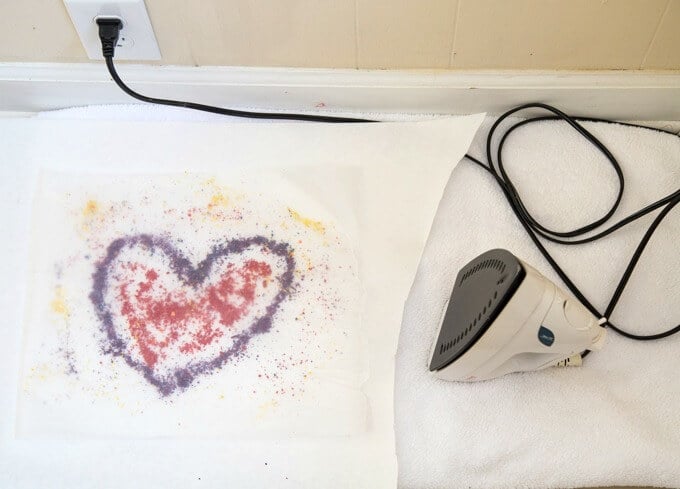
Run the iron over the paper/wax paper/crayon shaving sandwich slowly and evenly to melt the crayon. We use low heat, such as the silk setting.
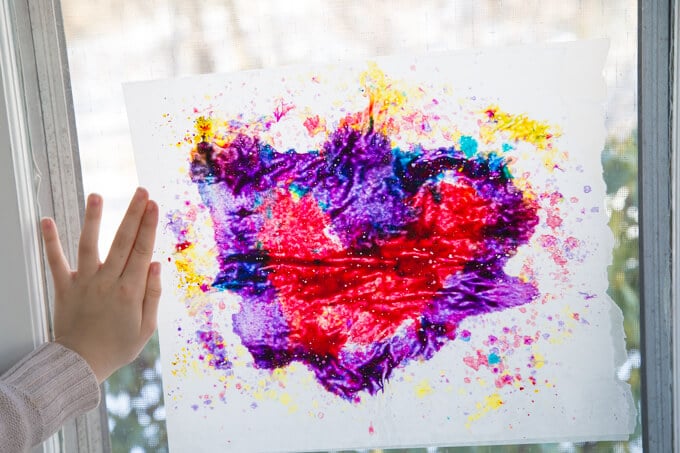
Lift the top paper off to reveal your new melted crayon stained glass.
If you see areas where the crayon shavings haven’t melted, simply put the paper back down and iron over the area some more.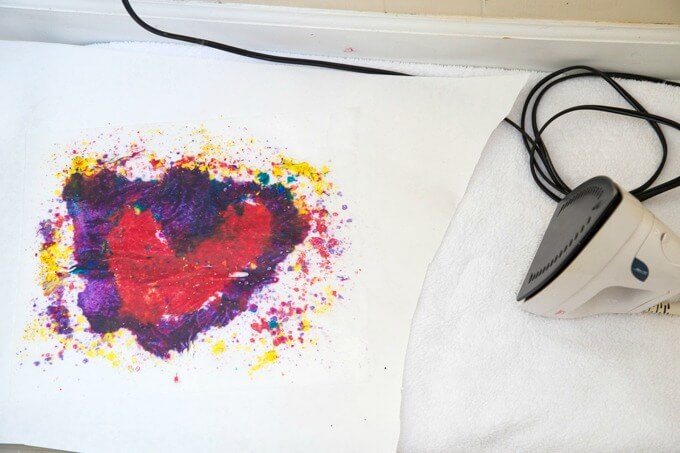
Hold your new artwork up to the light to reveal the stained glass effect. The colors look beautiful with sunlight shining through them!
Optional: Add Drawing Details
If you’d like, you can then use Sharpie markers to add details or images to your stained glass.
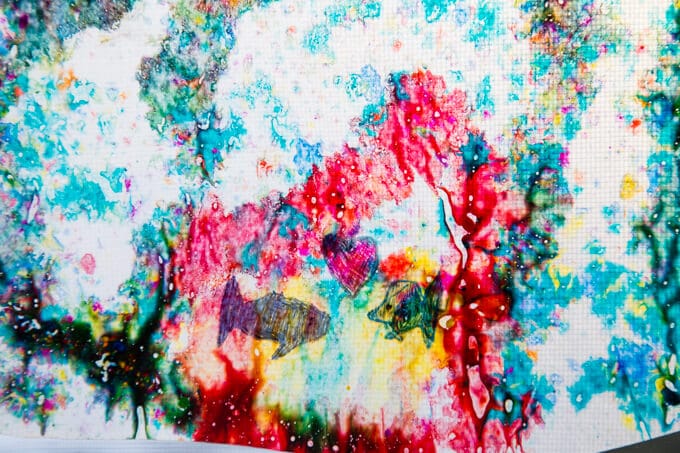
Our kids really enjoyed adding underwater scenes to each of their pieces of stained glass.
We taped our stained glass art directly on the windows, but you could create proper frames for these with construction paper or with a masking tape edge.
If you haven’t done this stained glass activity before, we recommend giving it a try with your kids!
More Stained Glass and Suncatcher Projects
- How to Make a Stained Glass Bunting
- How to Make Tissue Paper Suncatchers
- Melted Crayon Stained Glass Hearts
- How to Make a Flower Suncatcher
- How to Make Faux Stained-Glass Valentines with Black Glue
- How to Make a Suncatcher with Beads
Pin It for Later

