How to make beautiful pulled string art by combining mirror-image string blottos with a pulling technique. Try on a small or large scale and with 1 or more colors.
We have tried quite a variety of art activities using string and yarn in the past, but never pulled string art before now.
It’s amazingly mesmerizing and addictive!
Update: Here’s a video showing pulled string art in action…
Daphne and I were at it for much of a morning, making artwork after artwork and exclaiming over each new pair that we revealed.
We’ve made mirror image string prints in the past, and this is similar, but takes the idea to a whole new level.
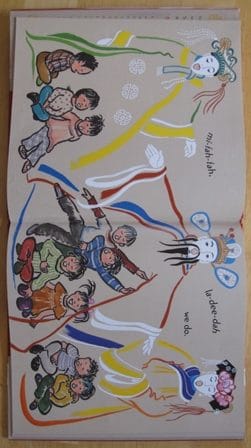
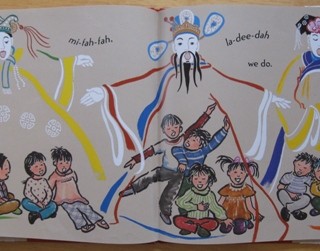
The idea came from an old kids’ art activity book that a friend found at a thrift store and bought for me.
The book, A Handbook of Arts and Crafts, is originally from 1968 and is written by Phillip R. Wigg and Jean Hasselschwert.
I’ve been having so much fun going through the pages and marking activities I want to try with my kids. Many are tried-and-true favorites (monoprinting and styrofoam printing), but many are new to me or are variations that have me excited to try (tempera resist and colored tissue transparent discs).
We’ve tried a stained glass craft so far and now the pulled string painting.
Here’s how to do the string art…
How to Do Pulled String Art
MATERIALS
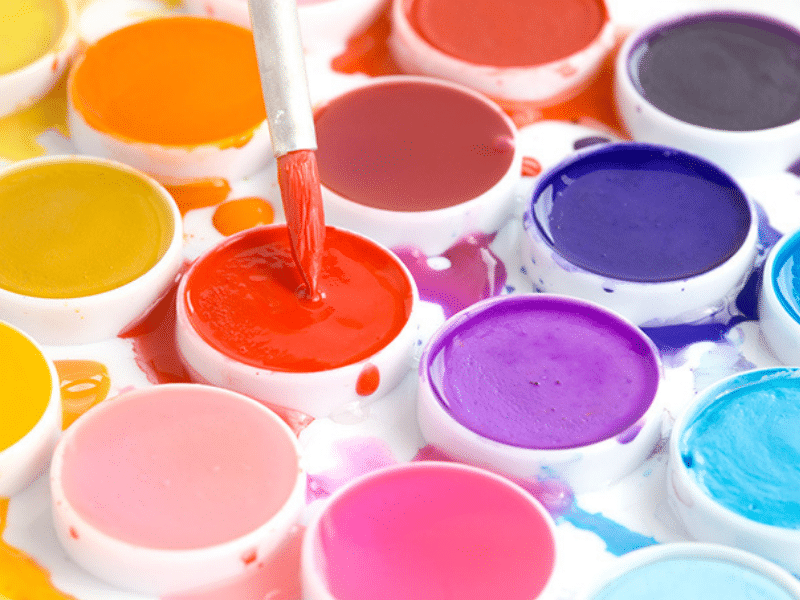
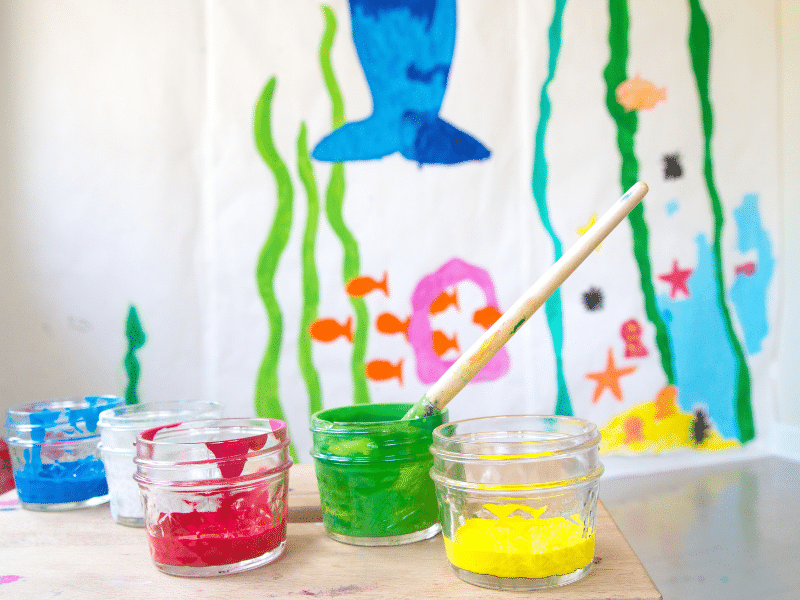
- Paint in a small bowl (We used BioColor paint, but tempera paint would work, too)
- String or yarn
- Paper
INSTRUCTIONS
- Coat string in paint
First, cut a piece of string (ours were between 12 and 18 inches) and add it to the bowl of paint. Use a spoon or your finger to stir it around, covering the string in paint. Then lift the string out of the paint, running your thumb and forefinger along the length of the string to remove excess paint (make sure to do this part; it makes a big difference).
Note: In case you’re wondering, the art mats you see pictured here are from this set of 6 Keep-It-Clean Plastic Art Mats. - 
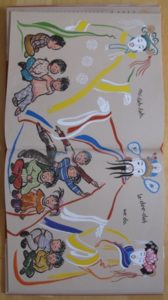
Arrange paint-covered string on paper
Next, arrange your paint-covered string on a sheet of paper with one end of the string reaching off the edge.
At this point you will probably want to wash the paint off your hands. We kept a bowl of warm soapy water and a cloth rag in the studio for washing hands in between steps. - 
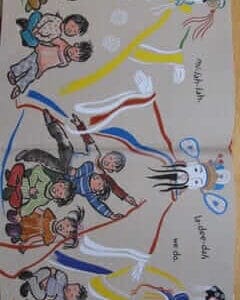
Cover with second piece of paper
Now set a second sheet of paper over the paint-covered string and then place a flat weight of some sort over the paper (A book or box or something would work. We used one of our art trays, which is not strictly a weight, but placed our hands on top of it to hold it down.)
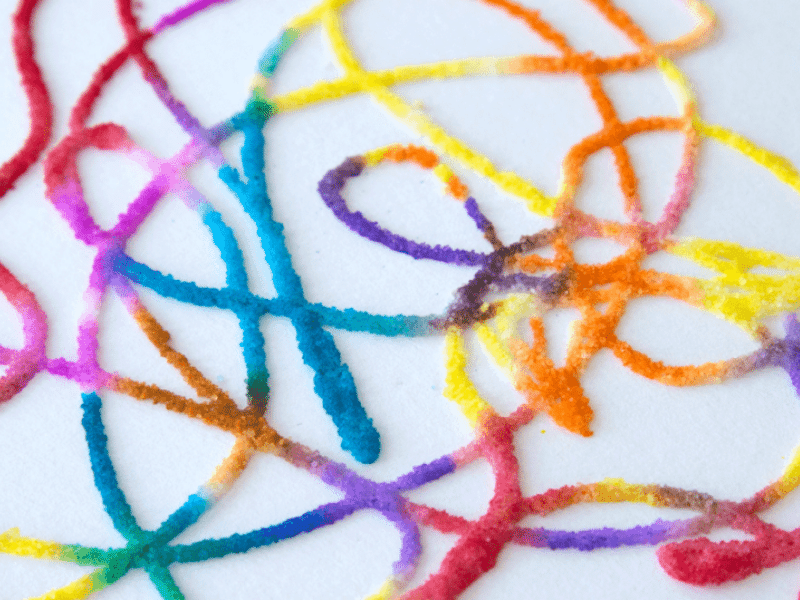
- Pull string out
…and then slowly pull the string out from between the two sheets of paper.
- Reveal string art
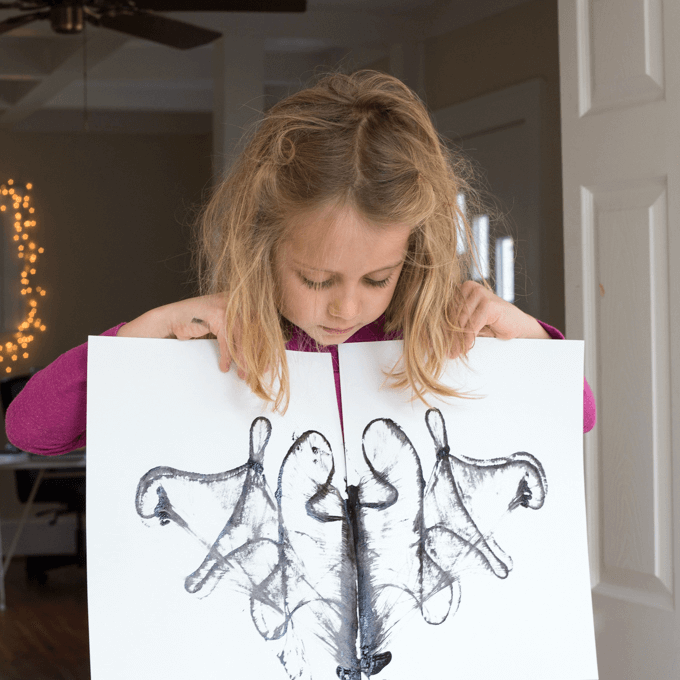
Remove the weight and lift the top paper to reveal your new mirror-image string art!
Admire the super cool designs and details the string made as it was pulled between the two pieces of paper.
Daphne and I exclaimed over each new string print as we made them and soon our floor was covered with the drying string art.
I hung them all up on our art display/drying wall (and then we covered the floor with even more).
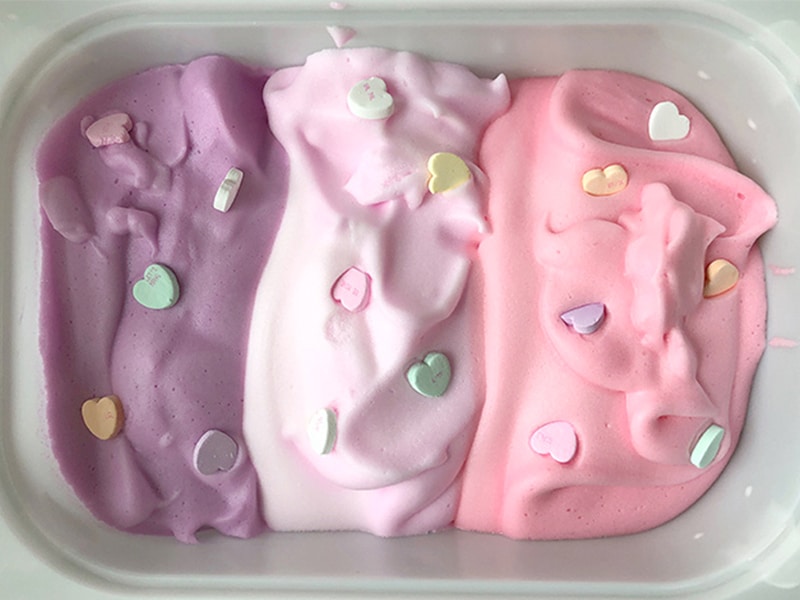
Finally, Daphne asked if we could make a really big one, so we got out two pieces of poster board and cut longer lengths of string. We decided to use a couple of different paint colors on the large string art.
The large artworks turned out beautifully!! Here Daphne’s pointing out a detail that she said looks like a knot in the string.
I love how the string art looks with two colors! And look forward to experimenting more with this super cool art process.
I highly recommend giving this art activity a try!
More String Art Activities for Kids
- Yarn Paintings – A Fun & Tactile Art Activity for Kids
- Yarn Painting and Printing with Liquid Watercolors
- Mirror Image String Prints with the Toddler Art Group
- Yarn Painting on Canvas
Pin It for Later
26 Comments
Nilufer
March 11, 2016 at 10:47 pmI recommend to use different colors on one string. For example one third red, one third yellow, one third blue! The result is awesome :)
Jean Van't Hul
March 14, 2016 at 5:33 amOoh!! Yes! I want to try that now. Thank you!!
MaryAnn Kohl, children's art author
March 14, 2016 at 12:27 pmI thought you were going to say this came from my book, Scribble Art! LOL! It’s an *old* activity book — I still love it. I learned to do this when I taught kindergarten in 1971. The good ol’ days of what we called “individualized teaching” … taking a child from wherever they were to wherever they could go. It worked too. Testing was not a big deal then.
Your string paintings are fantastic!
Jean Van't Hul
March 14, 2016 at 6:12 pmOh! Well. Ha, MaryAnn! I’ll have to take another look-see through Scribble Art. :) I love that book!
Morgan
March 14, 2016 at 1:43 pmAnother way to do it is to use a large paper that you fold in half. Put the painty string on just one half, fold the page over it, hold down the page with one hand and gently pull the painty string out with the other hand.
So much fun….however you do it!
Jean Van't Hul
March 14, 2016 at 6:12 pmYes!
Maren
March 18, 2016 at 6:38 amBeautiful!! Have read about this art before but have not yet tried it – looking at your work (s) I will definitely catch up on that!
Love it,
Maren
Genevieve
May 2, 2016 at 10:55 amHi Jean… I don’t have kids, but I am a mixed media artist, which basically means I have never seen an art form I didn’t want to adopt. Looking forward to trying this out in my own art!
Dineke
May 6, 2016 at 1:58 pmMy daughter is almost two years old. She has a nice hardcover sketchbook that we use for our experiments. Everytime we try a new technique on paper we also do a page in her book. This makes a beautiful keepsake. This morning we tried the pulled string technique. We simply placed a string between two pages and then closed the book. We used three different colors and let the paint dry a bit after each color. This really is my favorite page in the book so far, what a fun and beautiful technique! Thanks for sharing.
Larago
July 1, 2016 at 10:31 pmI’ve done this before and had the kids turn the paper and observe what it reminds them of (kind of like looking at clouds for identifiable shapes). After that, they use a variety of media – pastels, crayons, colored pencils, etc – to add details to bring out what they saw.
Jean Van't Hul
July 4, 2016 at 5:53 amLove that extension idea, Larago!
Cheryl Meehan
August 29, 2016 at 6:01 pmThanks for explaining it so well. I’m going to do this with all of my students!
Jean Van't Hul
September 16, 2016 at 4:41 pmYou’re so welcome, Cheryl! I hope you and your students enjoy the activity!
Marge
December 22, 2016 at 5:28 pmDo you think this work work on white fabric? Maybe starched first. I love the look of this technique.
Jean Van't Hul
December 30, 2016 at 6:11 amI haven’t tried this with fabric, Marge, but I *think* it would work if you could keep the fabric still. Starched does sound like the best bet. It’s worth experimenting with!
Petunia53
May 17, 2018 at 1:14 pmI saw someone lay the painted string on top of one leg of a pair of jeans and then fold the other leg of the jeans on top of it lengthwise, then she put a book on top of that, held it down and then pulled the string. Same cool effect!!
Amanda
May 19, 2018 at 3:58 amThey used ink for the jeans so it won’t wash out.
florence
February 9, 2018 at 8:18 amI tried this for symmetry painting, when I taught the life cycle of the butterfly.
1. Fold the paper in half
2. Put the coloured string between the pages.
3. Draw and cut out the butterfly.
Kathryn Tewes
May 16, 2018 at 9:30 pmGayle Handevidt More
Kathryn Tewes
May 16, 2018 at 9:33 pmGayle Handevidt More
This is a “no fail” really successful activity. I did them every year with my kindergarten classes. I used watered down black tempera paint on 12×18″ white construction paper. They are so beautiful!
Lynné
May 23, 2018 at 7:37 pmWe tried this string art today at a seniors care home! It was so rewarding to see the different effects that each person achieved. We plan on doing more sessions with these residents!
Lynné and Tracey
Tricia
May 27, 2018 at 9:10 pmThank you for this!! My husband and I did it between two canvases tonight and it looks amazing. I can’t wait to hang them.
Krisztina
June 4, 2018 at 5:34 amWow, beautiful! I’m collecting ideas to try with the kids during the summer break, and this looks perfect :) Thanks!
Carol
June 6, 2018 at 10:03 amI love this and am a great Gramma that loves trying new things, never too late! I never had the opportunity to do this and HOW did you make the box with the lights? I think that is totally awesome…….
Hilary
June 6, 2018 at 11:33 amWhat is the best kind of string to use please?
Katherine
December 15, 2018 at 7:09 pmI don’t think there is a “wrong” kind of string to use, but when I tried this I used yarn and it came out beautifully.