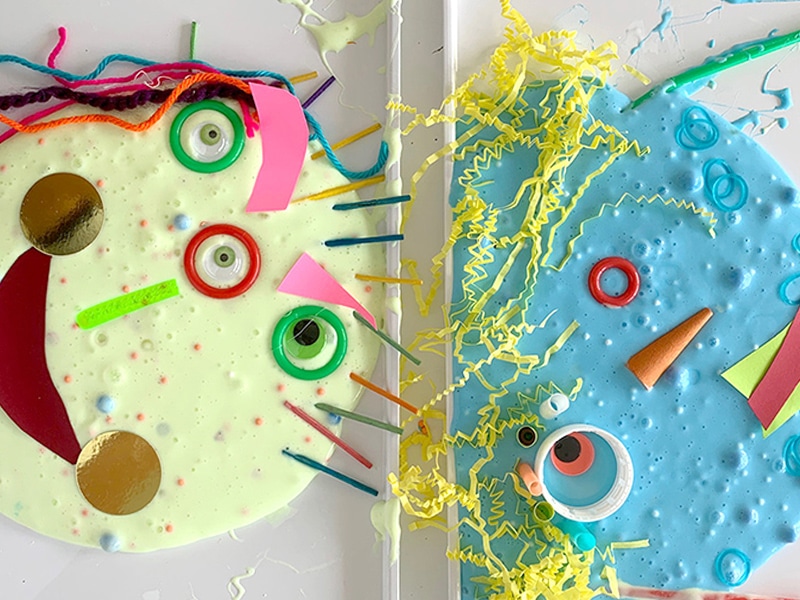
Create your very own slime creations for kids with loose parts. These slime ideas are sure to be a crowd pleaser!
Updated January 2023
I know many of you may be thinking after reading the title to this post: “Slime? Heck no! I hate slime! There’s no way we are making slime again!”
It’s a kind of love/hate relationship for many. And hey, I get you– I’ve been there!
My kids had the slime fever about a year ago and it was intense (and I mean more like INTENSE).
But I promise this is a really fun process art activity! As long as you are prepared, it doesn’t have to be messy (or end up in your carpet, sofa, sheets or clothing)!
And slime is great because you don’t need a lot of materials to make it happen.
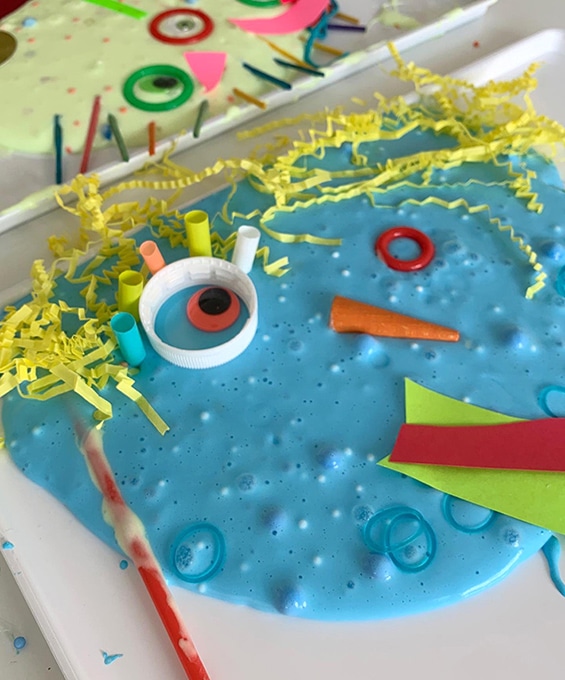
I love pairing materials with loose parts of all kinds, because the possibilities are so endless and open-ended.
Each time that I present an invitation to create that includes loose parts, the results are so mesmerizing.
Found objects that may seem like “trash” for some can have the most wonderful elements of play and creativity for children.
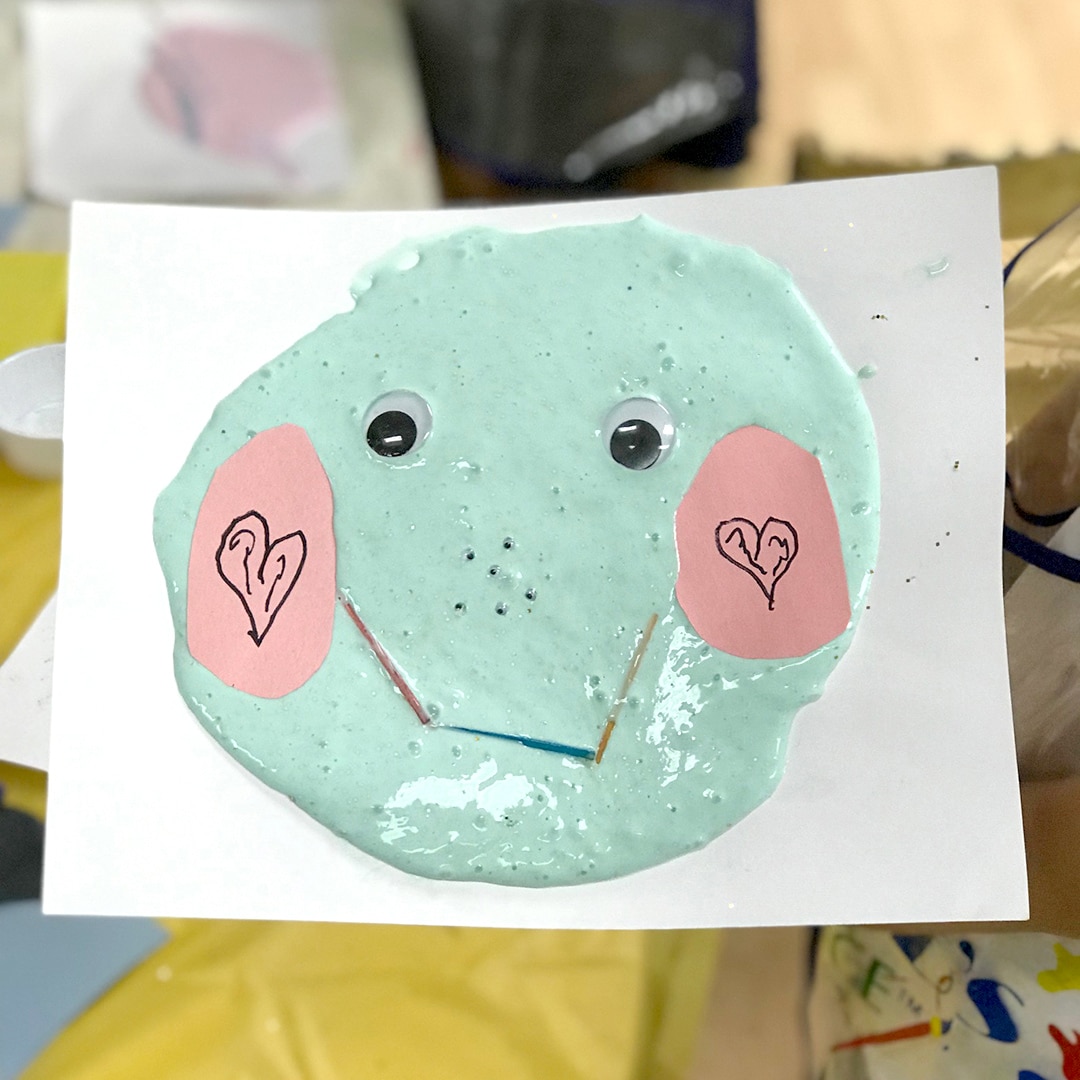
Slime Ideas for Kids
MATERIALS
For the Slime:
- Bowl
- Spoon
- Food Coloring or Liquid Watercolors (for color)
- 1 tsp of Baking Soda
- 1 Cup of Glue
- 1 tsp of body lotion
- Contact lens cleaning solution
For the creatures:
- Slime
- Tray
- Precut pieces of colored paper
- Scissors
- Loose parts such as: googly eyes, rings, sticks, screws, shredded paper, wood bits, lids, precut straws, beads, etc.
INSTRUCTIONS
- Mix ingredients together
Set out the supplies for the slime. I place a bowl on top of a tray (to contain any mess) and a spoon.
– Begin by adding the glue, baking soda and the lotion. Mix well.
– Add a few drops of color (liquid watercolors or food coloring) and keep mixing.
– Finally, squirt in the contact lens solution little by little. Then continue mixing until the desired consistency is reached.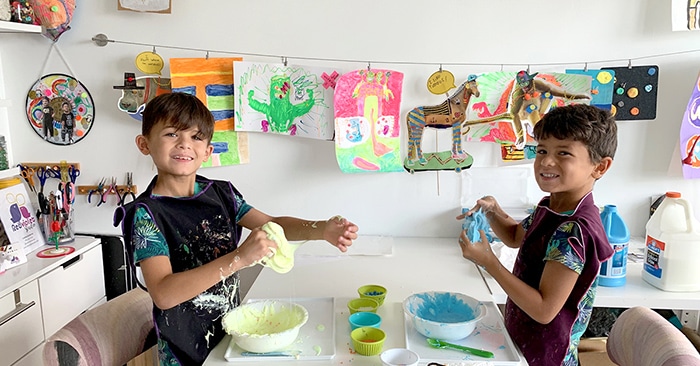
- Stretch the slime!
Ask your kids to take the slime with their hands, stretch it and knead it well.
Pro tip: In order to keep the slime contained, it is key to always keep the tray under the slime!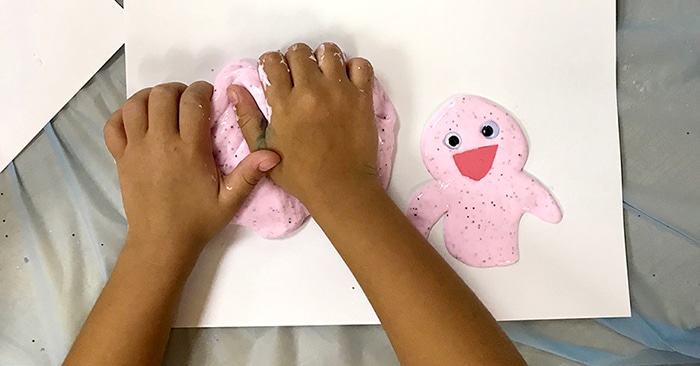
- Create some slime creations
Once the slime is all nice and stretchy, set out your loose parts buffet. Make sure each kid has a plastic tray in front of them to create their creatures on.
Before the kids start making their slime creations it’s fun to talk about magic creatures. Or you might pair this activity with a book about monsters to get them inspired.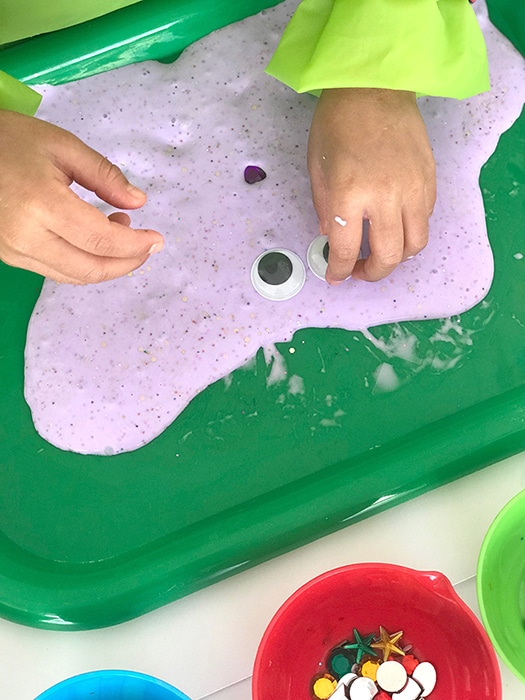
In my case I started by asking them, “what do you think a magic creature looks like?”
Many of the kids said that magic creatures should have horns, multiple eyes, long legs, crazy curly hair and big mouths.
There are so many great ideas that come from these conversations and get the kids pumped to get to work. - Add colored paper shapes
Now remind the kids that in addition to the loose parts, there is colored paper and scissors to make shapes and add to their creatures.
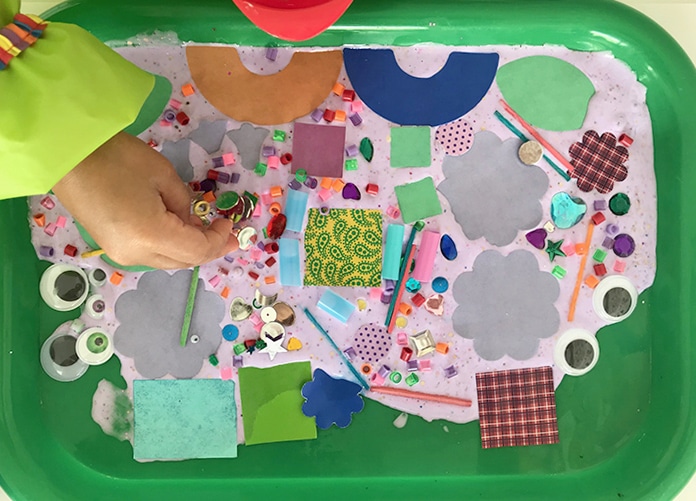
I loved watching their busy little hands, and their joy being able to use the slime as a “canvas” to create. As we went, I reminded the kids that this project was entirely about the process. In the end we took pictures of our creatures and then put the slime in a Ziploc bag for future use.
Surprisingly they were fine with this and it didn’t stop them from making u0026 remaking as many kinds of creatures as they could.
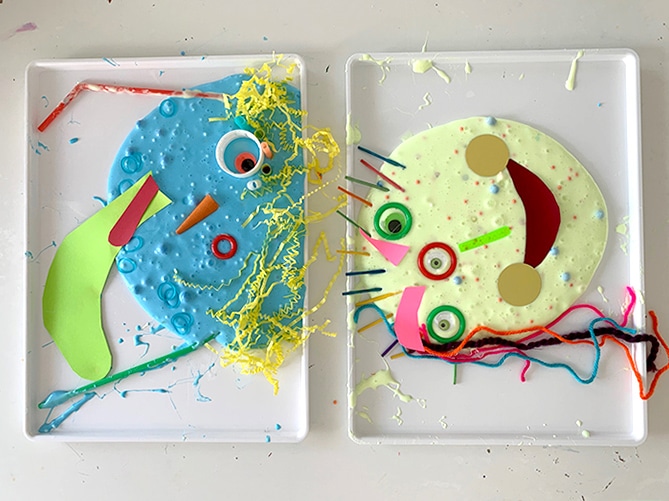
I really hope you give this a try! I promise you it will be a fun way to experiment with slime in a different and creative way.
More Slime for Kids
Pin It For Later
Related Posts
-
A Fun Winter Painting Idea for Kids
How to paint snow using wax resist, watercolors, and salt. This is an easy and…
-
A Fun Winter Painting Idea for Kids
How to paint snow using wax resist, watercolors, and salt. This is an easy and…
-
How to Set Up a Dramatic Play Bakery with Playdough
We love to use playdough as part of a dramatic play bakery. Learn some simple…

