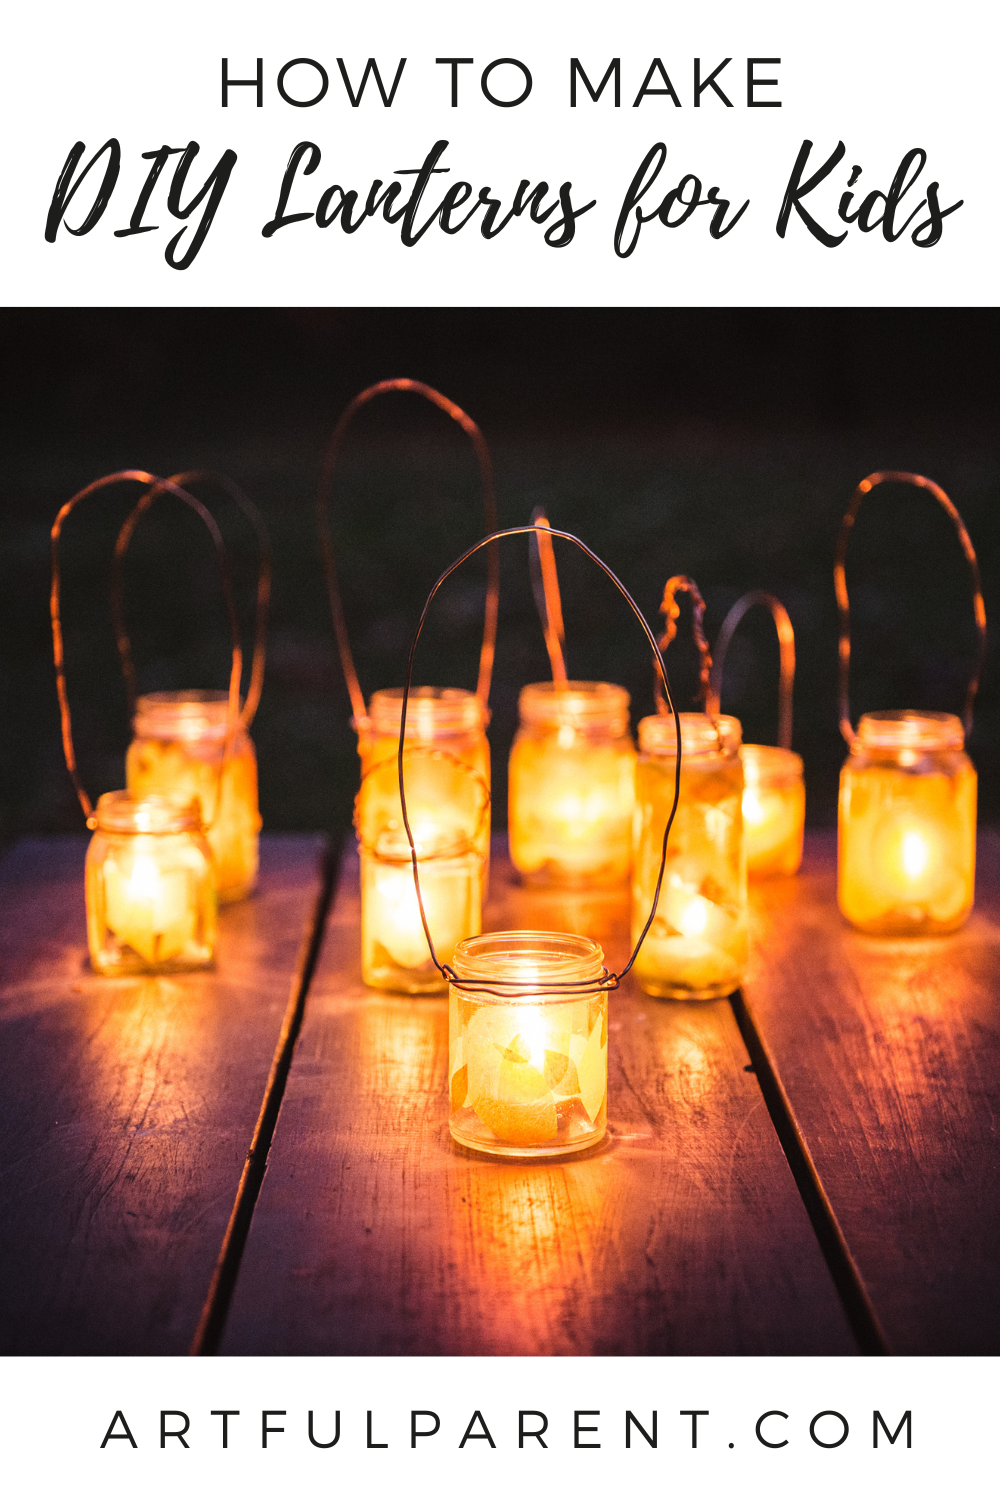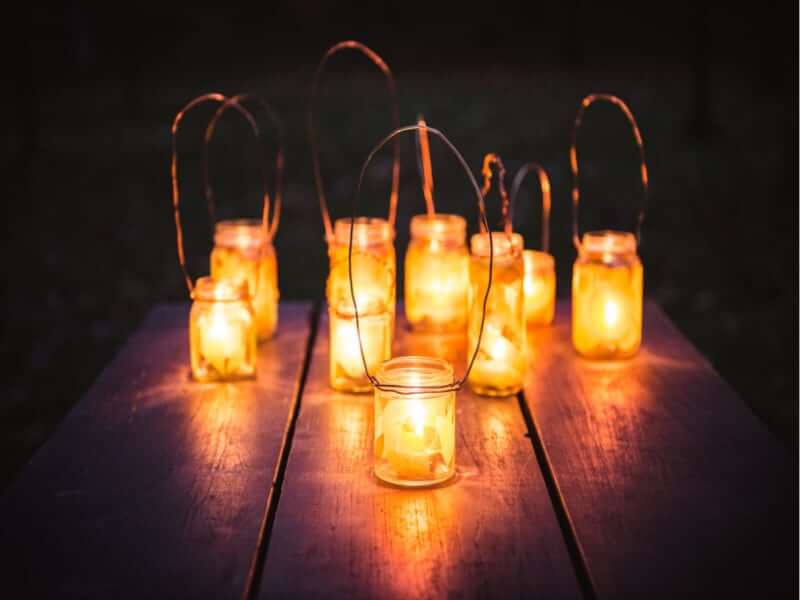
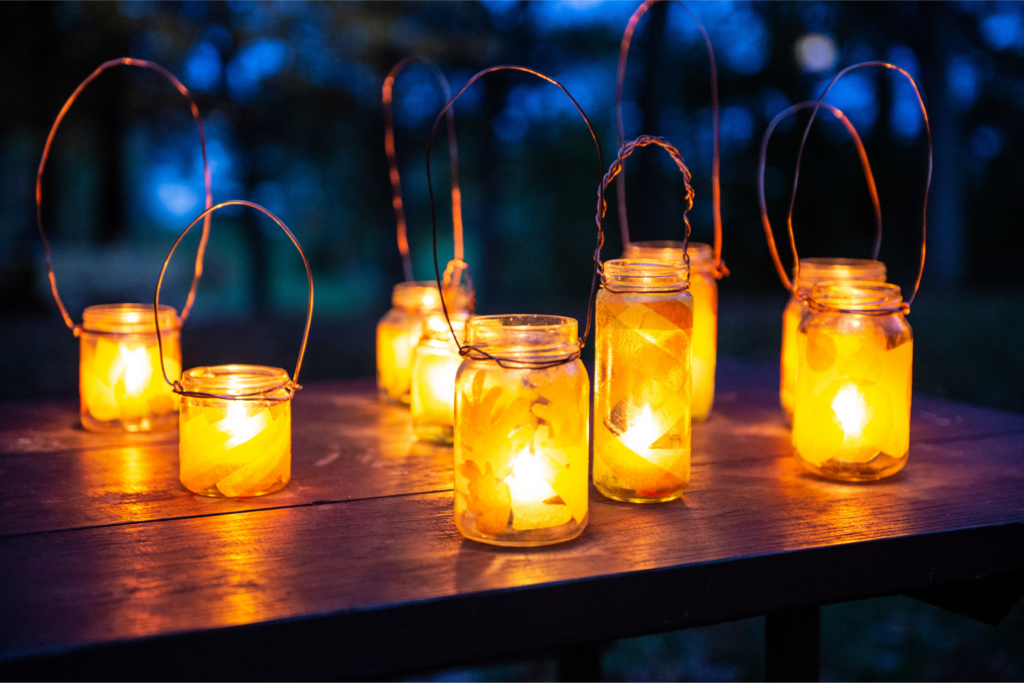
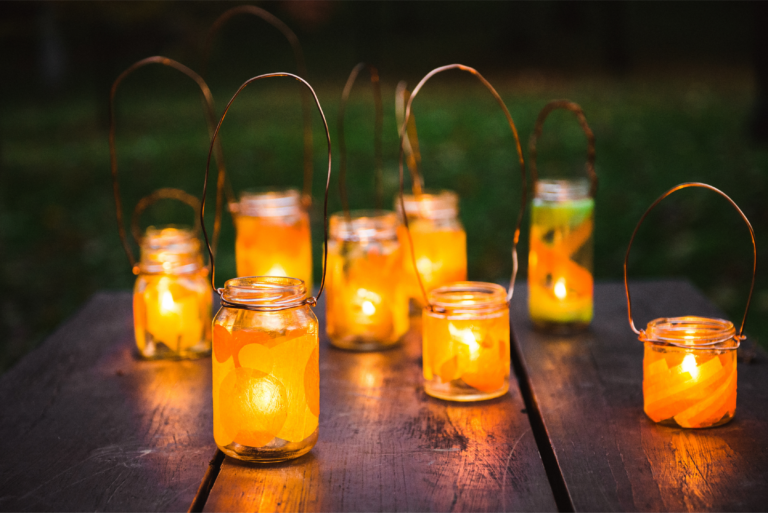
Use glass jars to create beautiful hanging DIY lanterns with this easy tutorial. Then go on a candlelit nature walk! Project and post are from The UnPlugged Family Activity Book by Rachel Jepson Wolf.
Updated September 2023
Fall is my favorite time of year to head outside with my kids for some unplugged, creative fun. Whether we’re building forts or fairy houses in the woods, dipping autumn leaves in sweetly scented beeswax, or watercolor painting under a crimson tree, the outdoors beckon to us all Autumn long.
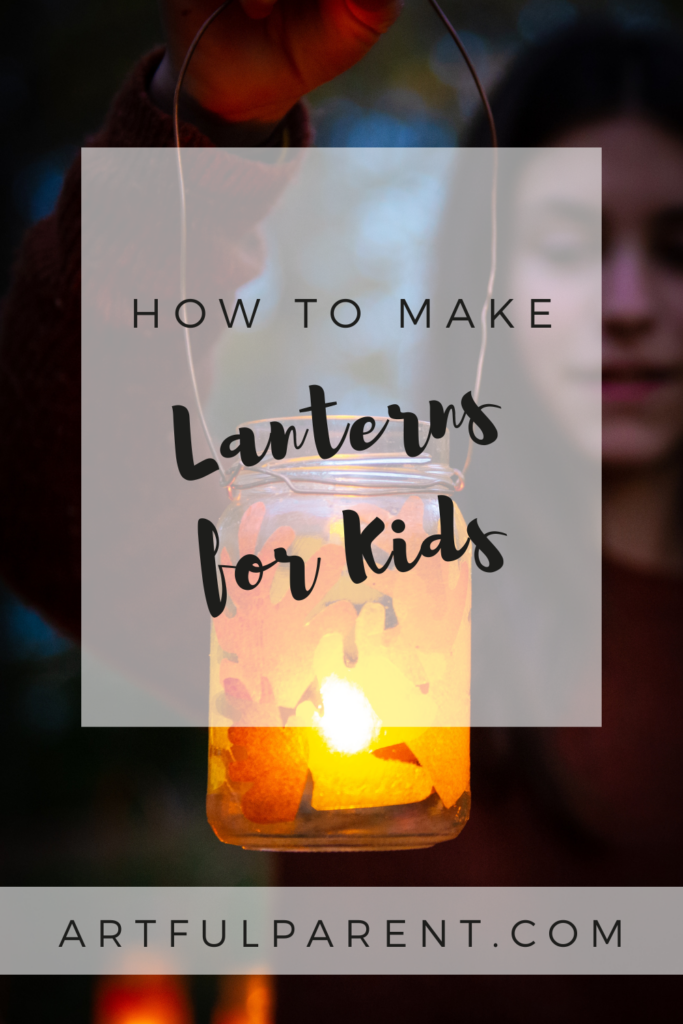
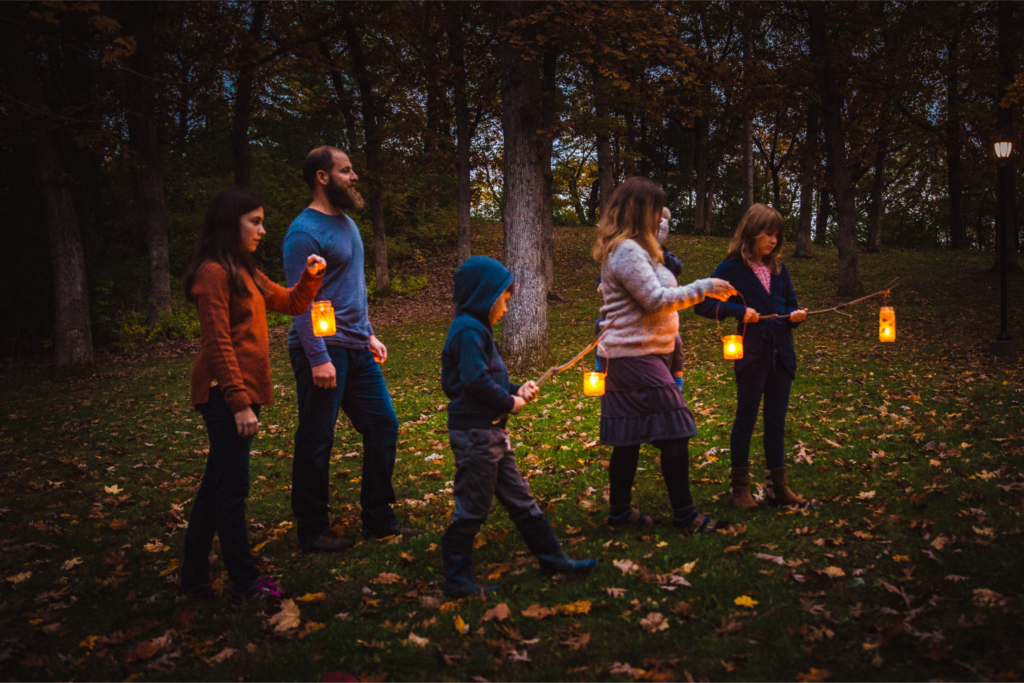
As the days grow short this season, an evening lantern walk is a wonderful way to bring light into the darkness while celebrating the changing season with family and friends.
These decorative DIY lanterns are easy to make, even for young children (with a bit of help). And the magic of a candle-lit lantern walk is something that no one will soon forget. (See lantern walk safety notes, below.)
Ready to craft your own? Then gather your supplies, and let’s head outside to make a little Fall magic. And if you’d like a printable version of this activity, scroll down to the bottom of this post to get a PDF version.
DIY Lanterns for Kids
Click here for the free downloadable printable of these instructions!
DECORATIVE LANTERN SUPPLIES

- Drop cloth or newsprint
- Upcycled, sturdy glass jar
- Colorful translucent paper (kite paper works best, or use colored tissue paper)
- Scissors
- Mod Podge or diluted white glue (2 parts glue to 1 part water)
- Small disposable bowl for the glue
- Paintbrush for the glue
- Wire cutters
- Needle-nose pliers
- Flexible wire
- Candles or battery-powered candles
- Sturdy forked sticks to hold the lanterns (optional)
- Poster putty or double-sided craft adhesive (optional)
INSTRUCTIONS
- Prep your workspace and materials
Cover your table with a drop cloth or a few layers of newsprint.
If necessary, remove the label and any adhesive from your jars and let the jars dry.
Prepare your tissue paper: Cut it into simple shapes like stars, circles, and triangles, or cut or tear it into strips. - Prep your jar
Pour a bit of Mod Podge into your bowl and use your paintbrush to coat the outside of the jar with a thin layer.
- Decorate your lantern
Place overlapping tissue paper shapes onto your jar, pressing gently to adhere. Use your brush (dipped in Mod Podge) to smooth the paper and reduce wrinkles. Continue placing shapes all around your jar. Let dry.
After the Mod Podge has dried, add a second layer to the outside to seal and protect the paper. - Attach a handle
There is no right or wrong way to attach your wire handle, as long as your method creates a 10-inch or longer wire loop to carry from and is secure.
Here’s one way to create a handle: Cut an 18 to 24-inch length of wire. Using a pair of pliers, bend a hook on one end of your wire. Wrap this end of the wire around the jar neck until it makes a complete circle, overlapping another section of your wire loop. Pass the hook over the overlapping wire and pinch closed with pliers to secure.
Bend a 90-degree angle into your wire just above the point where the hook has been secured. Using your pliers, create another hook at the remaining unattached end of your wire. Bring the long wire tail up and over the neck of your jar and secure on the opposite side of the jar by pinching the second hook closed.
Tighten the wire around the neck, if needed, by bending several S curves into the wire that encircles the jar neck. - Prep your lantern for a lantern walk
Place a candle or battery-powered candle in the bottom of each lantern, securing it with poster putty or double-sided craft adhesive to prevent slipping. Carefully light the candles.
Once your lantern is ready, you can enjoy a peaceful lantern walk with your family on a dark, autumn night. What a magical way to celebrate the turning of the year!
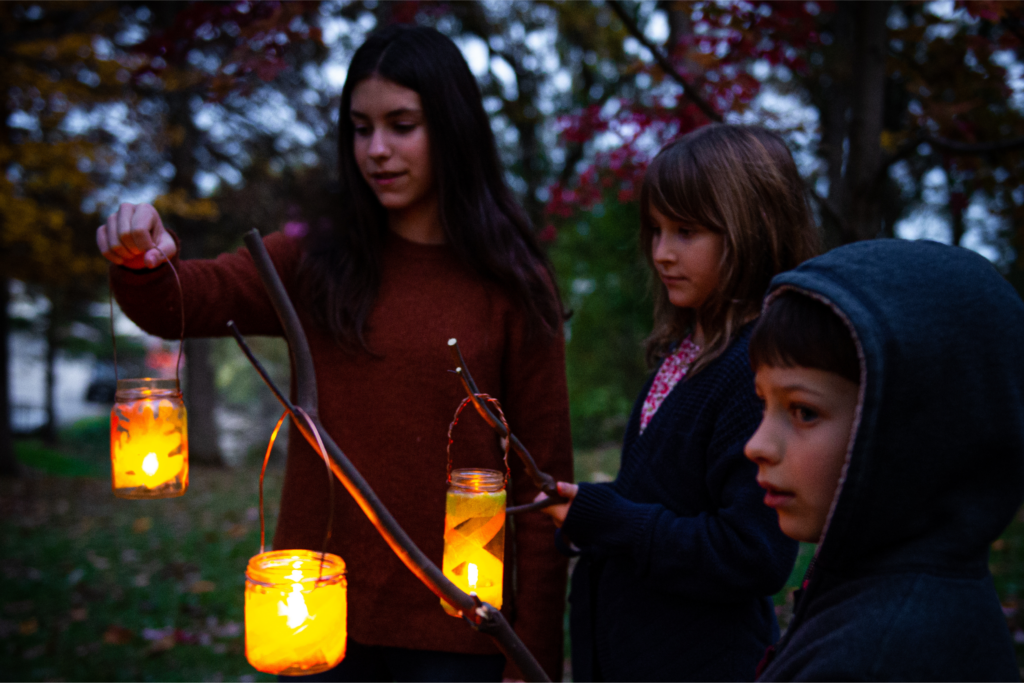
Around sunset, gather with friends or family for a quiet, candle-lit walk around your neighborhood or a local park. Suspend each lantern from a sturdy, forked stick (if desired), holding the stick at an upward angle to prevent the lantern from falling. Or carry your lantern by hand, using the attached wire loop as a handle.
If you prefer to celebrate indoors, omit the handles on your lanterns and arrange them safely in your home. Turn off the electric lights and quietly gather with family or friends for a candle-lit evening indoors.
Safety Precautions: Setting a calm, peaceful tone for your candle-lit walk is a must. Walking slowly and being respectful of one another is required of all who participate. The children I have taken on candle-lit walks love the responsibility of carefully transporting a candle in the darkness, but if you feel your family would do best with electronic candles, use them instead. If using real candles, teach the children on your walk how to hold the candle carefully, away from hair, clothing, and other participants. Young children can help an adult, carrying one lantern together.
And don’t forget to check out Rachel’s book for other creative and unplugged ideas for your family!
The project above is an excerpt from The Unplugged Family Activity Book. Copyright © 2020 by Rachel Jepson Wolf. Reproduced by permission of the publisher, Fair Winds Press, an imprint of The Quarto Group, Beverly, MA.
More Autumn Activities for Kids
- 30 Creative Fall Activities for Kids
- 11 Creative Fall Craft Ideas for Kids
- 12 Simple Fall Garland Ideas for Kids
- 15 Fall Children’s Books for Your Family
- 10 Fall Sensory Bins for Kids
- 10 Autumn Crafts with Leaves for Kids
Want even more Fall fun?
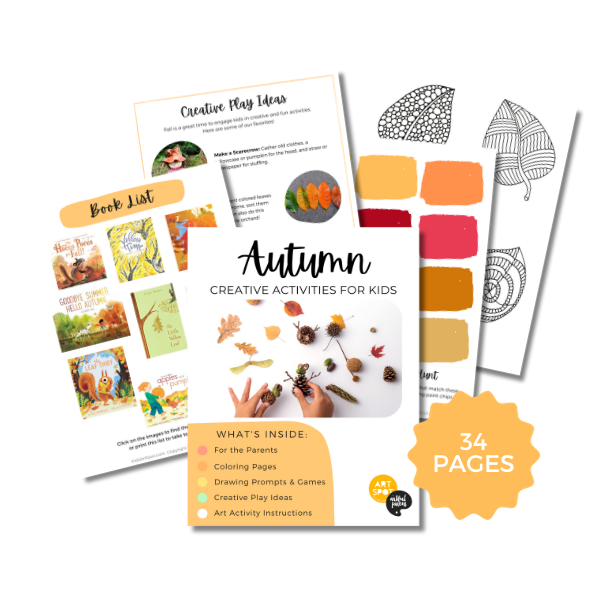
Check out our Autumn Creativity Pack!
This 34-page printable eBook is full of Autumn-themed art activities, drawing prompts, creative play ideas, and more!
Pin It for Later