Learn how to make DIY wrapping paper for kids with a rolling pin and foam stickers! A fun holiday craft project.
Updated October 2021
Have you tried making handmade wrapping paper with your kids?
We’ve done it quite a bit, with different techniques each time, and it’s always satisfying!
And it is extra special when you get to be creative with the gift wrap, regardless of what the gift inside the package is.
This project was inspired by a rolling pin stamp idea from Color Made Happy. And this post is part of a round-robin series by the Rockin’ Art Moms. At the end of the post you’ll find 7 more handmade wrapping paper ideas from other members!
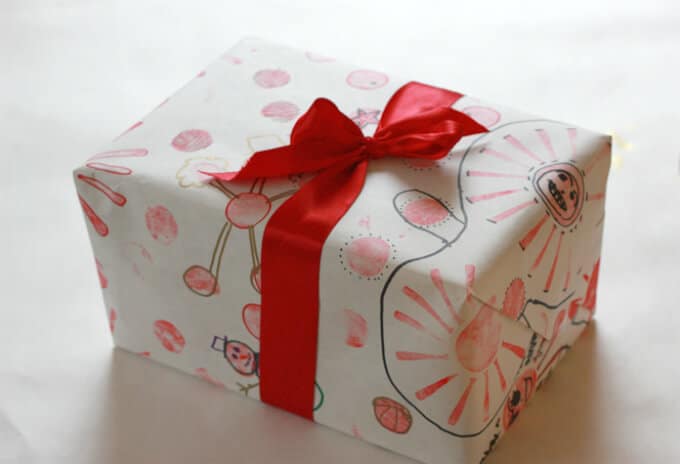
DIY Wrapping Paper for Kids

MATERIALS
- Foam stickers (we love this assortment pack)
- Tape (masking or scotch)
- Butcher paper, easel paper, or other large paper
- Water soluble block printing ink (you can use paint, but it doesn’t work quite as well)
- Acrylic box frame (or an old baking dish)
- Mini trim paint roller (you can also find this in the paint section of the hardware store)
- Pens or markers
- Rolling pin
- Wax paper
INSTRUCTIONS
- Create a design on the roller
You can do this two different ways:
A. Wrap wax paper around the rolling pin and secure with tape. Adhere foam stickers to the wax paper in desired pattern.
B. Press foam stickers on a cardboard tube in any pattern desired.
- Lay down paper
Tape down a piece of butcher paper or other large sheet of paper to your table or floor.
- Prepare your printing ink
Next, squeeze a dollop of printing ink onto the acrylic box frame. Then use the paint roller to roll the ink around, creating an even and smooth layer of ink.
Note: You can also use paint such as acrylic paint or BioColors, if that’s what you have. We’ve done it both ways. The ink works better as it’s stickier but the paint works okay, too.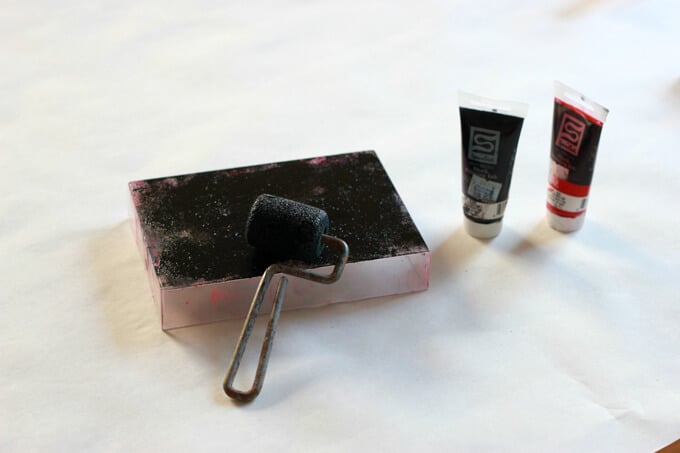
- Coat the rolling pin with ink
Roll the sticker-covered rolling pin over the inked surface a few times to coat the stickers with ink.
- Roll and print your design
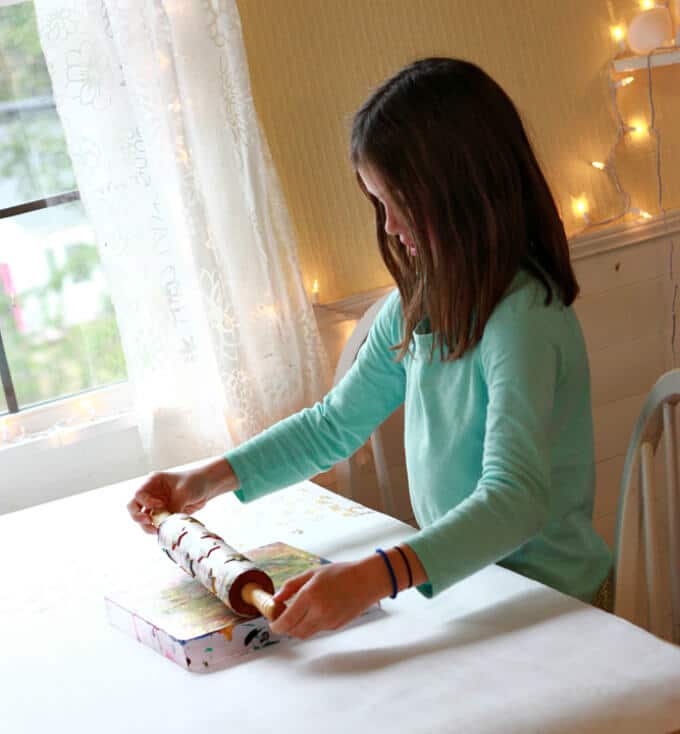
Finally, roll the inked rolling pin over the butcher paper to print your designs and patterns. Re-ink as necessary and continue printing with the roller until you’re happy with the way your wrapping paper looks.
Let paper dry.
Tip: Wash your box frame and trim roller ASAP to get the ink off.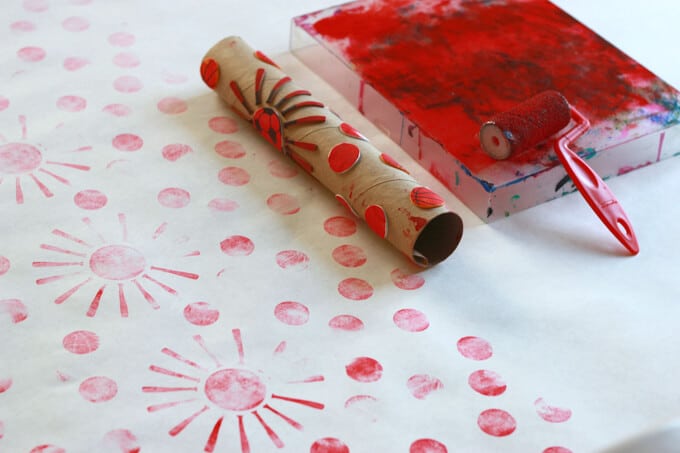
- Wrap your gifts!
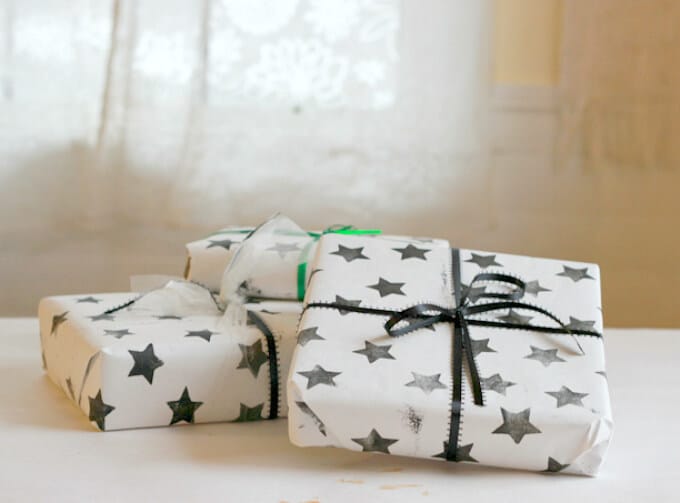
Now use your amazing new gift wrap to wrap your gifts!
- Optional: Doodle!
This step is optional (but fun). Doodle on the printed wrapping paper with pens or markers.
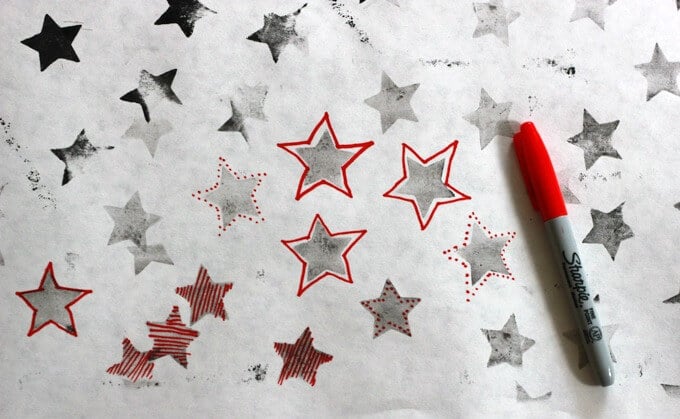
We used Sharpie markers but any are fine.
Use the printed designs as drawing prompts, as the beginnings of something else, or just doodle and draw to your heart’s content.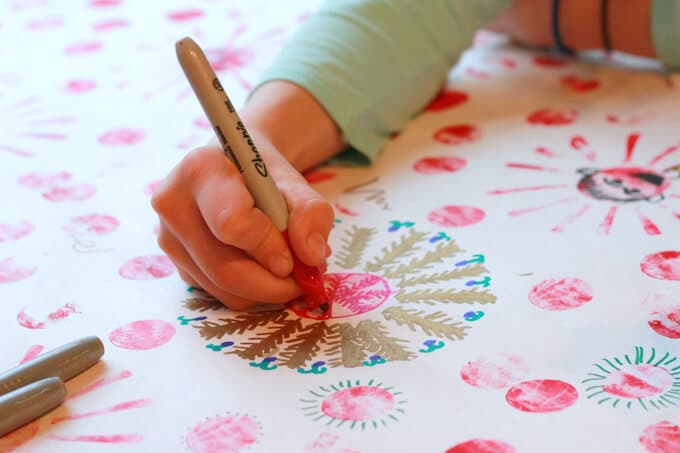
Want some more awesome handmade wrapping paper ideas? Check out these by the other Rockin’ Art Moms.
DIY Gift Wrapping Rockin’ Art Mom Style
- Picture Frame Wrapping Paper on Meri Cherry
- Tie dye gift wrap on Babble Dabble Do
- DIY Wrapping Paper on Art Bar
- Poppable wrapping paper on Pink Stripey Socks
- Furoshiki gift wrap on Buggy and Buddy
- Swedish horse wrapping paper on Willowday
- Stitched paper with mandala gift tag on Mama Miss
Want even more creative ideas?
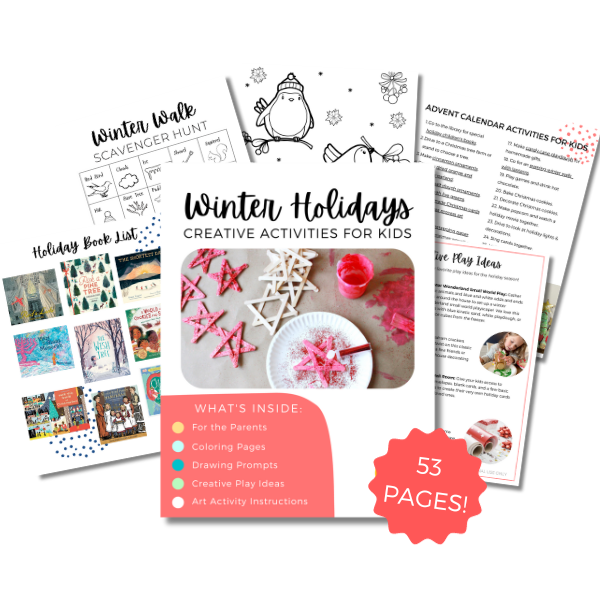
Check out our Holiday Creativity pack!
Let’s celebrate the holidays with all things crafty! Here are 53 pages full of our favorite drawing prompts, creative play ideas, art activities, and more!
Pin It for Later

Related Posts
-
Make Your Own Stickers with Contact Paper
Make your own stickers with kids using permanent markers and contact paper. This easy and…
-
Make Your Own Gift Wrap with Office Supplies
It's amazing what you can do with a little creativity. For example, did you know…
-
11 Christmas Craft Ideas for Kids
Here are 11 easy Christmas craft ideas for kids to try this holiday season. Create…
-
20 Homemade Christmas Ornaments the Whole Family Can Make
Try these ideas for homemade Christmas ornaments and garlands to decorate your home. Great activities…
-
6 Christmas Card Ideas for Kids
Set up a Christmas card making station for kids and try these 6 homemade Christmas…
-
How to Make Paper Collage for Kids
Try simple paper collage for kids by cutting colored construction paper (good scissor skills practice!)…


