Learn how to make a fairy house using air dry clay. Kids love crafting a unique fairy home and using it for magical, imaginative play.
Updated March 2025
Everyone loves to make fairy houses!
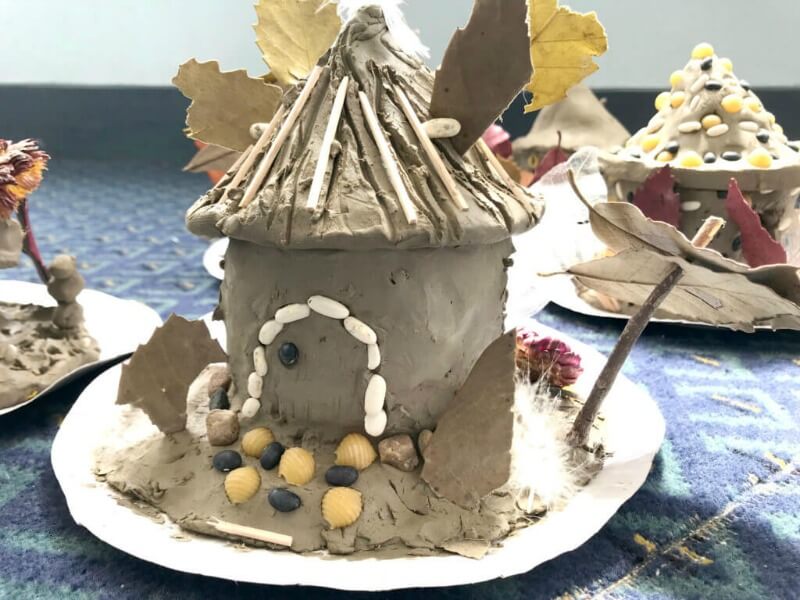
The details are just adorable: tiny little doors and windows, pitched roofs with miniature chimneys, little gardens for the make-believe inhabitants.
It’s the kind of craft activity guaranteed to encourage hours of imaginative play. And it is a fairly easy clay project to try at home–even if you’re new to ceramics.
Air dry clay is our favorite clay to work with, as it doesn’t require firing. Simply let it sit out for a few days to dry!
This project is a very fun activity to work on together with your child. Younger children especially, will need assistance with the rolling of slabs and joining clay pieces.
Pro tip: Do some Googling beforehand as there are lots of inspiring fairy houses out there!
How to Make A Fairy House

MATERIALS
- air dry clay
- clay modeling tools
- wooden skewer
- a very small amount of water in a bowl
- wooden rolling pin
- wooden board or cloth (porous surface to work on)
- paper plate
- items to press into your fairy house, like dried beans, split peas, shell pasta, small pebbles, dried leaves & flowers, natural colored feathers, sticks, & popsicle sticks
- rectangular paper stencil about 7.75 inches by 2.75 inches (for wall)
- semi-circle shaped paper stencil (for roof)
- glitter (optional)
INSTRUCTIONS
- Create the base
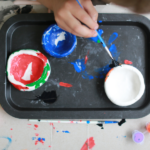
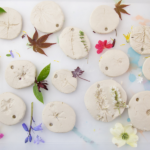
Start with an adult palm-sized piece of clay and press it into your paper plate to create a thick base, adding more clay as you go.
Encourage the kids to create lots of texture with their fingers or clay tools to make an interesting surface for the fairy garden.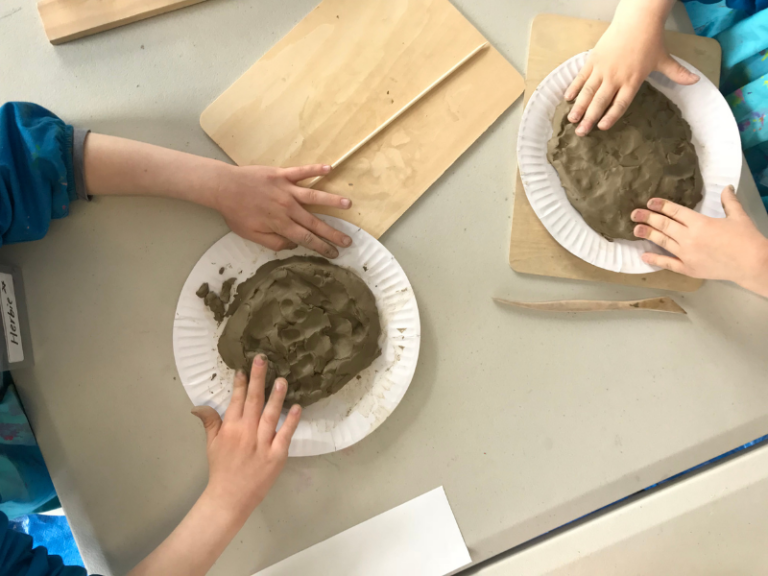
- Make the fairy house walls
Roll out a flat slab of clay about 1/2 inch thick. Place the rectangular paper stencil on top and lightly trace around with the wooden skewer.
Now remove the stencil, cut the clay and remove any of the excess clay.
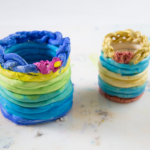
Pick up the rectangle of clay and carefully curl it inwards into a circle and place it on the base slab standing it upright to form the walls.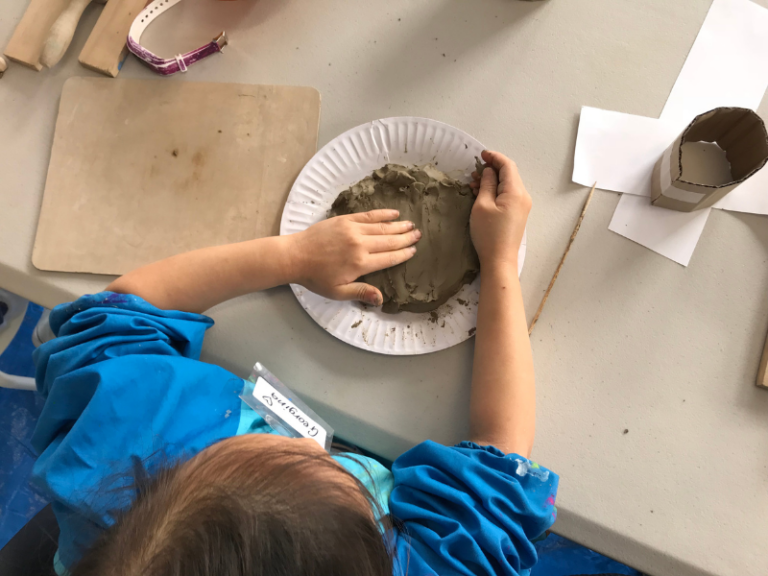
- Join the walls to the base of the fairy house
In order to join the walls firmly to the base, first score (scratch) both surfaces to be joined, add a little water (slip) with your finger to both surfaces, and press together.
Then smooth all around the bottom of the wall and vertical join.
Finally, add a thin coil to the bottom of the walls inside the house and smooth to strengthen. - Cut out a door and the windows of the fairy house
Use the wooden skewer to carefully draw and cut out a door and windows.
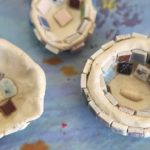
Pro tip: Be sure to keep the windows SMALL or else your walls might collapse under the weight of the roof! - Make the fairy house roof
Use a semi-circle-shaped paper stencil to create an upside down, cone-shaped roof from a clay slab (in the same way we created the walls).
You will have to experiment with the size of the paper cone until it fits.
You’ll need to roll up the cone roof and join it together before placing it on the walls.
There’s no real need to attach it to the walls but you could try to add a coil inside and smooth the walls and roof together. - Decorate!
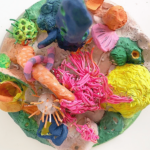
Go nuts and decorate your fairy house and garden with the natural materials you have on hand. Here are some ideas:
– Make a little pebble garden path, use leaves for trees and toothpicks for a tiny picket fence.
– Press beans or shell pasta into the roof for tiles and add little sticks to the door so that it looks like real wood.
– You can fix tiny twigs into the window cavities to mimic window panes.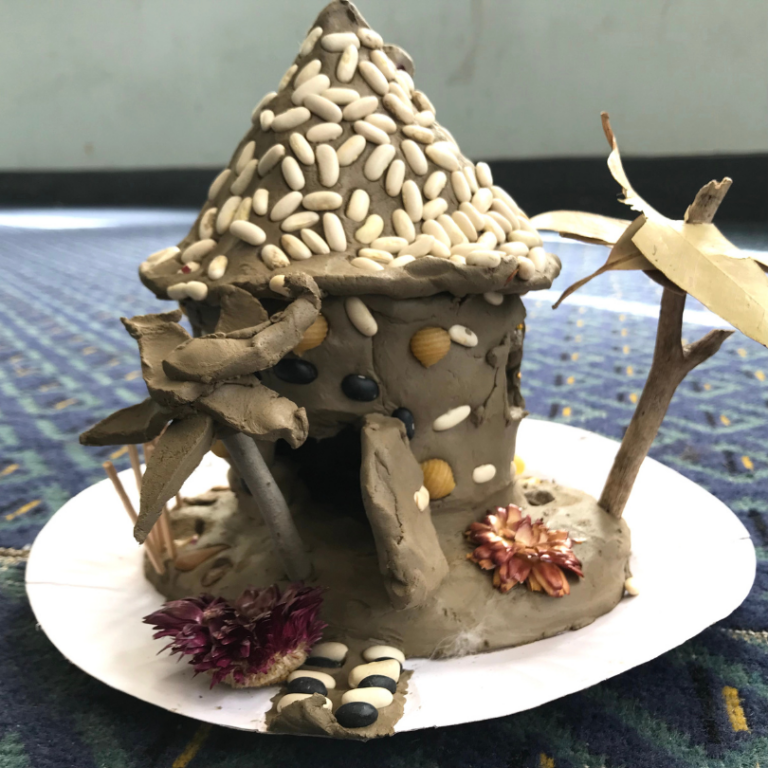
As a finishing touch, you might wish to add some magic sparkle all over by adding glitter!
I hope you have fun making a fairy house out of clay!

More Clay Art Projects for Kids
- 15 Amazing Clay Projects for Kids
- How to Make a Clay Pinch Pot Keepsake
- How to Create Colorful Clay Relief Tiles for Kids
- How to Make a Coral Reef with Clay
- How to Make Your Own Air-Dry Clay
- Why We Love this Kids’ Clay Pottery Wheel
Pin It For Later