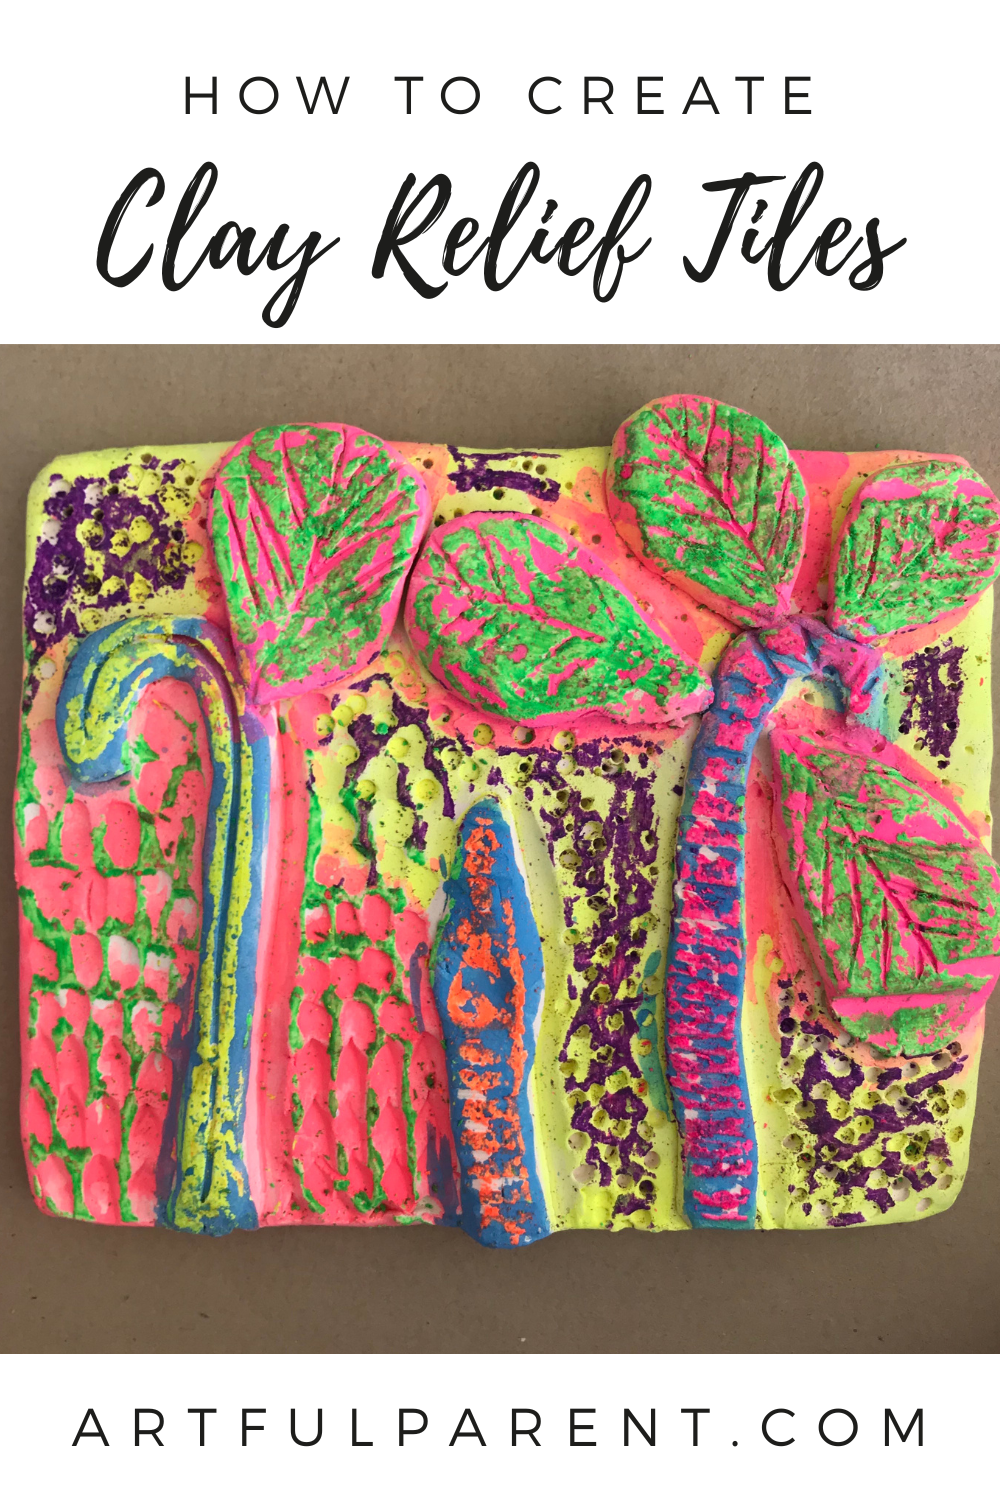
Create decorative clay relief tiles with air dry clay and a surprising method for adding color. This is a fool-proof project for novice potters. Post by Danielle Falk of Little Ginger Studio
Updated March 2025
This easy clay project is inspired by the work of Scottish artist Hilke MacIntyre, and her wonderful ceramic relief sculptures. Children and adults work together to create a multilayered clay scene, adding color with paint or oil pastels. This process is not only creative but also therapeutic, making it an enjoyable experience for all ages.
Since clay relief tiles require rolling and joining, young artists may need a helping hand, making this a wonderful project for shared creativity and collaboration.
I think you’ll enjoy making these lovely tiles and love seeing them displayed in your home.
How to Make Clay Relief Tiles

MATERIALS
- paper clay or air dry clay
- clay cutter (a piece of wire or fishing line attached to pegs will do)
- small bowl of water
- wooden board, wooden table or piece of cloth to work on
- wooden skewer for scoring & cutting
- clay modeling tools / popsicle sticks
- rolling pin
- fluorescent oil pastels & tempera paints or acrylic paints
- paint brushes & water containers
- patience!
INSTRUCTIONS
- Roll out clay relief tiles
Your first step is to roll out a flat piece of clay otherwise know as the slab. Slabs are a basic form used to build things in clay, along with coils (clay snakes) and pinch pots (hand-pinched bowls).
The key to slabwork is ensuring the clay is adequately thick as it tends to shrink with drying up to 30% and can end up too thin and break. I usually aim for the thickness of a teacher’s finger (3/4 of an inch).
Pro tip: If you roll the slab too thin – it’s always best to start again.
To do this, start with a ball of clay a bit bigger than your fist. Roll it out slowly and evenly with a rolling pin until smooth and the correct thickness.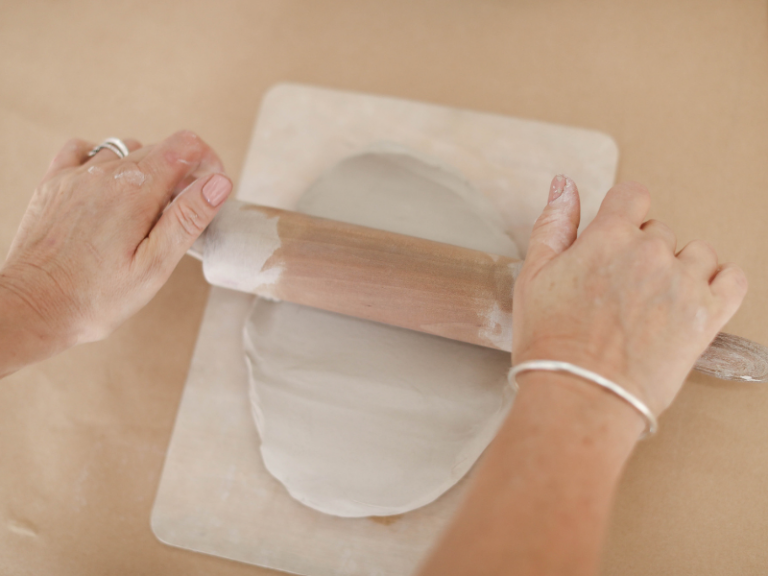
- Cut clay relief tiles
Use your wooden skewer to carefully cut the slab into a square or rectangular tile.
You may wish to use a paper stencil to help get very straight edges – the neater your work, the better effect.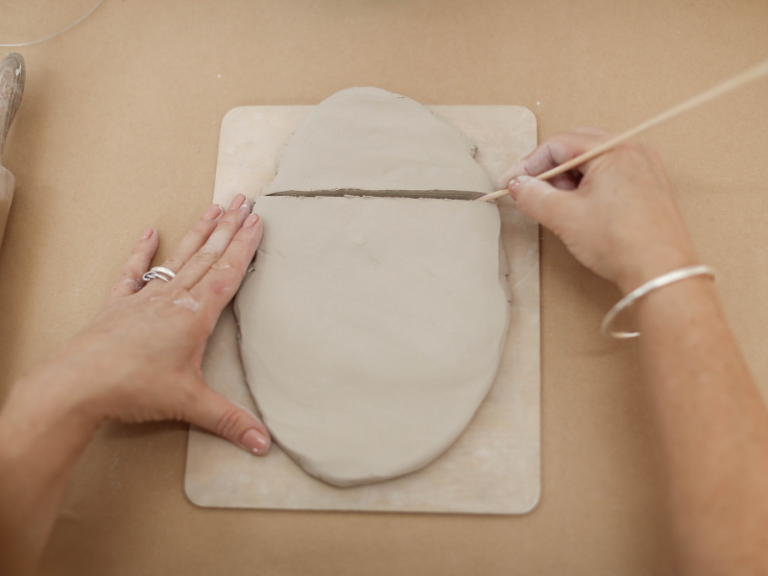
- Create decorations
To decorate your tile, add shapes cut from smaller thin slabs (can be quite thin).
You can make these simply by flattening them in your palms and then cutting with a skewer.
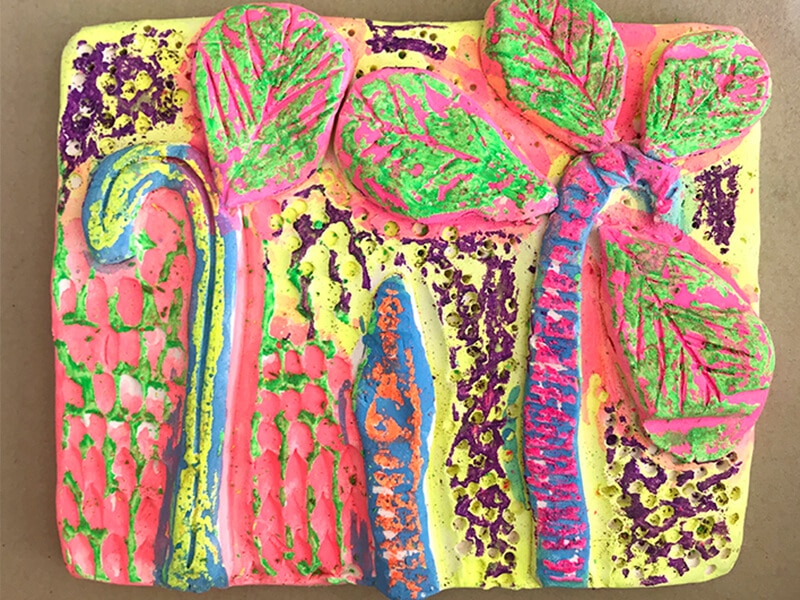
We looked at Hilke Macintyre’s work and created simplified depictions of plants and flowers.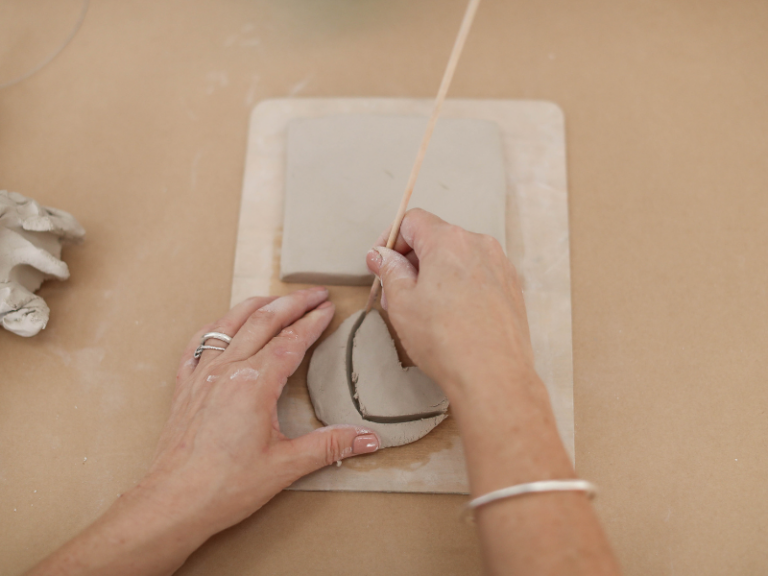
- Attach the decorations
This is a crucial skill in ceramics and quite difficult for some children to master. Kids often get swept up with creating and forget this step and then their work falls apart when dry!
In order to join two pieces of clay the technique of score & slip is used. Basically each surface to be joined needs to be scratched (scored) with a skewer, a dash of water applied to both and then the two surfaces pressed firmly together. In this way the clay fibers join when dry.
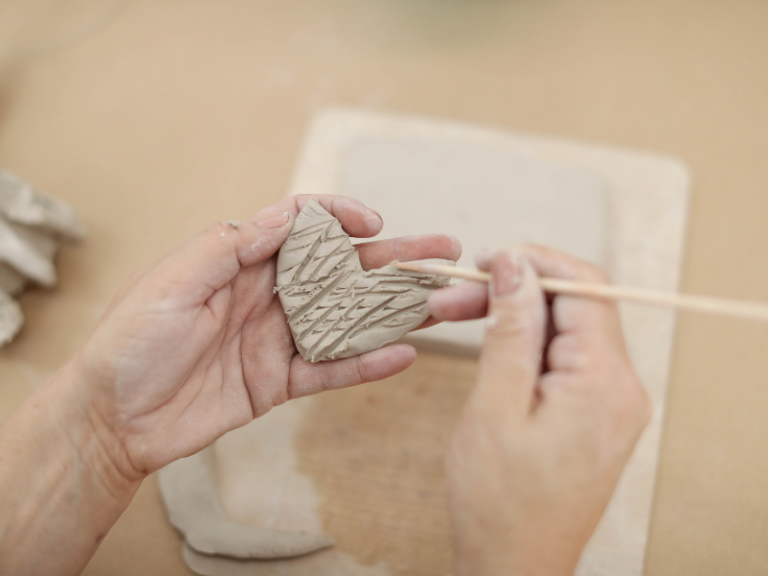
After your decorations are firmly attached, use the skewer, clay tools & popsicle sticks to add lots of texture. - Exercise some patience
Next, wait until your tile dries out completely – not kinda, not a little bit, but completely! This could take anywhere between 3 days and 2 weeks depending on the weather.
Pro tip: Don’t be tempted to place it in an overly warm place like a sunny windowsill as it will warp!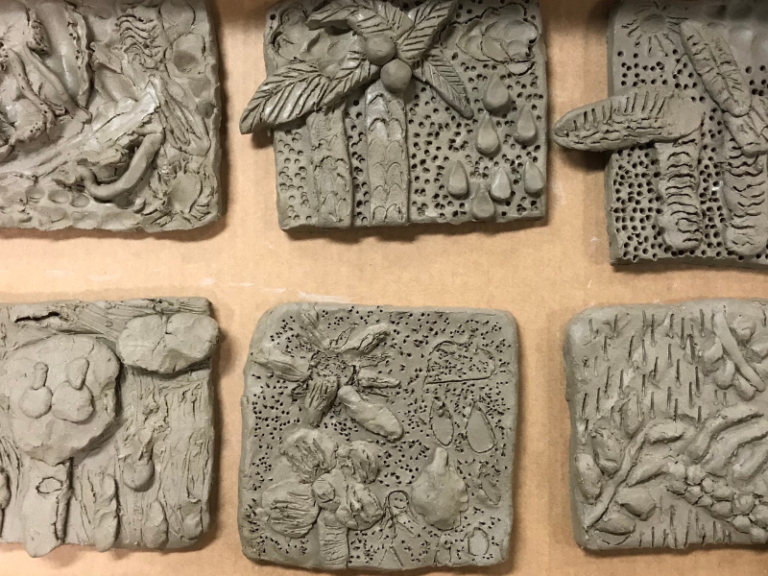
- Add color to clay relief tiles
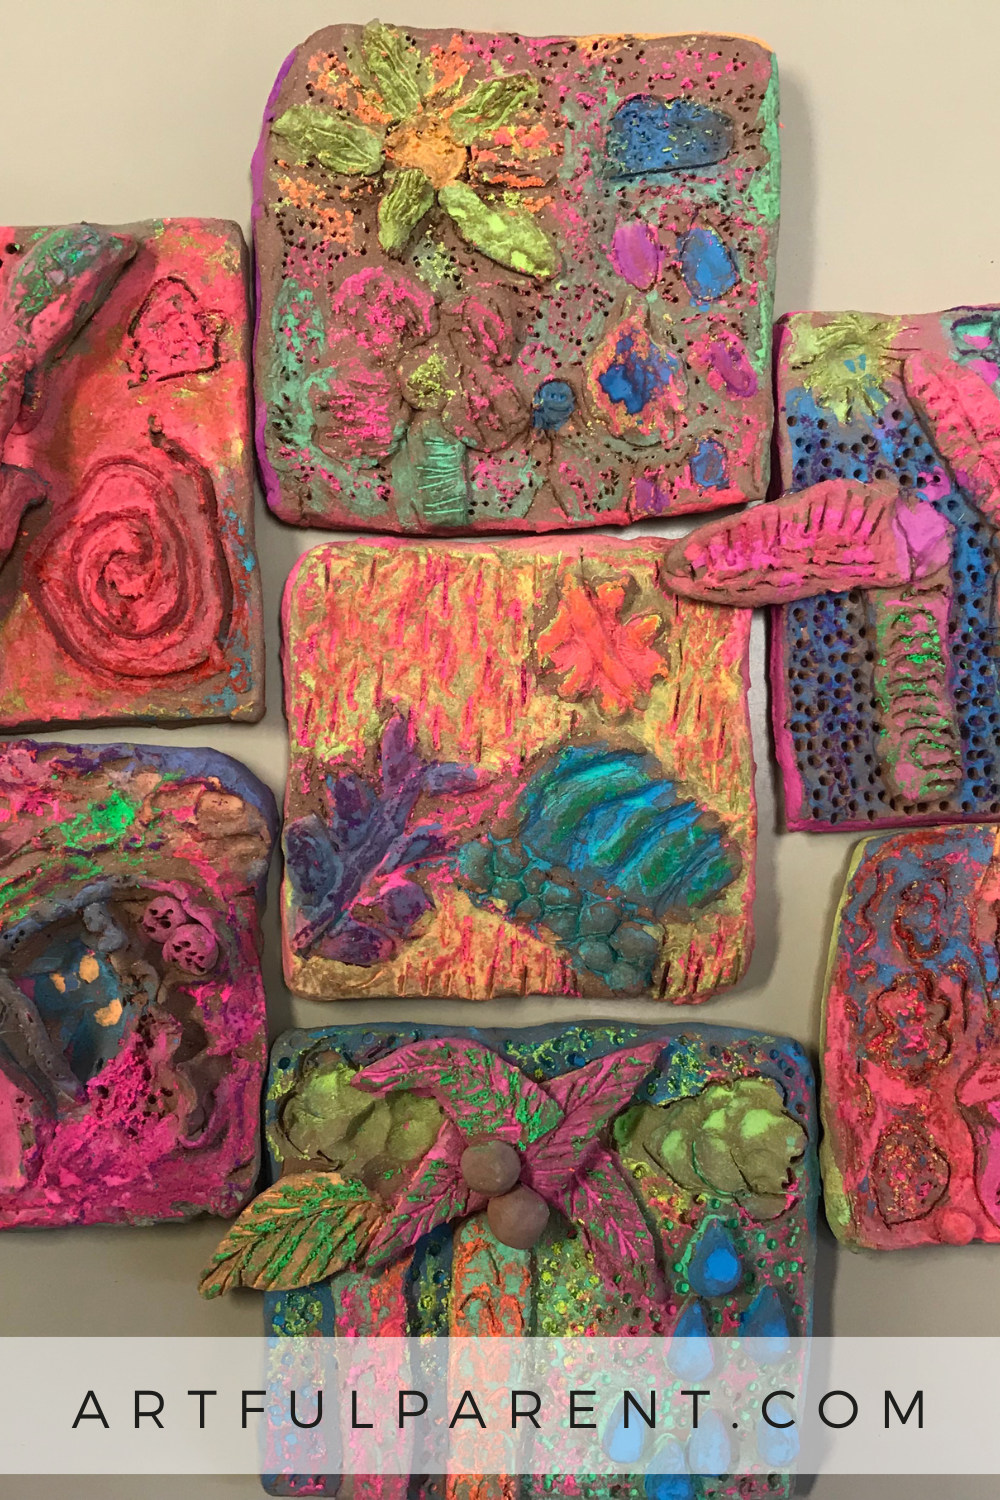
Once completely dry, decorate your tile with acrylic paints (making sure you add sufficient white to your colors so that the colors don’t dry too dark) or use this surprising technique inspired by Sunnyside Art House.
First, gently color parts of your tile with fluorescent oil pastels, and then add fluorescent tempera paints over the top. Be careful not to press too hard or use too much water.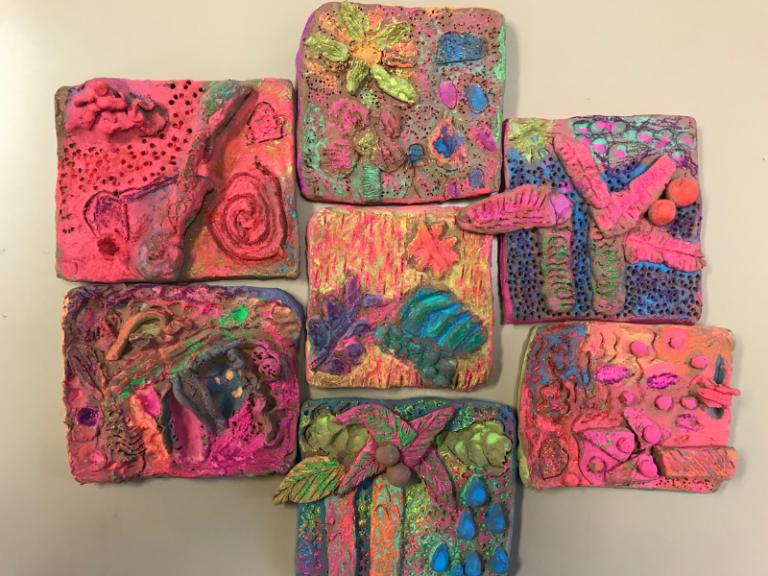
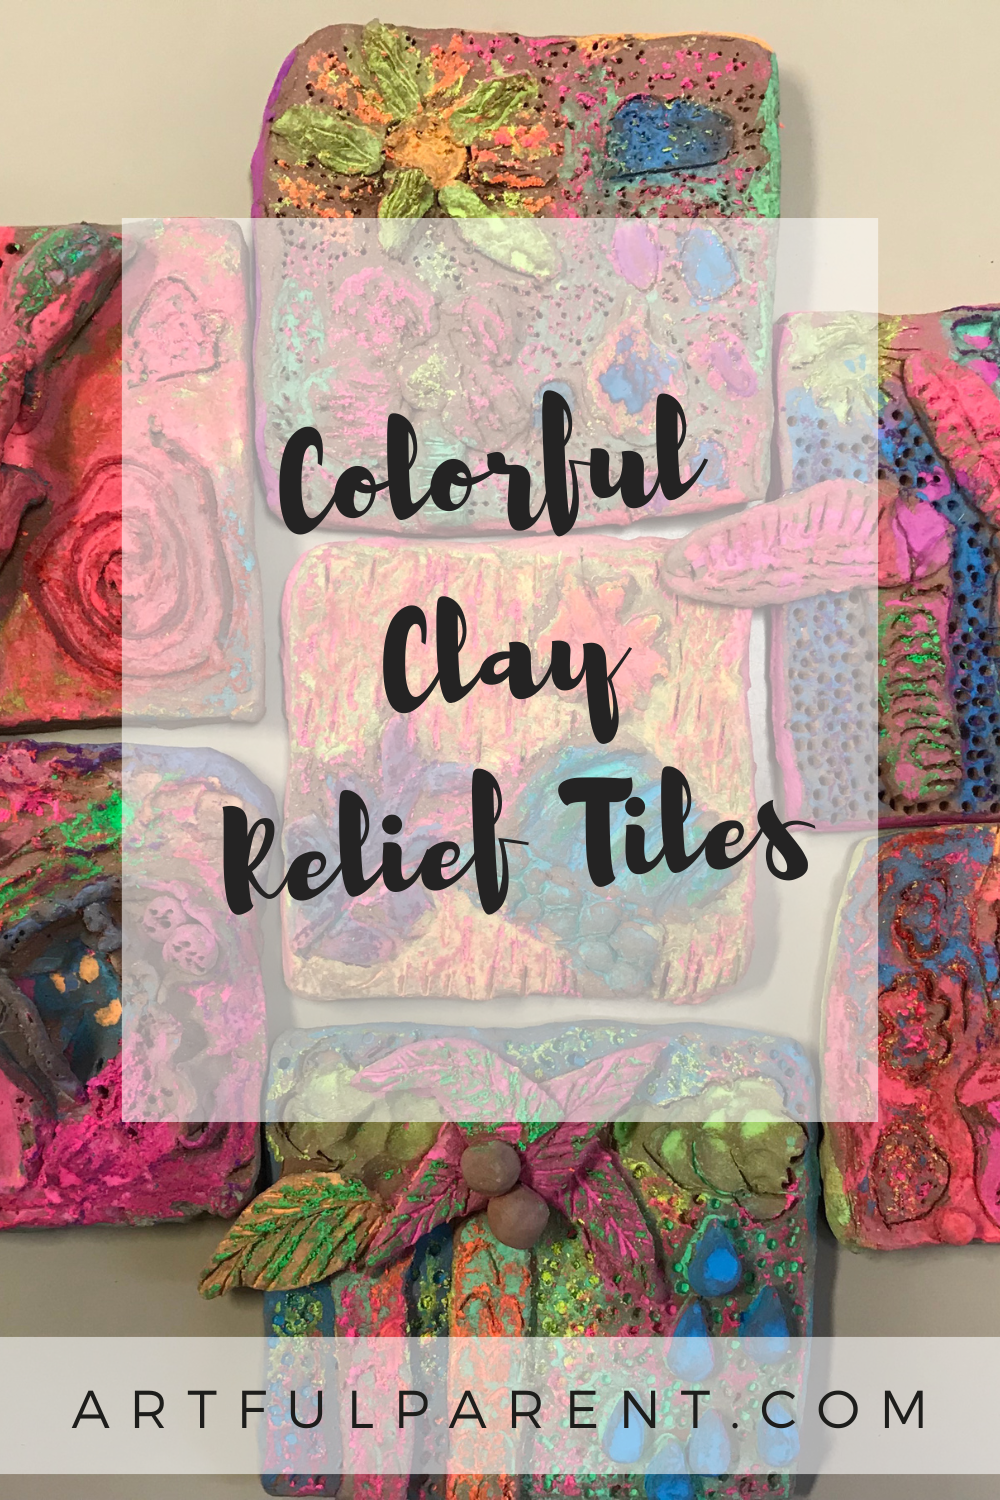
The effect is just stunning! How beautiful would these tiles look displayed in your kitchen!?
More Clay Projects for Kids
- 15 Amazing Clay Projects for Kids
- How to Make a Coral Reef with Clay
- Why We Love this Kids’ Clay Pottery Wheel
- How to Make a Clay Pinch Pot Keepsake
- How to Make a Starry Night by Painting with Clay
- Try these Creative Small World Play Ideas for Kids
Pin It For Later