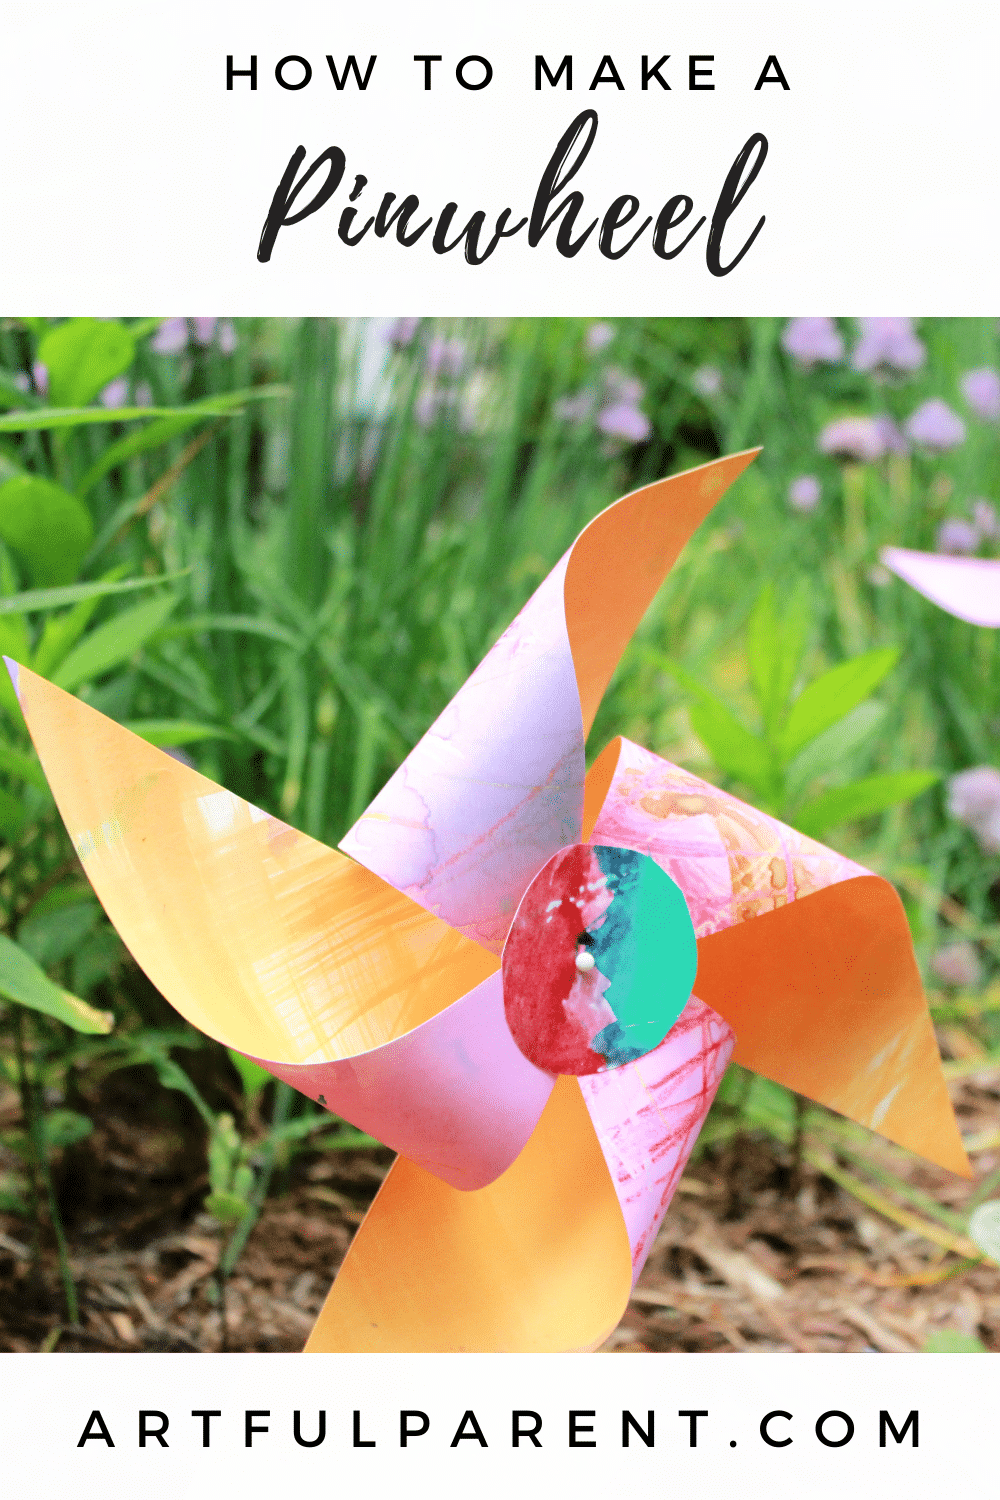
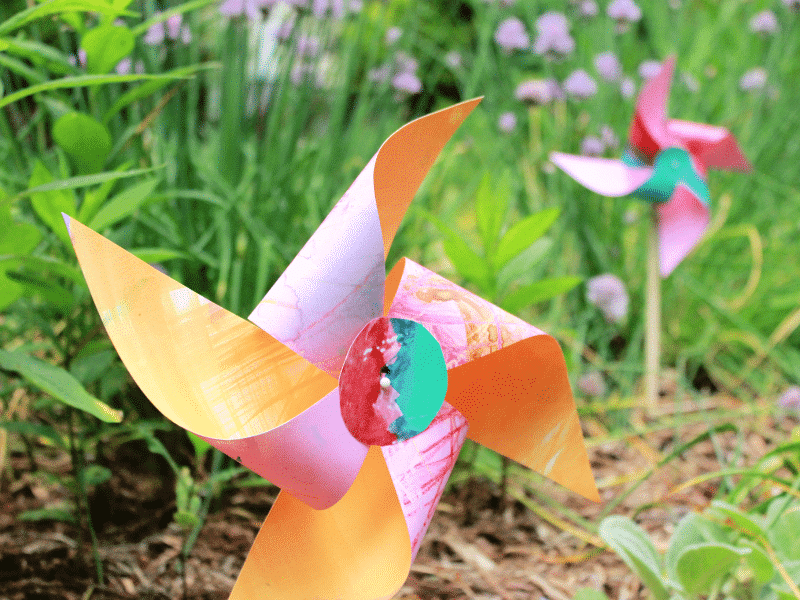
Create colorful pinwheels from watercolor-resist paintings. This fun summer craft comes from The Artful Year.
Looking for some fun decorations for your garden? These pinwheels are so fun to make and will add a pop of color to any lawn!
We made them using beautiful watercolor-resist painted paper but you can use any paper you’d like.
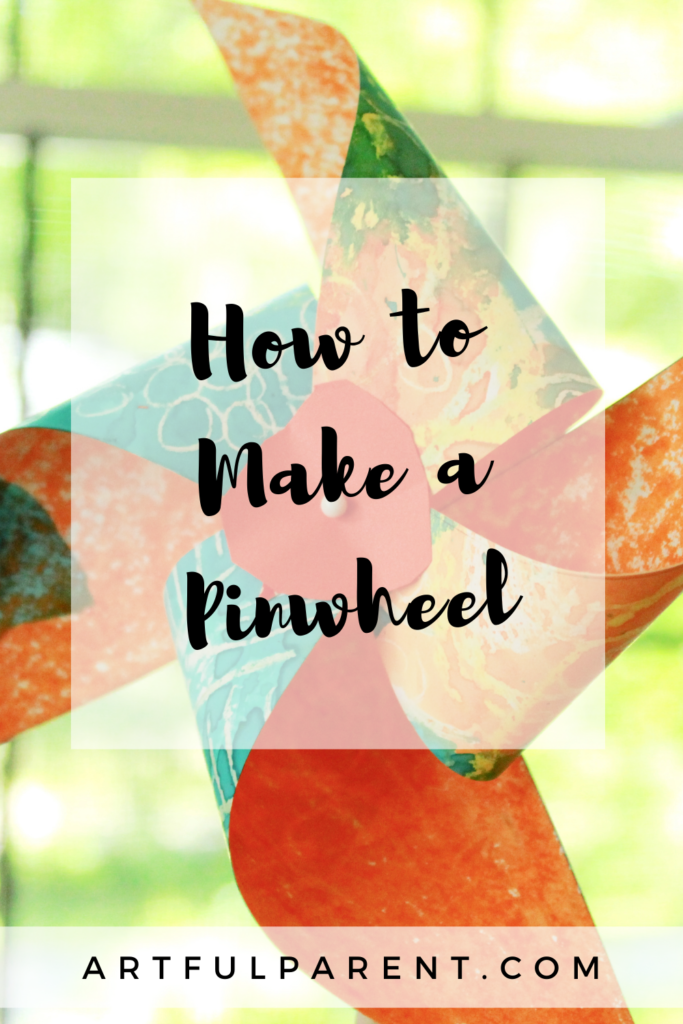
How to Make a Pinwheel
This fun summer activity comes from the book, The Artful Year: Celebrating the Seasons & Holidays with Crafts & Recipes.

Artful Pinwheels
From The Artful Year, by Jean Van’t Hul, © 2015 by Jean Van’t Hul. Reprinted by arrangement with Roost Books, an imprint of Shambhala Publications Inc., Boulder, CO.
Create colorful pinwheels from watercolor-resist paintings.
MATERIALS
- Poster board, watercolor paper, or card stock
- Crayons
- Paintbrush
- Watercolor paint (we used liquid watercolors)
- Scissors
- Ruler
- Pencil
- Artwork remnants or colored construction paper
- Pushpin
- Small wooden dowels (from the craft store) or pencils
- Straight pins (the kind with a little ball head)
- Small round beads with holes through the center
- Hot glue gun
INSTRUCTIONS
- Create watercolor-resist paper
Draw on the poster board with crayons, pressing hard. White and light colors work especially well for this technique, called watercolor resist. Paint over the entire paper with watercolors. Let the paint dry.
- Paint the reverse side of the paper
Turn the poster board over and paint the reverse side with a contrasting color of watercolor paint. Let it dry again.
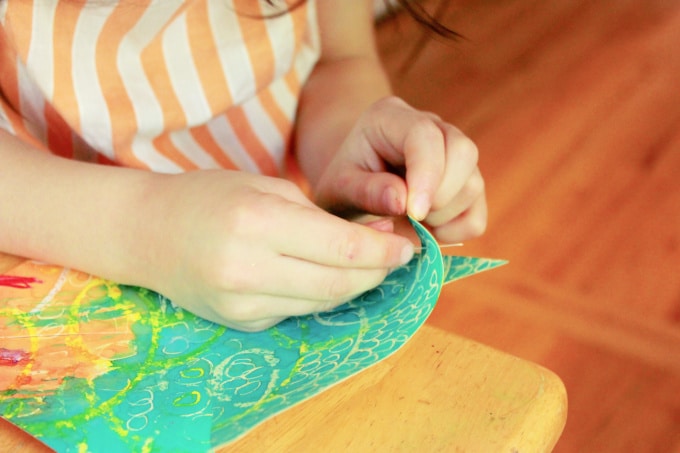
- Cut out pinwheels
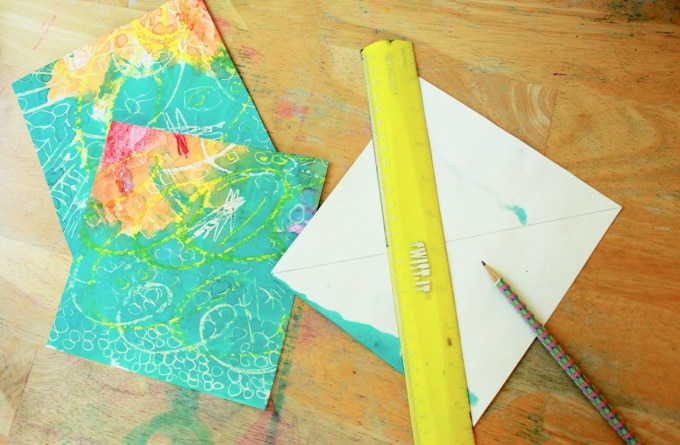
Cut the watercolor-resist artwork into 6″ squares (smaller or larger work as well, but this is a good size to start with). Turn a square over and use a ruler and a pencil to draw straight lines from corner to corner, crossing in the center. Use scissors to cut along the drawn lines, stopping 1″-2″ from the center.
- Cut out centers
Cut 1″-2″ circles out of artwork remnants or colored construction paper.
- Prepare for assembly
Create holes in preparation for assembly: Poke a pushpin into the side of the dowel, near the top. Remove the pin, leaving a hole. Use the same pin to poke holes in the center of the penciled X as well as in the pointed end of each spoke. Also poke a hole in the center of the circles.
- Assemble your pinwheel
To assemble, insert a straight pin through the hole in the center of one of the circles, then through each of the four spokes, one at a time, and then finally through the center of the penciled X. Slip a bead onto the end of the pin (so there will be a bead between the dowel and the pinwheel), then add a dab from the hot glue gun to the sharp end of the pin. Poke the glue covered pin end into the hole in the dowel. The hot glue dries quickly.
- Blow!
Blow your pinwheel to make it spin, or hold it up to the wind.

More Fun Summer Crafts for Kids
- 11 Ways to Have a Creative Summer with Kids
- 12 Best Summer Art Activities for Kids
- How to Make Garden Wish Flags (The Perfect Summer Craft for Kids!)
- How to Make DIY Beaded Garden Ornaments
- 100+ Summer Crafts & Activities for Kids
Pin It for Later