Pointillism painting with cotton swabs is engaging and fun art activity that easily incorporates an artist highlight as well.
Updated June 2023
Pointillism art with cottons swabs may sound complicated but is actually super simple and kids LOVE it! We set it up for after school or after nap (back in the day when our kids took naps) or in other in-between times. It’s the perfect art activity for transition times.
We’ve done it with a variety of paints and papers (white on black was especially striking) but liquid watercolors on watercolor paper are perfect for this activity!
Here is a video showing Pointillism painting in action, plus some photos, notes, how-to information, and ideas for variations…

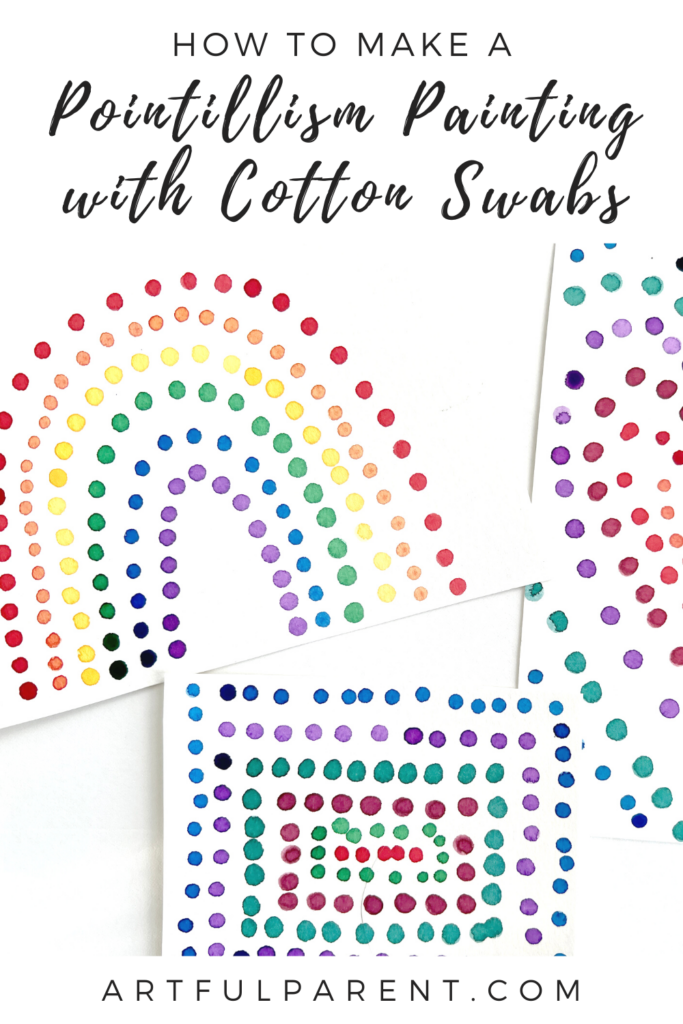
Pointillism Painting for Kids
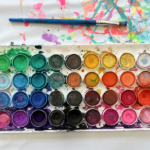
MATERIALS
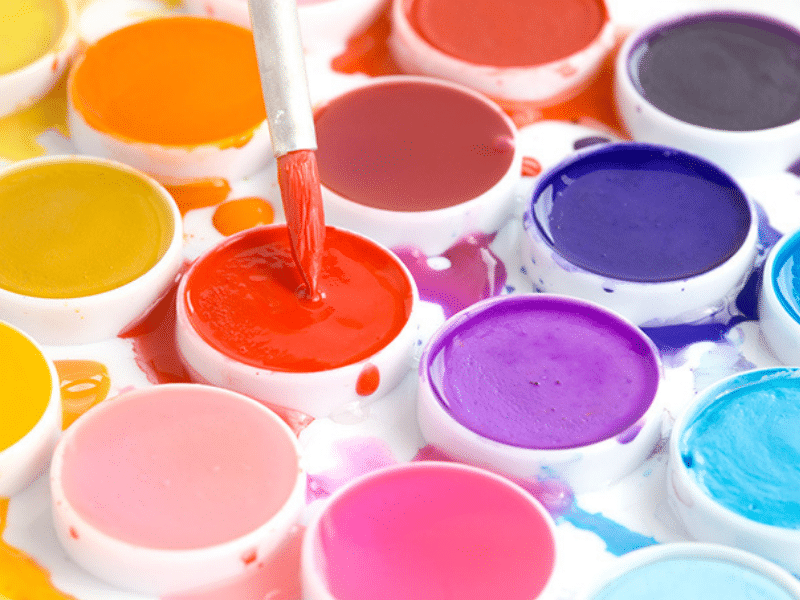
- Liquid watercolors*
- Watercolor paper
- Q-tips (or other cotton swabs)
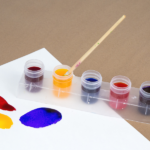
- Watercolor tray or palette
*If you don’t have liquid watercolors, try making your own with watered down food coloring. Alternately, you could probably do this with watercolor cakes if you add a little extra water to each cake.
And obviously, you can do Q-tip pointillism with other paints, such as tempera, acrylic, Biocolors, etc.
Time needed: 1 hour
INSTRUCTIONS
- Prep materials
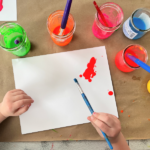
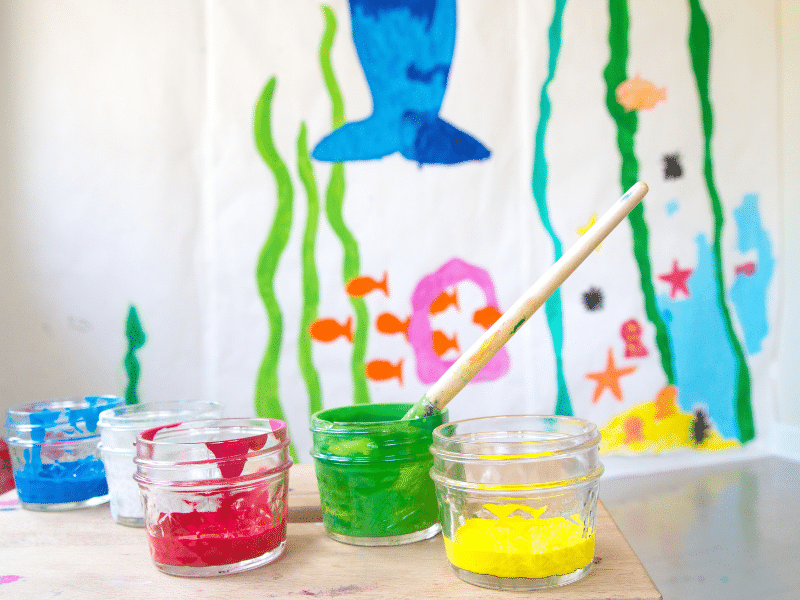
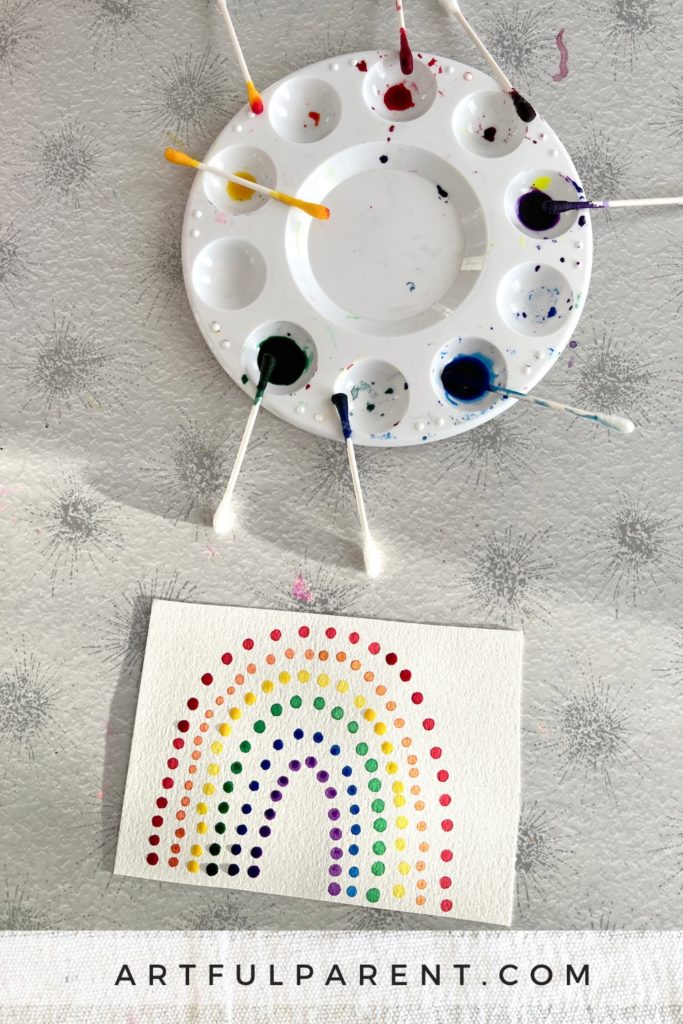
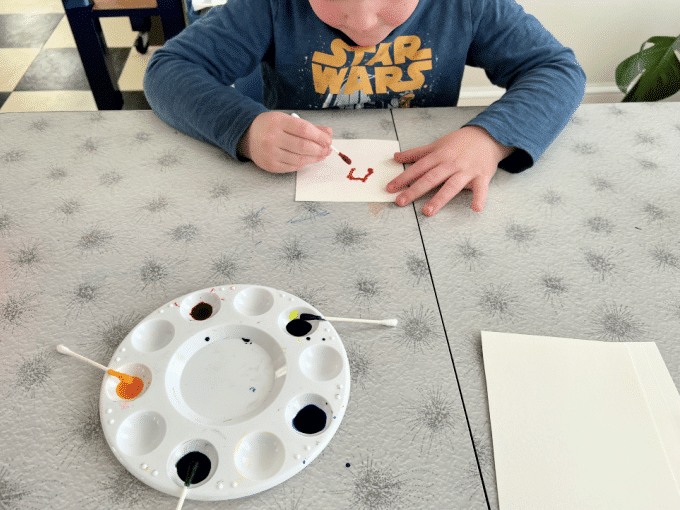
Set up the activity on a tray or mat with a sheet of watercolor paper and your watercolor paints. We used a paint tray to hold the watercolors and a handful of Q-tips or cotton swabs.
The paper can be used whole, or you can cut it into smaller pieces if you like. We found that half and quarter sheets work well with Q-tip pointillism.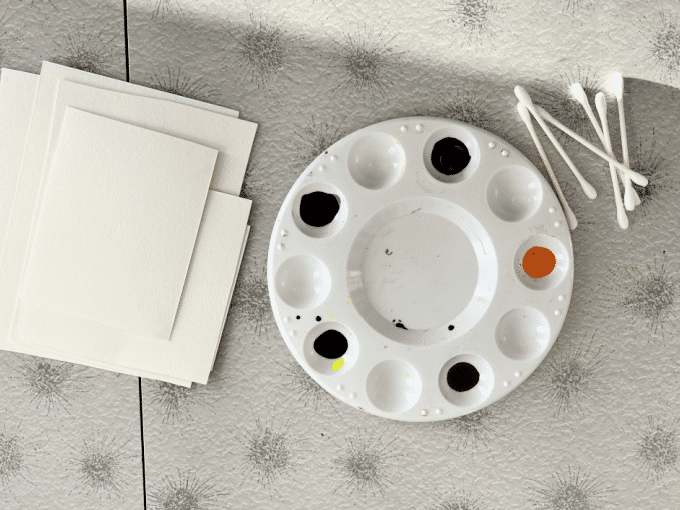
Jean often used these paint cups in a base for liquid watercolor paints, too. - Start Painting
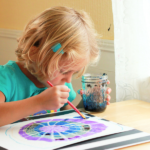
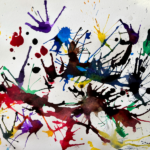
Dip a Q-tip in one of the liquid watercolors, then press the tip to the paper.
- Repeat!
Keep going! You can get a number of dots out of one paint dip. When the color is starting to fade, dip the Q-tip in the paint again before pressing it to the paper.
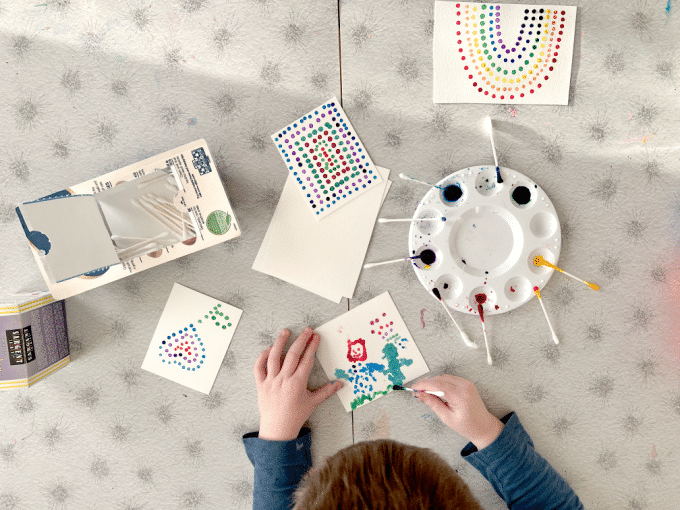
Or use a new Q-tip and a different color of paint. - Let Dry
Allow your artwork to dry. You can hang them up or use them as cards or gifts for someone special.


The Q-tips make great dots, of course, but they also work well as paint brushes for lines and such.
It is so fun to see what kids will come up with. Some use the pointillism technique to paint something abstract, while others love seeing how their favorite animal looks like in dots!
More Pointillism Paint Ideas to Try
Once you have the technique down, you can try these variations on it. The fun is endless!

1. Make dot-to-dot activity pages for each other. Kids love doing this for each other – one paints an image using pointillism and then the other has to connect the dots!

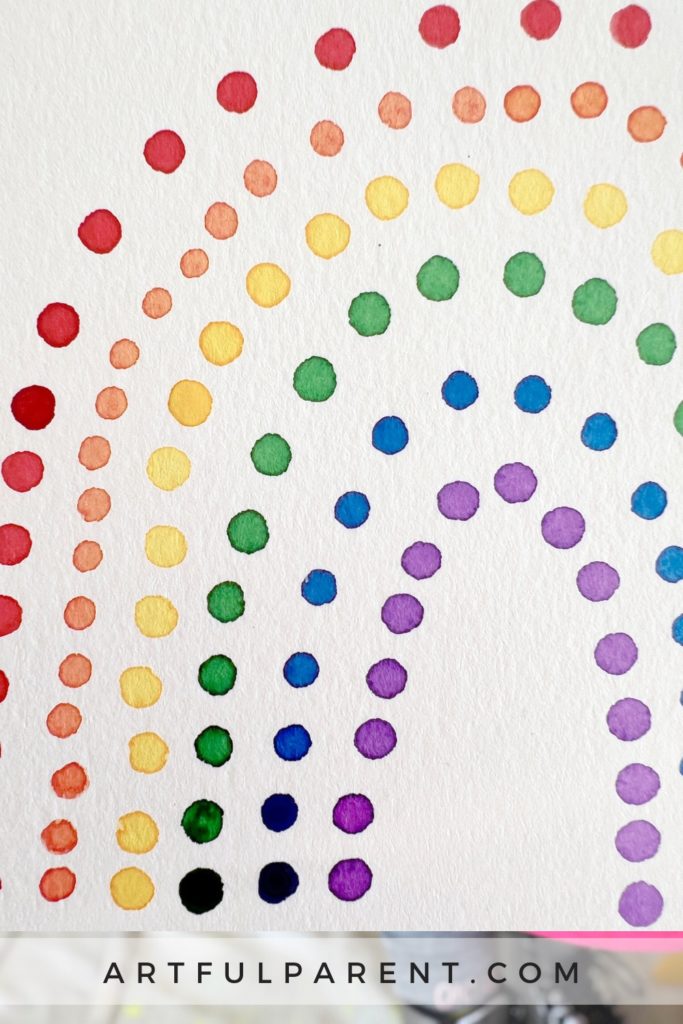
2. Try the illusion of color mixing by placing dots of different colors next to each other. For example, place many dots of yellow and blue close to each other, then stand across the room to look at the artwork and see if it looks like green.

3. Add a second round of dot art on top of the first after it’s dried. Or switch papers and add a second round to each other’s paper.

4. Add pen embellishments to the dot art after it’s dried. Kids love tracing the lines and dots they’ve made and seeing how the picture changes.
You can also use a cotton ball (held with tweezers or a clothespin) for larger dots!
How about you? Have you tried Q-tip pointillism? What kind of paint did you use?
More Painting Ideas for Kids
- 11 Painting Activities for Preschoolers
- How to do Splat Painting for Kids
- Blow Painting with Straws
- How to Make Raised Salt Paintings
- 7 Watercolor Techniques for Kids
- 6 Amazing Watercolor Resist Techniques to Try with Kids
Pin It for Later